8/8/2026 Today I’m starting on my next model build, which is the Wingnut Wings 1/32 Fokker D.VII “Early”. This should be fun.
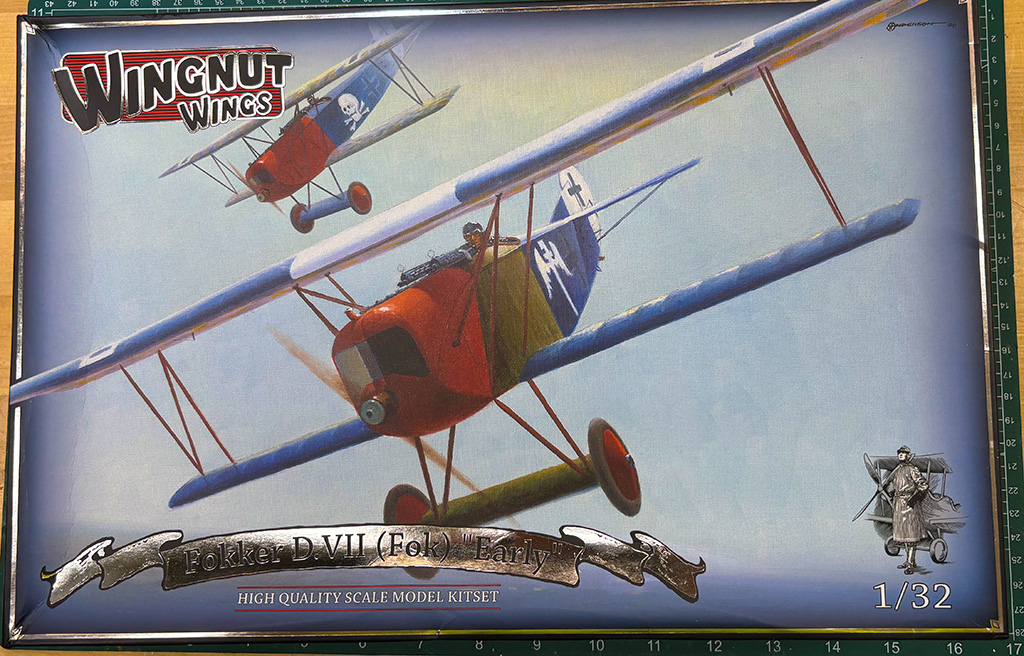
The Fokker D.VII “Early” was one of the finest German fighter aircraft of World War I, entering combat service in the spring of 1918. Designed by Reinhold Platz for the Fokker company, the D.VII combined a strong welded-steel-tube fuselage with thick, efficient wings that gave it excellent climb, maneuverability, and unusually good handling at low speeds and high angles of attack. Early-production aircraft were commonly powered by the roughly 180-horsepower Mercedes D.IIIa engine and armed with two synchronized 7.92 mm Spandau machine guns mounted ahead of the pilot. Pilots quickly appreciated the D.VII because it was stable, forgiving, and capable of maintaining control in situations where many contemporary fighters would stall or lose effectiveness. Its combat performance was so highly regarded that the 1918 Armistice specifically required Germany to surrender its Fokker D.VII aircraft to the Allies.
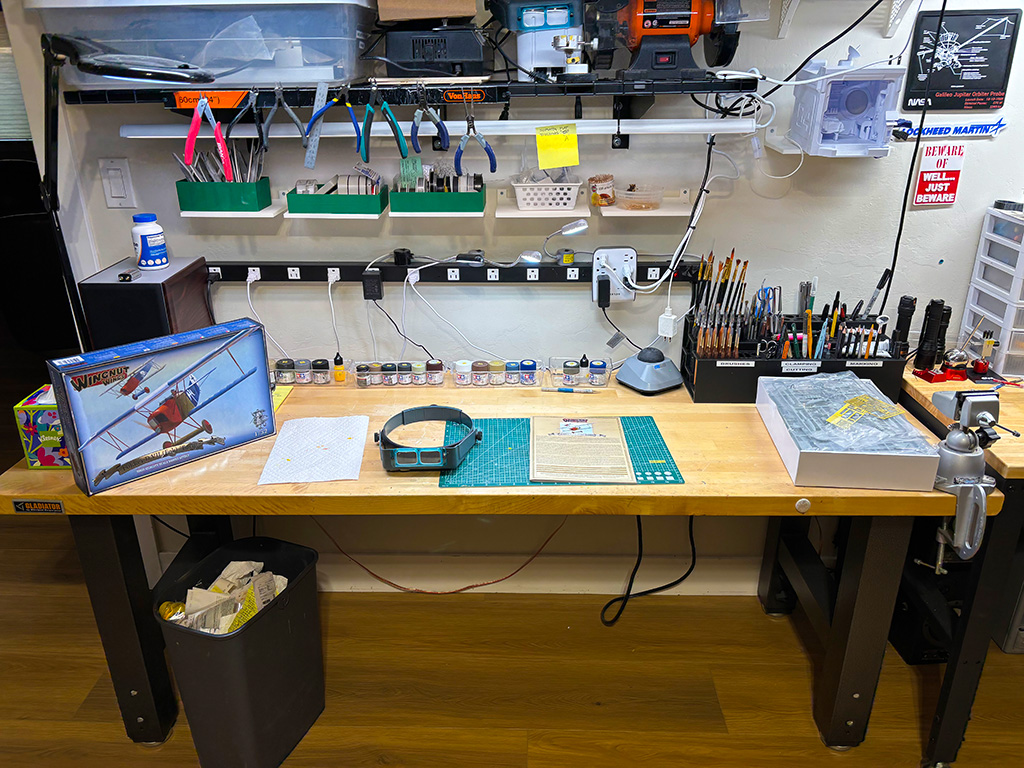
8/8/2026 My workbench is set up; I’m ready to start.
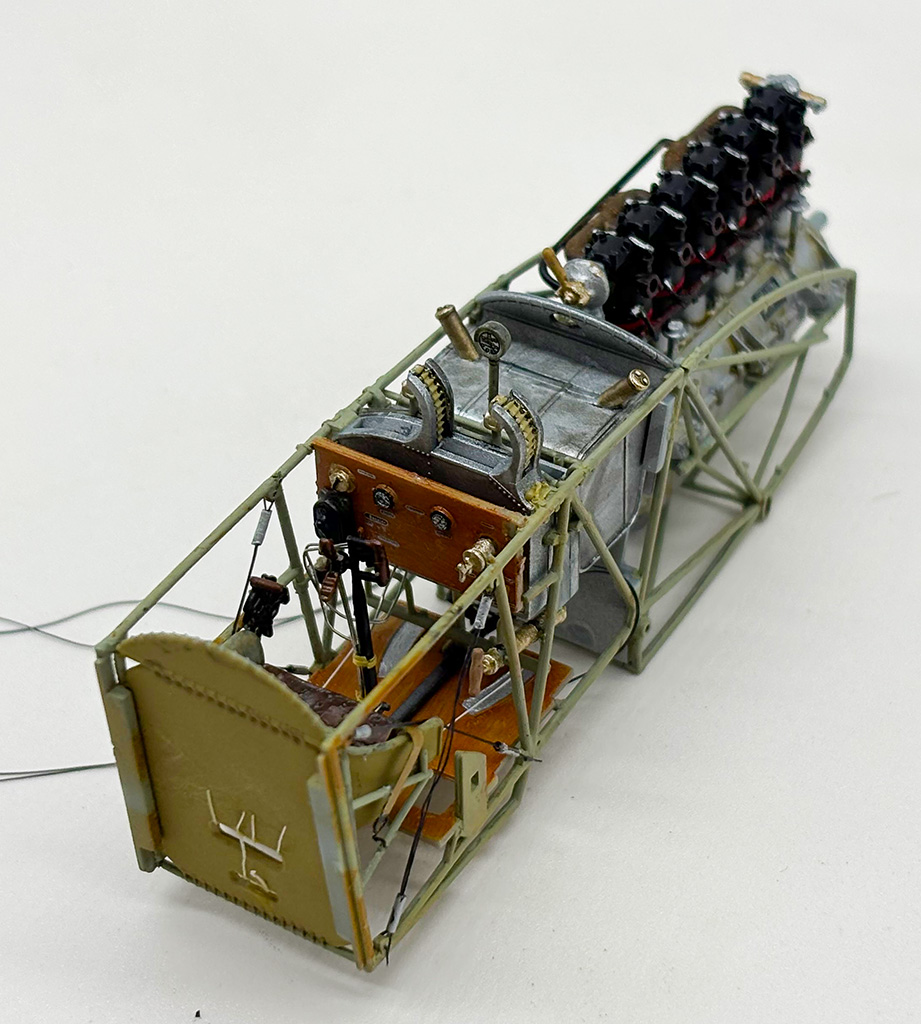
8/19/2026 I’ve finally finished the cockpit. Here are the pictures:
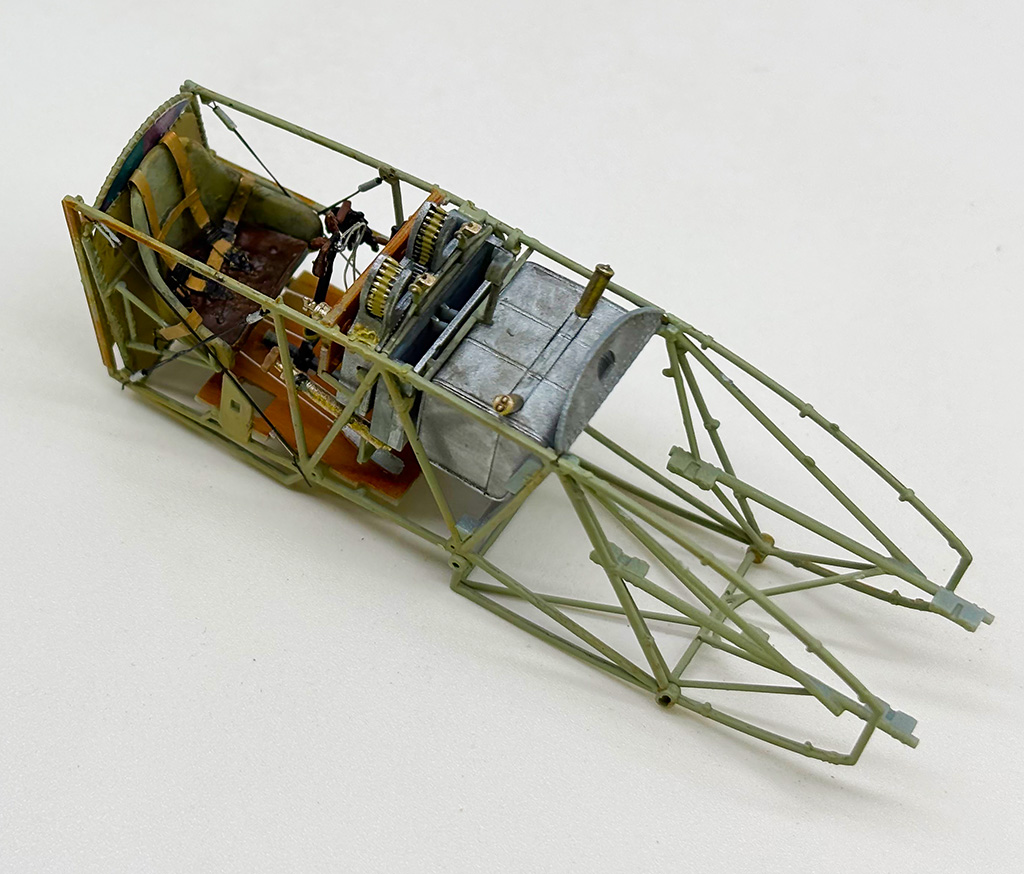
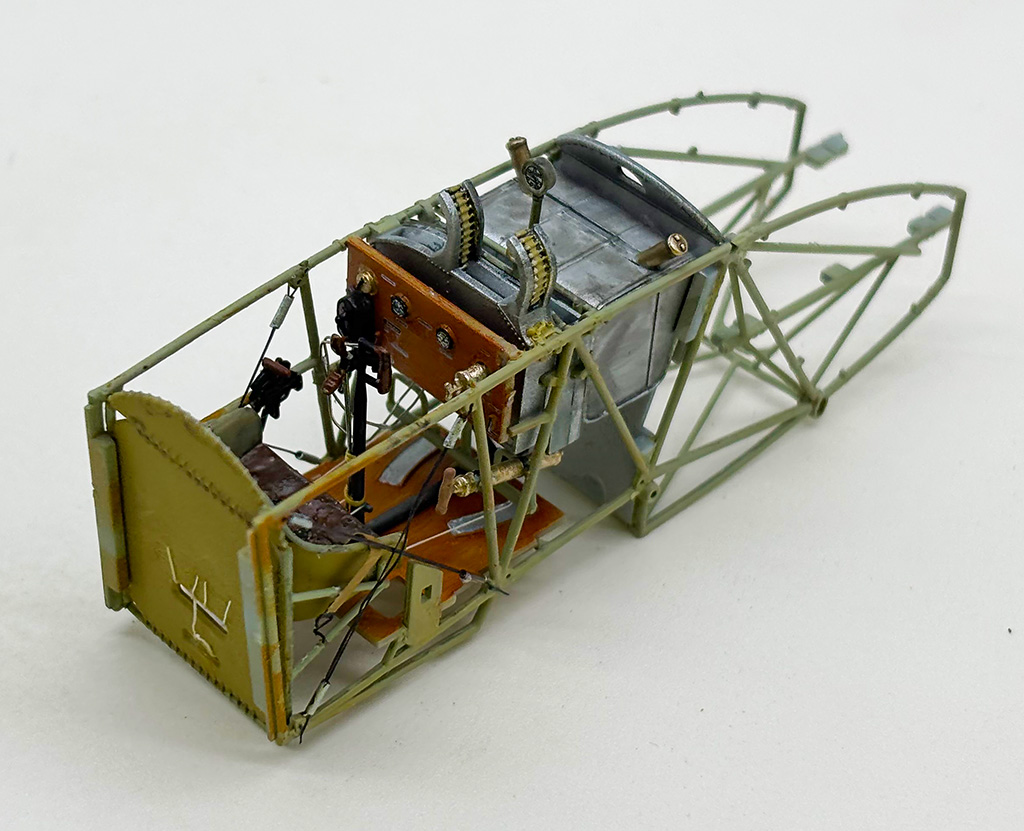
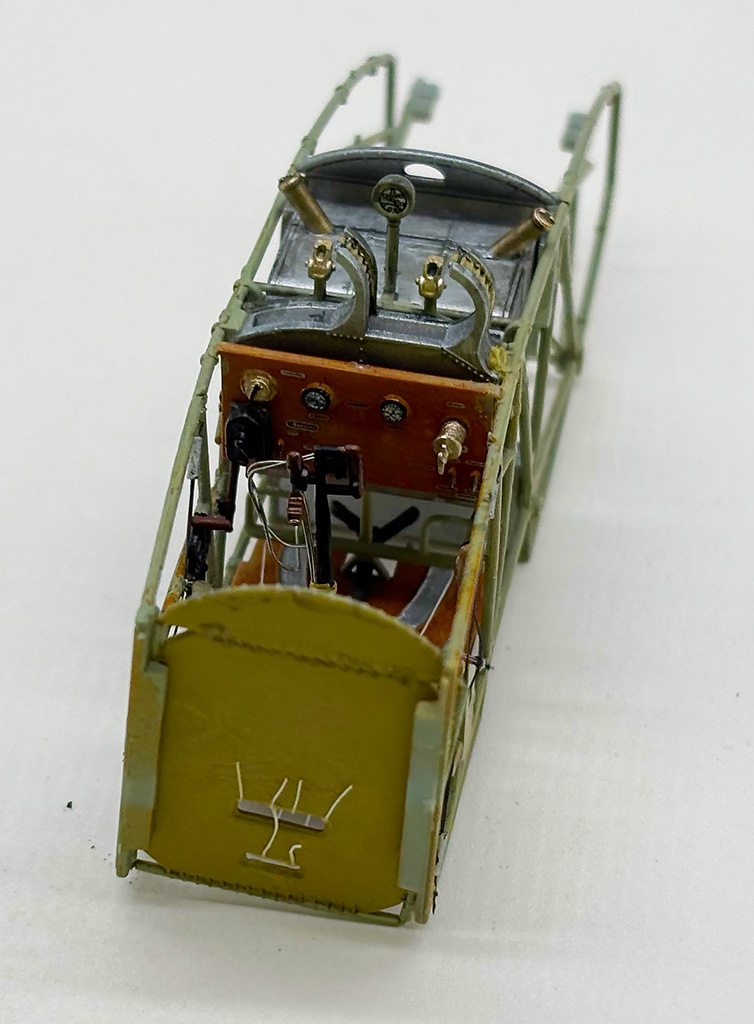
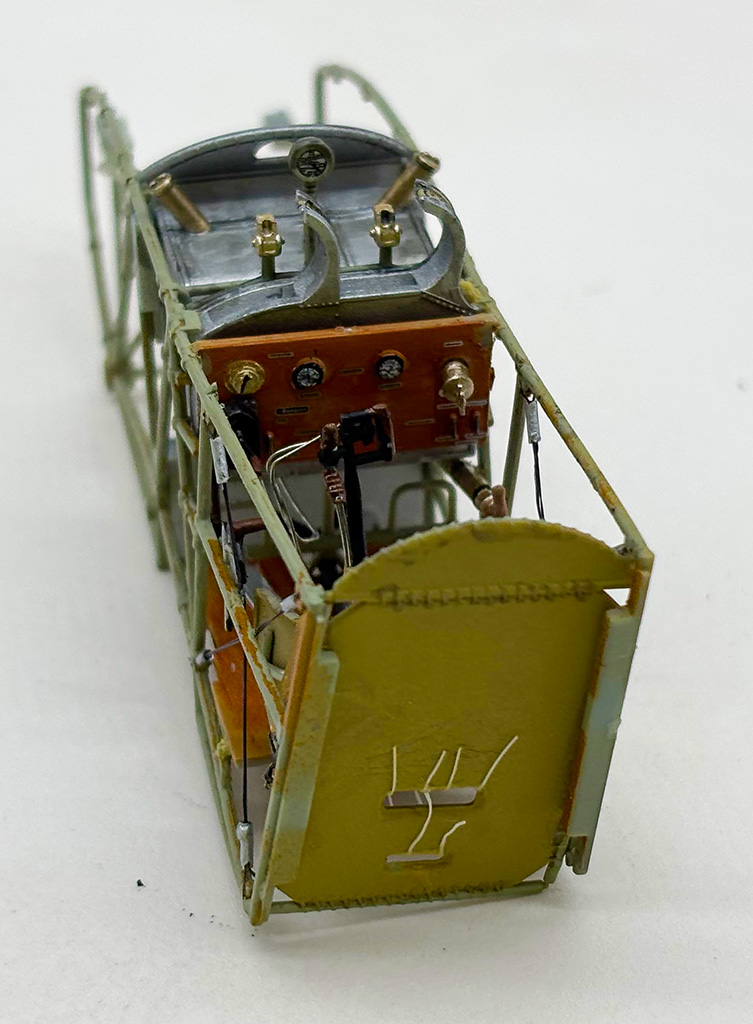
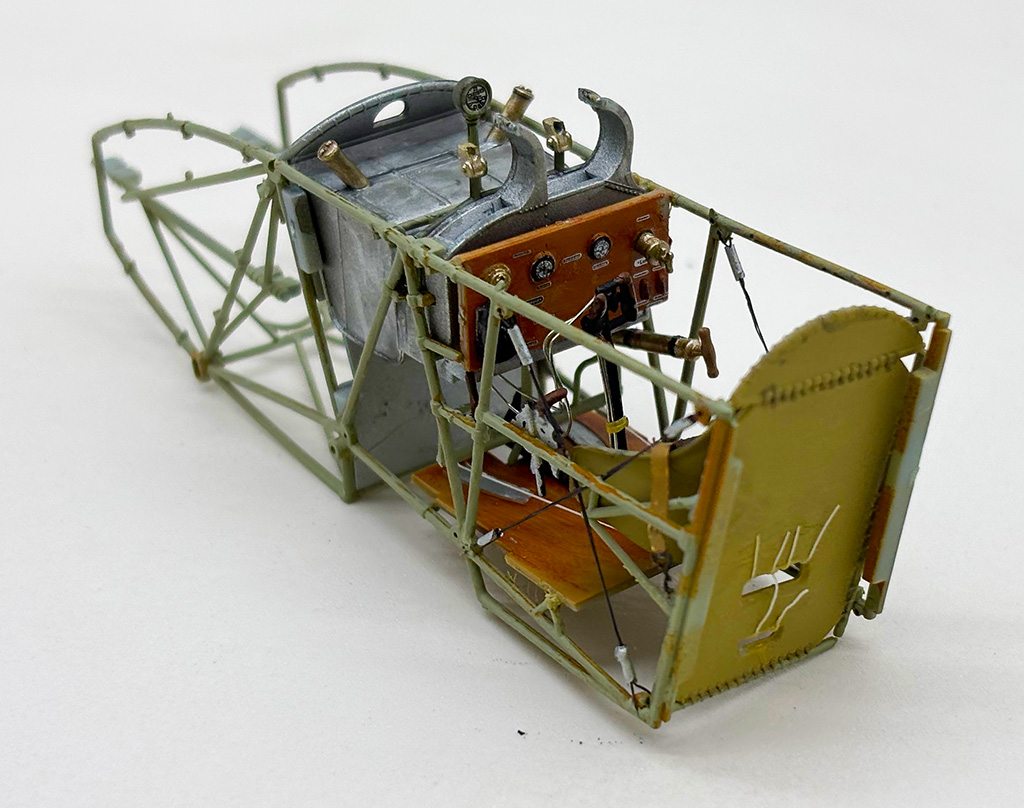
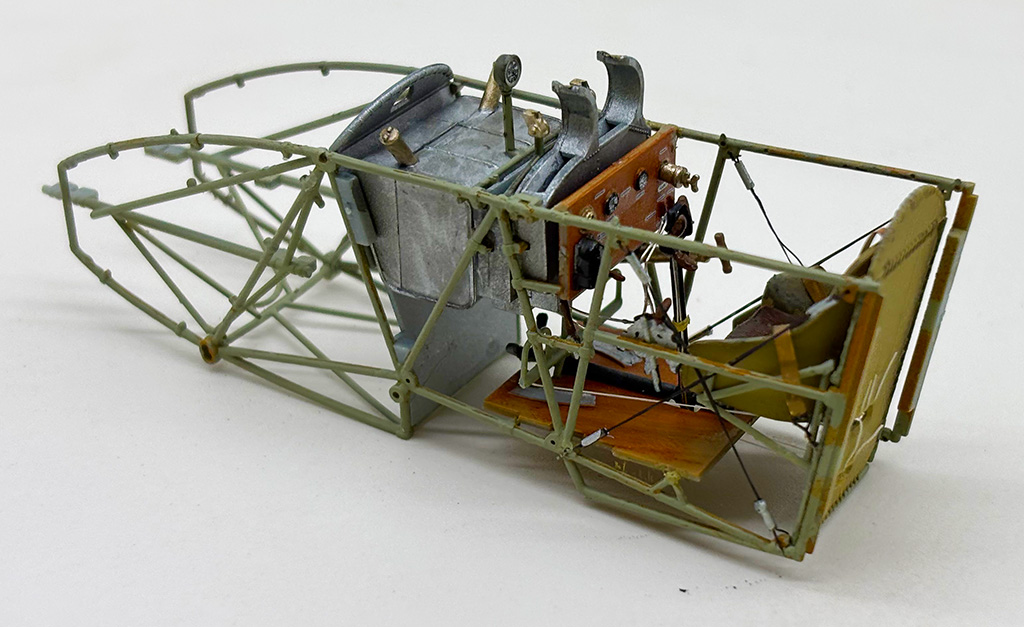
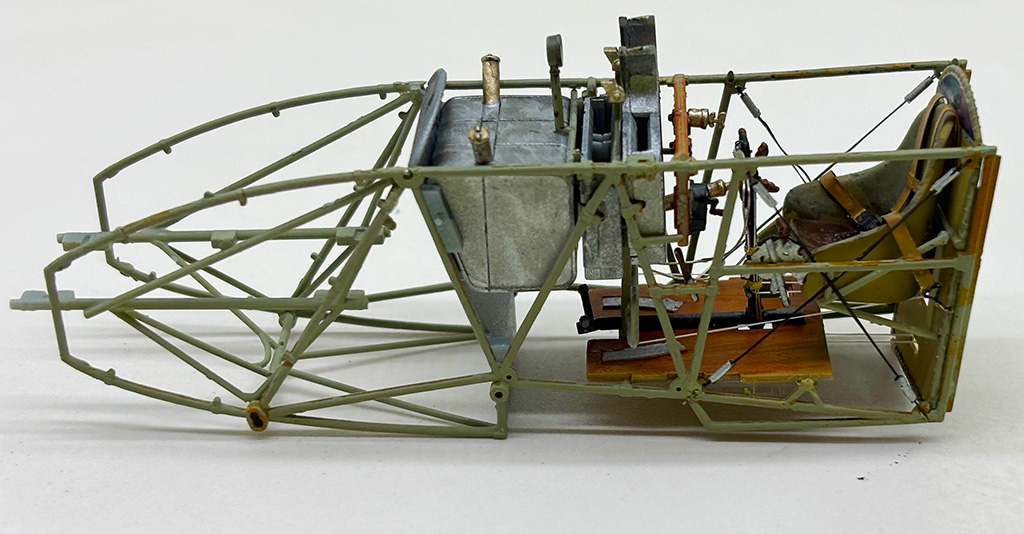
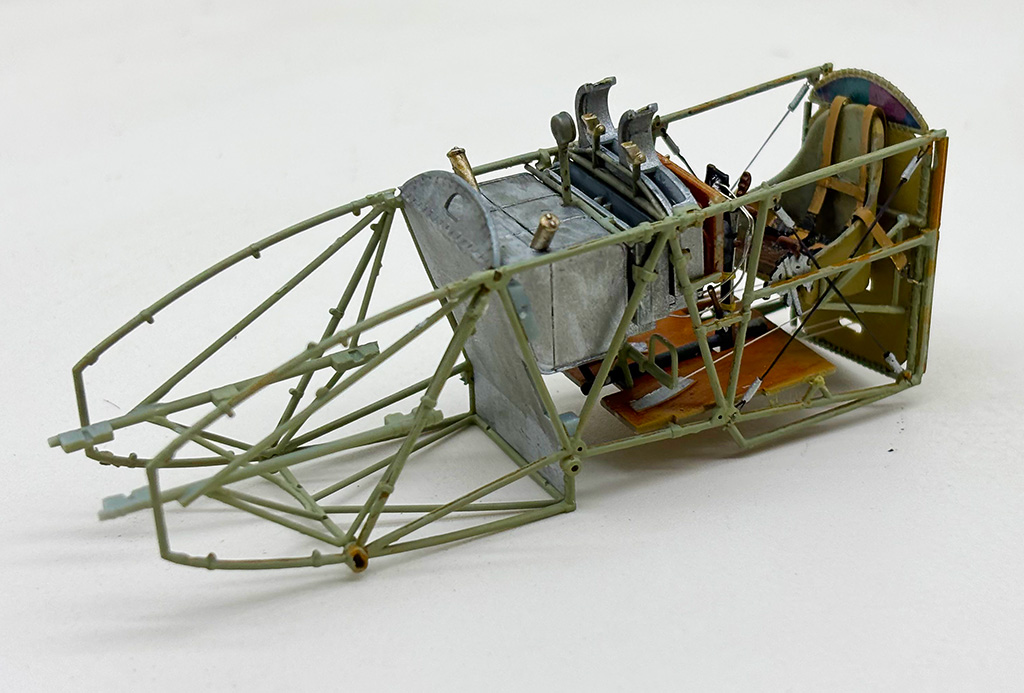
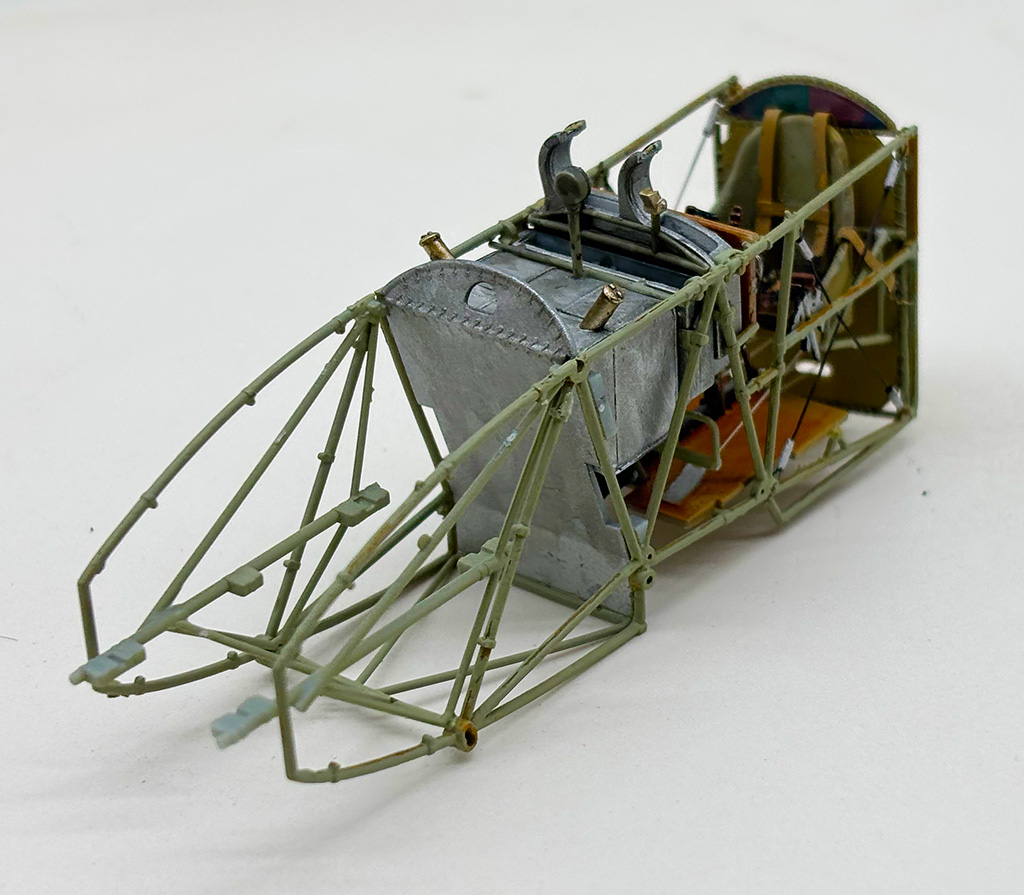
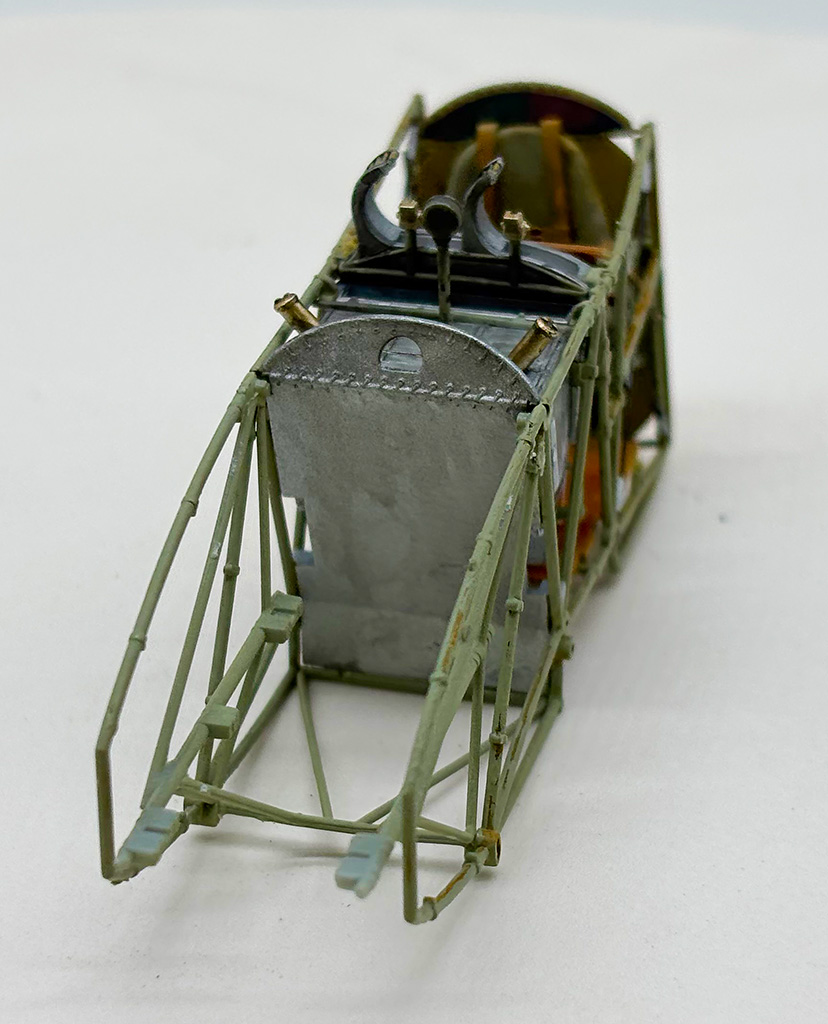
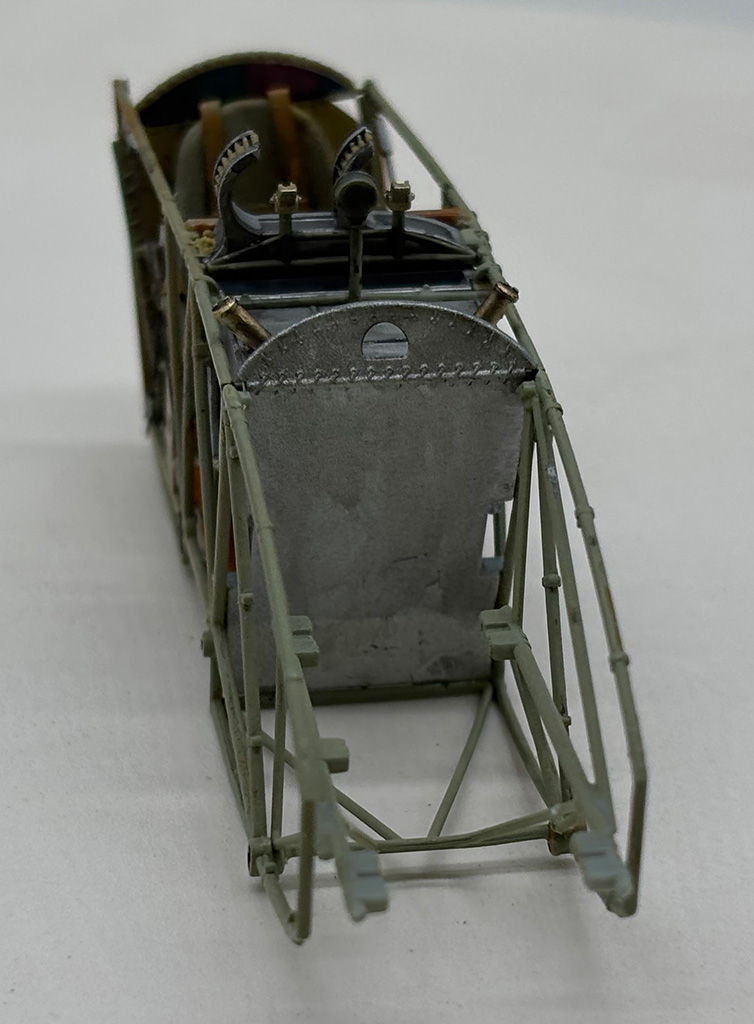
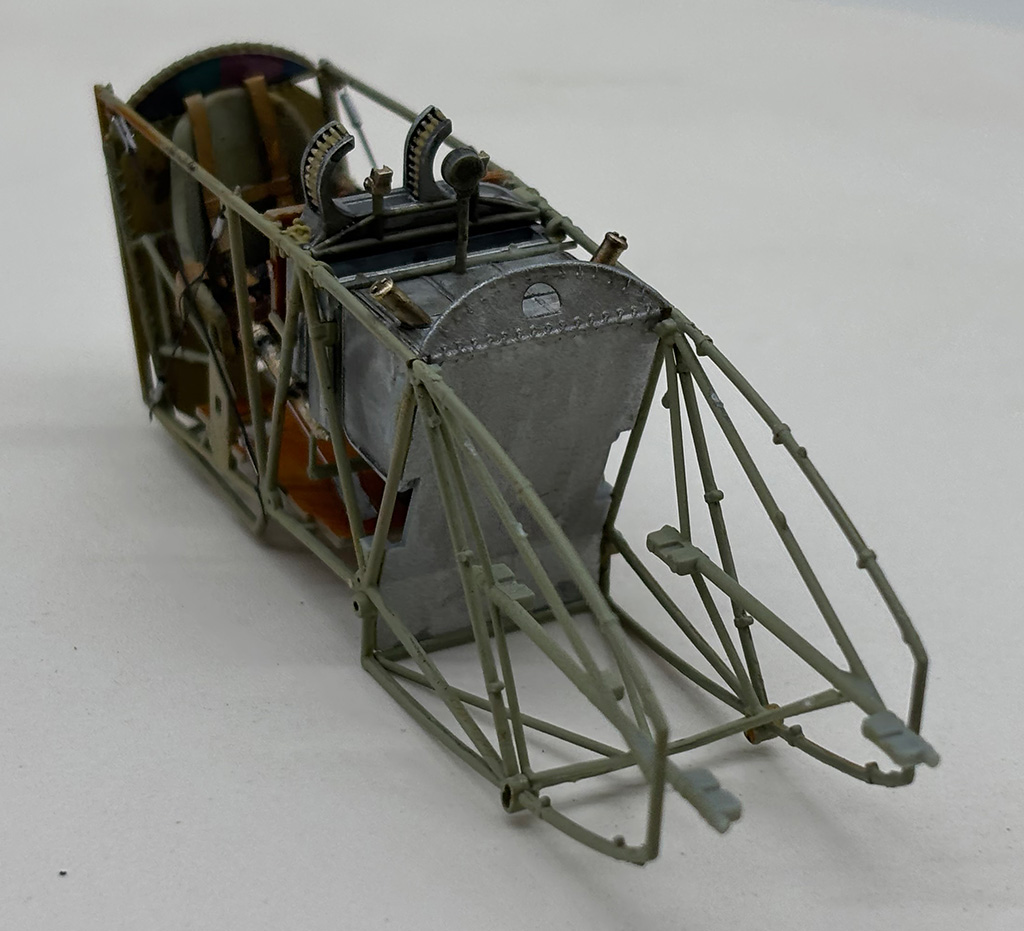
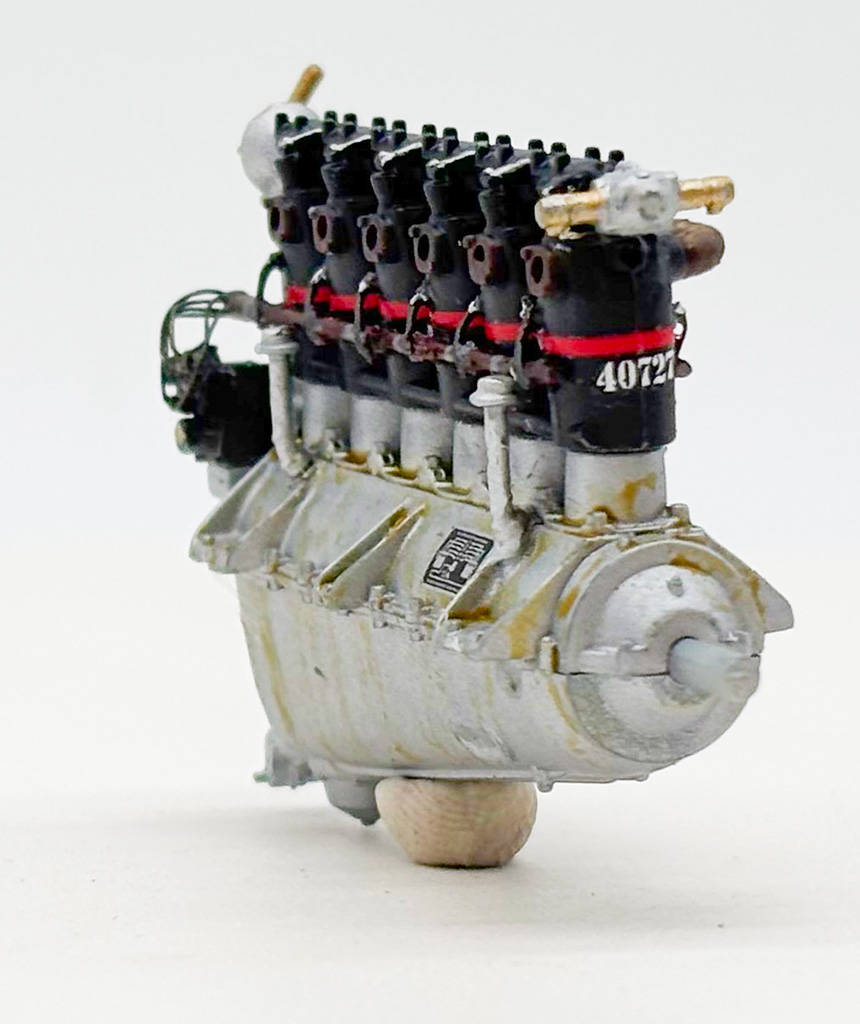
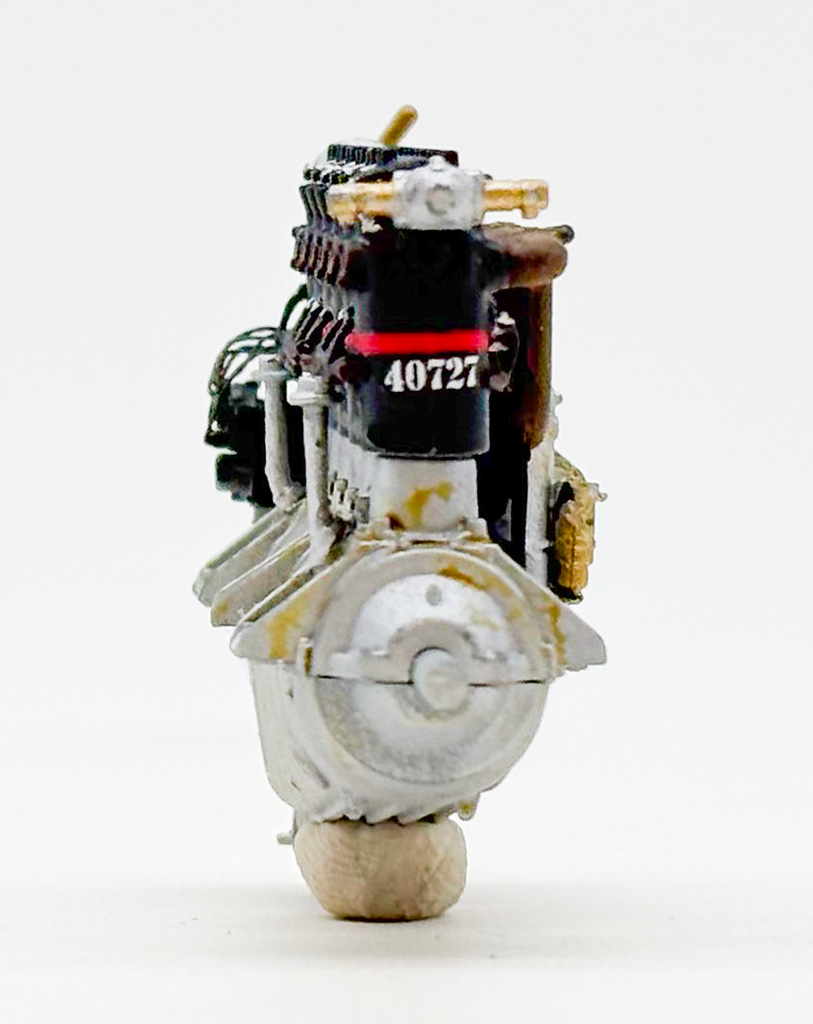
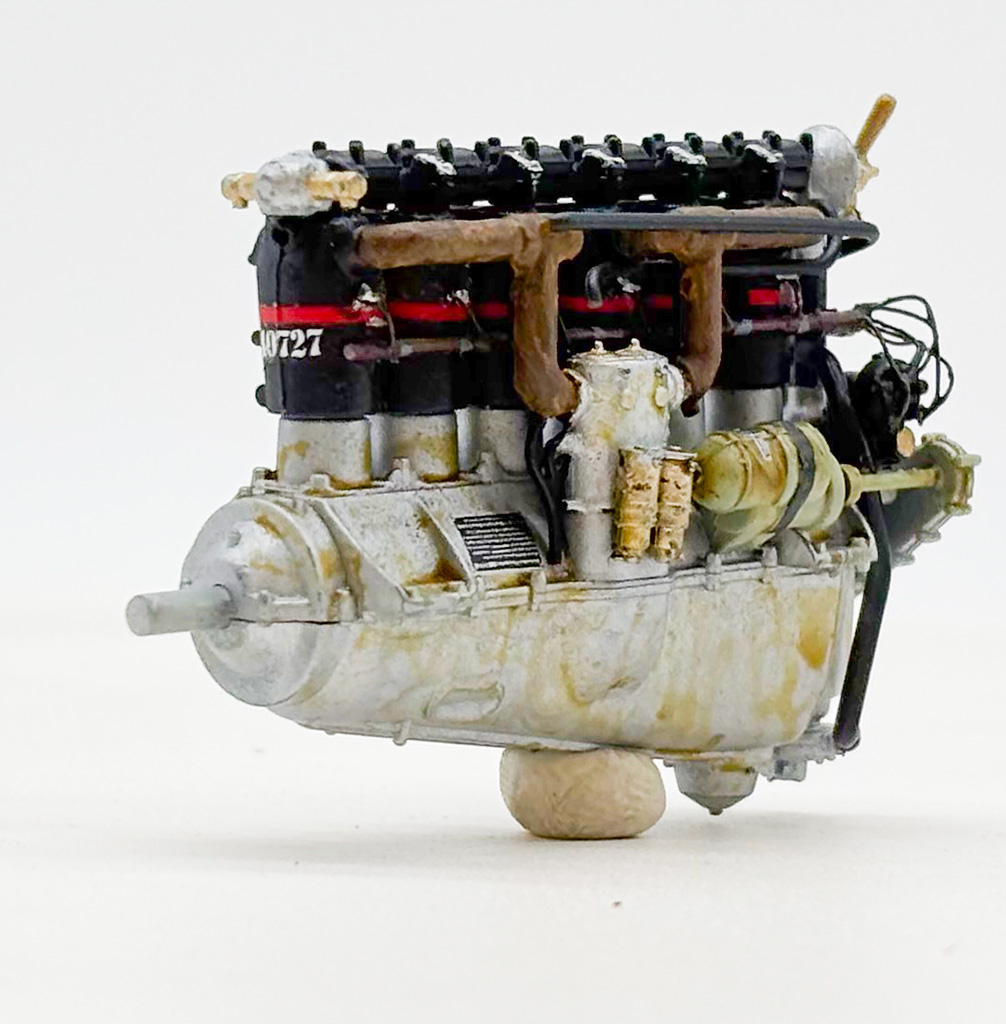
8/21/2026 I’ve finished the engine and fitted it to the cockpit. I know the engine wash is overdone but it won’t be visible when the model is finished.
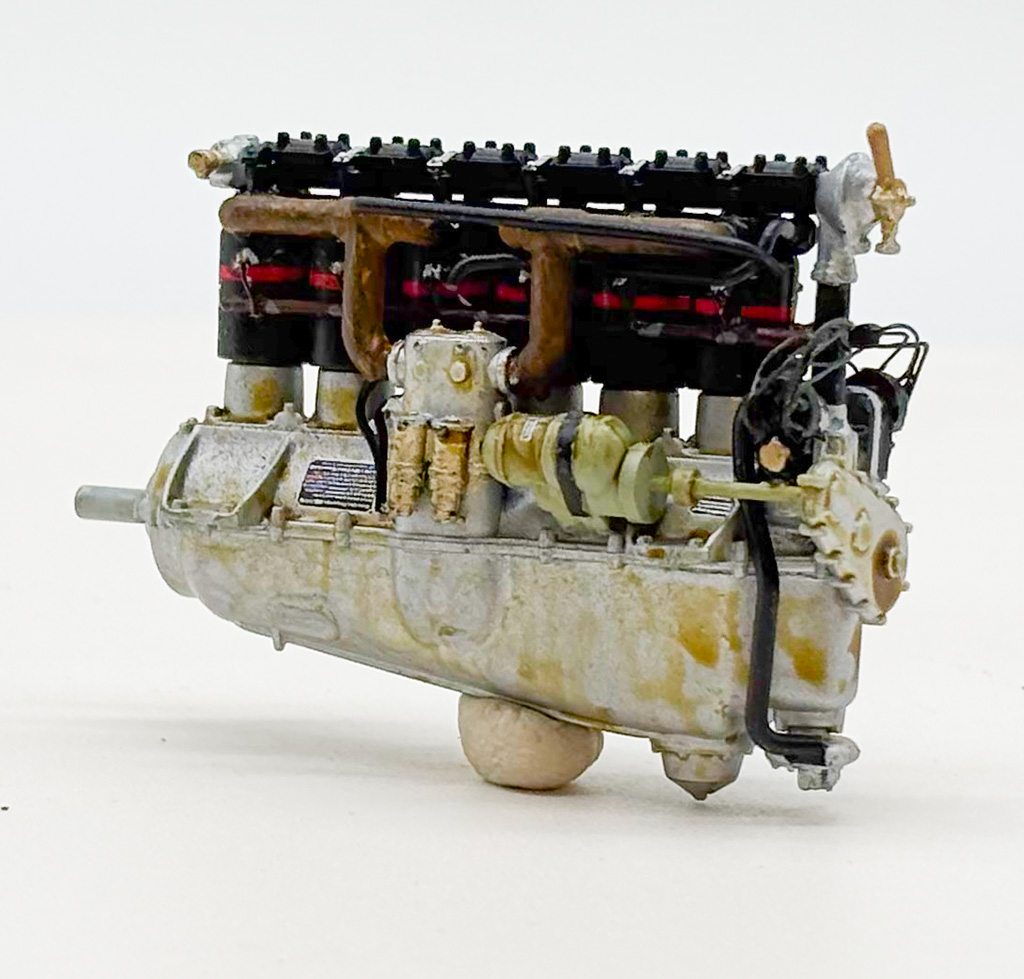
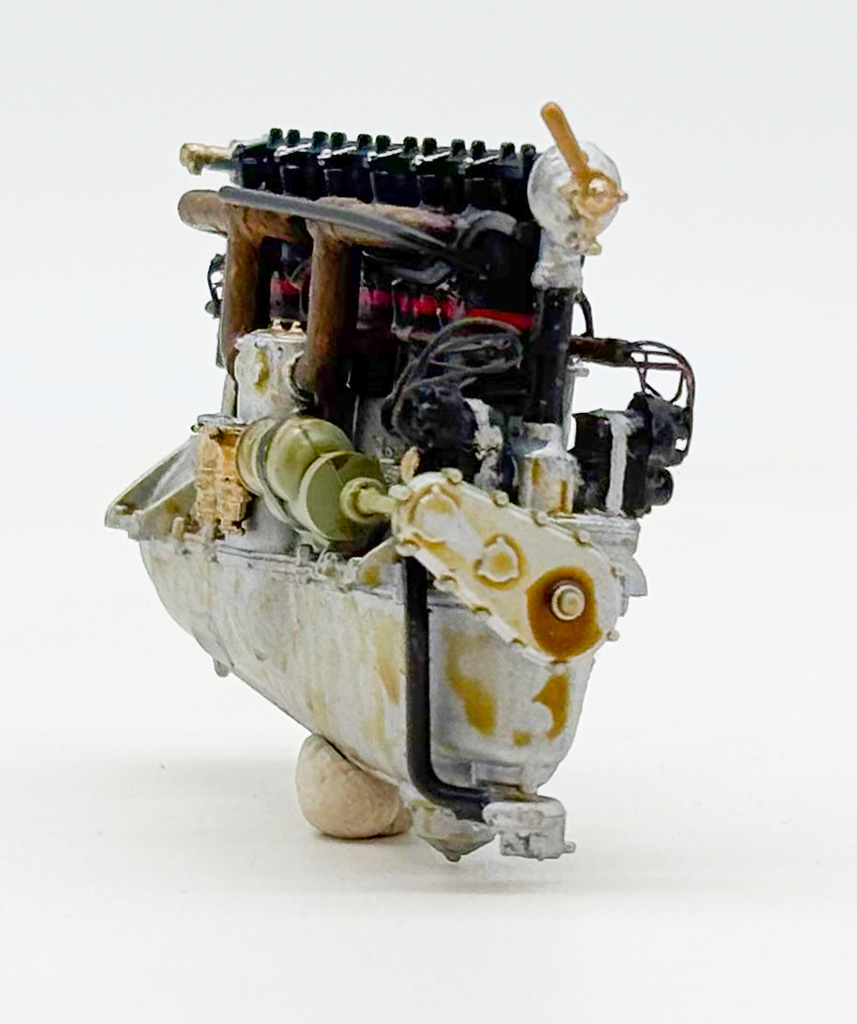
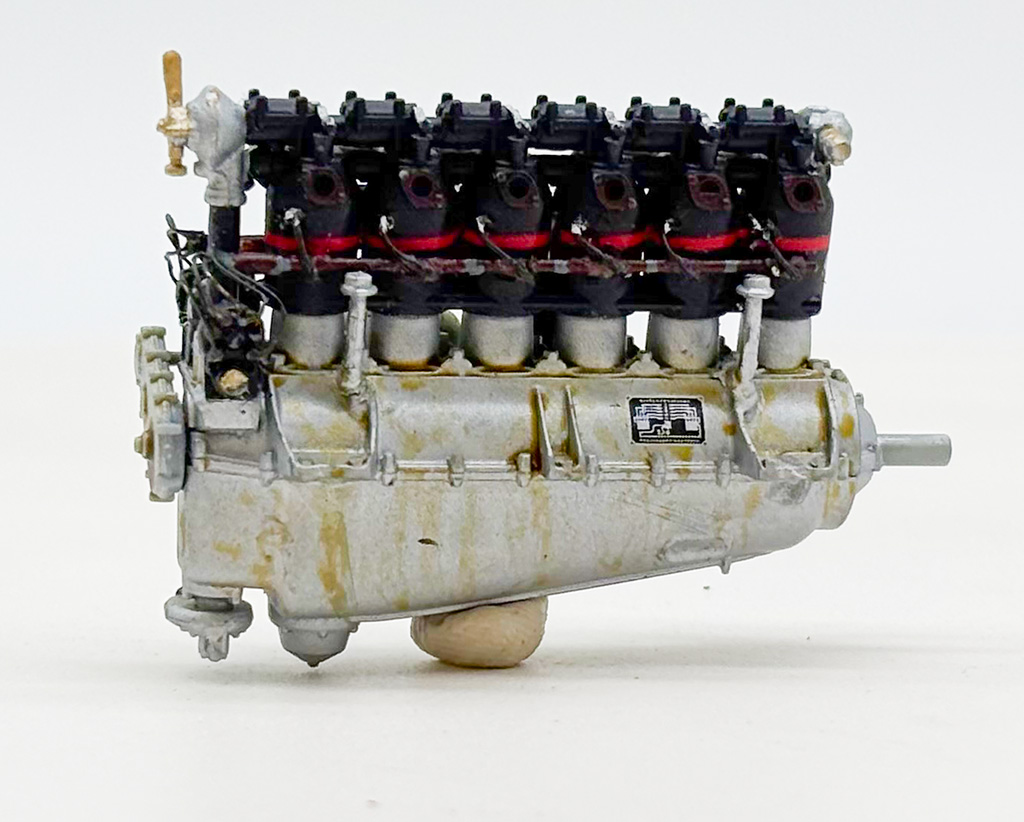
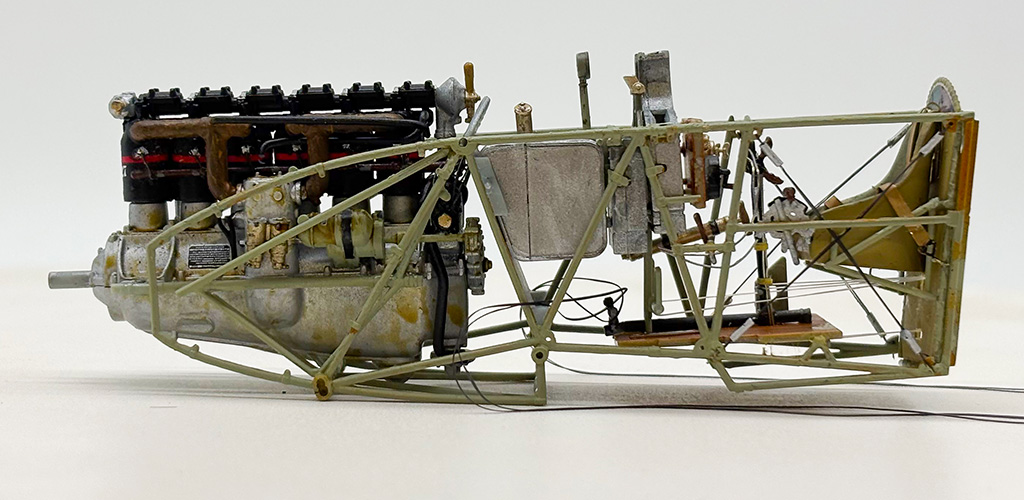
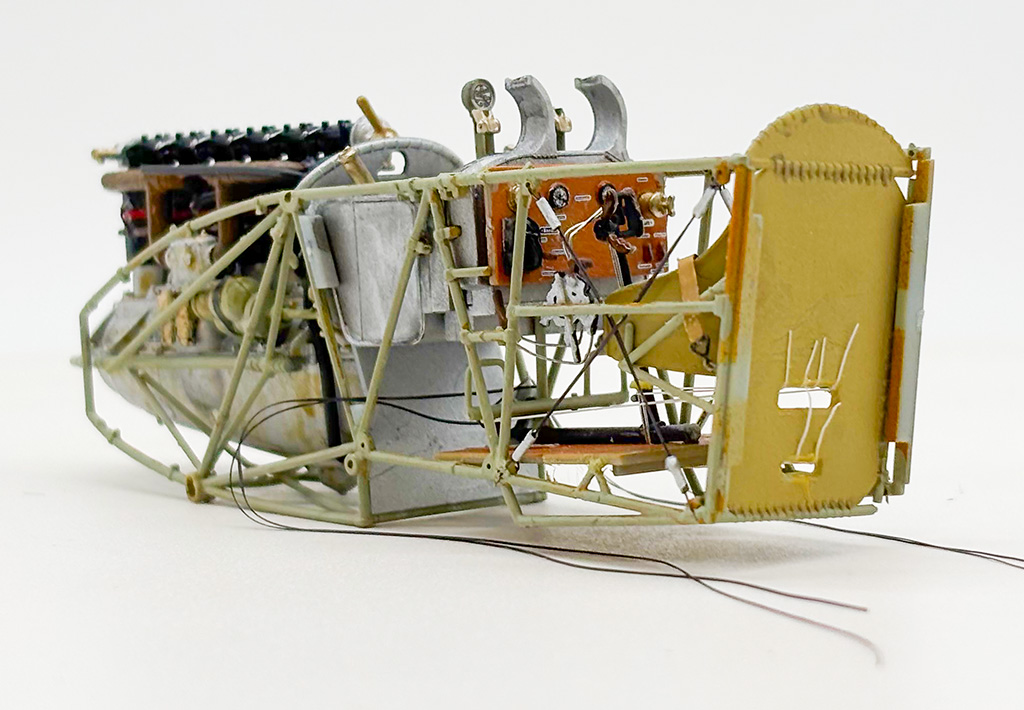
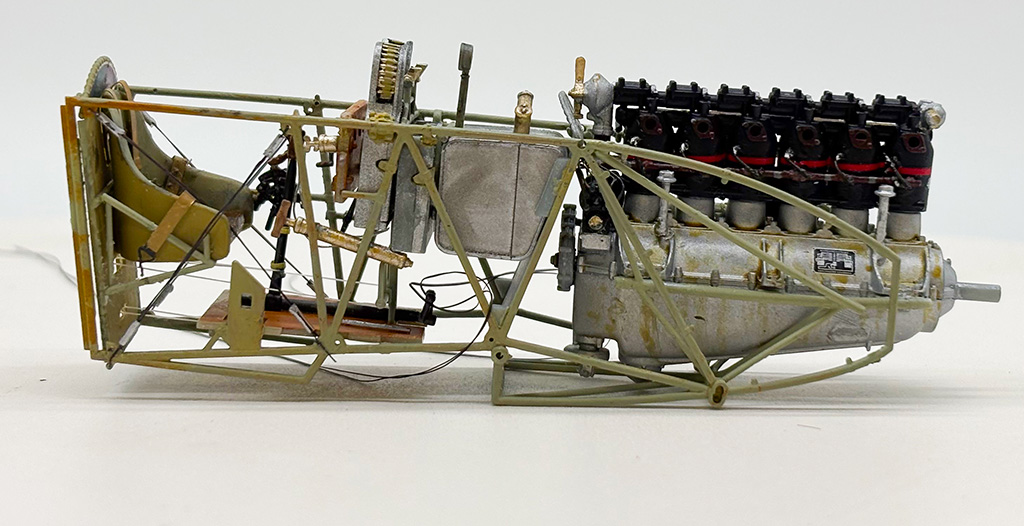
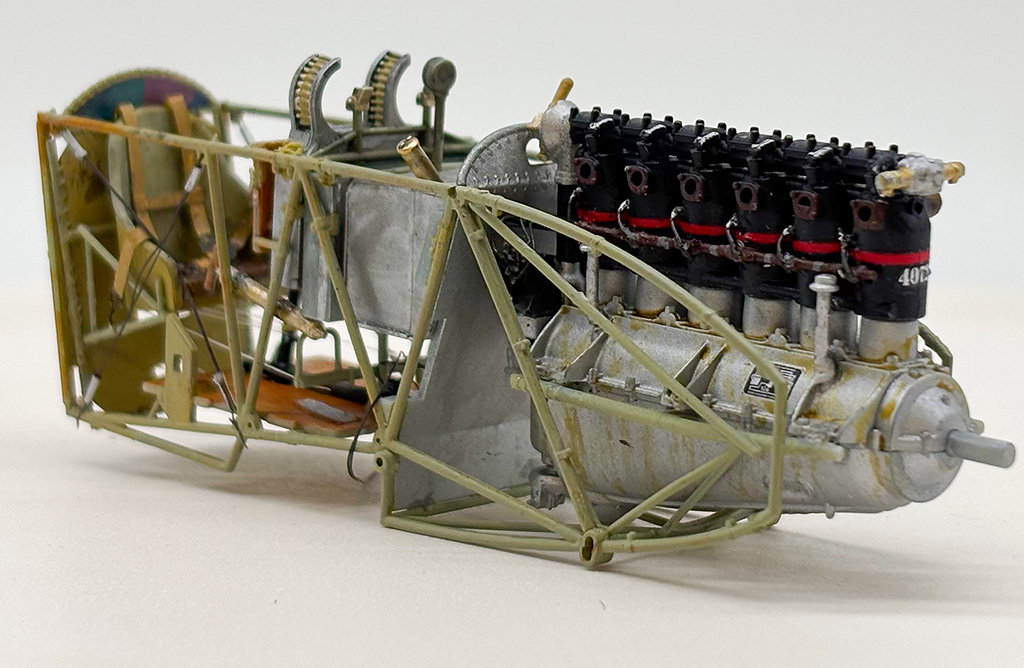
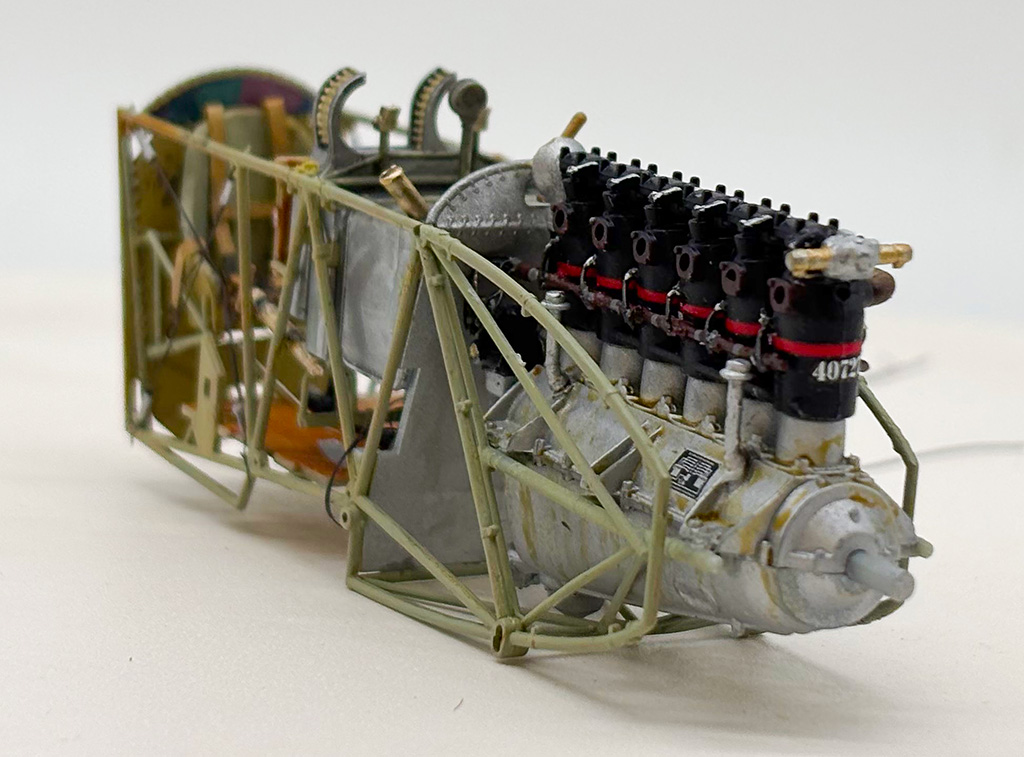
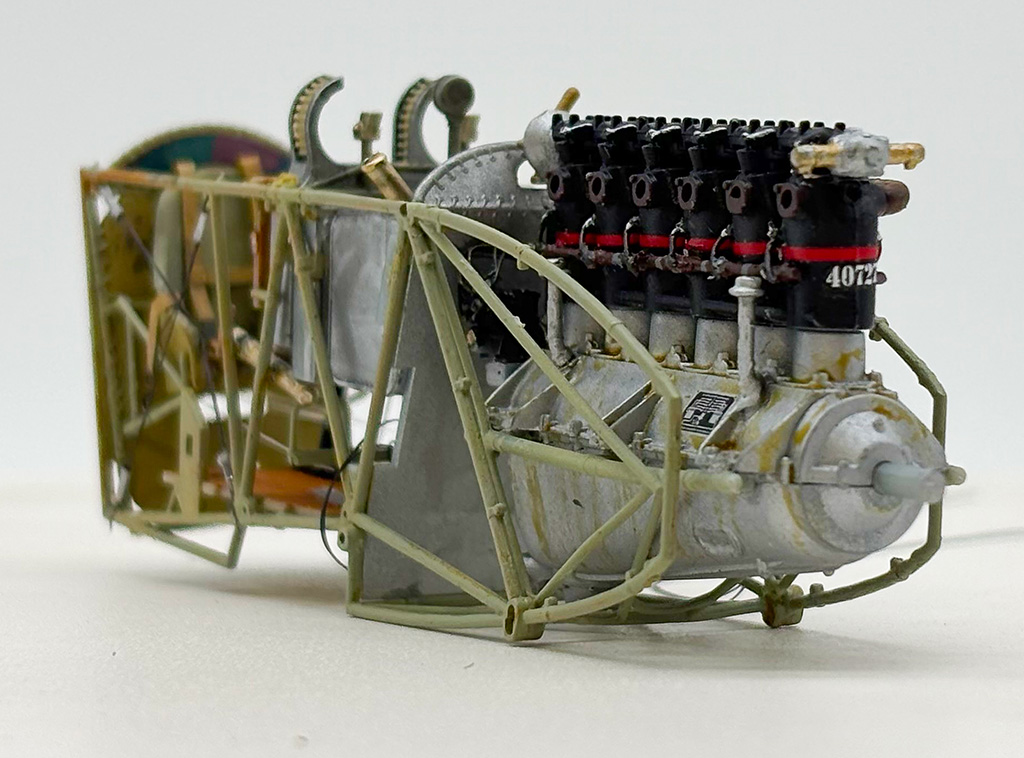
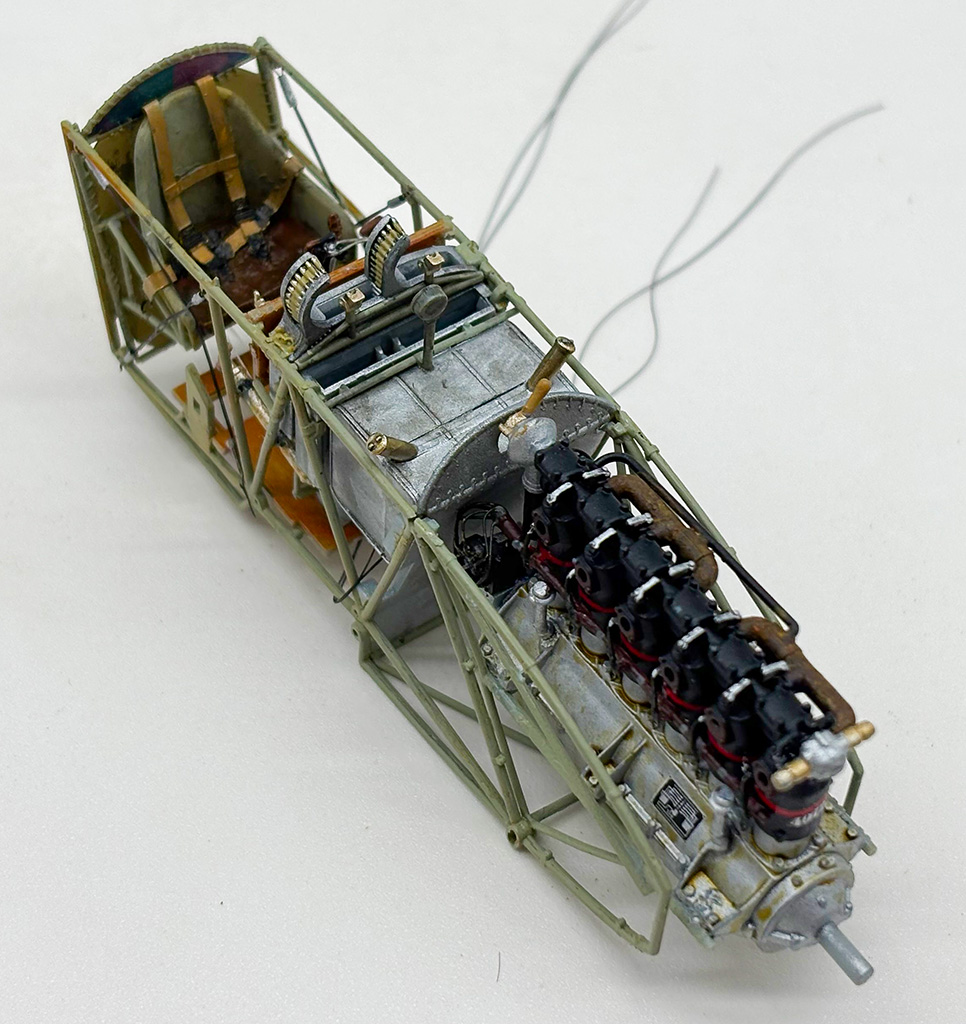
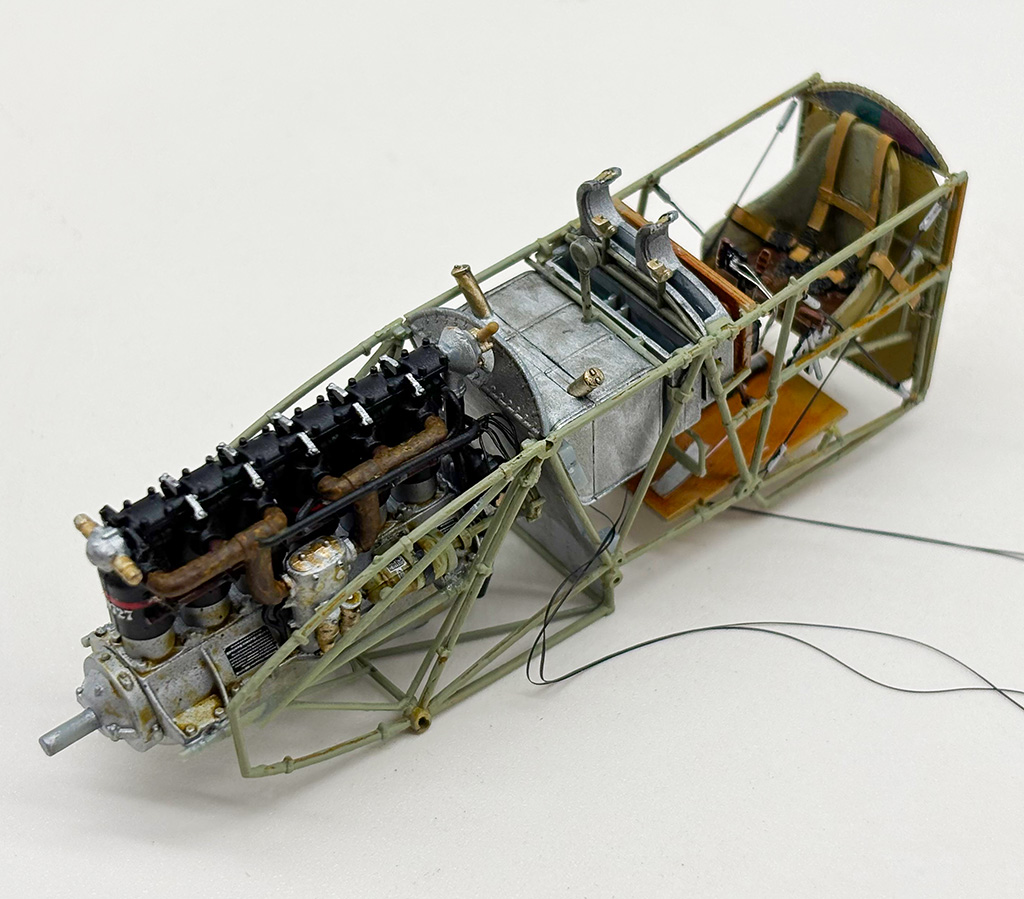
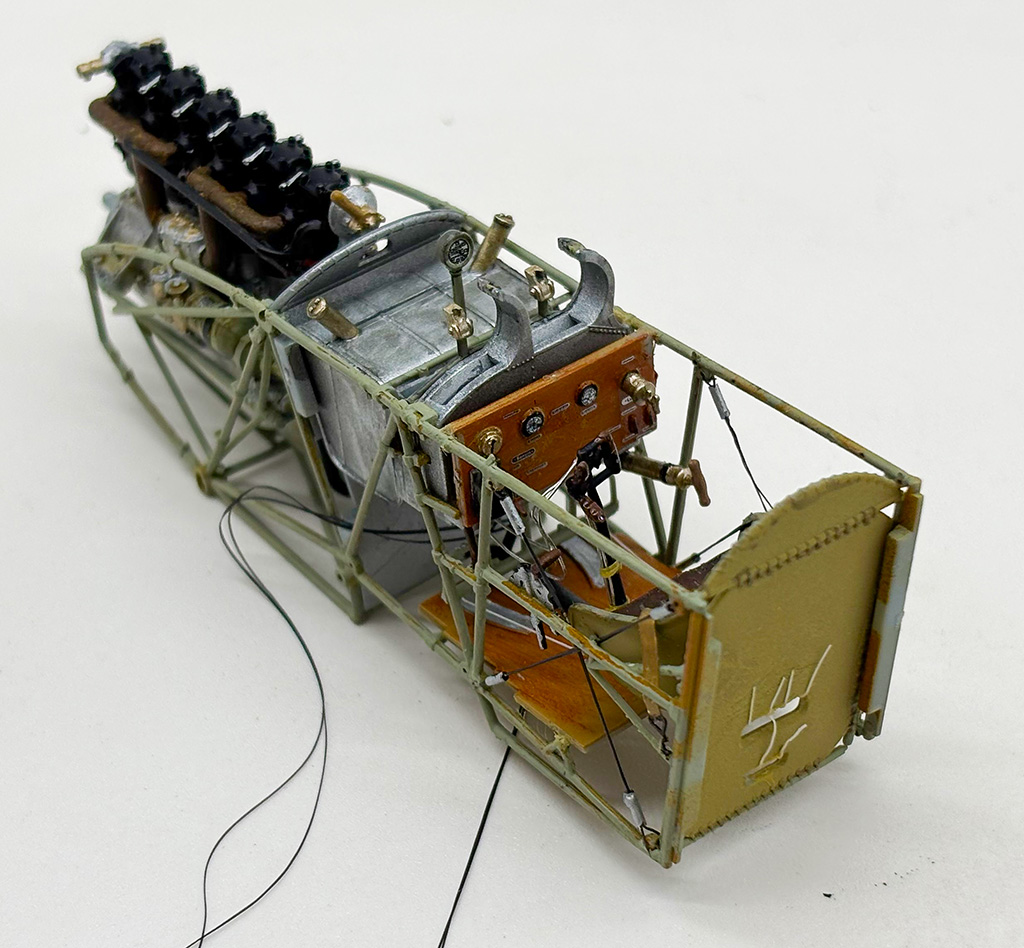
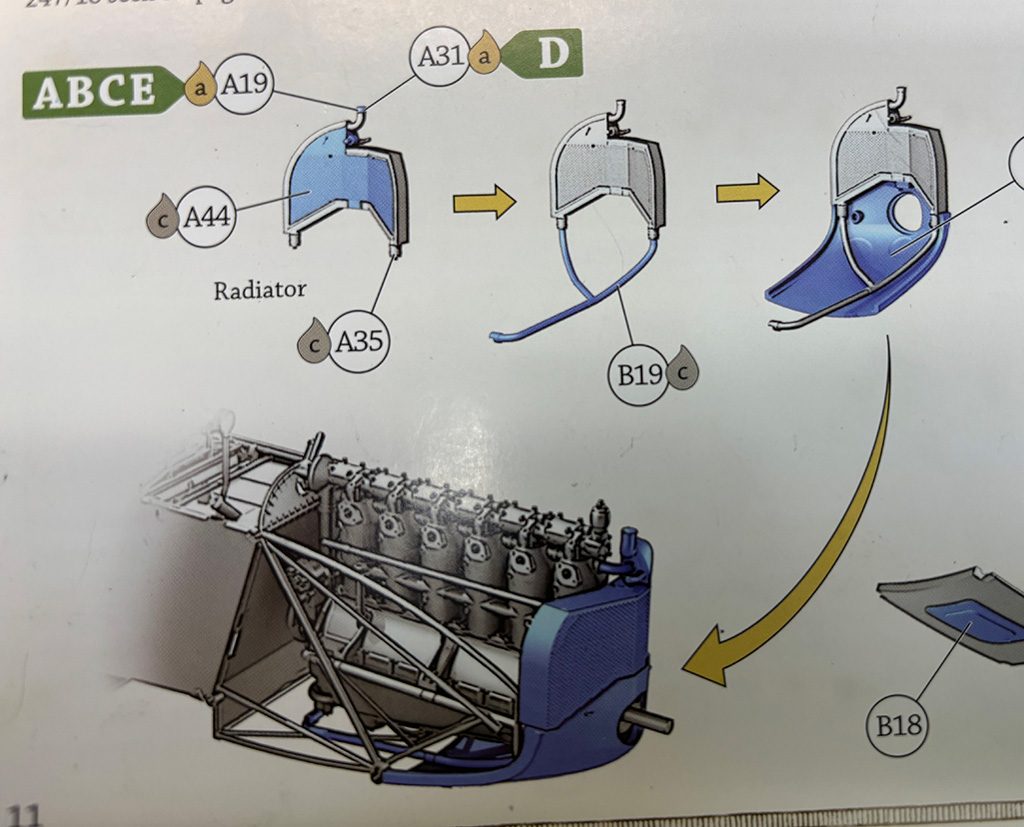
8/25/2026 I have encountered some problems. The first problem is assembling parts A44, A35, B19, and I9 (this callout is cut off on the right side of the picture). These are supposed to be glued to the front of the engine and attached to the very delicate engine support framework. Well, it will not match up to B18, the part to be glued to the bottom of this framework. There is a gap. I trimmed off some material on the inside of the radiator assembly and the front of the engine to reduce the gap. That seemed to work, but only if I applied some force to the front of the radiator assembly as I superglued it. Unfortunately, doing that broke several of the engine support pieces. I should have trimmed off more plastic to make an easier fit. I got it to work, but the framework suffered in appearance. The picture below shows the parts I’m talking about.
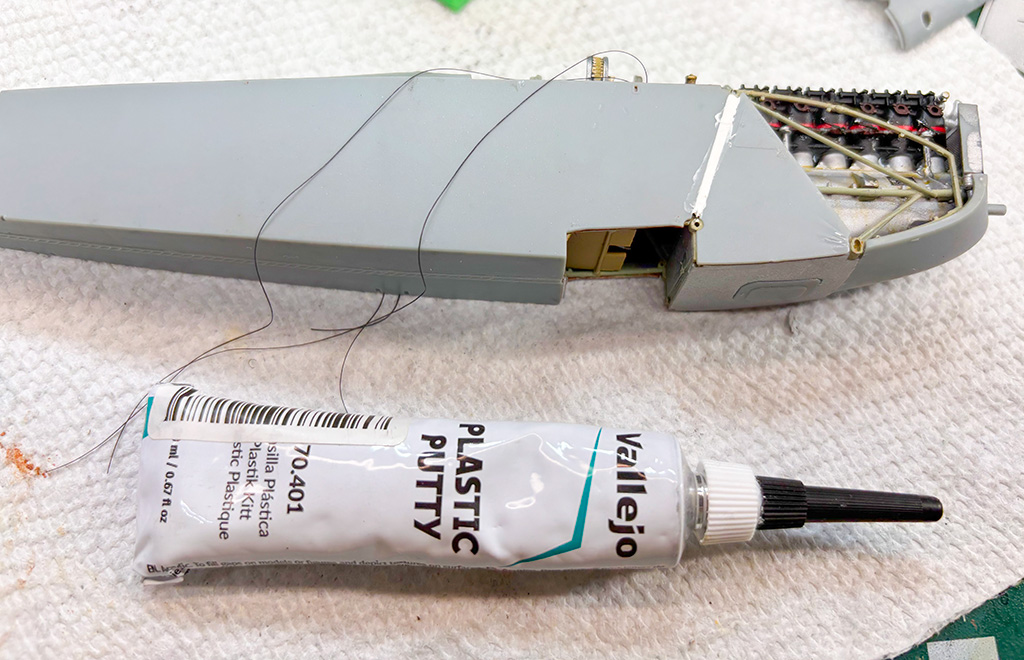
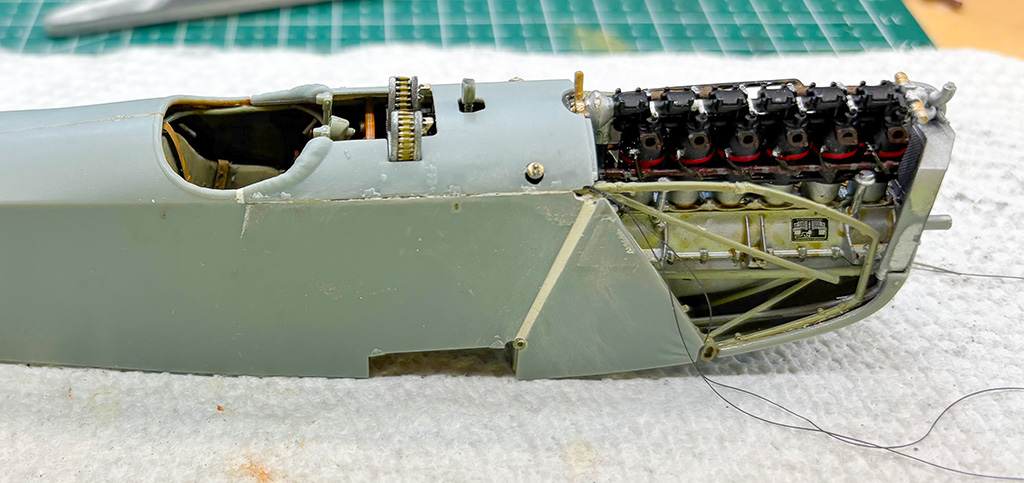
Next came the side panels. The instructions say “fill the gap”. These kits cost a lot of money and they are advertised as being top of the line. It seems that a part was not printed to the correct length. Here are pictures showing the filled gaps on “both” sides as well as filled added to the top panel of the cockpit. The first photo displays the Vallejo Plastic Putty I used. Very good stuff.
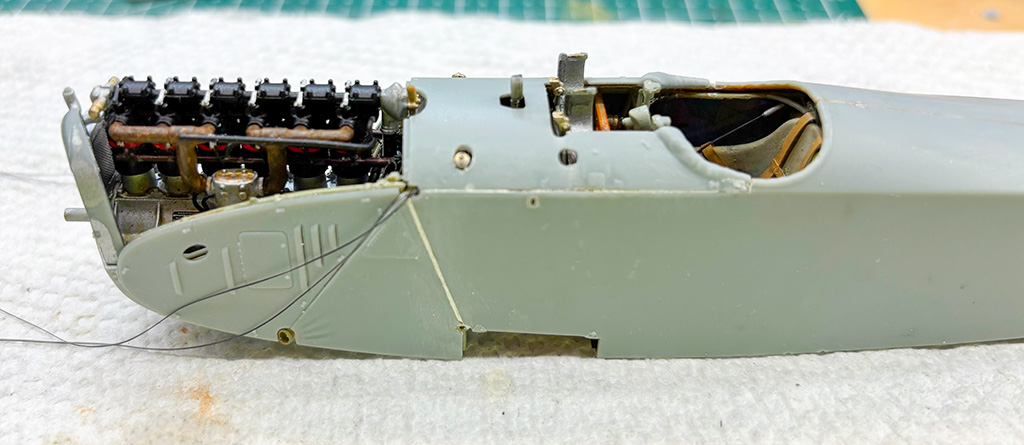
Next will come masking and painting the fuselage first white then yellow on the front and blue on the back.
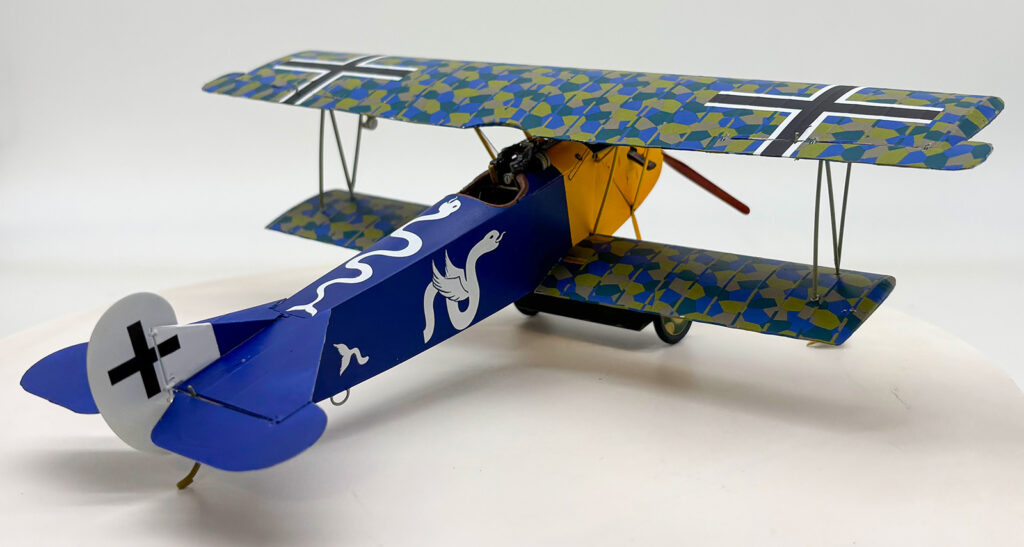
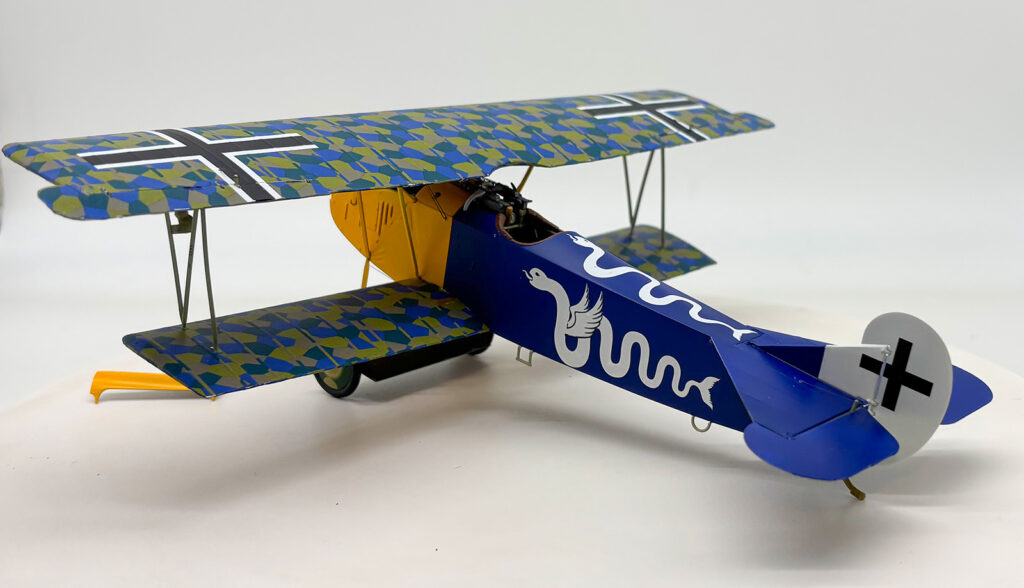
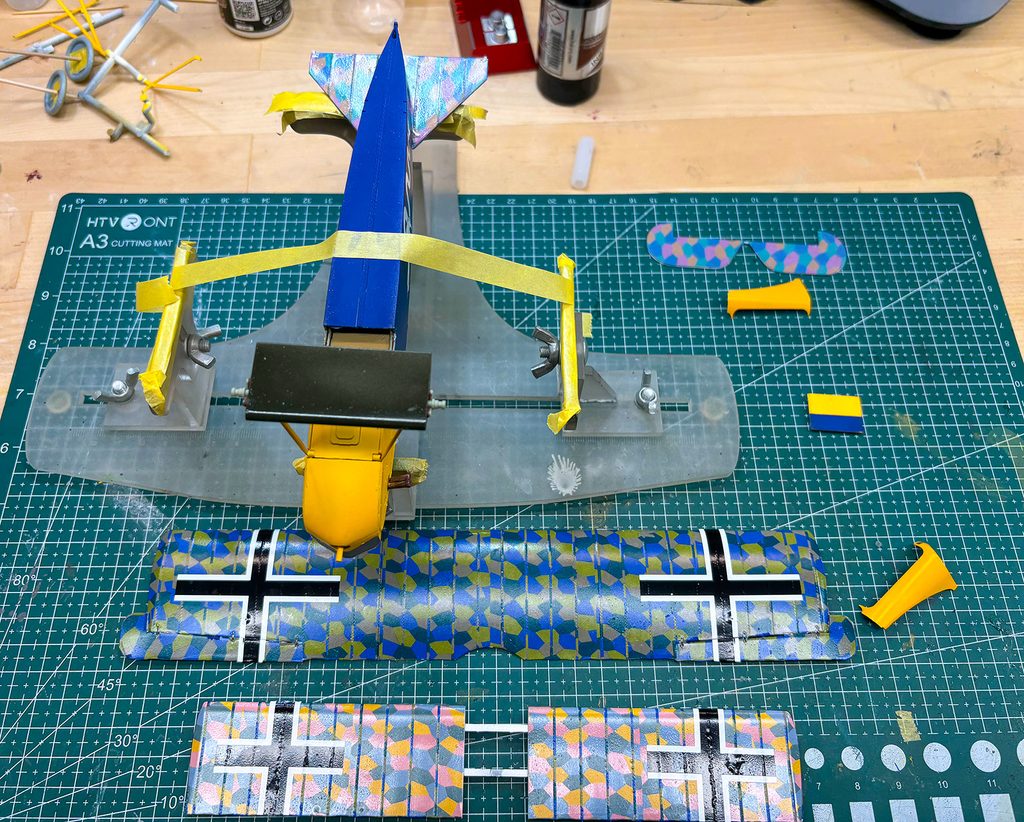
9/3/2026 Here is the latest photo. I’m not a fan of Wingnut Wings lozenge decals. They are a pain to work with. I’ve tried using a hairdryer and Micro Sol and Set.
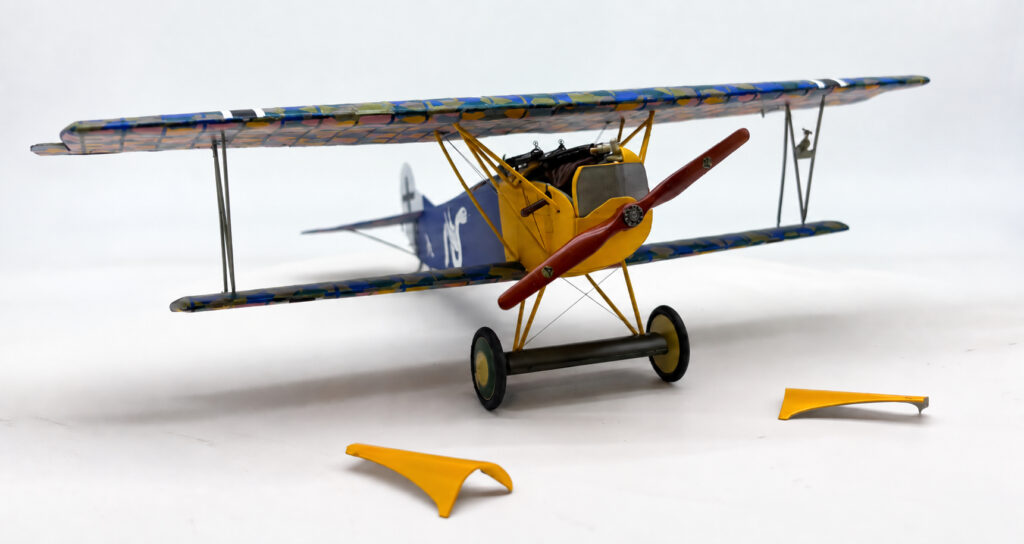
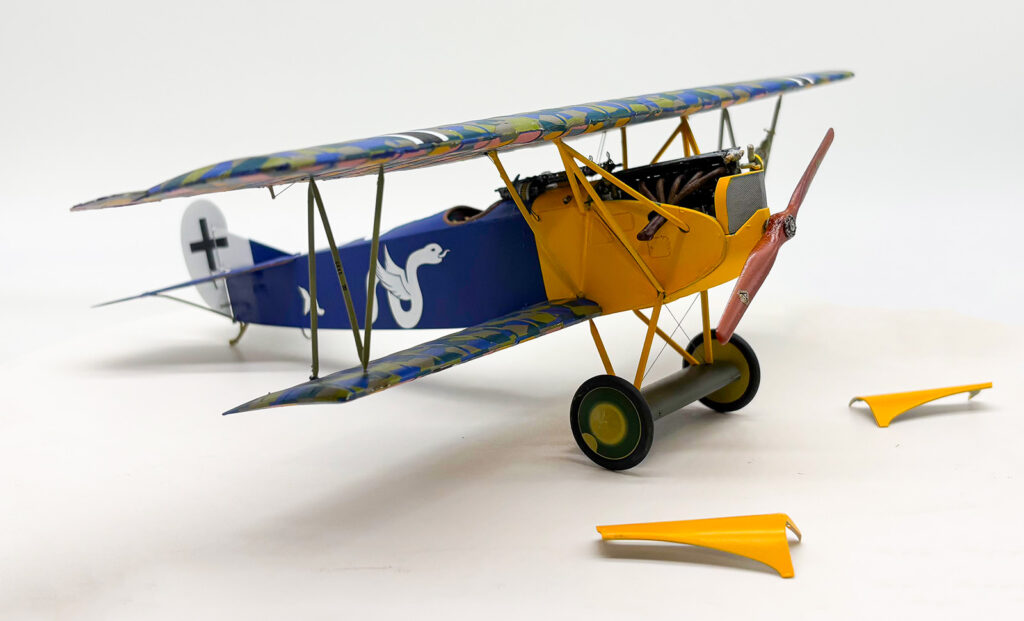
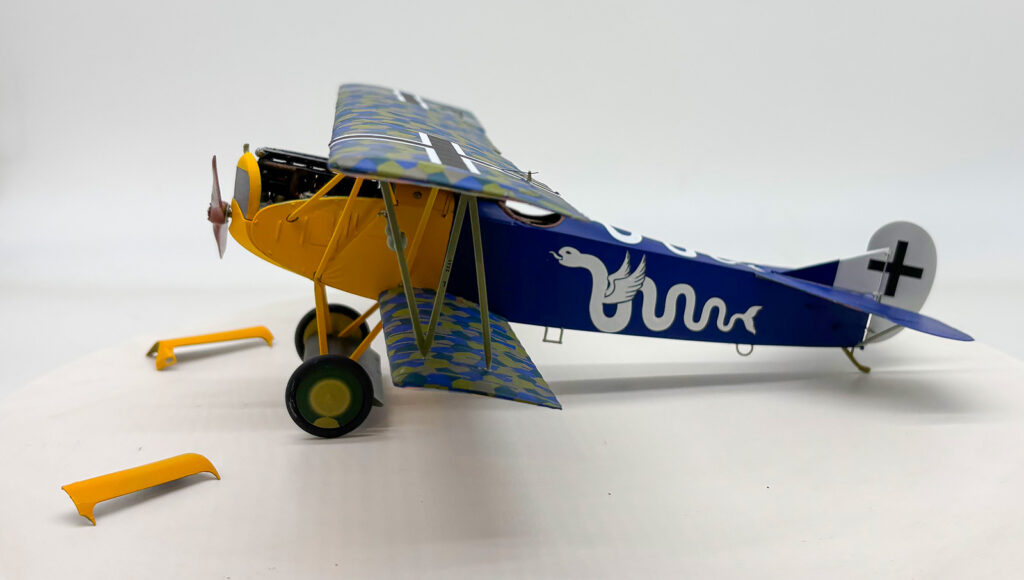
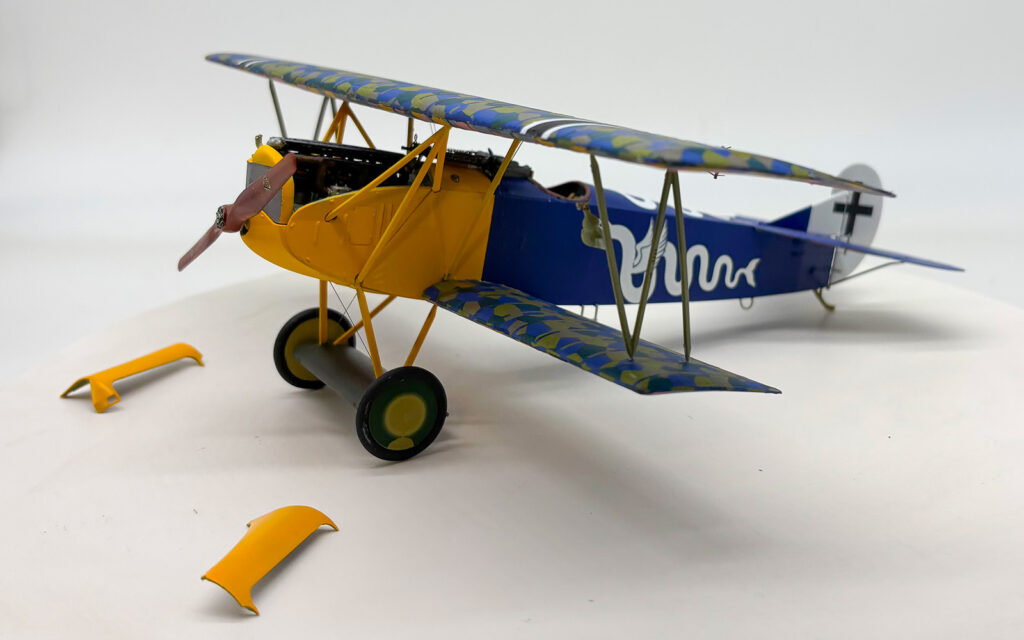
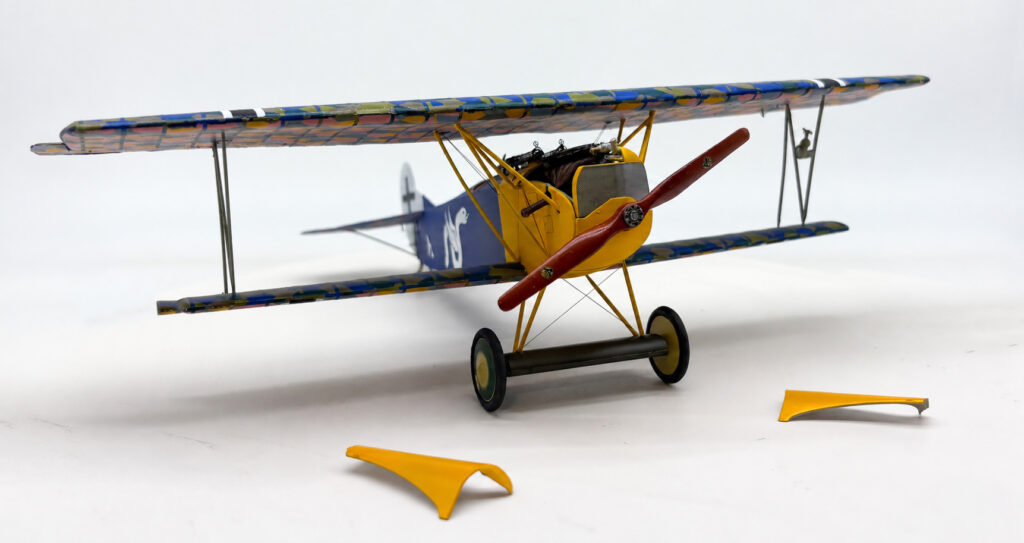
9/9/2026 I’ve just finished. For the most part this was a great build. The decals and the engine nose part gave me the most problems and they were my fault. So – here are the final pictures…