Thursday, August 20, 2026

Bishop Hobbies

Wood & Plastic Models, Astrophotography

Author Archive

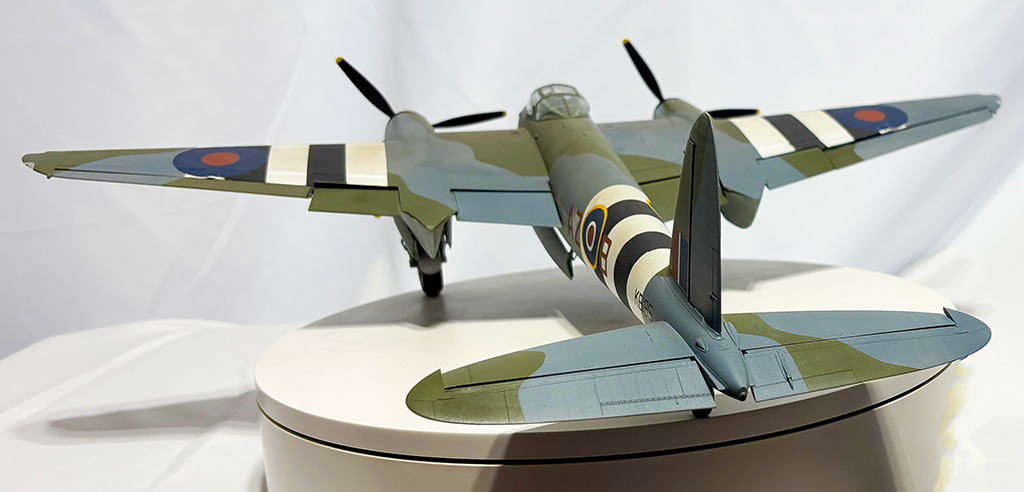
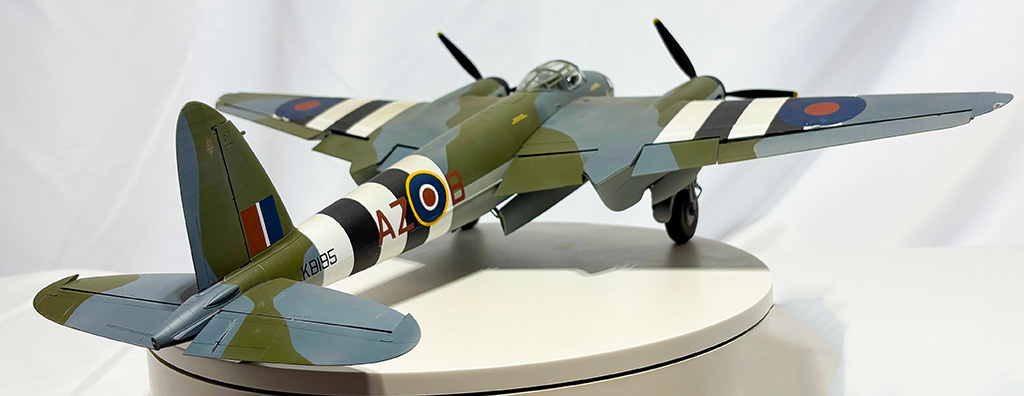
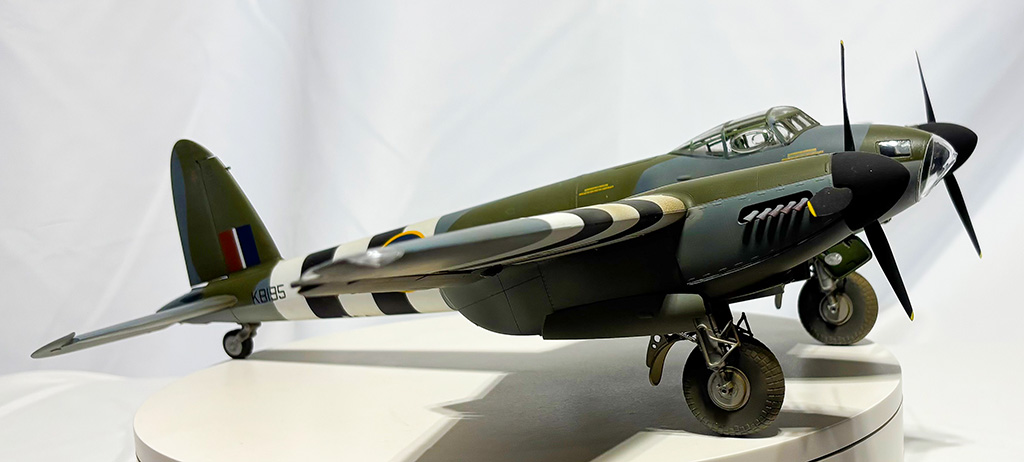
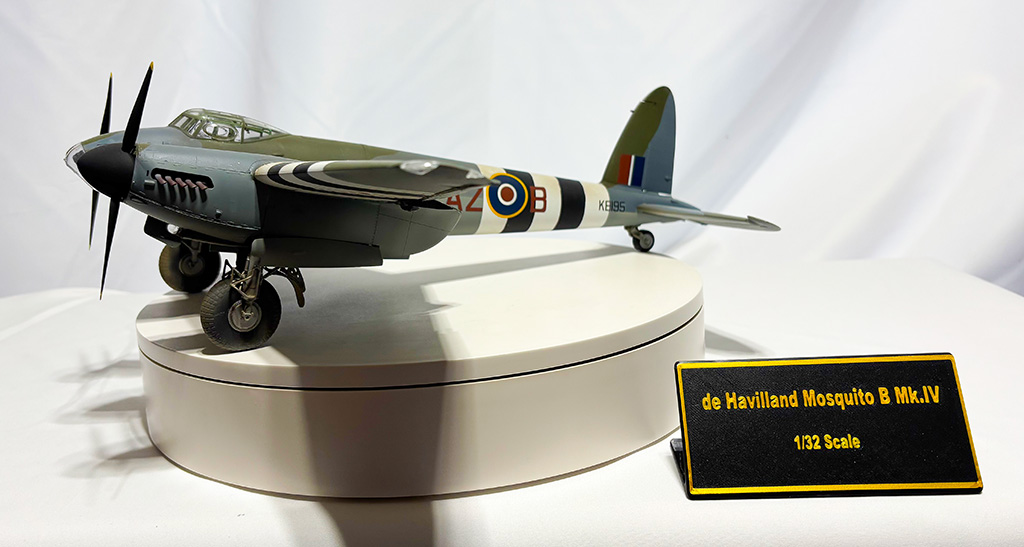
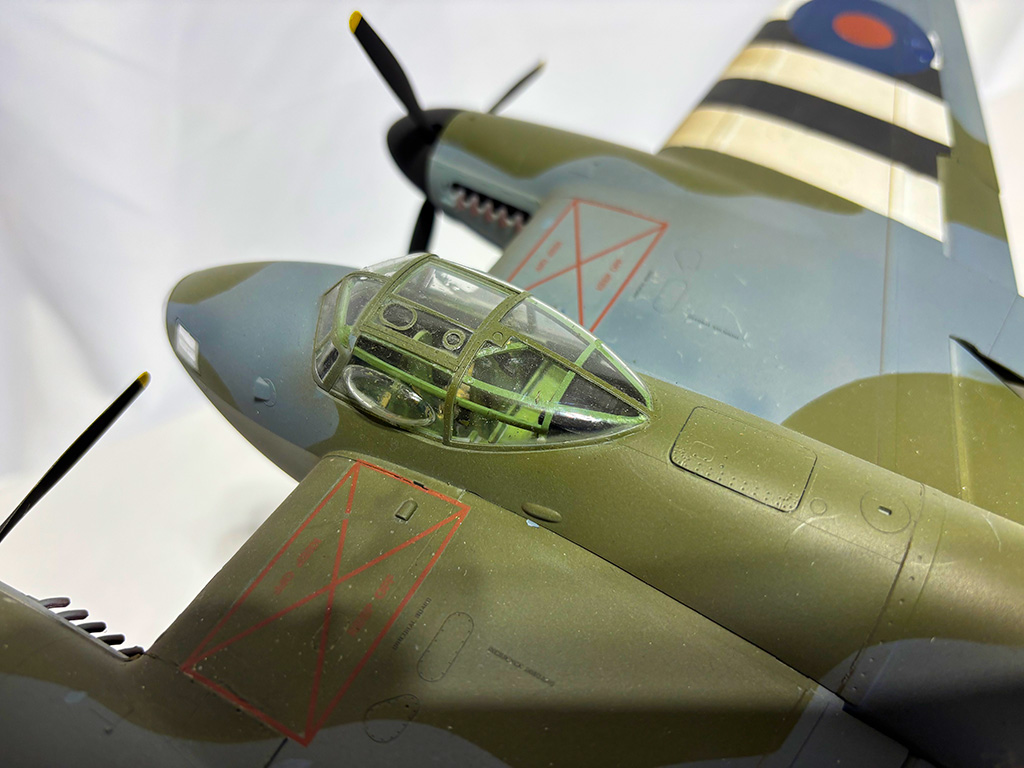
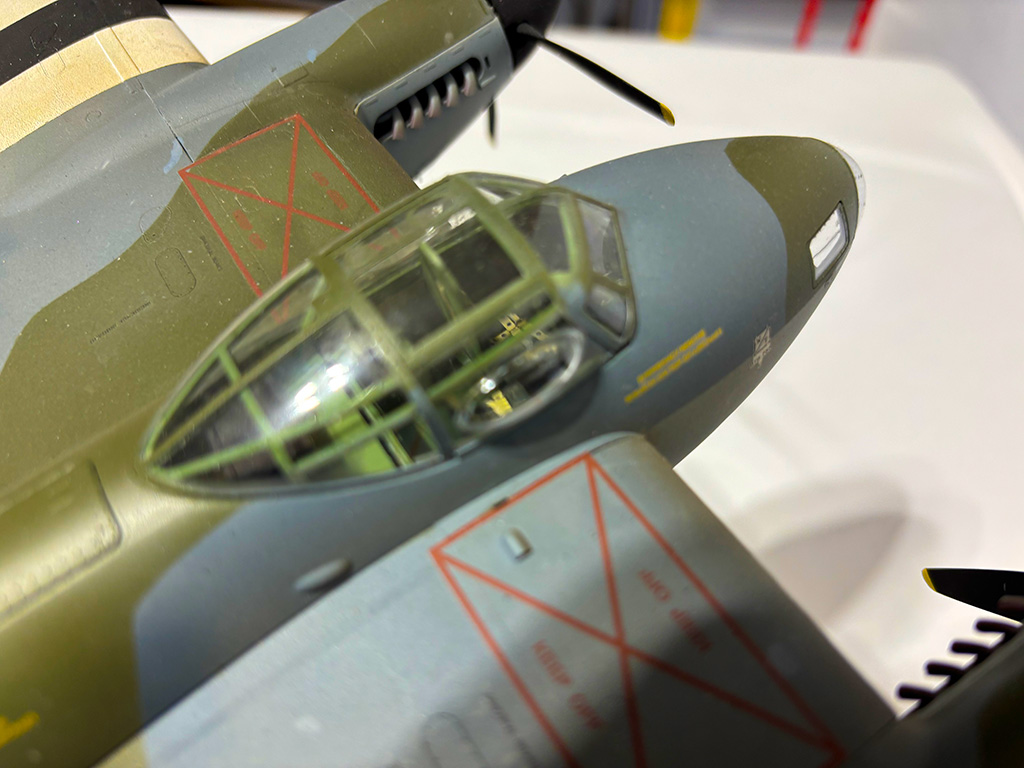
1/32 De Havilland Mosquito

Posted by Paul On July - 21 - 2020

7/21/2025

The de Havilland DH.98 Mosquito is a British twin-engined, multirole combat aircraft, introduced during the Second World War. Unusual in that its airframe was constructed mostly of wood, it was nicknamed the "Wooden Wonder", or "Mossie". In 1941, it was one of the fastest operational aircraft in the world.

Originally conceived as an unarmed fast bomber, the Mosquito's use evolved during the war into many roles, including low- to medium-altitude daytime tactical bomber, high-altitude night bomber, pathfinder, day or night fighter, fighter-bomber, intruder, maritime strike, and photo-reconnaissance aircraft. It was also used by the British Overseas Airways Corporation as a fast transport to carry small, high-value cargo to and from neutral countries through enemy-controlled airspace. The crew of two, pilot and navigator, sat side by side. A single passenger could ride in the aircraft's bomb bay when necessary.

The Mosquito FB Mk. VI was often flown in special raids, such as Operation Jericho (an attack on Amiens Prison in early 1944), and precision attacks against military intelligence, security, and police facilities (such as Gestapo headquarters). On 30 January 1943, the 10th anniversary of Hitler being made chancellor and the Nazis gaining power, a morning Mosquito attack knocked out the main Berlin broadcasting station while Hermann Göring was speaking, taking his speech off the air.

The Mosquito flew with the Royal Air Force (RAF) and other air forces in the European, Mediterranean, and Italian theatres. The Mosquito was also operated by the RAF in the Southeast Asian theatre and by the Royal Australian Air Force based in the Moluccas and Borneo during the Pacific War. During the 1950s, the RAF replaced the Mosquito with the jet-powered English Electric Canberra. Wikipedia

Here are the finished photos:
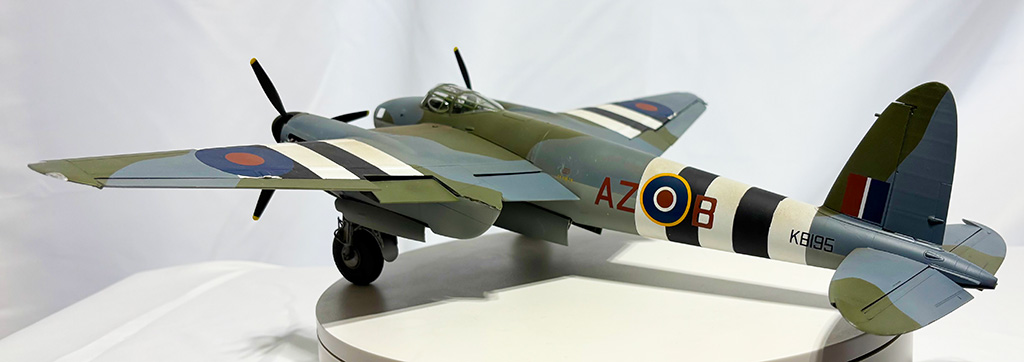
7/28/2025 To view a video of the completed model, go HERE.
1/32 Sopwith Pup

Posted by Paul On July - 18 - 2020

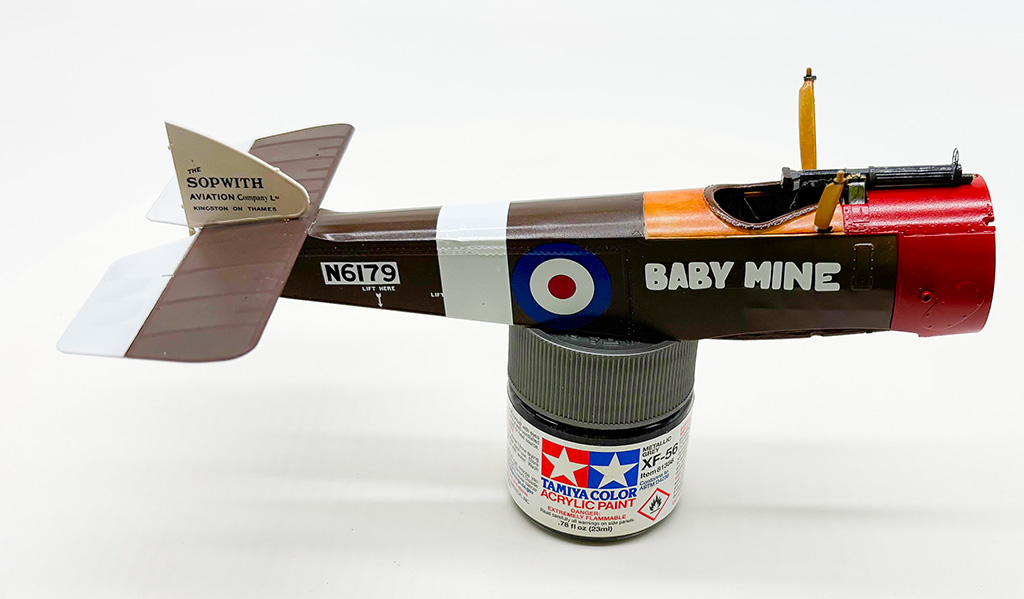
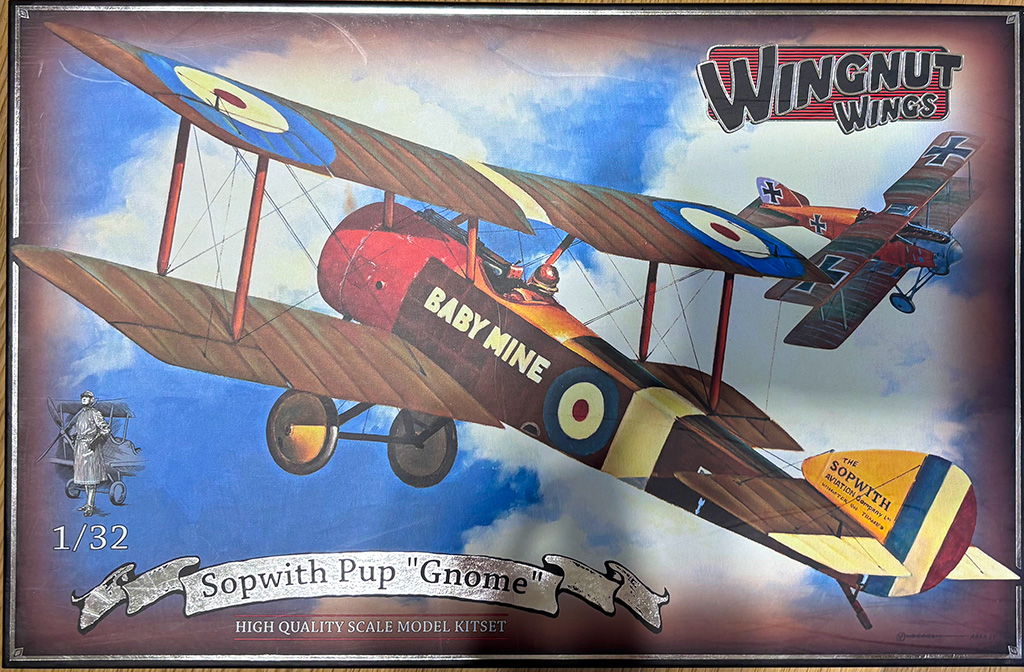
7/18/2026 I've gotten back into biplanes! Right now I'm building the Wingnut Wings 1/32 Sopwith Pup. This is an amazing kit – like all Wingnut Wings kits. When I finish this, I will have six more waiting to be built.
The Sopwith Pup was one of the most successful and beloved British fighter aircraft of the First World War. Introduced in late 1916, it quickly earned a reputation for its exceptional maneuverability, light controls, and forgiving flying characteristics, making it a favorite among both experienced aces and newly trained pilots. Although lightly armed with a single synchronized .303 Vickers machine gun, the Pup's agility allowed it to outmaneuver many of its opponents in aerial combat. Powered by an 80-horsepower Le Rhône rotary engine, it could reach speeds of about 111 mph (179 km/h) and climb rapidly for its time. The Pup also served with distinction in the Royal Naval Air Service, where it became the first aircraft to successfully take off from a moving ship, demonstrating the beginnings of naval aviation. While eventually replaced by more powerful fighters suc

h as the Sopwith Camel, the Pup remains remembered as one of the finest-balanced aircraft of the war and an important milestone in the evolution of military aviation.

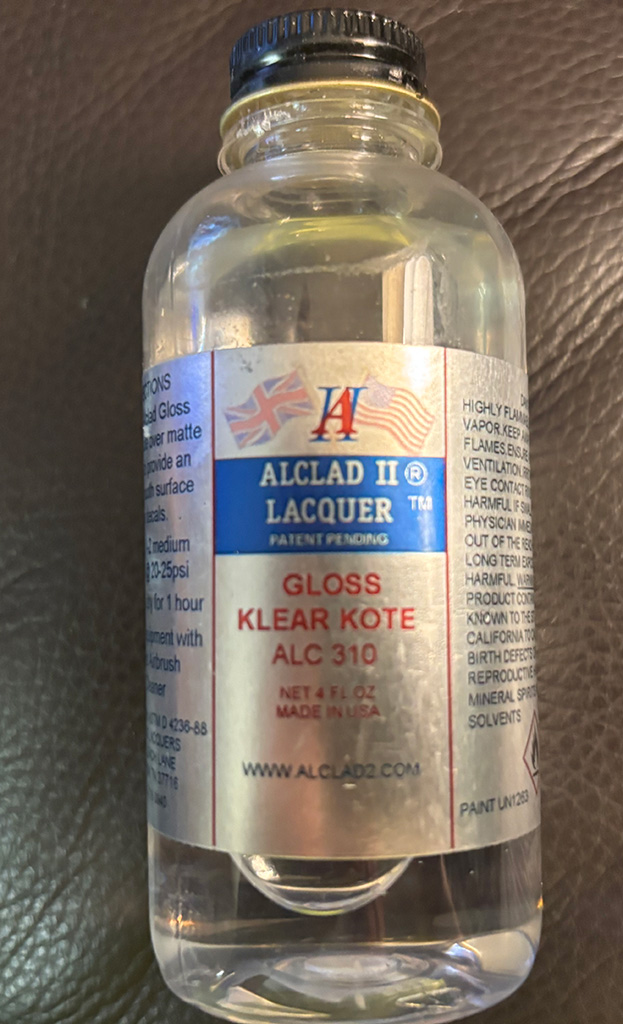
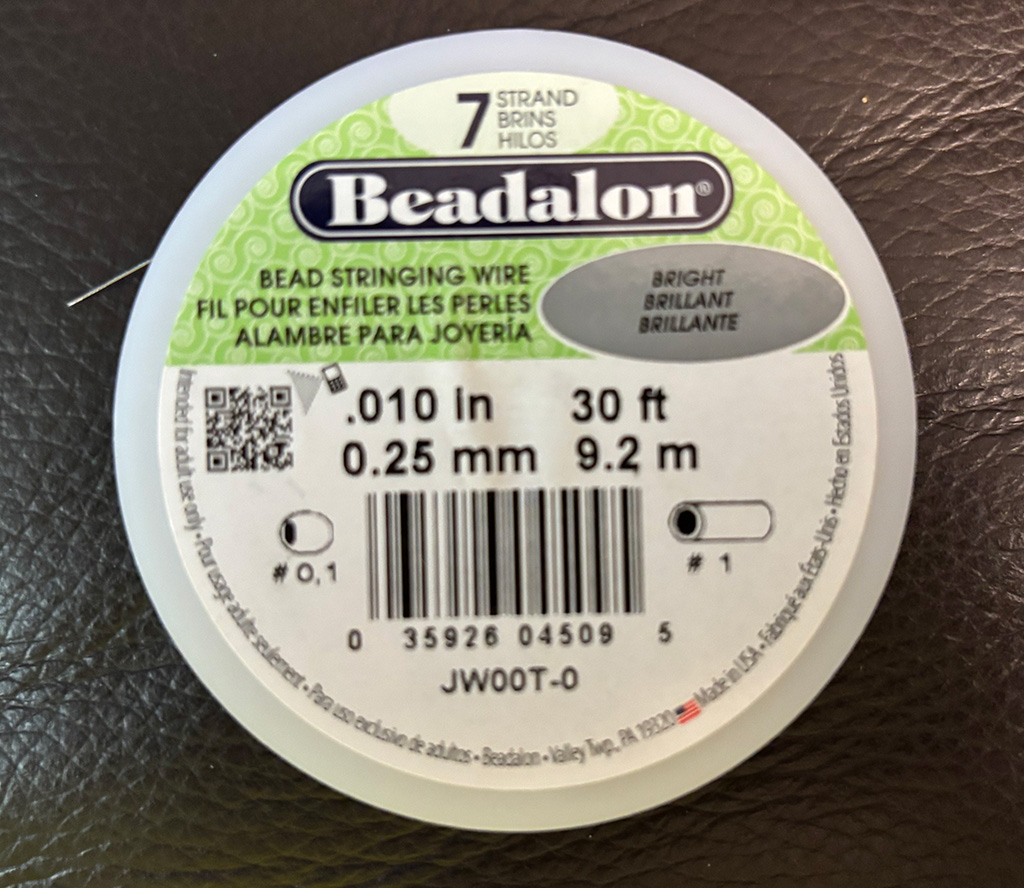
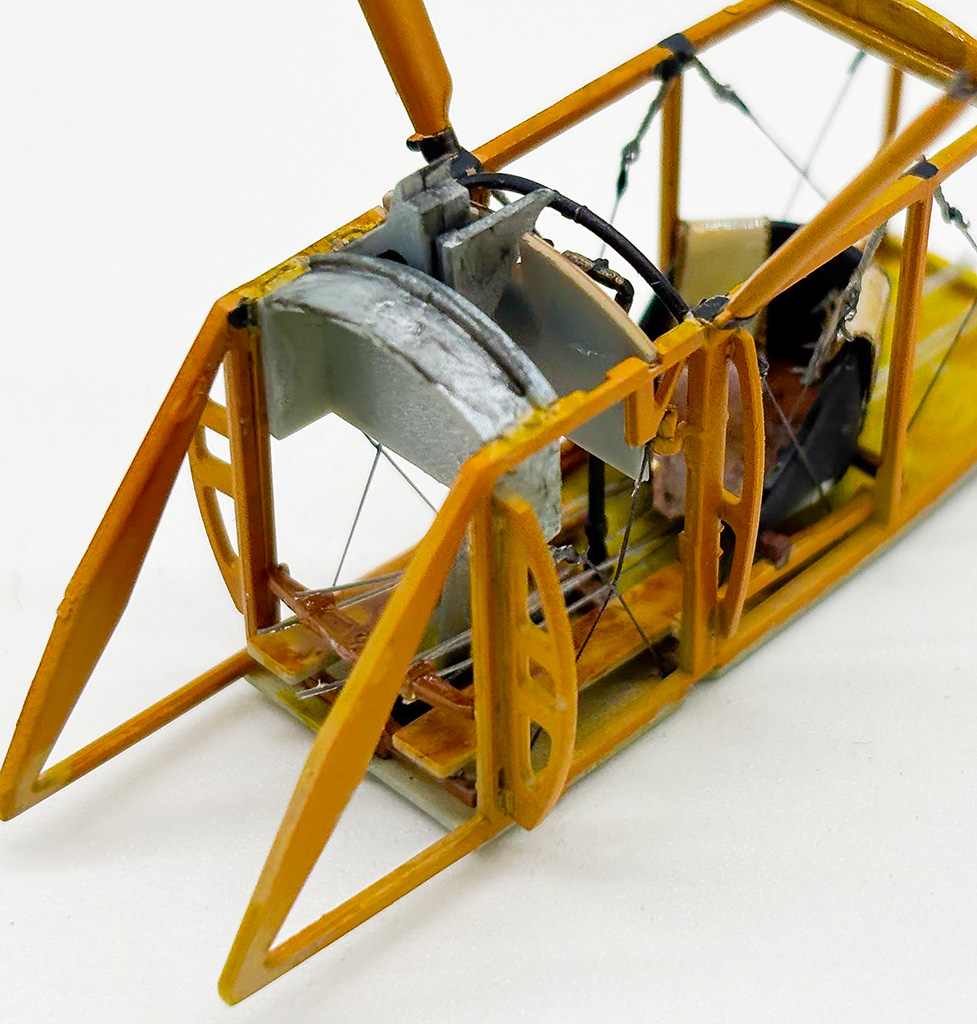
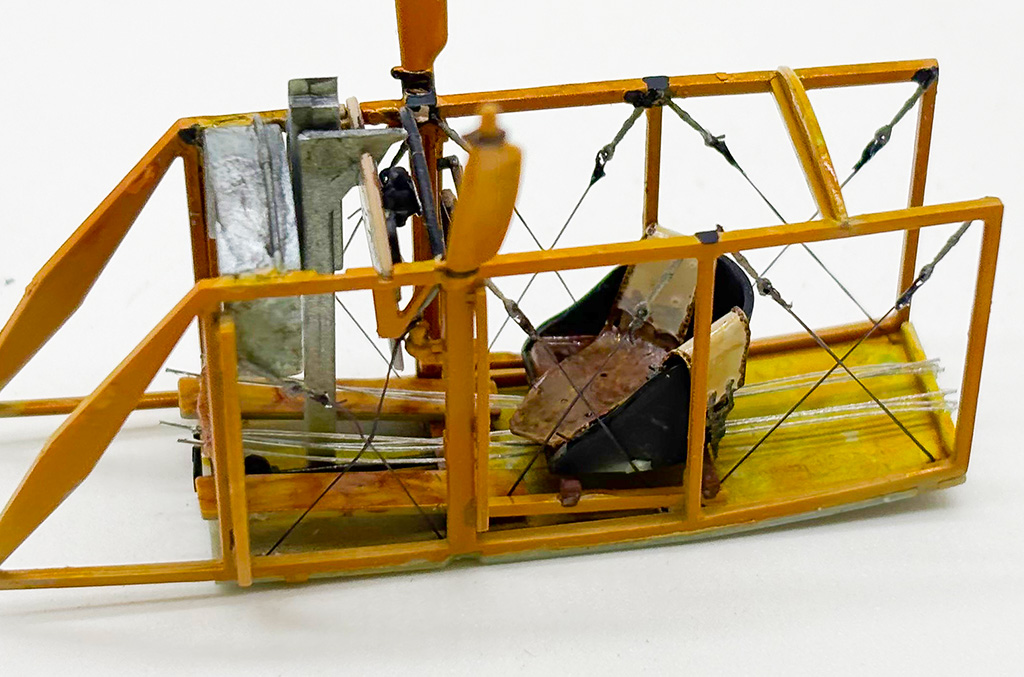
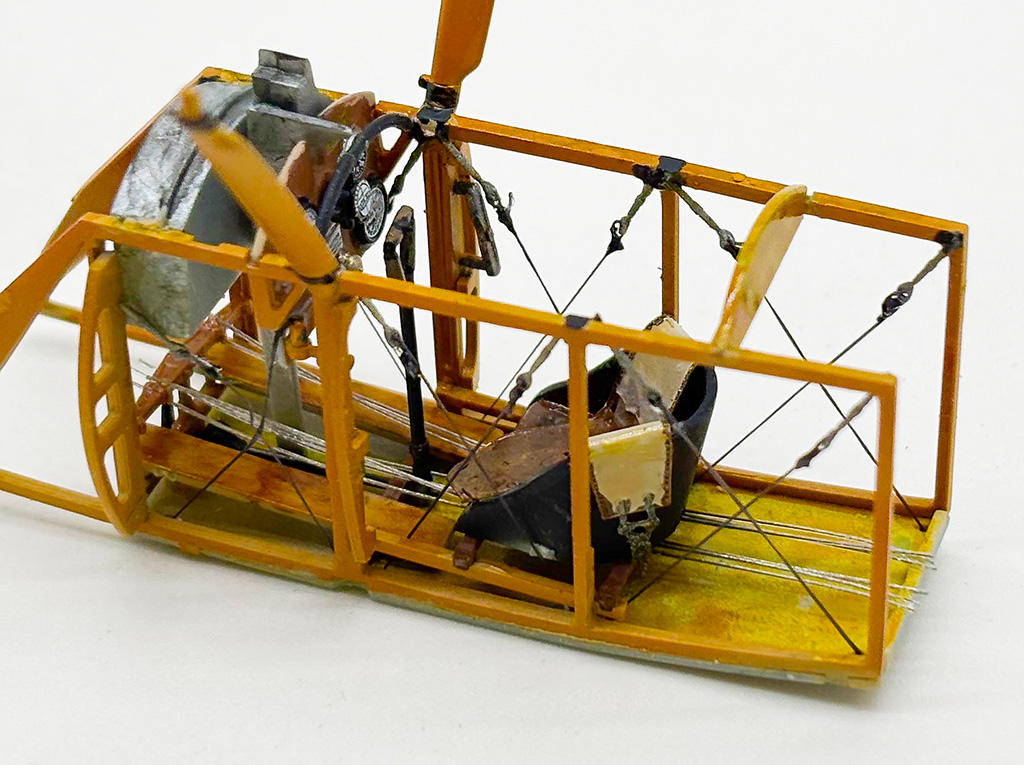
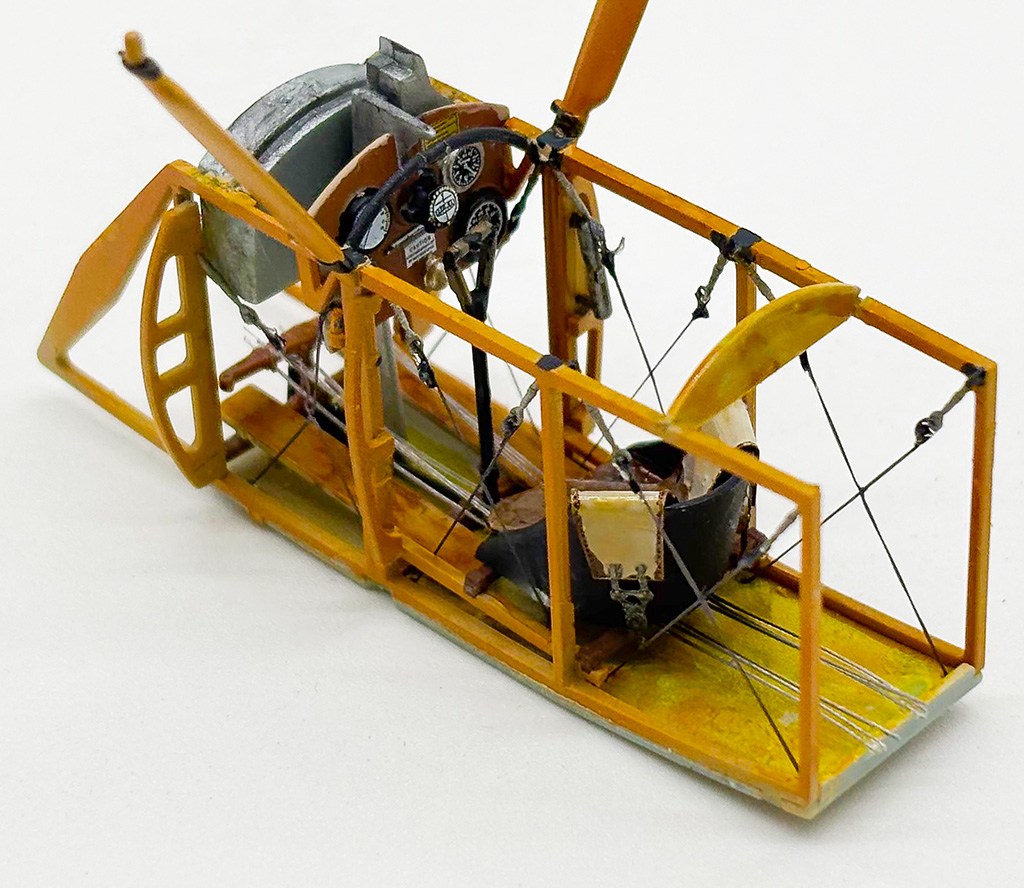
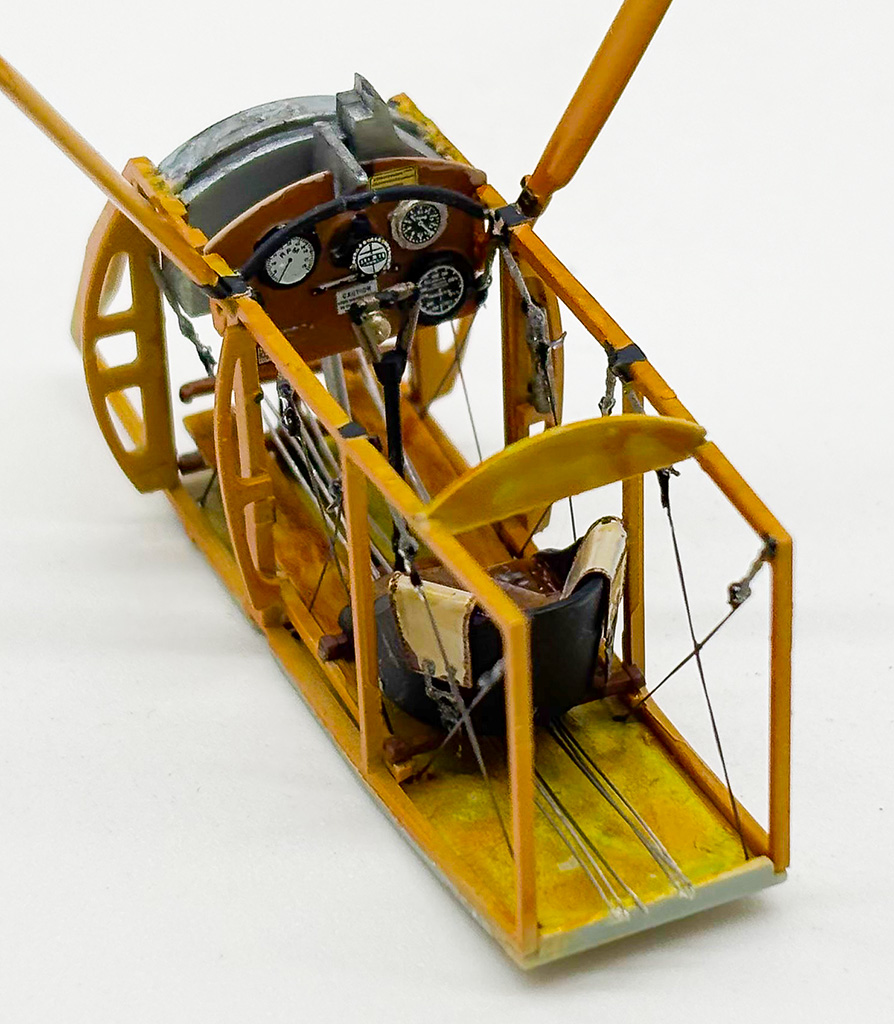
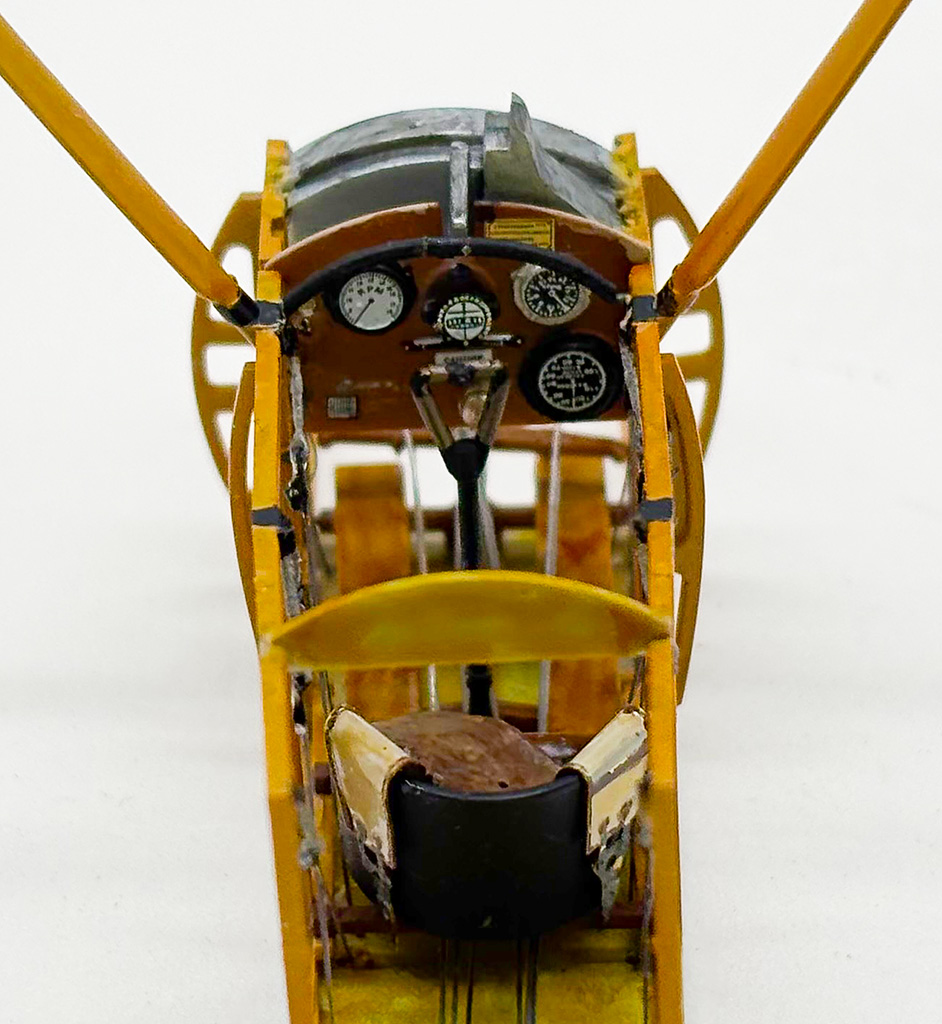
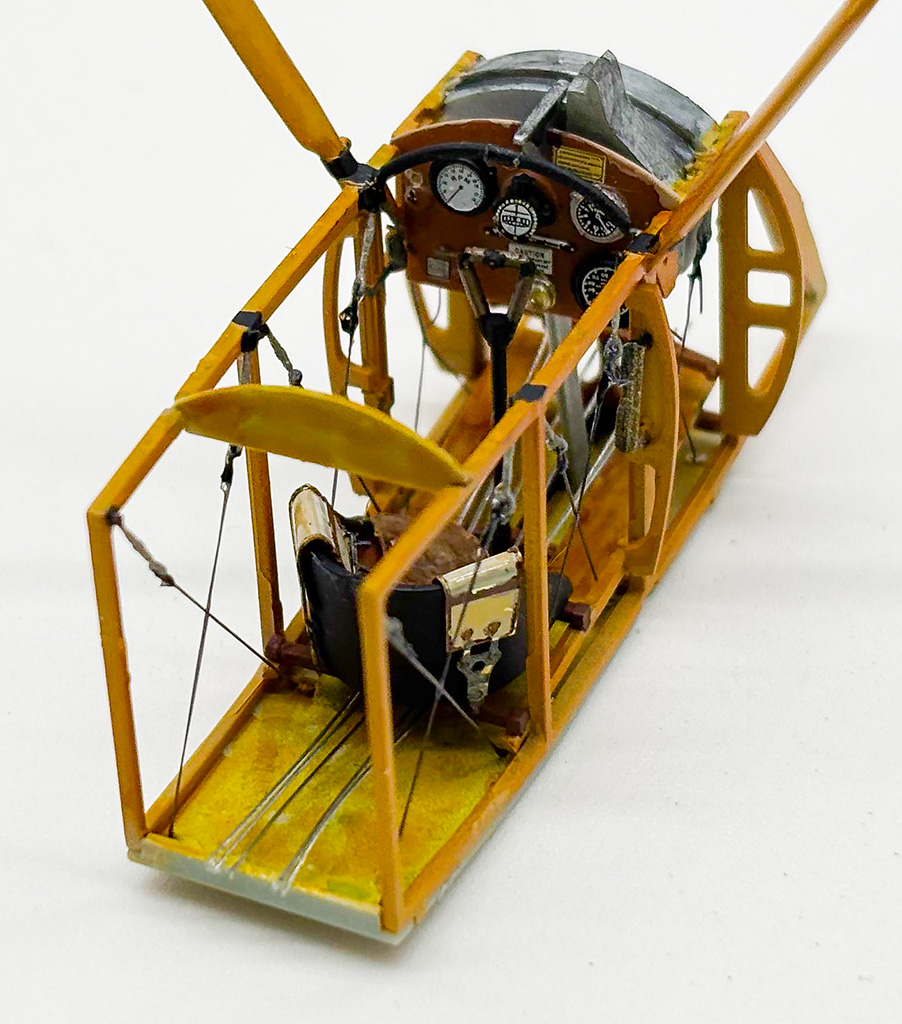
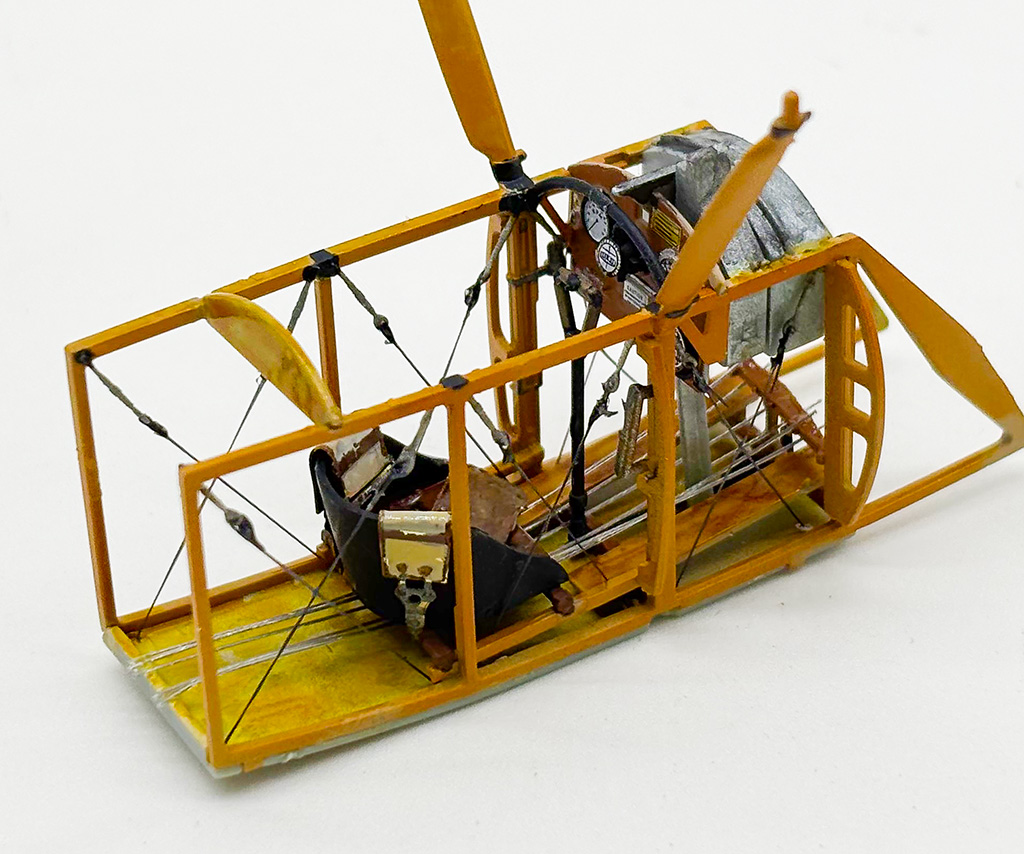
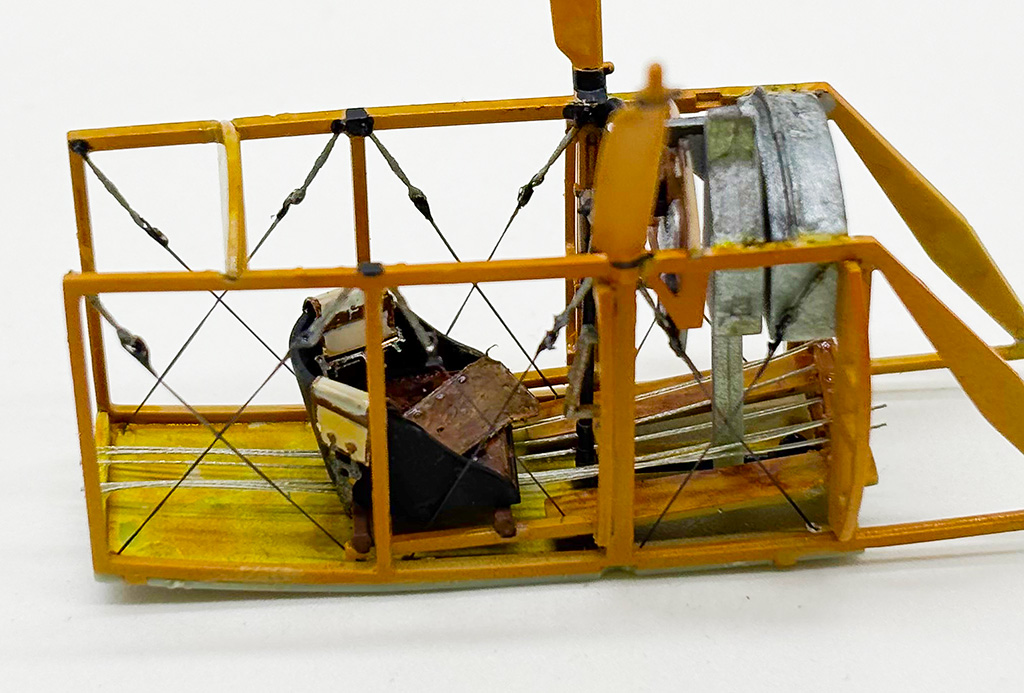
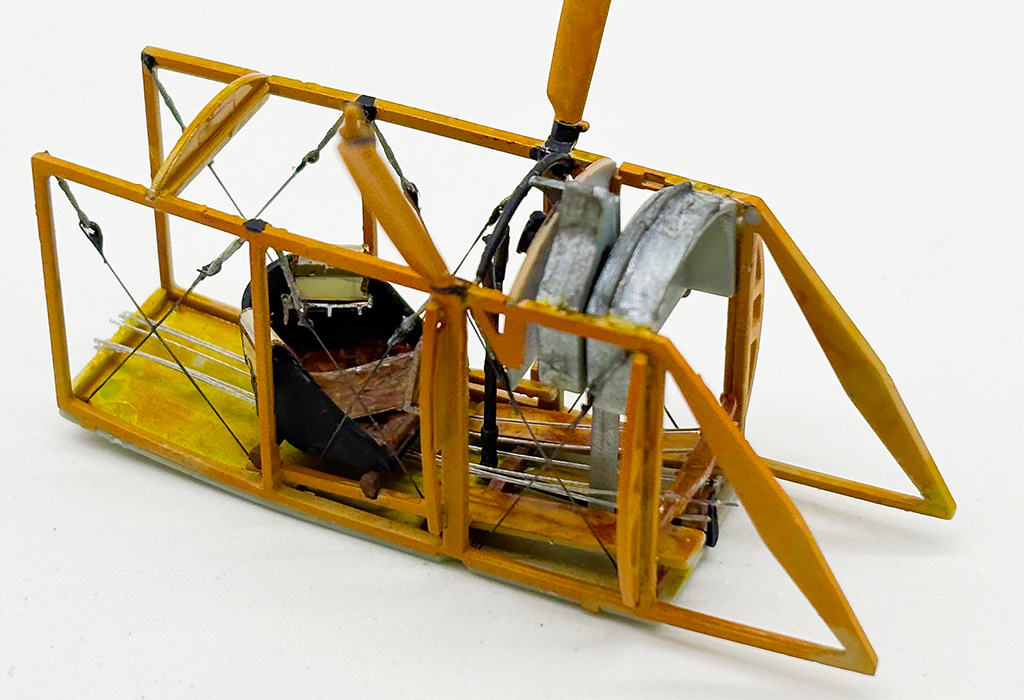
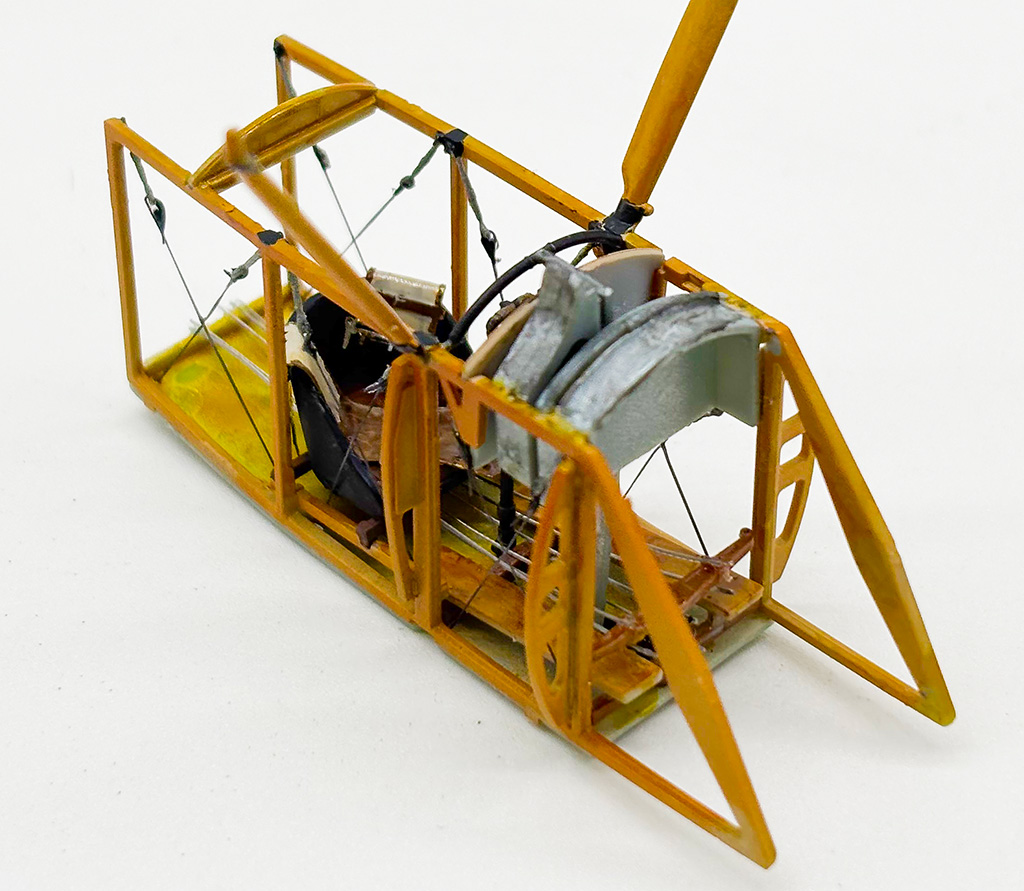
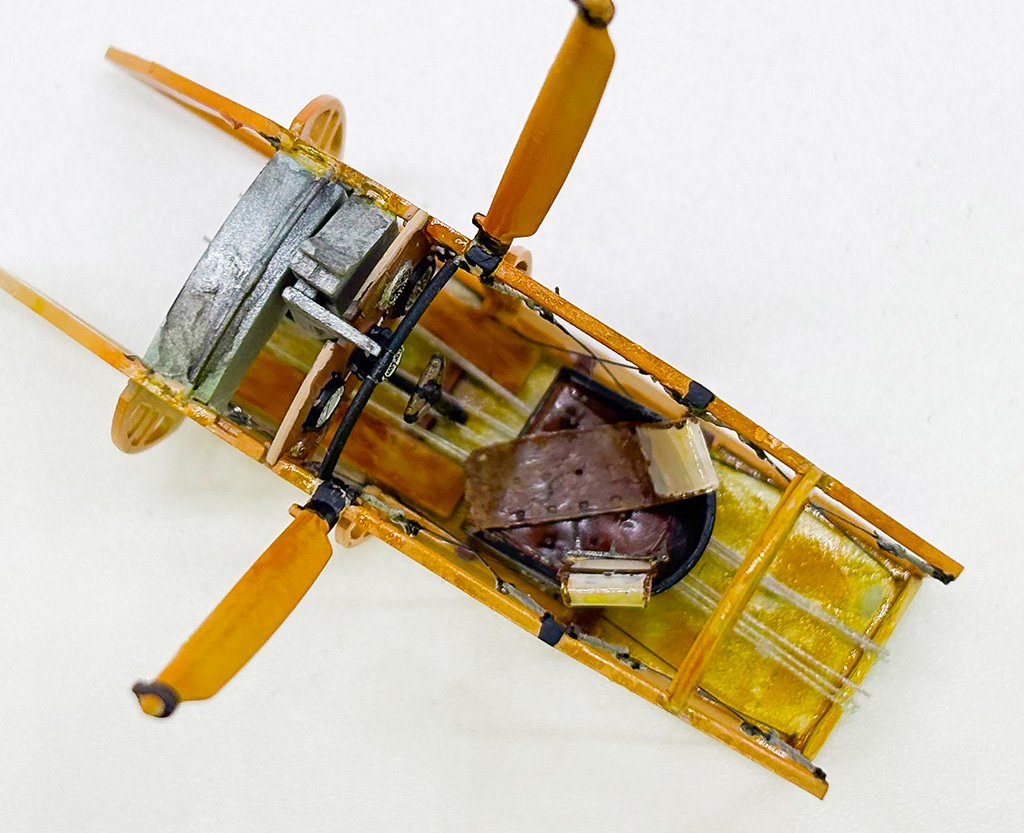
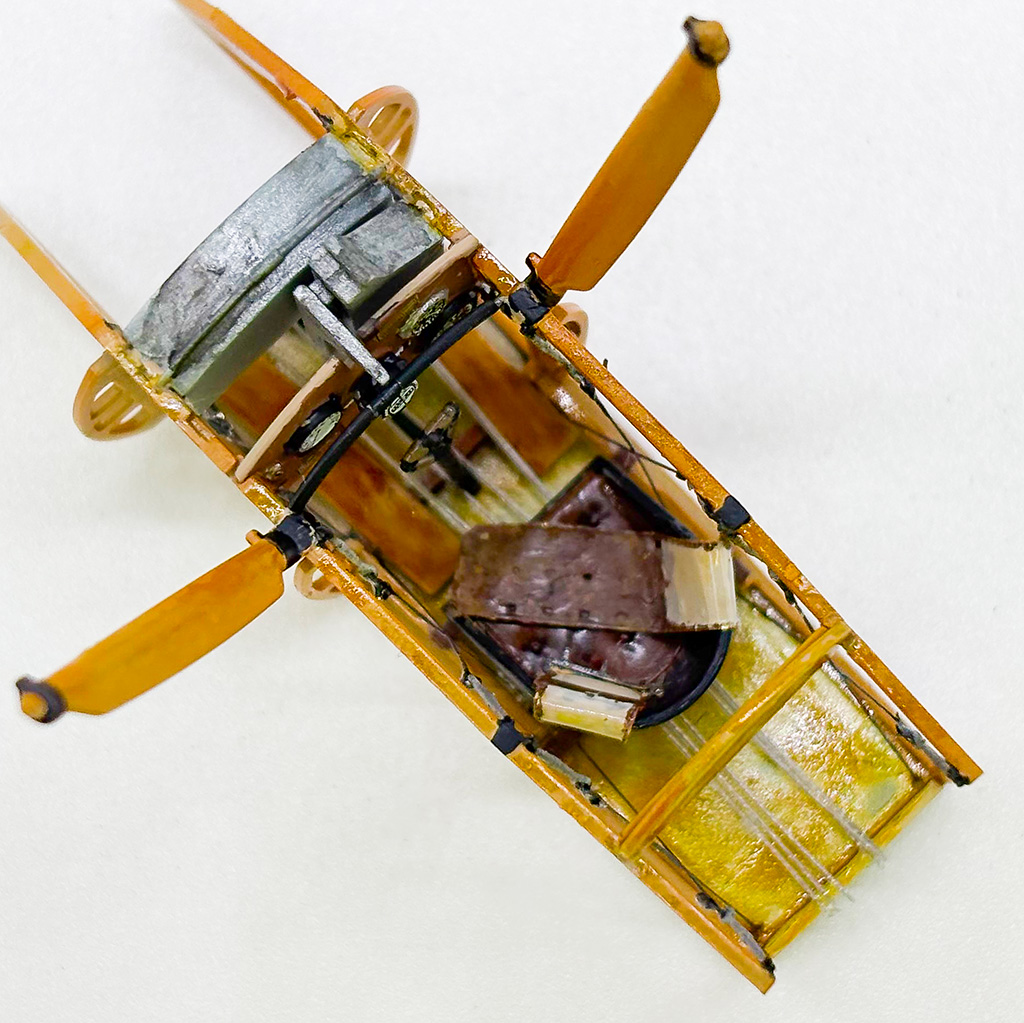
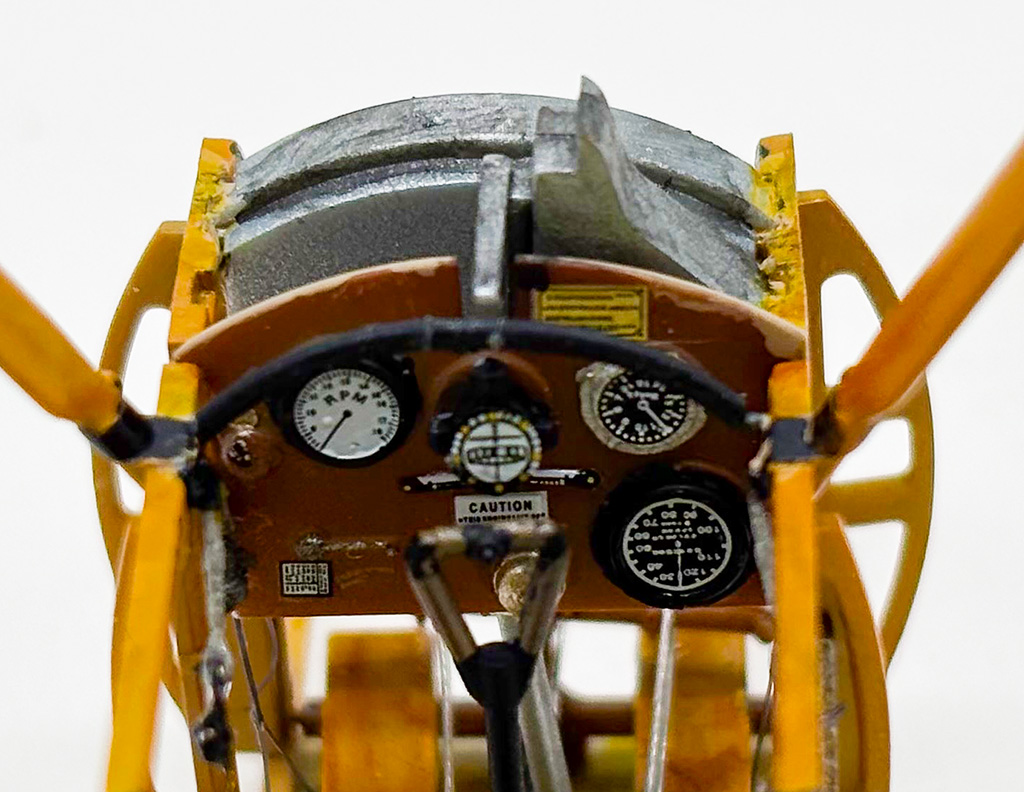
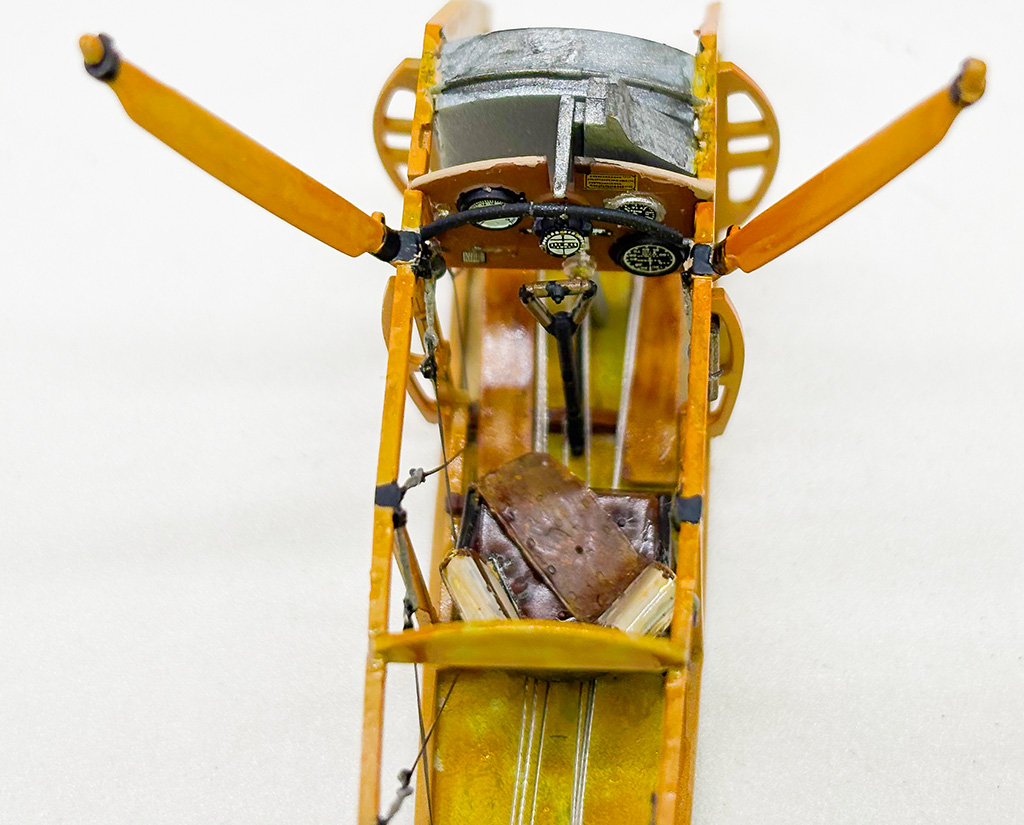
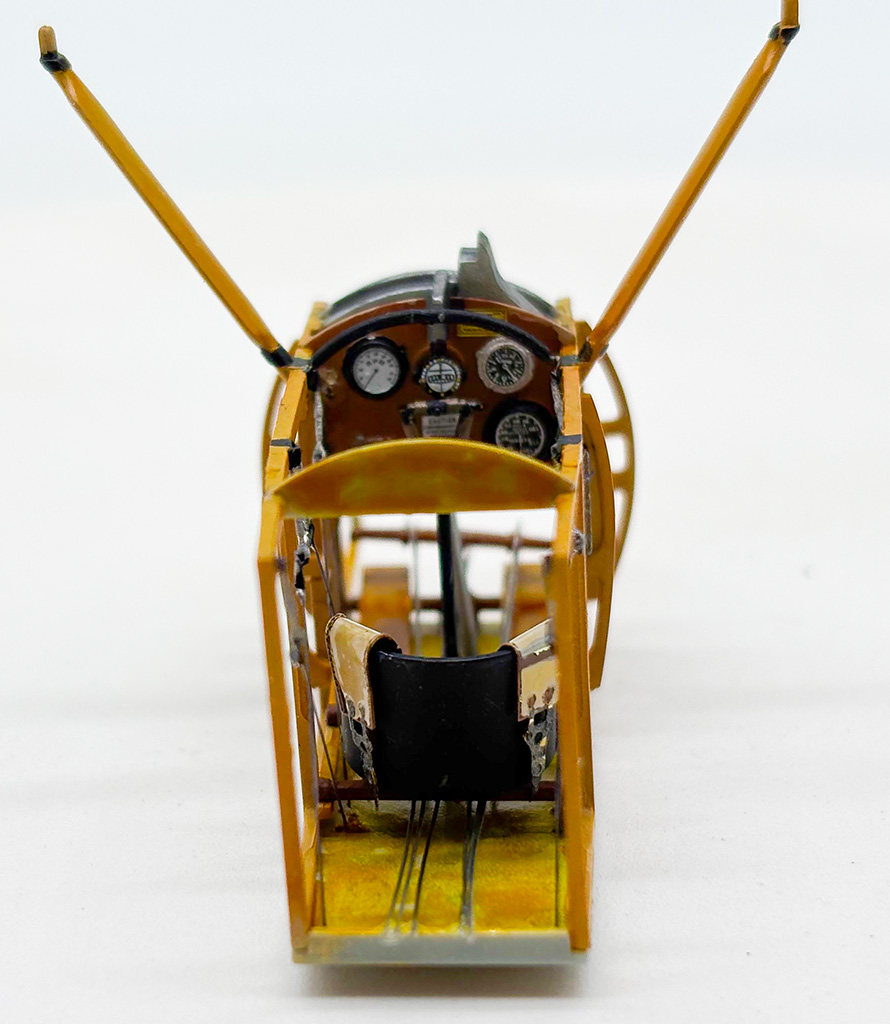
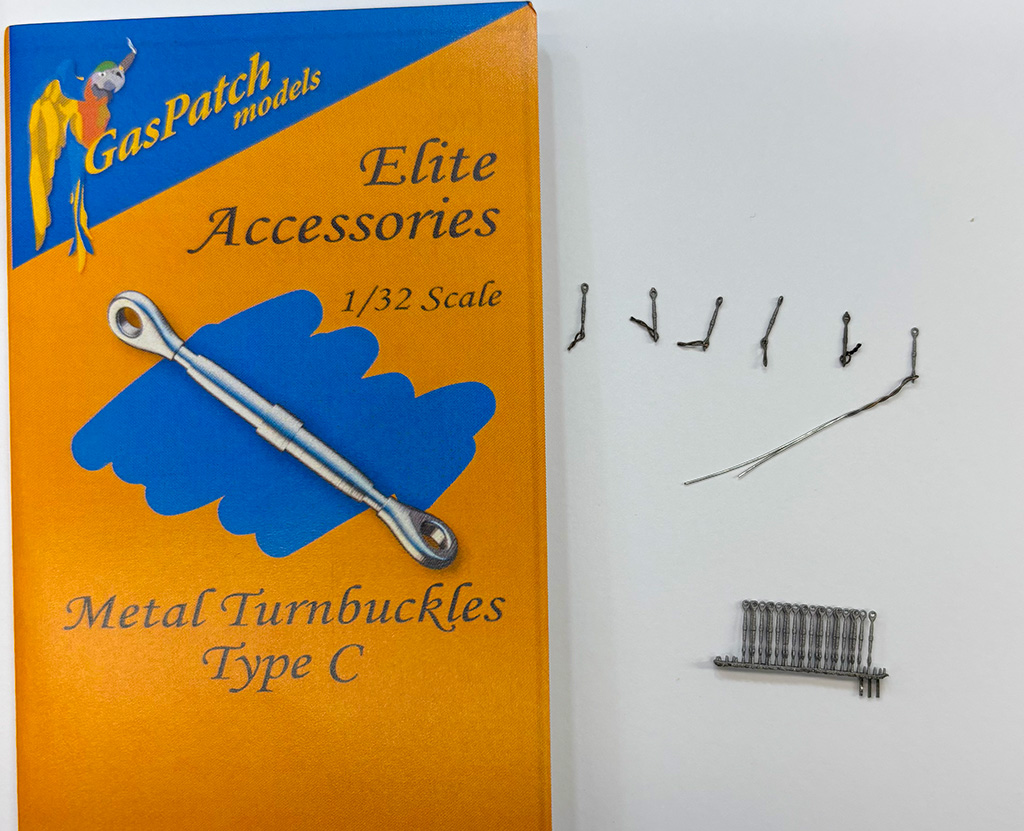
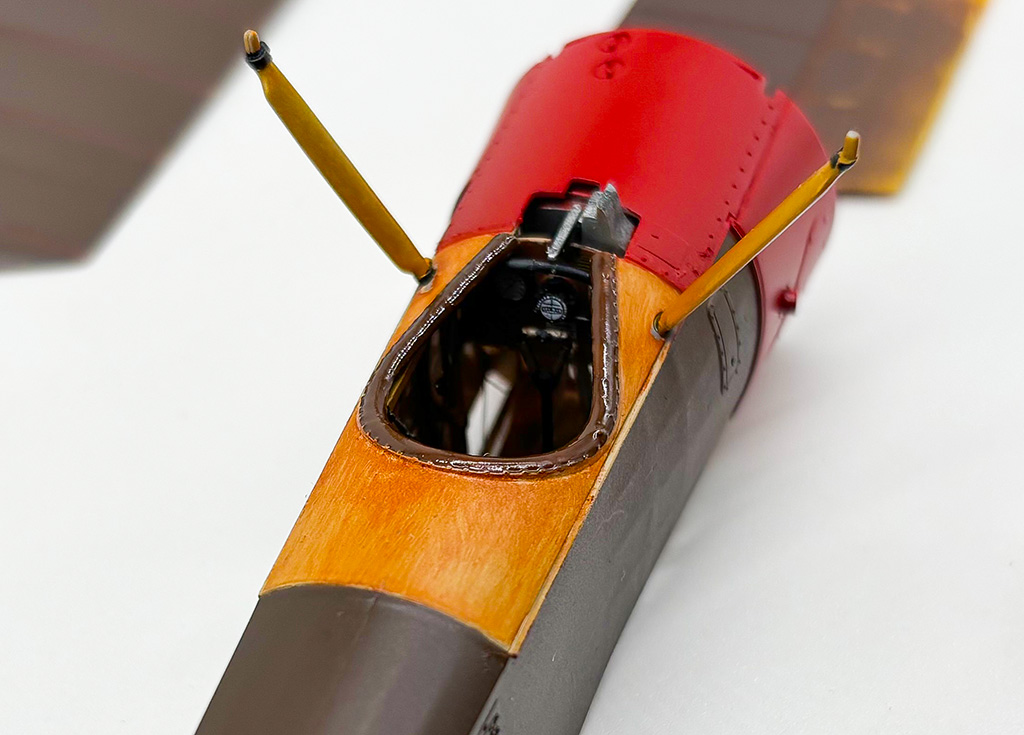
7/19/2026 Here are some photos of the cockpit. I used Gaspatch turnbuckles, ezline, Beadalon bead stringing wire (.01 in) for the control cables and Alclad II gloss klear kote for instrument guage glass. Wood color was enhanced with Tamiya clear orange and yellow.

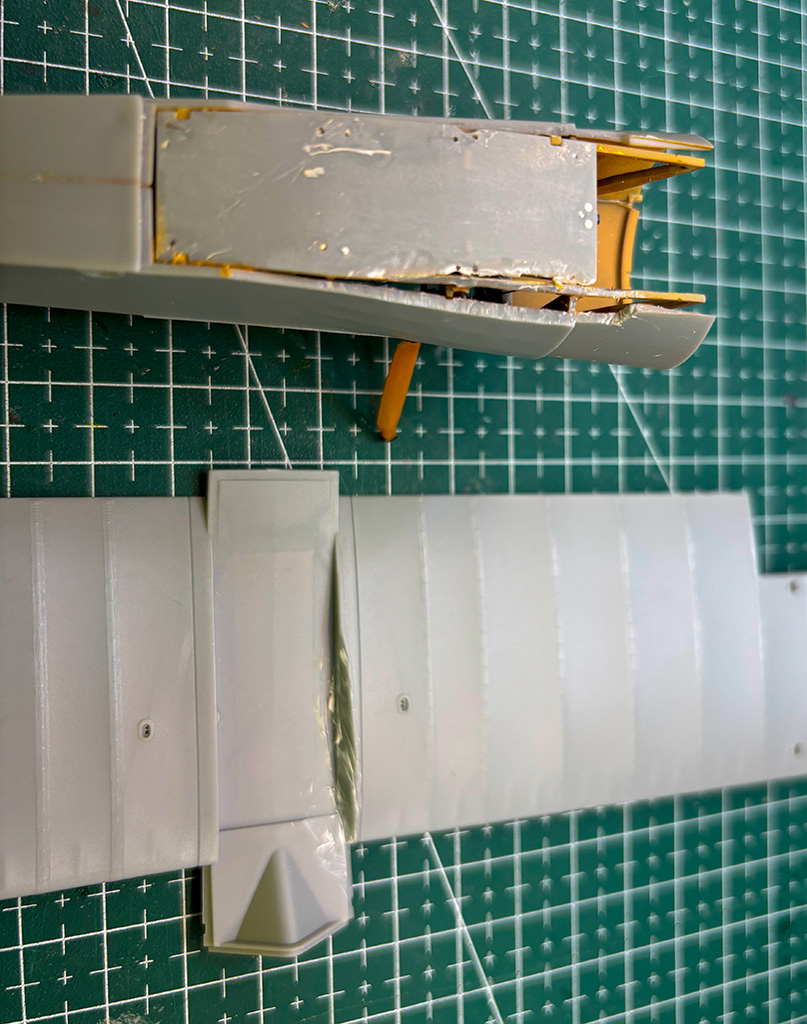
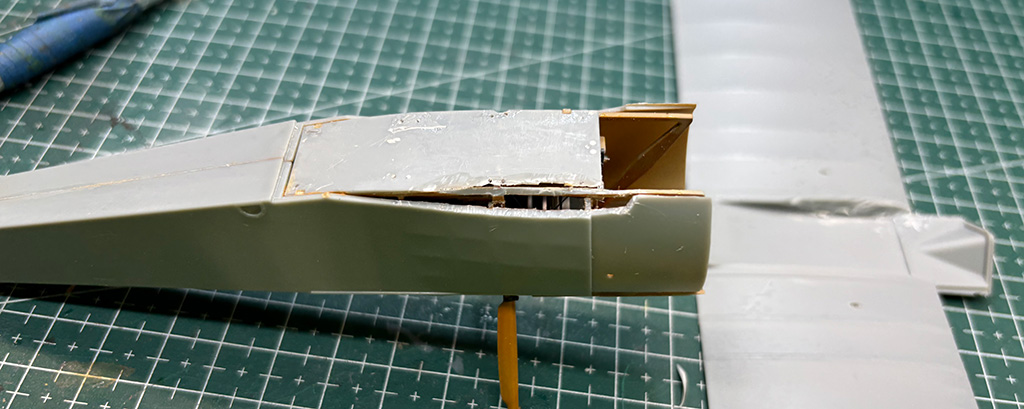
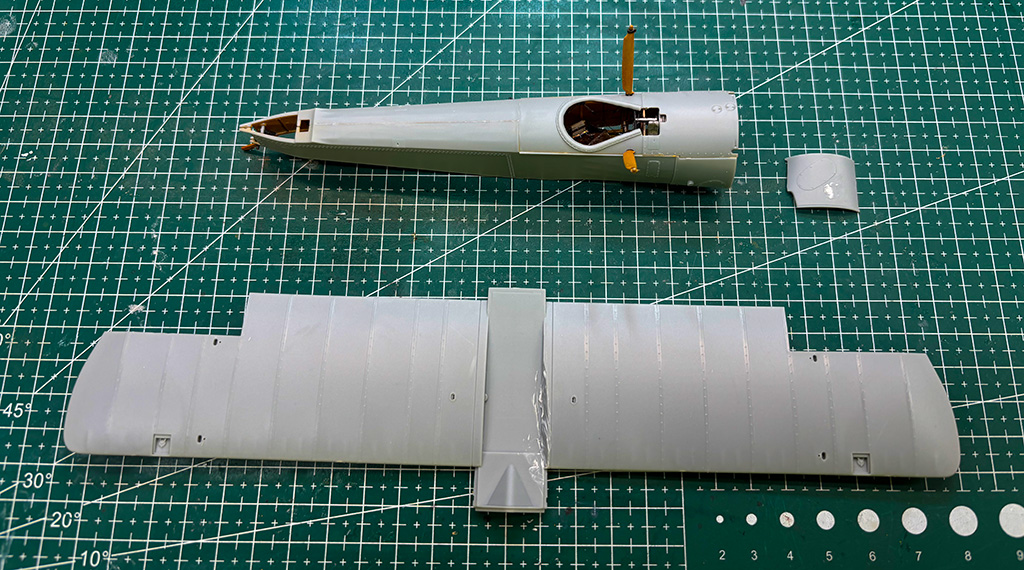
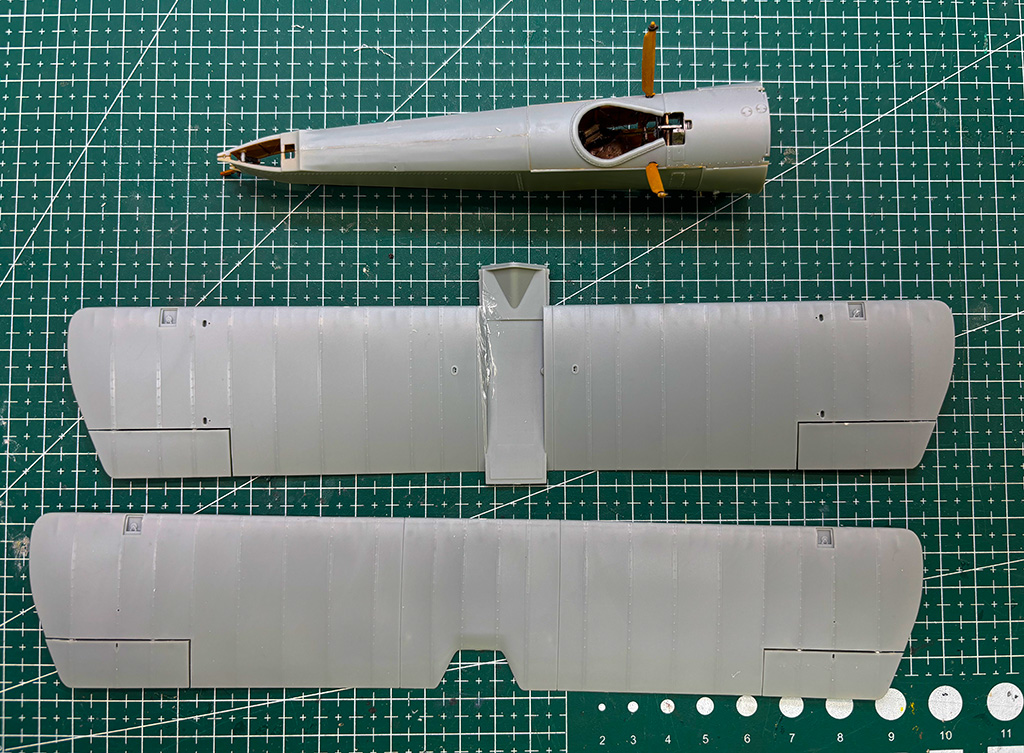
7/20/2026 The fit between the fuselage and the lower wing is awful. I spent about an hour trimming to get the fit right.             

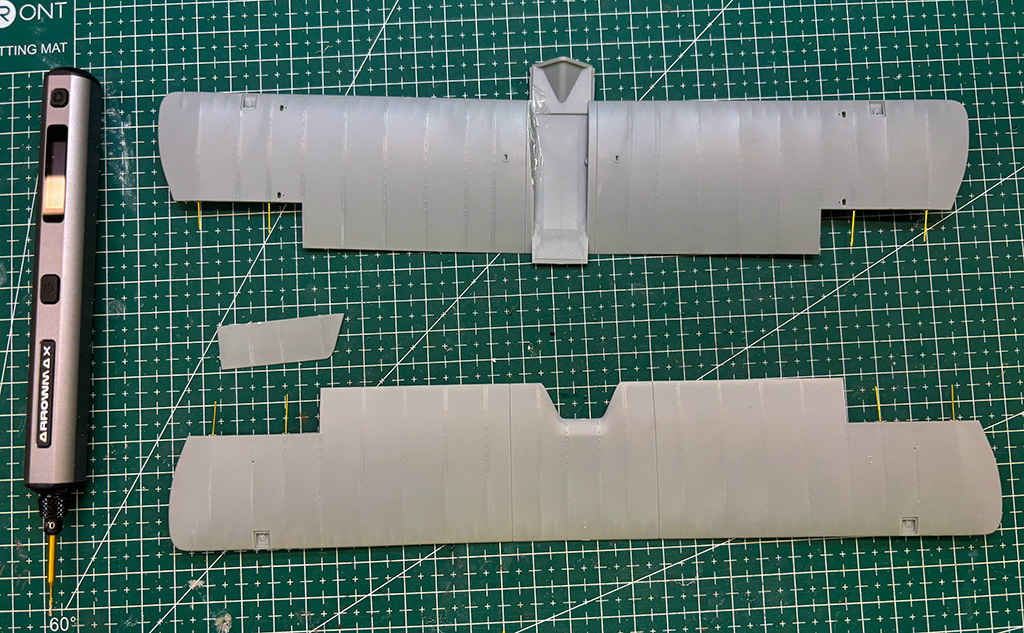
I added .5 mm brass wire to the attachment points between the control surfaces and the wings. This made for a more robust connection. My Arrowmax drill worked great to drill the holes. I used a very small 0.6 mm drill bit.


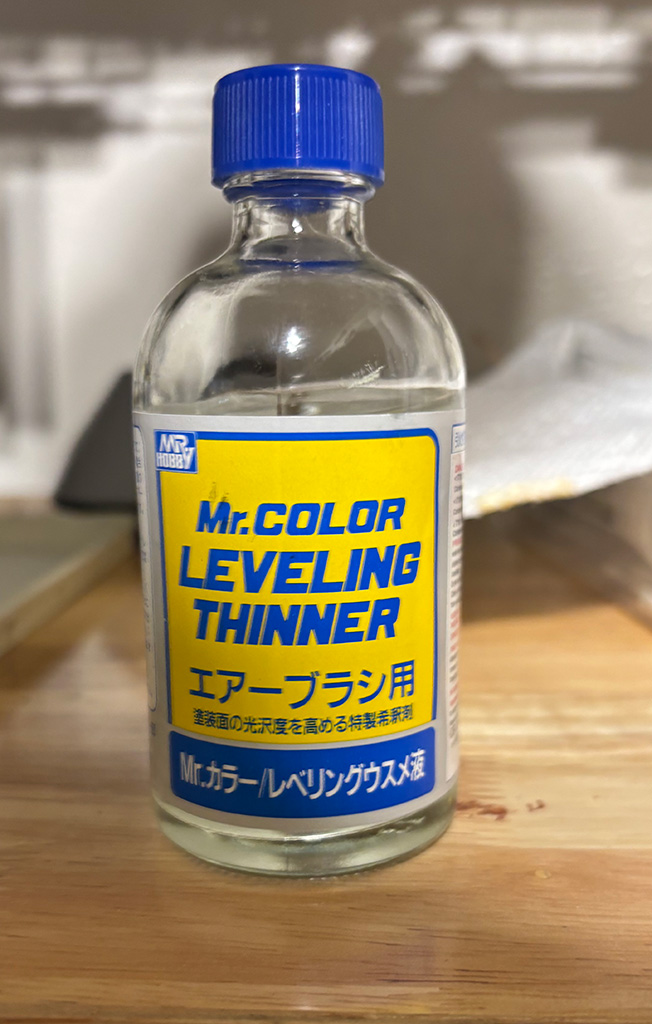
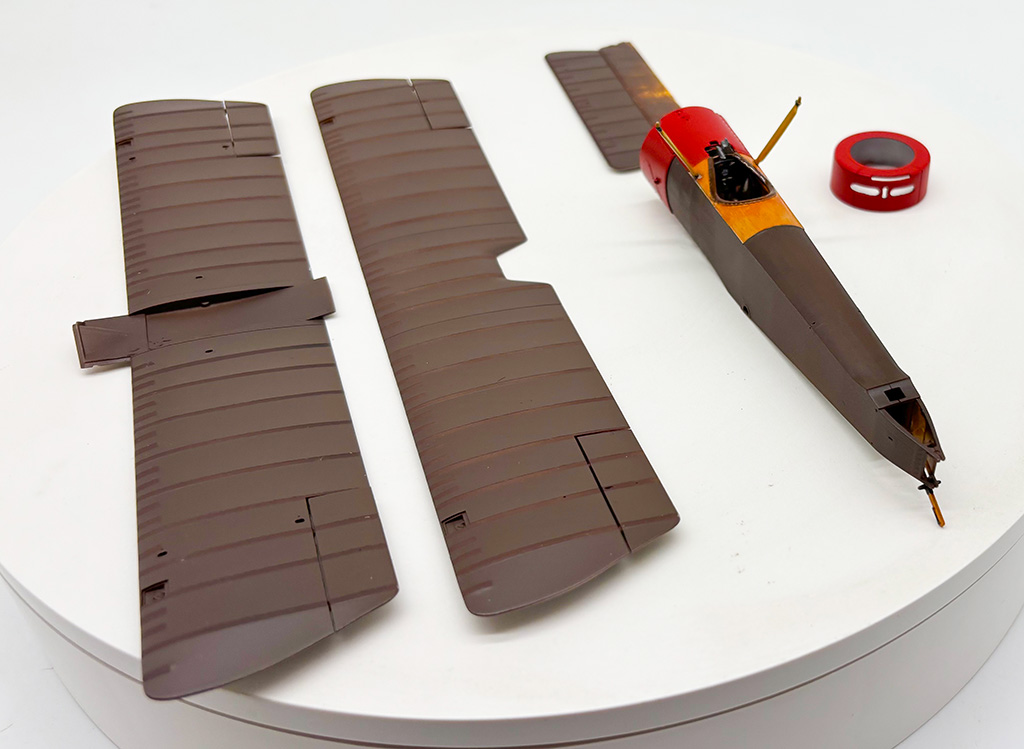
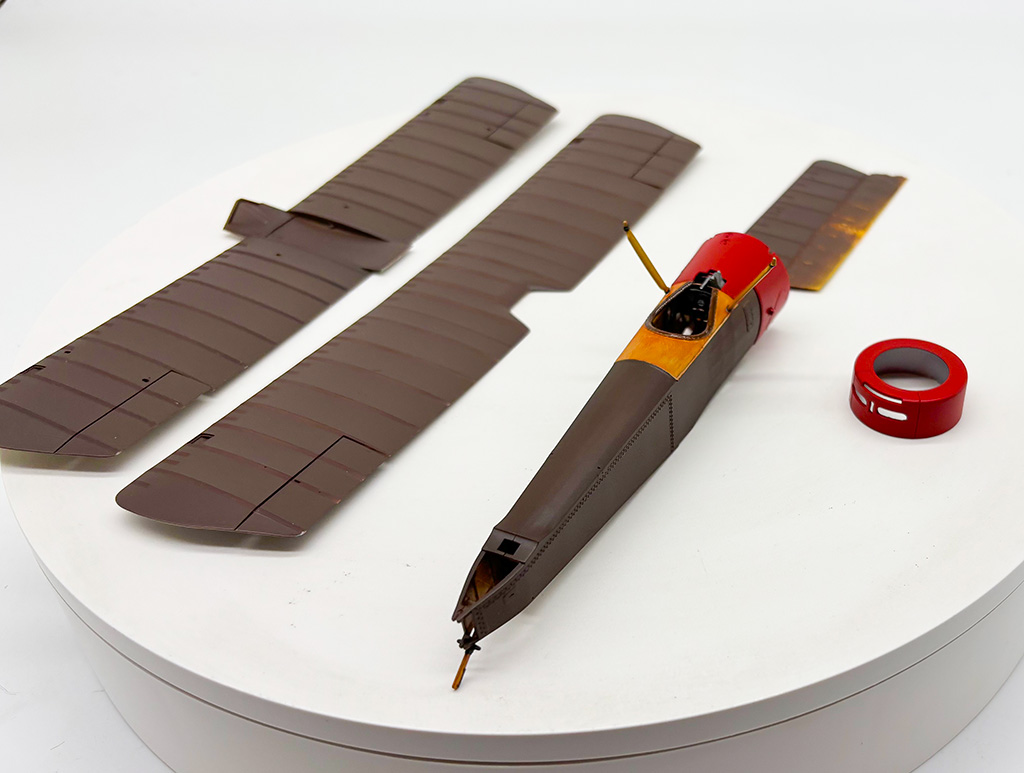
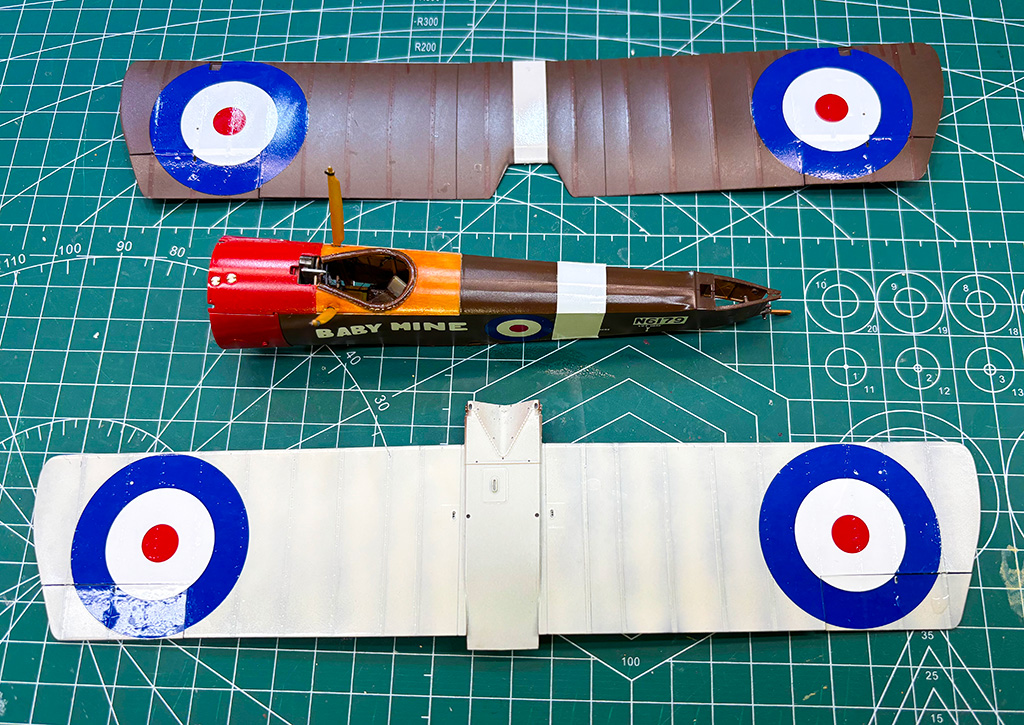
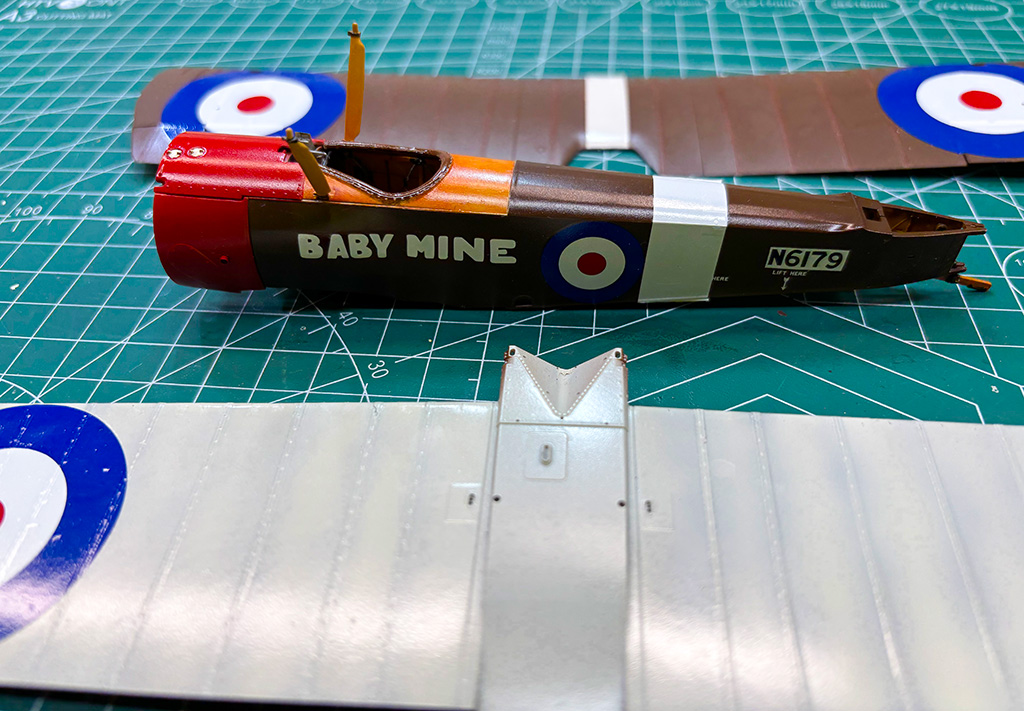
7/24/2026 Next I sprayed the lower surfaces with the linen color called out in the instructions. I used Tamiya paint and added Mr. Color Leveling Thinner. I found this to be very helpful and keeping paint application very smooh.

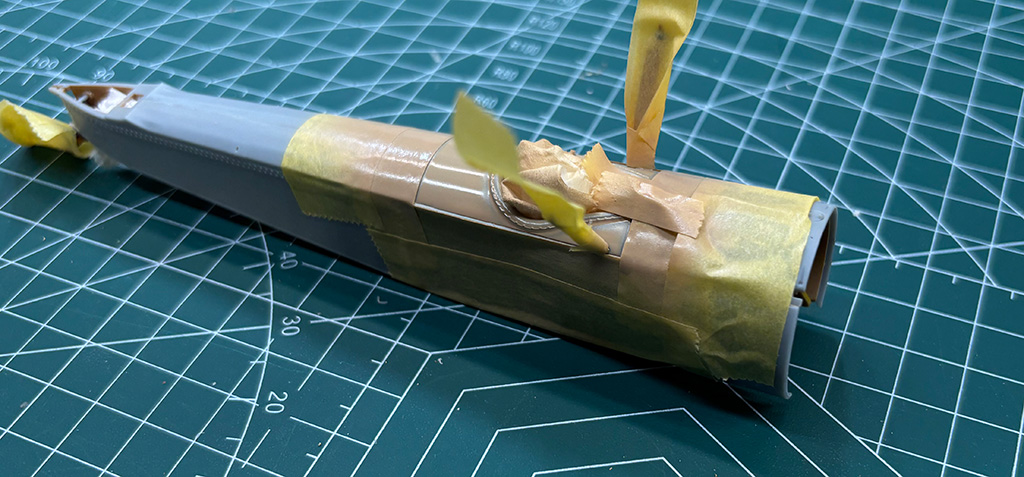
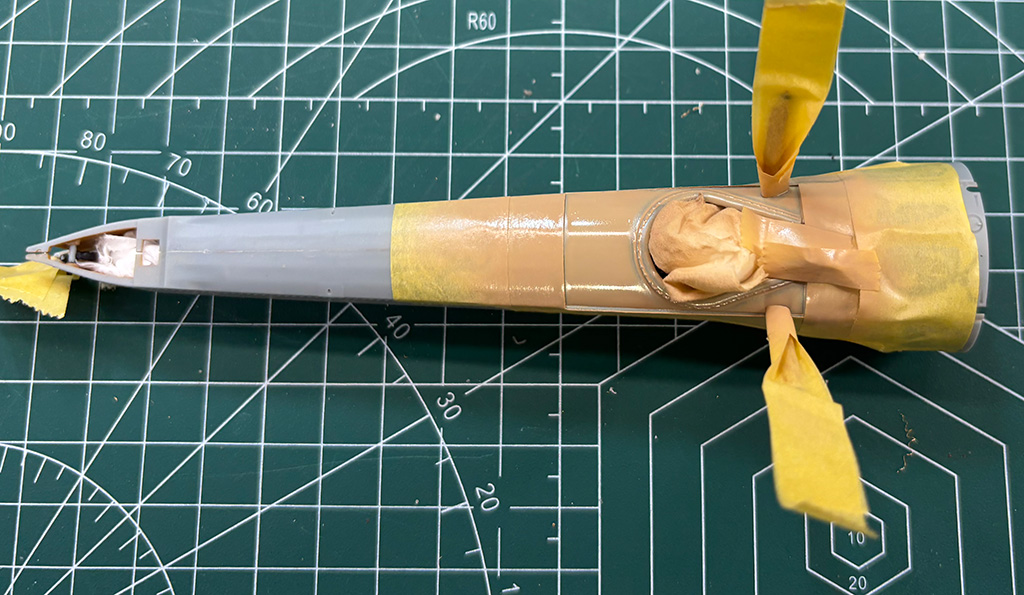
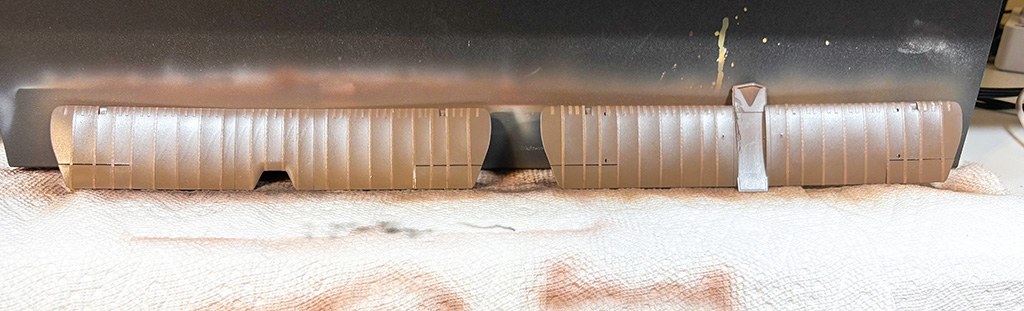
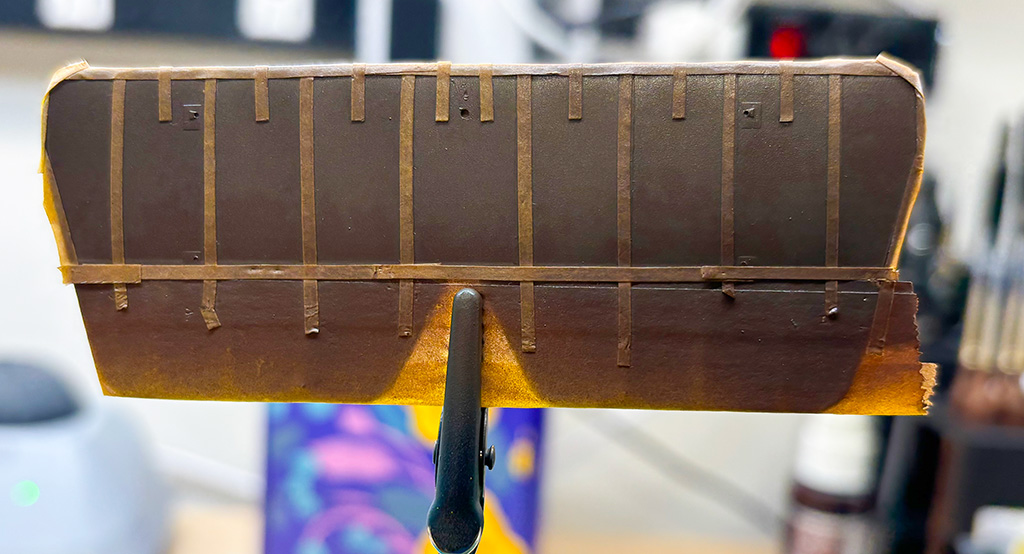
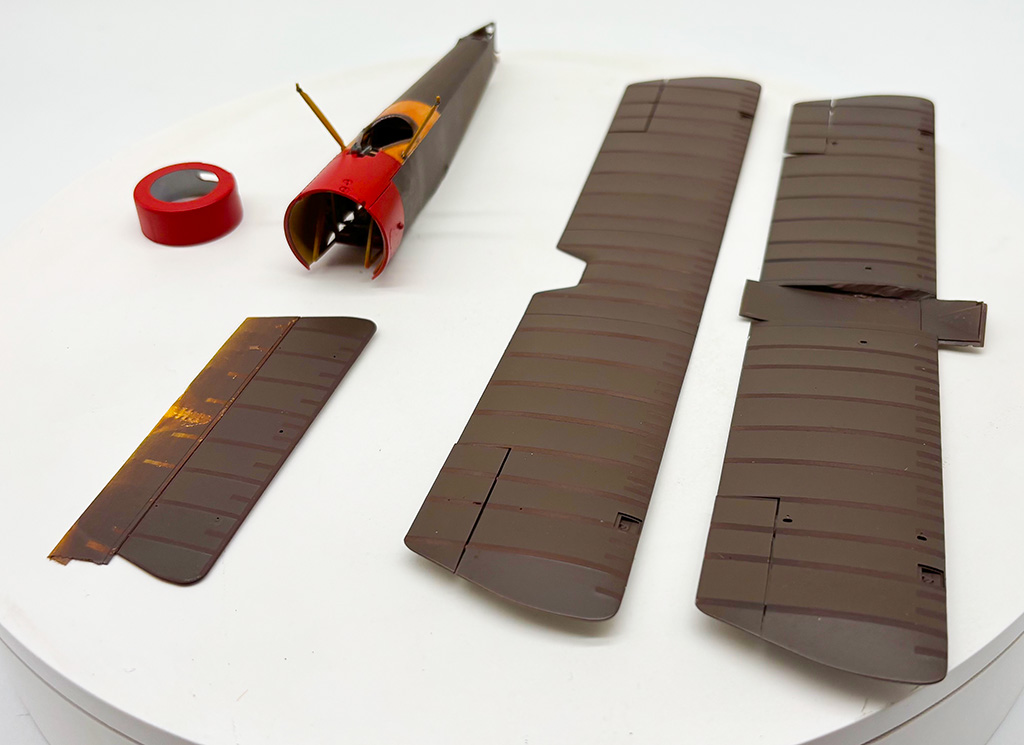
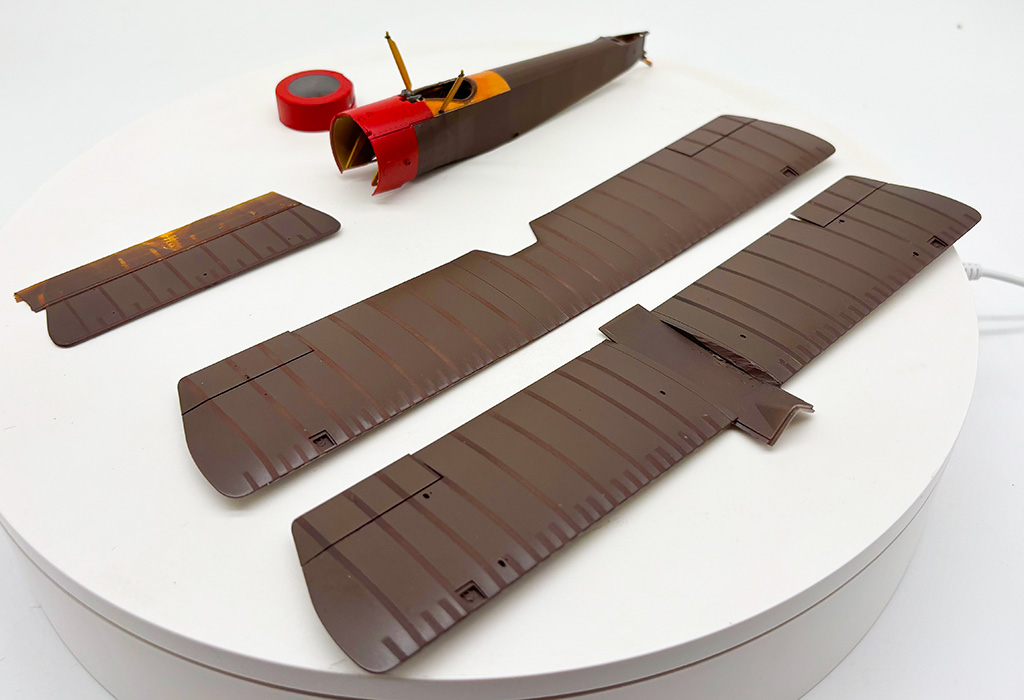
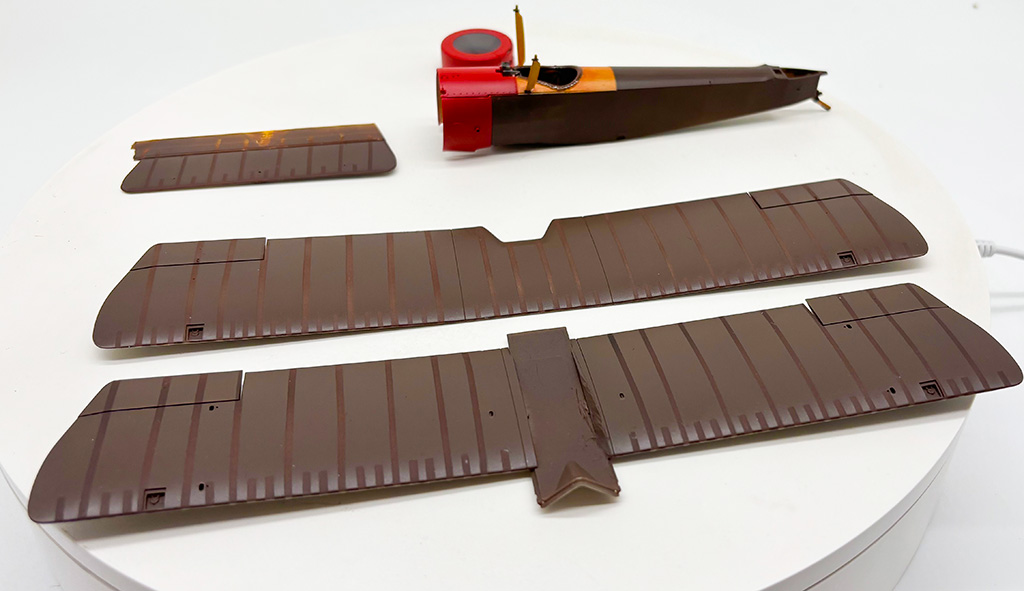
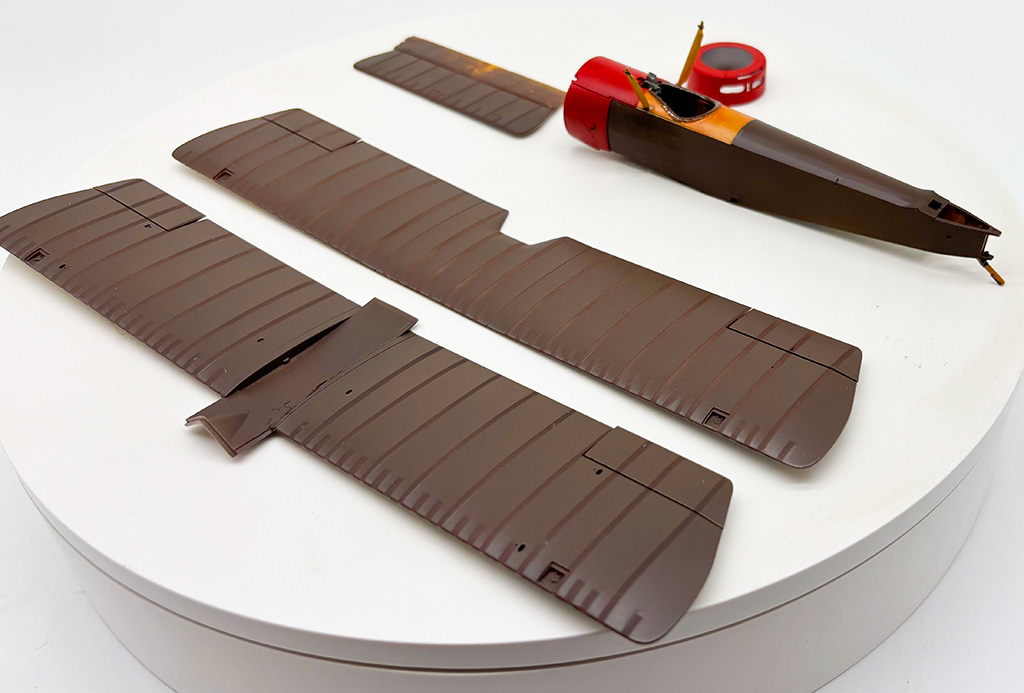
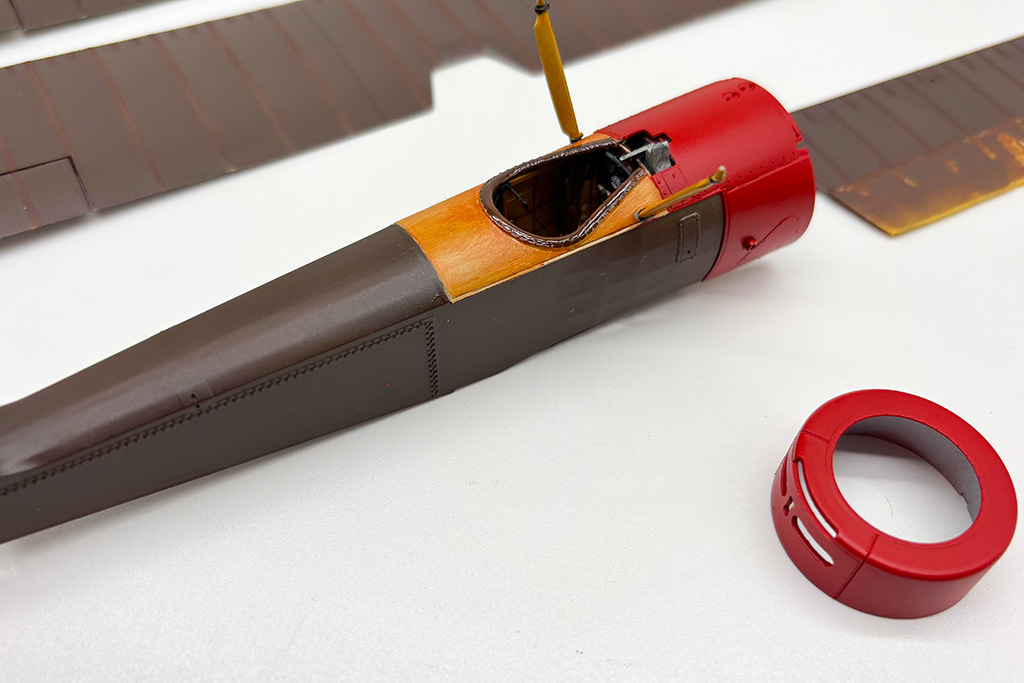
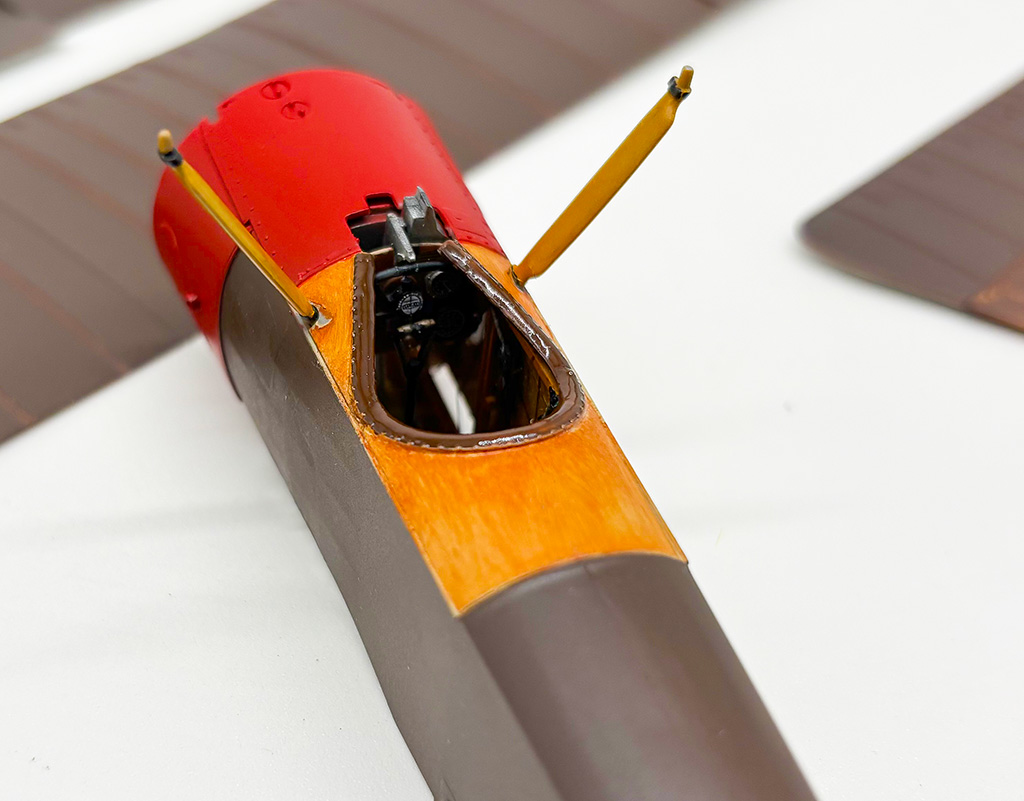
Here are some additional photos. Here you can see where I've masked off the ribs and sprayed with a lighter color to highlight the ribs. I have added streaked burnt umber oils in the first photo over the tan area to better replicate wood grain (I did this after the photo was taken so it doesn't show up here).

7/24/2026 Continued.   I've done some more painting – here is the latest…

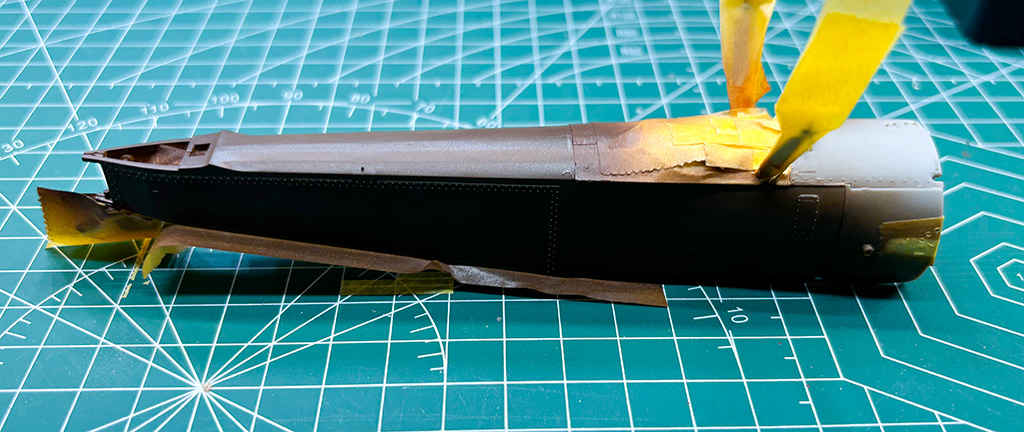
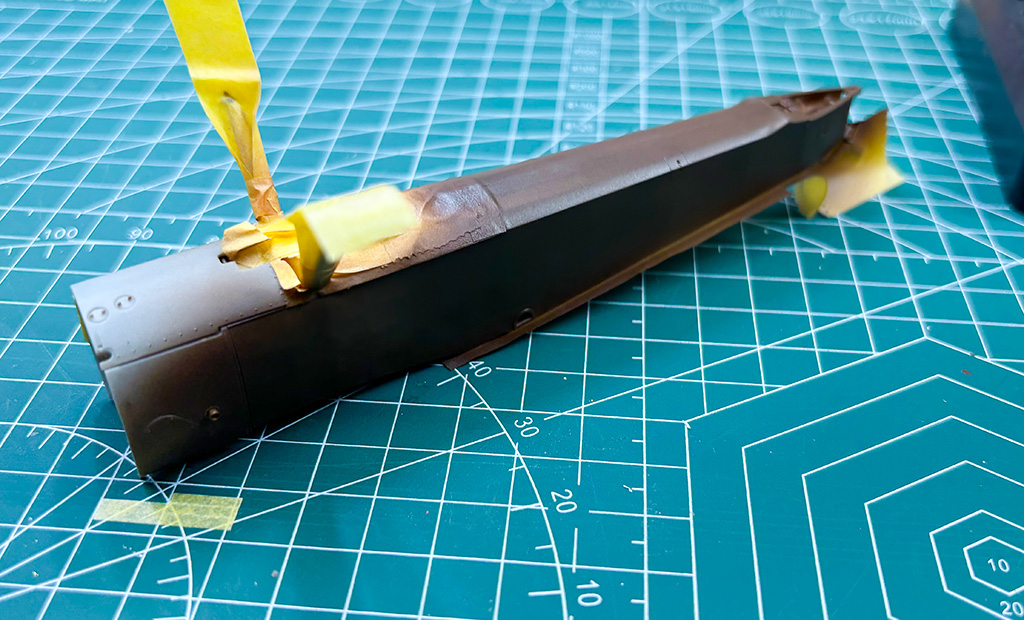
7/27/2026 A small update…

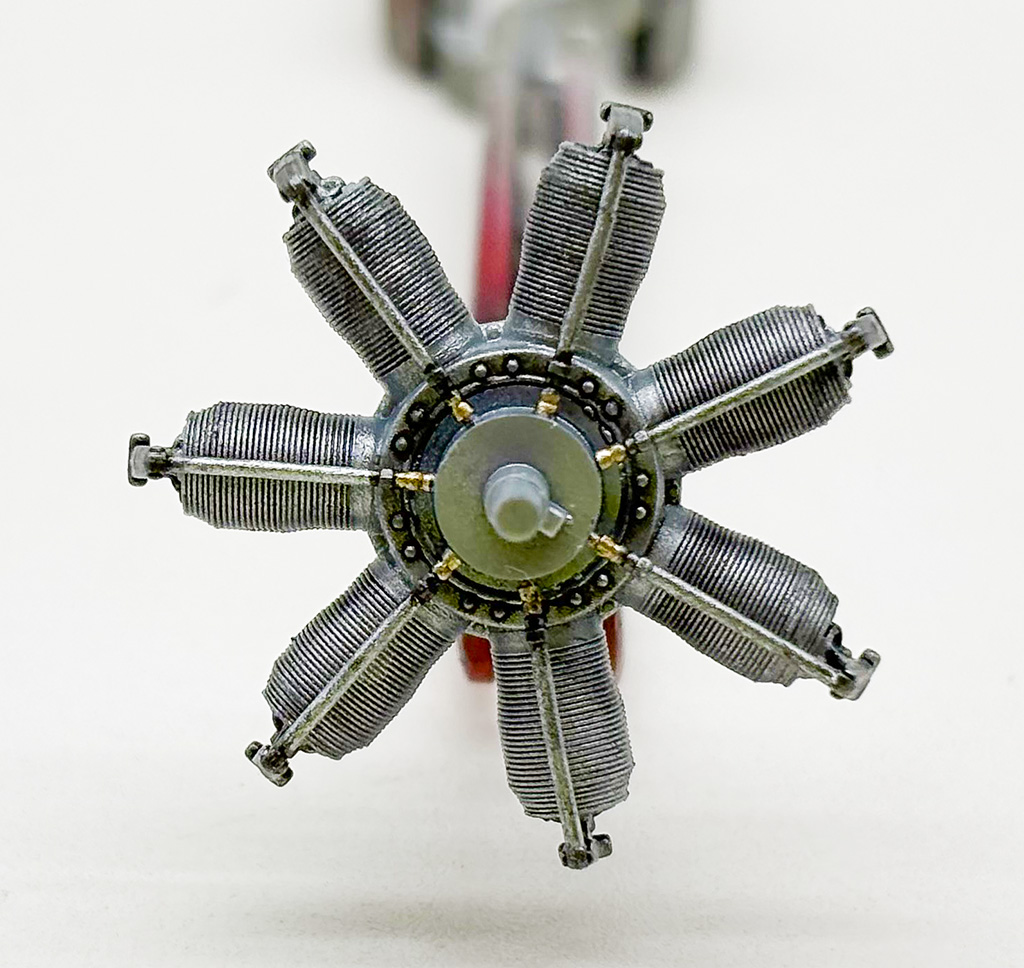
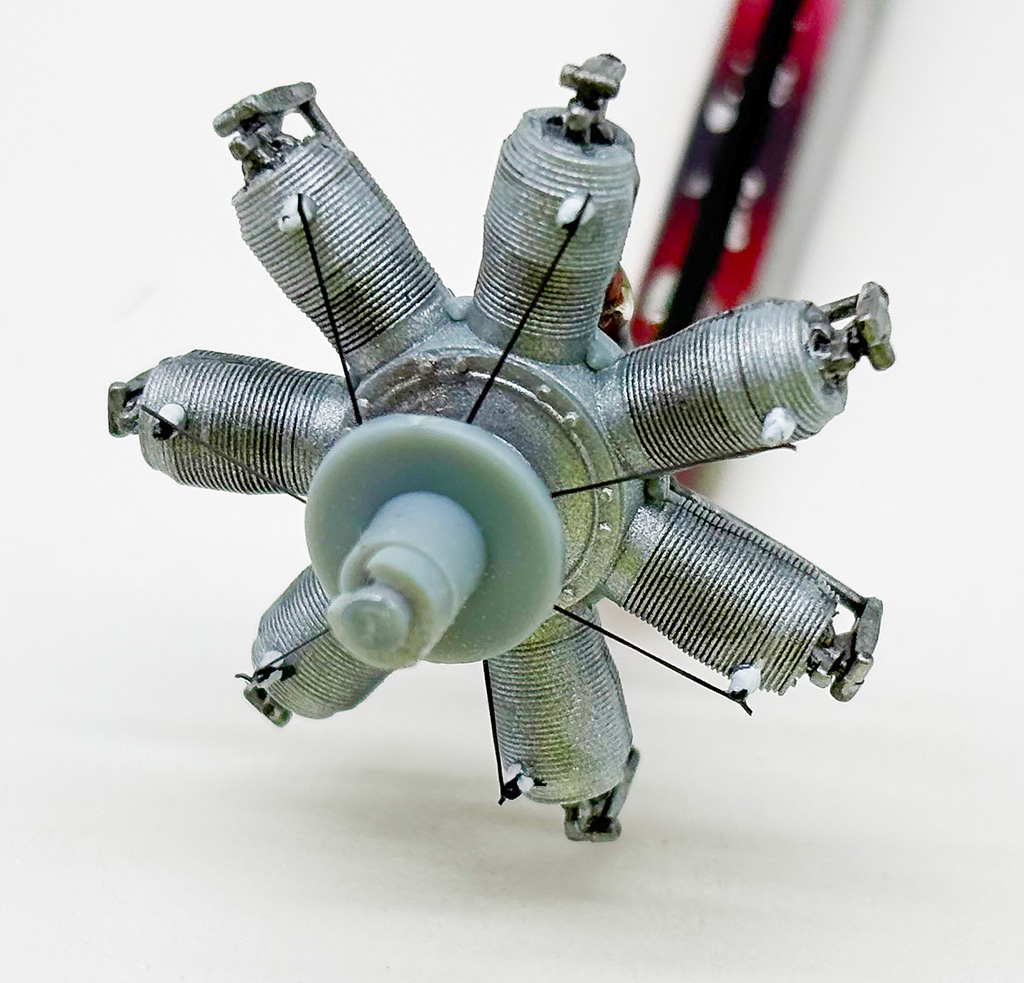
7/28/26 I've finished the engine (wired it with EZline) and attached the tail feathers and the machine gun.

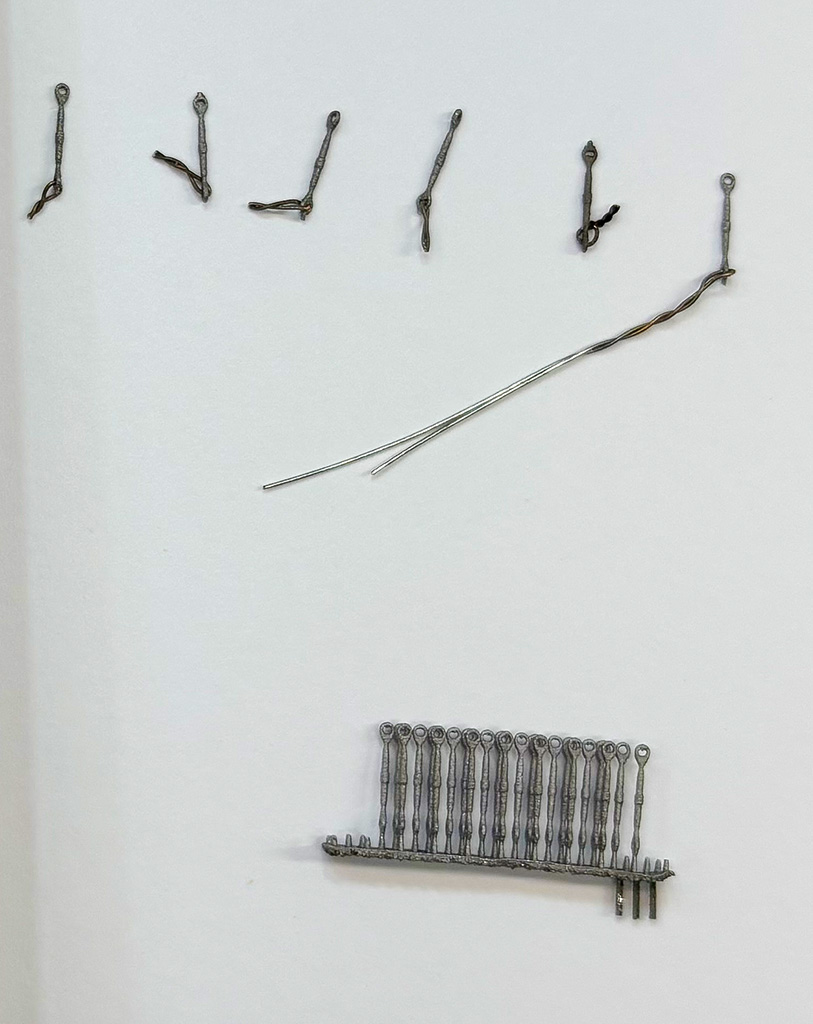
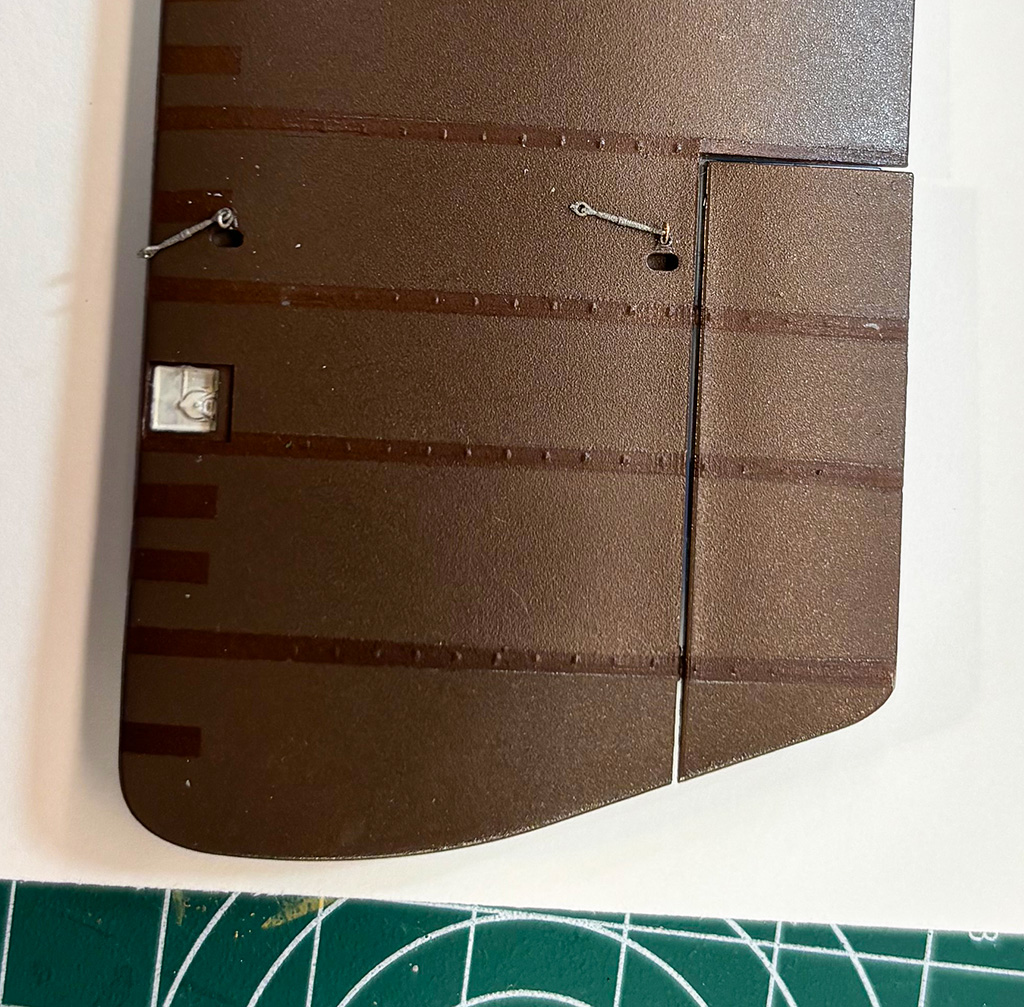
7/30/2026 I've hit upon a way to make the rigging look better as shown in the pictures below. I start with the wings painted and decaled. I then drill out the turnbuckle holes to clean any paint so a clean hole is left. Next I use some .25 mm wire I have (I have some .2 mm copper wire on order – that should work better), I run this through one eye of a Gaspatch metal turnbuckle type c and twist the wire to make a wire eyelet attachment. The wire is trimmed close then superglued into the turnbuckle hole in the wing. I will do this for both the upper and lower wing connections and rig them with ezline. That's the plan anyway. We'll see how it goes.


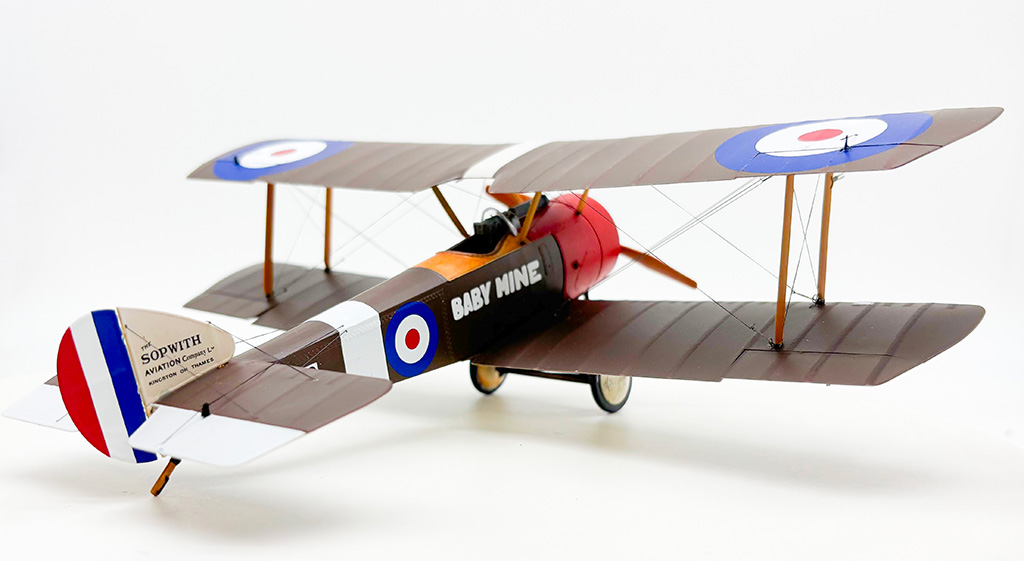
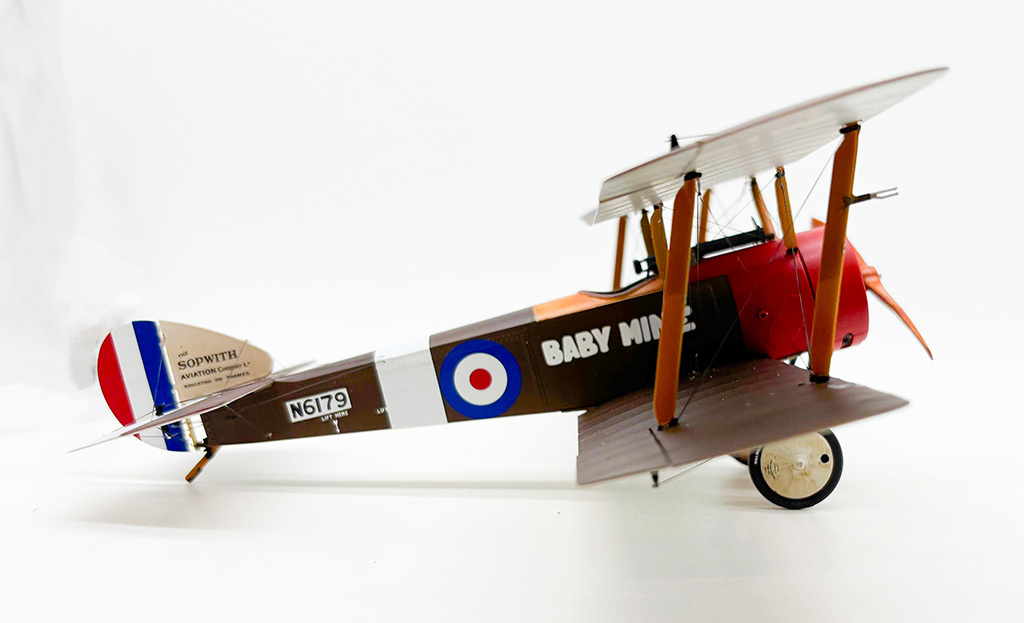
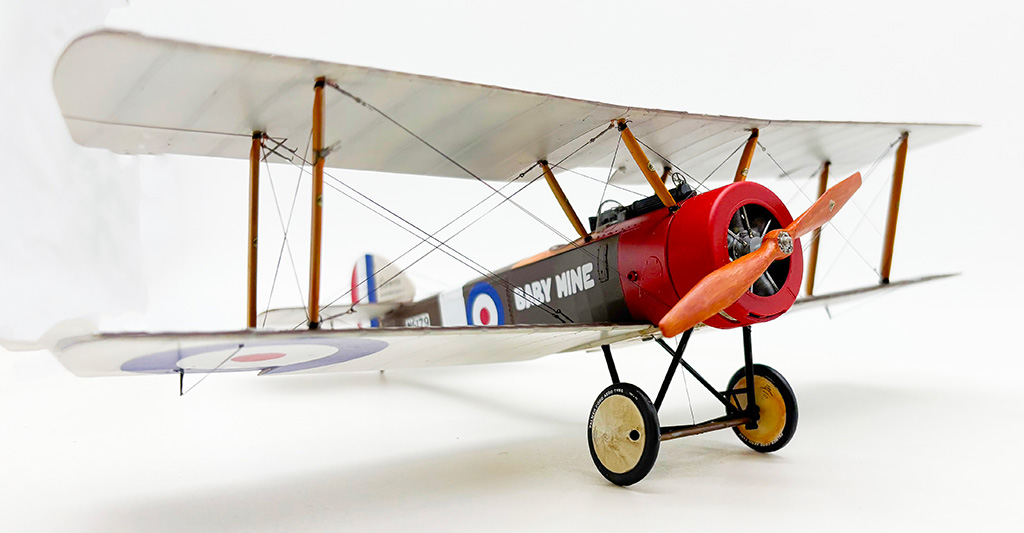
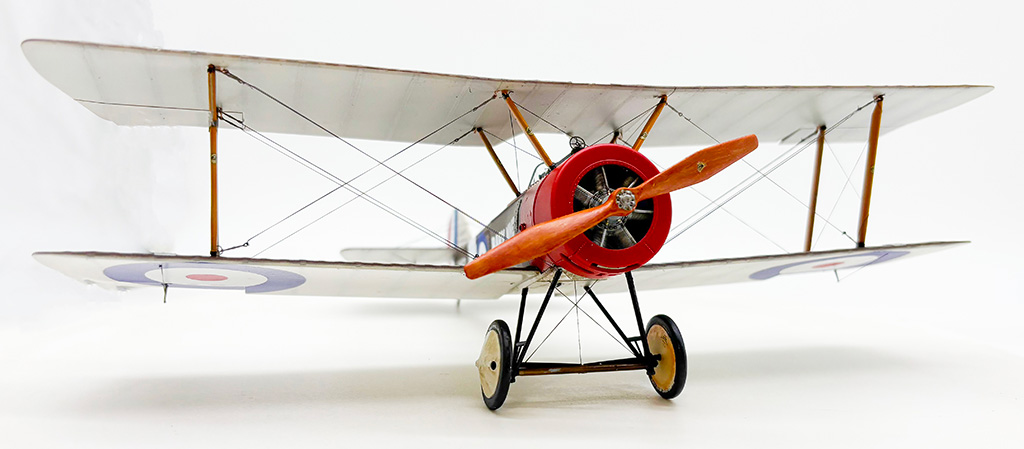
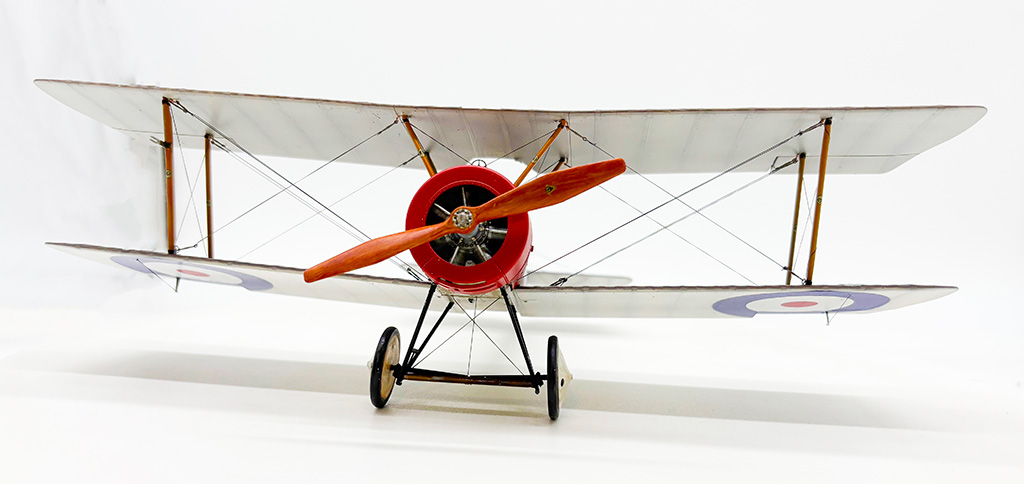
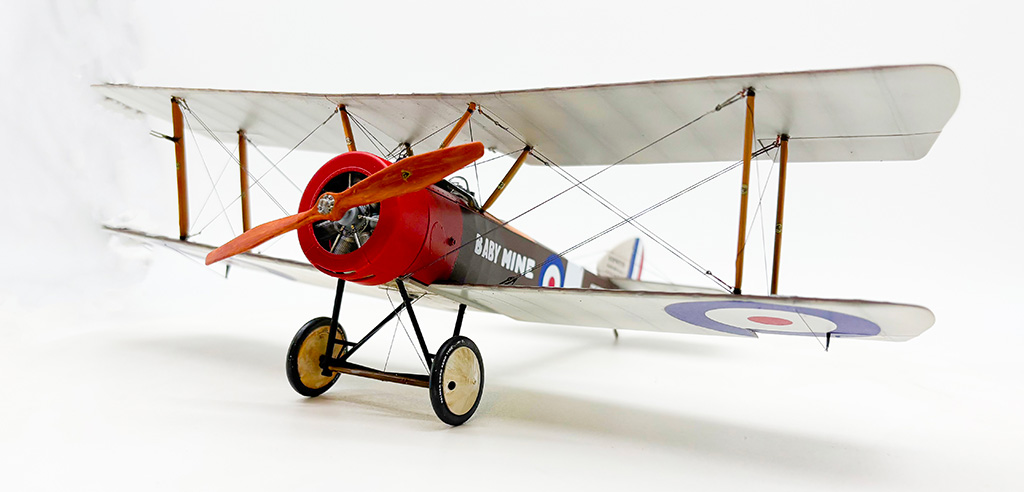
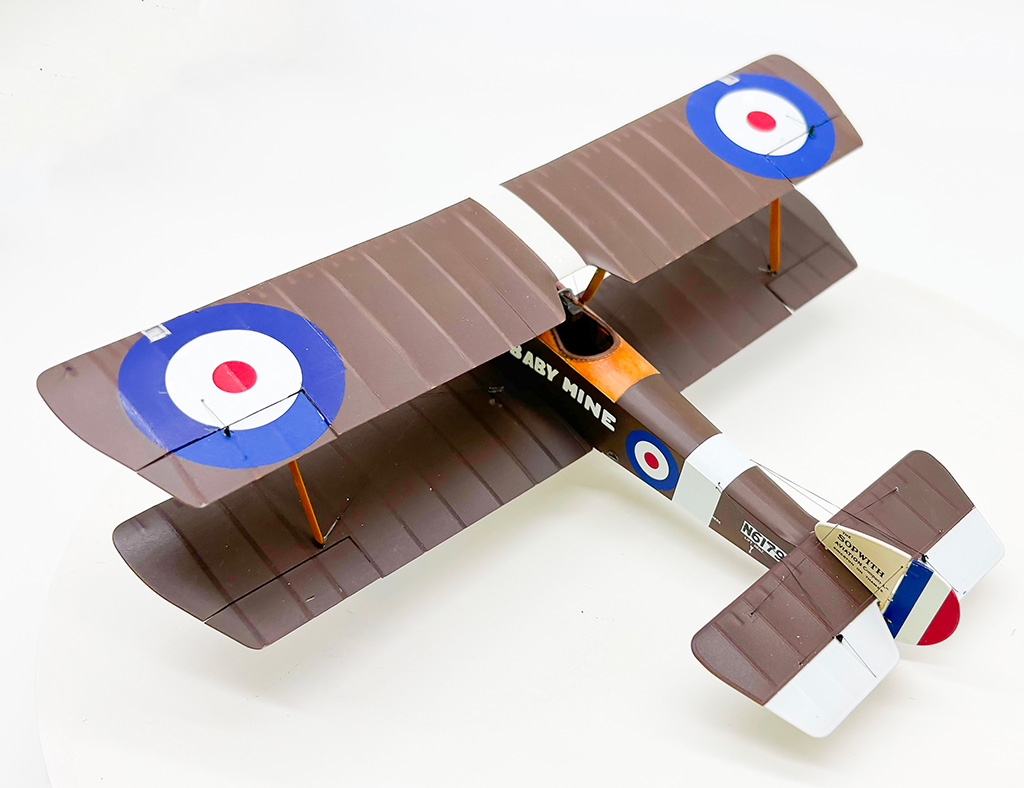
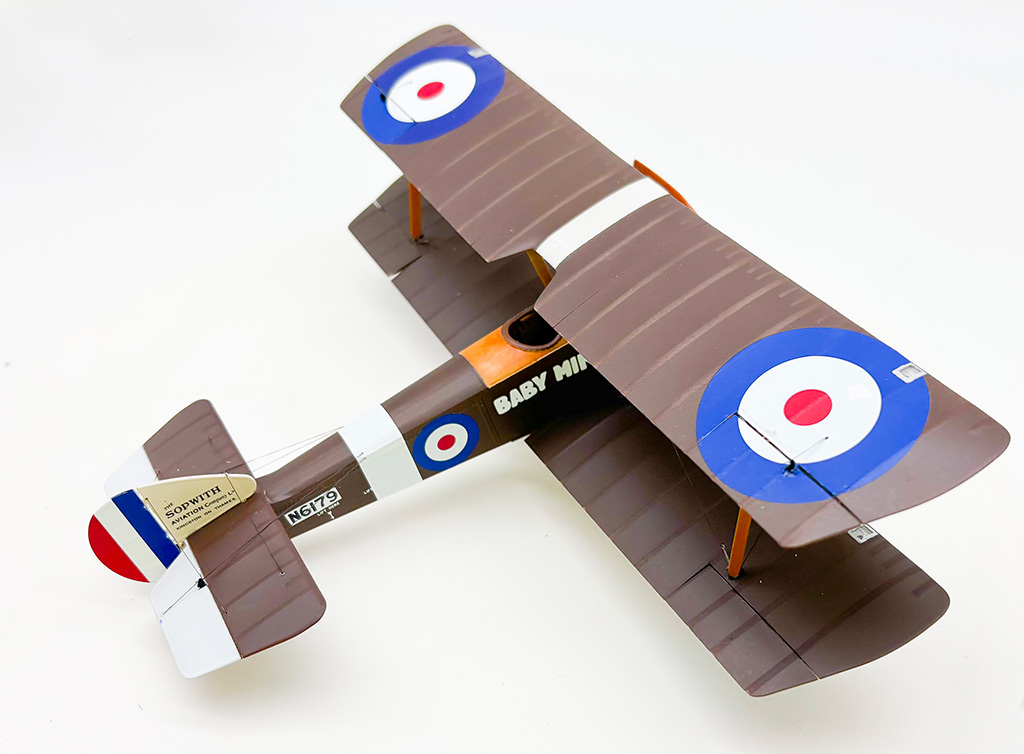
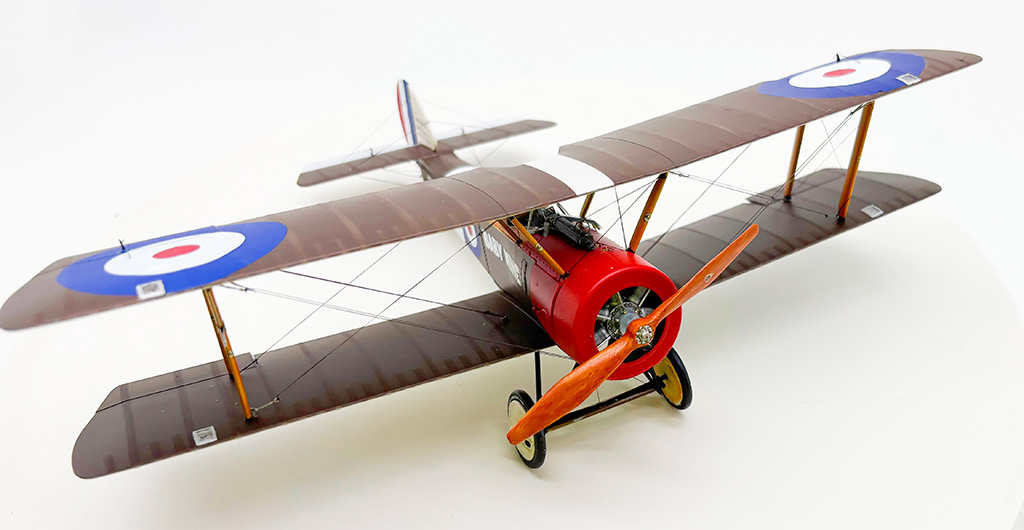
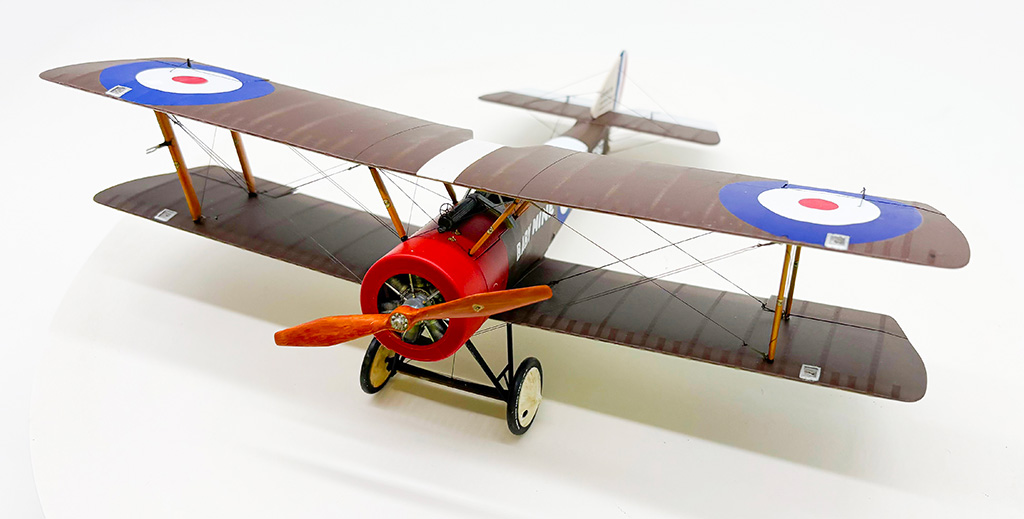
8/3/2026 I've finally finished the build; I had a very enjoyable time. The only problem I had was my own clumsiness as I kept knocking off small parts here and there. Here are the pictures.


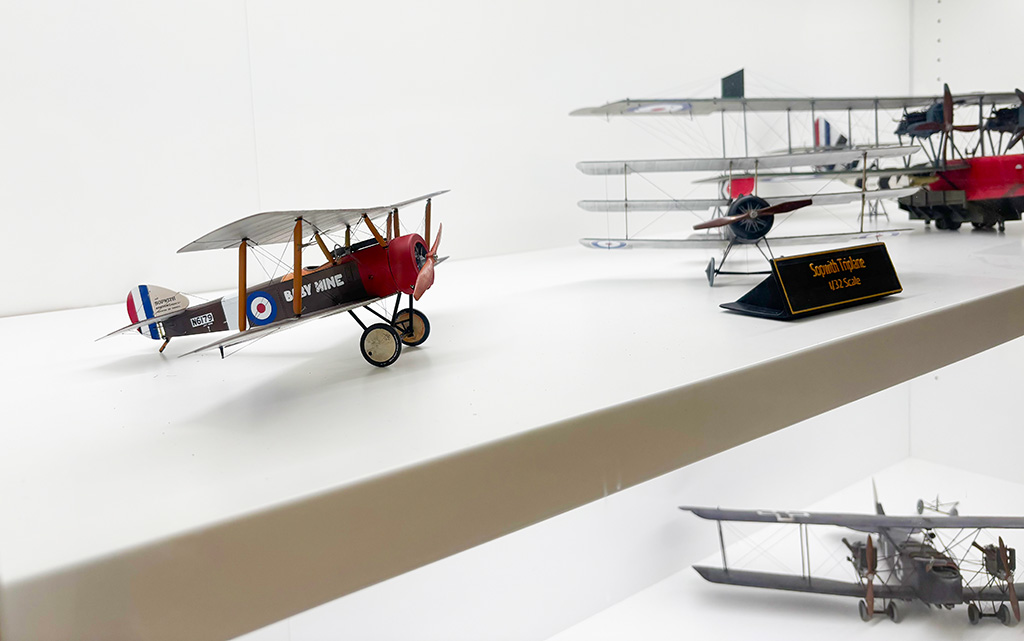
Here it is in my display case: