Go to page 1
Go to page 3
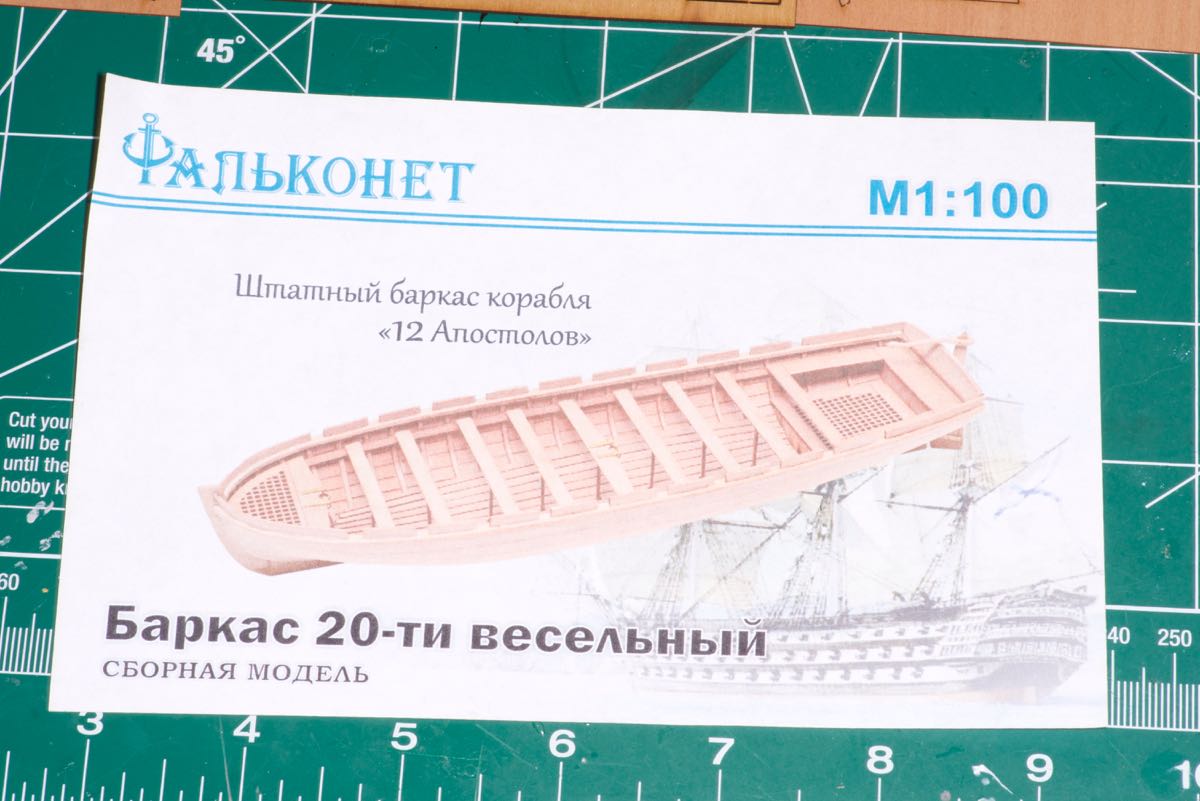
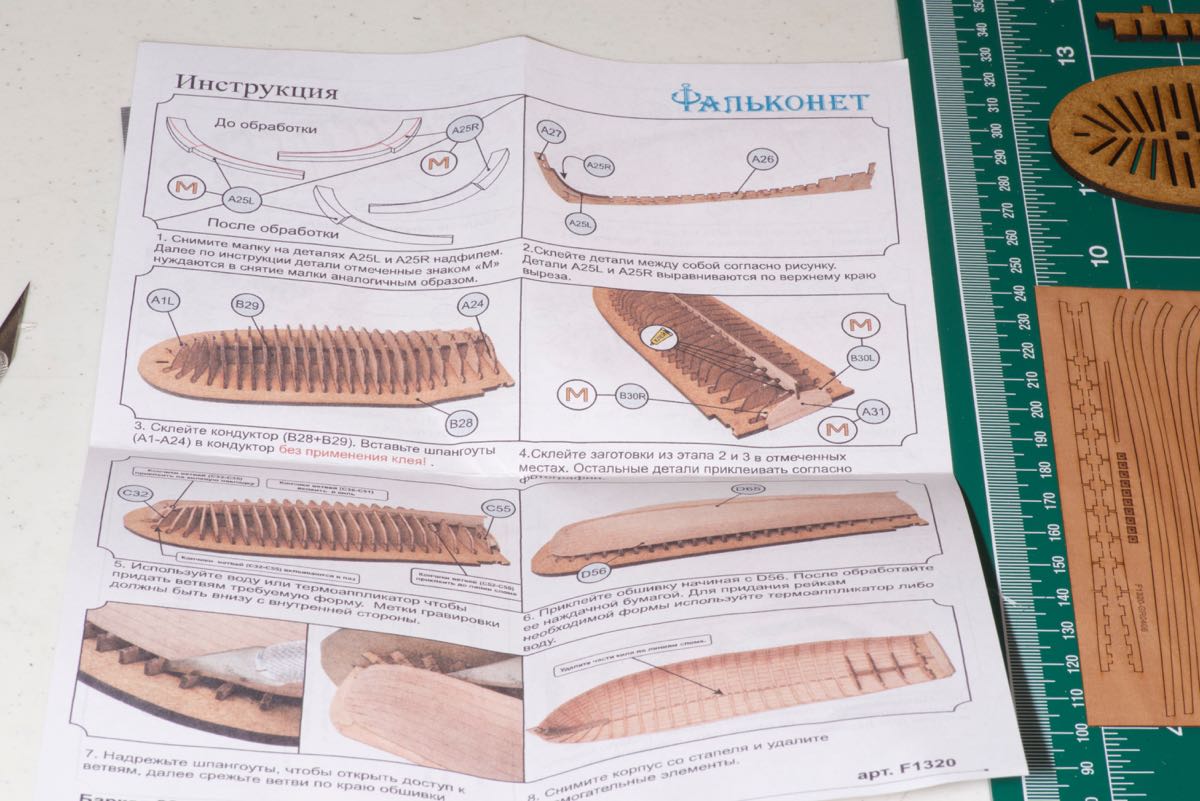
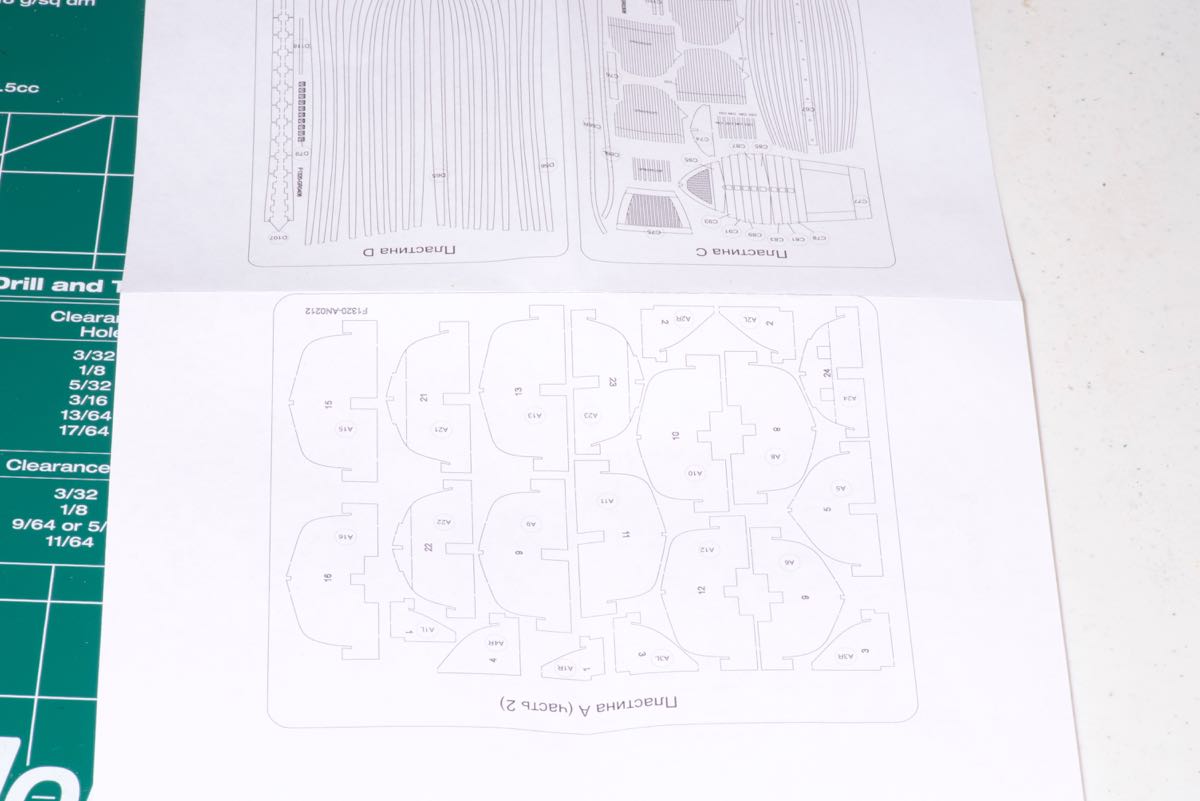
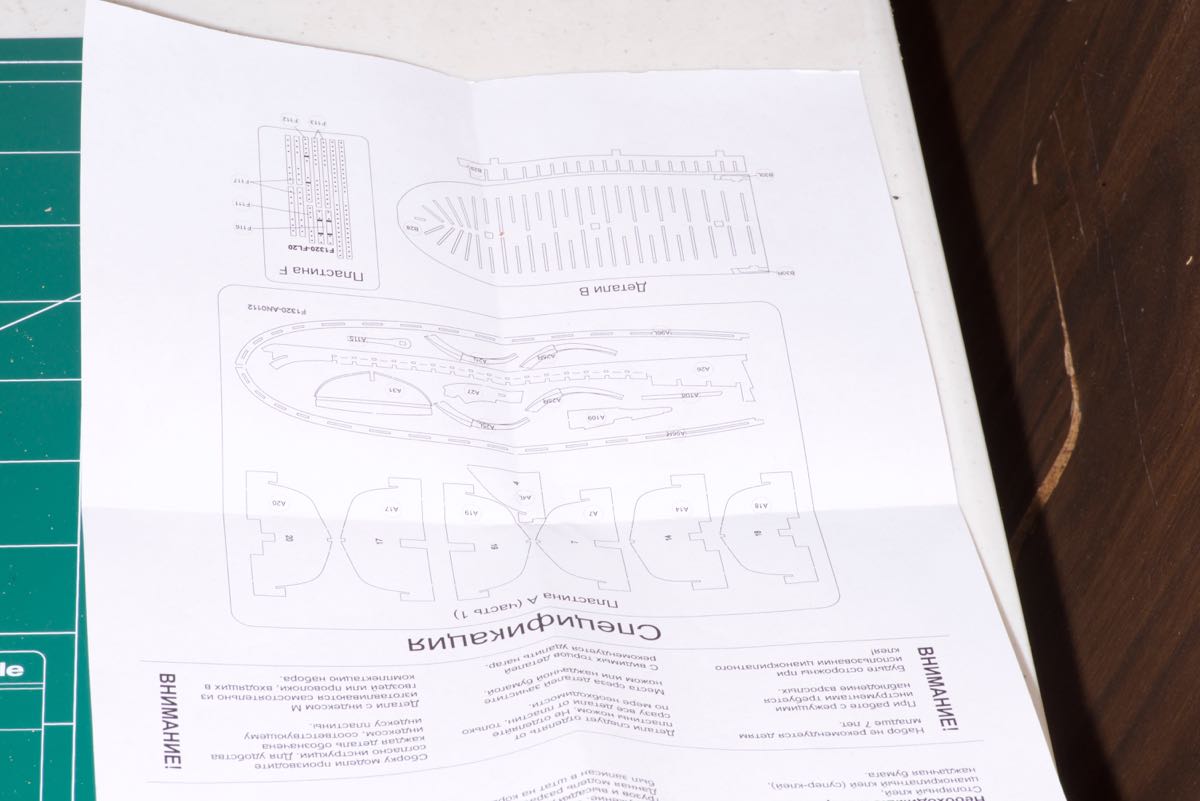
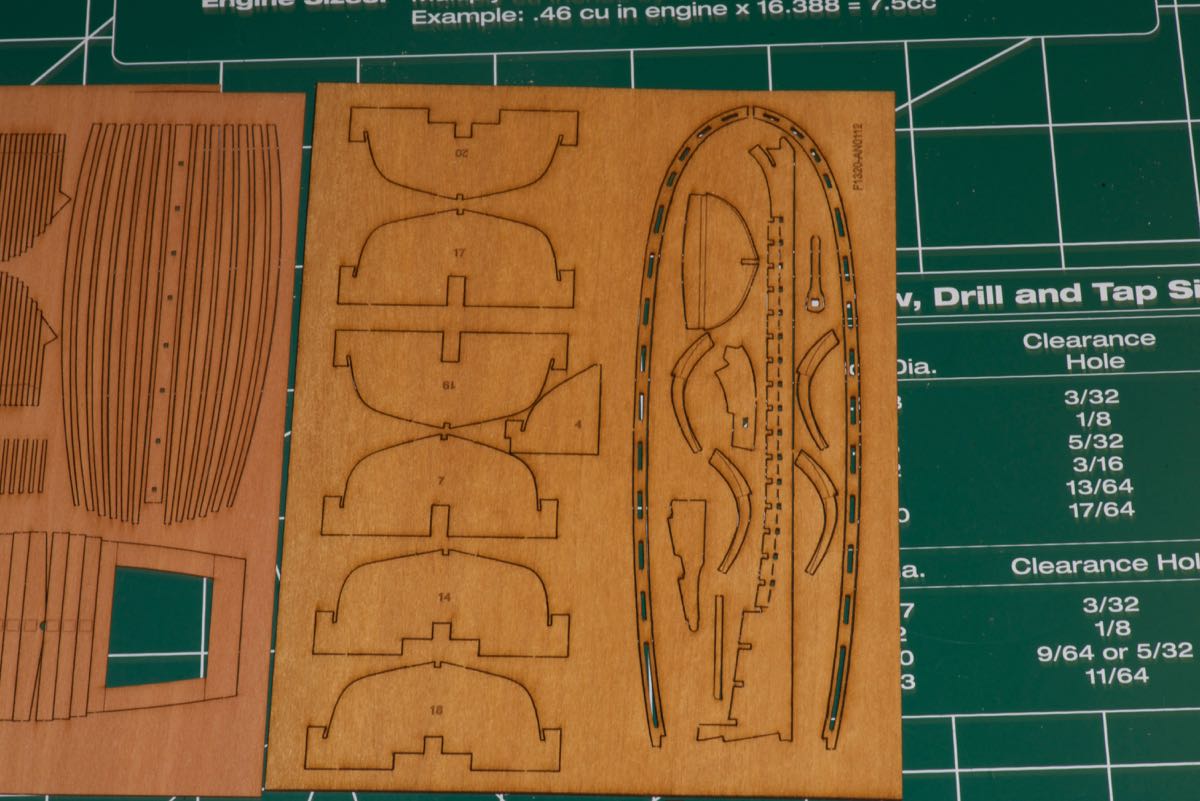
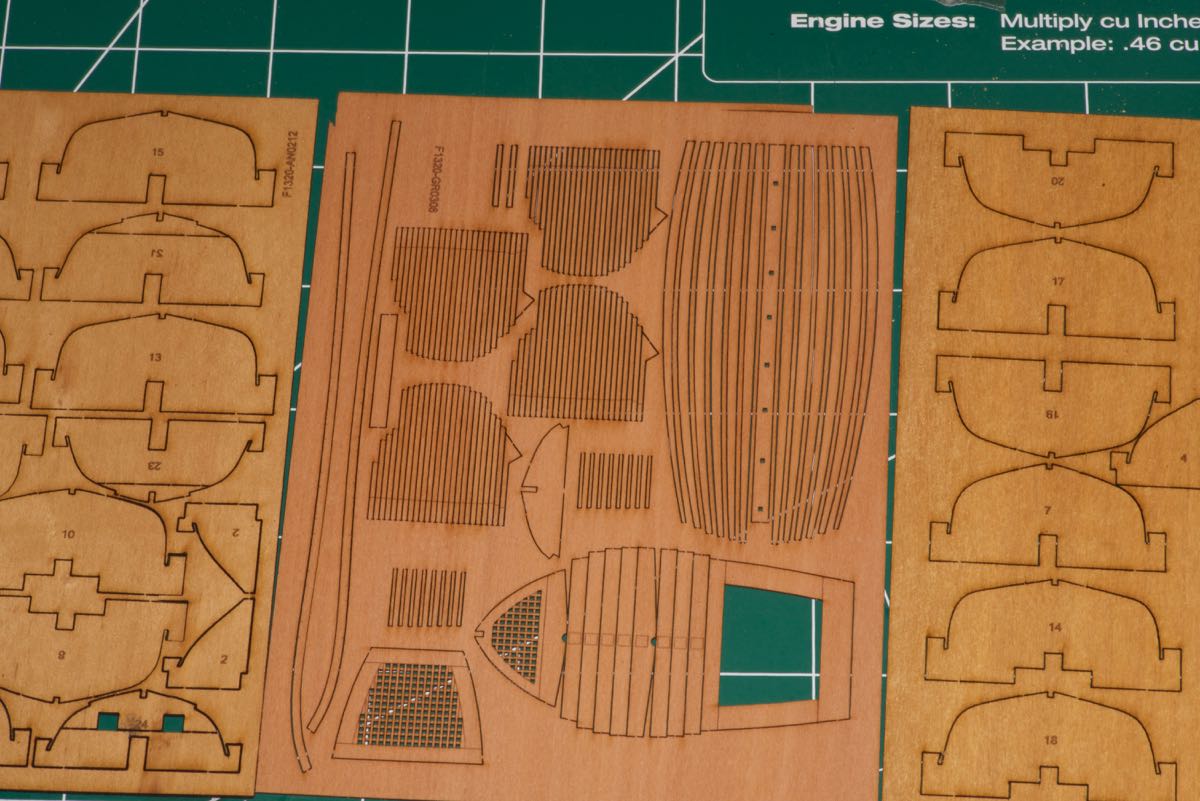
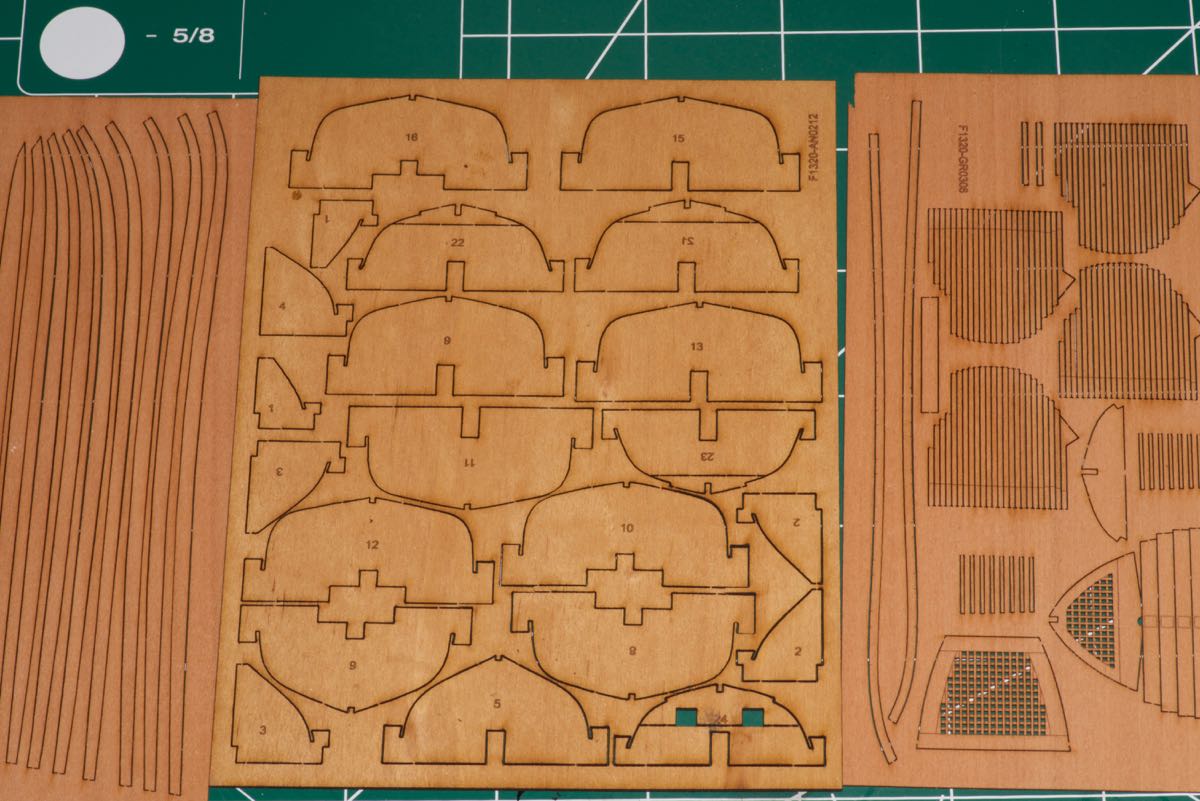
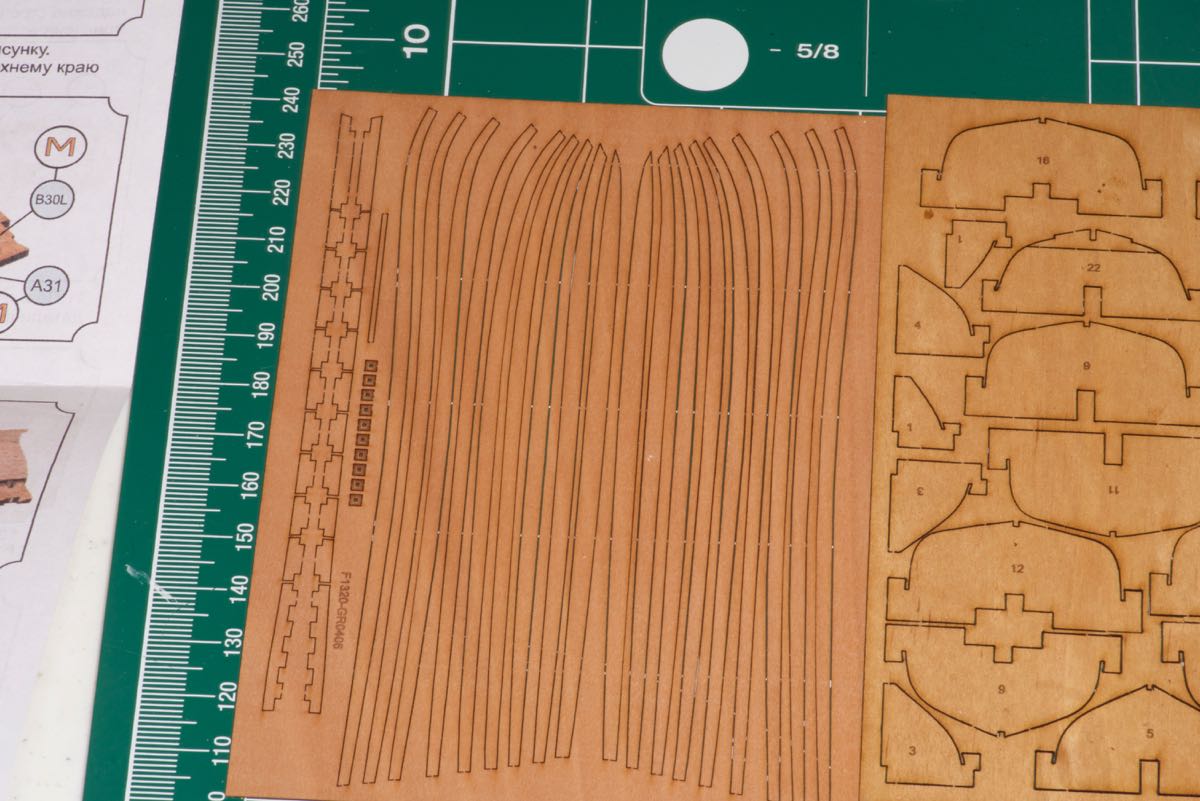
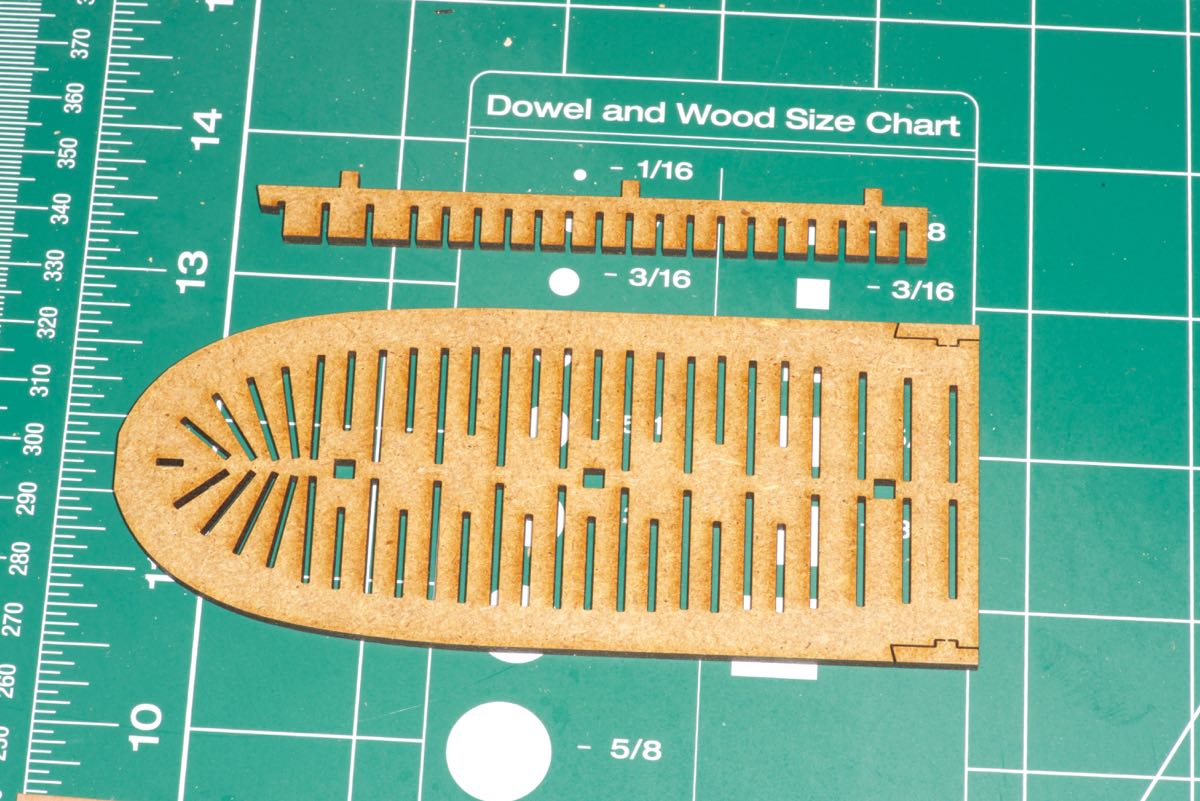
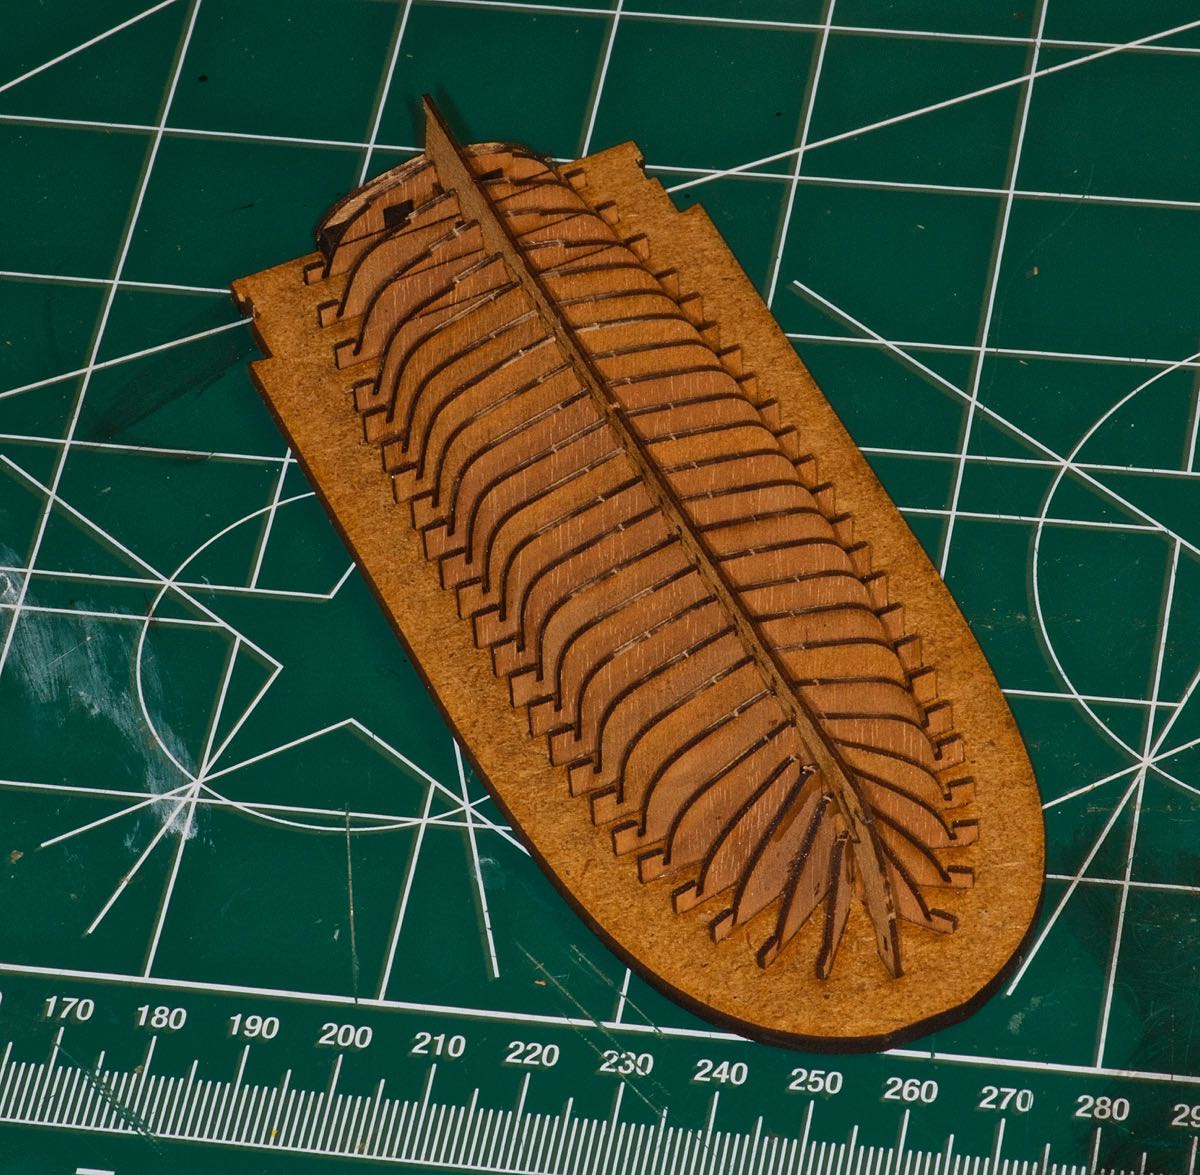
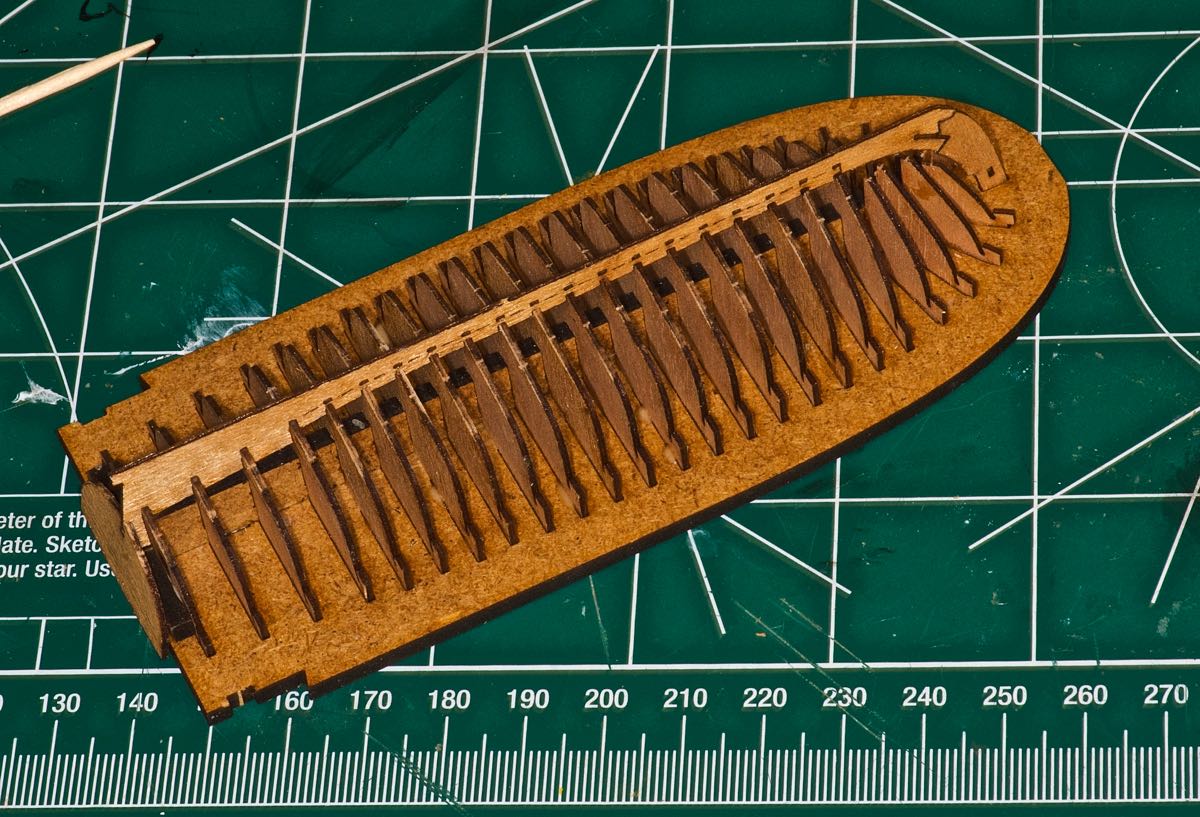
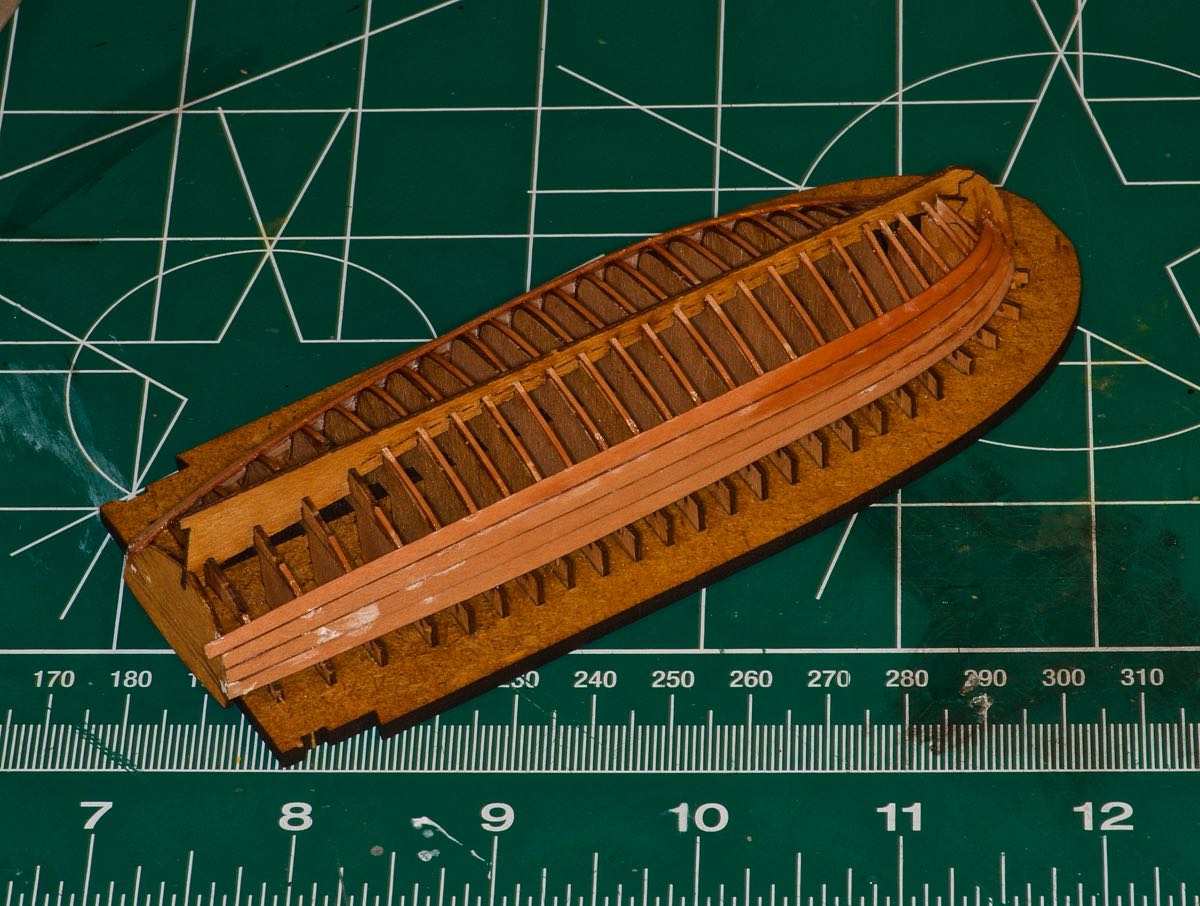
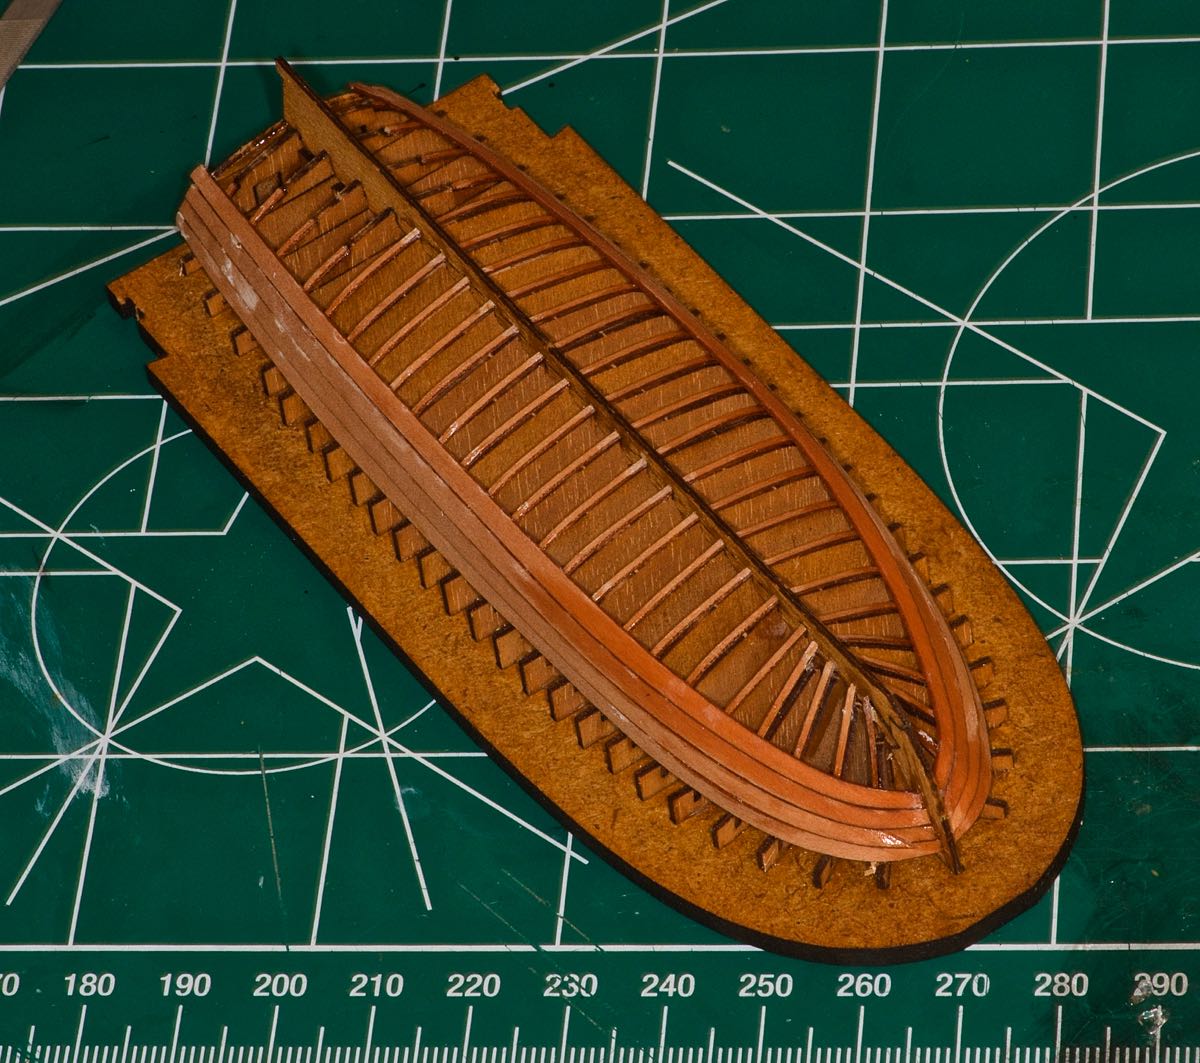
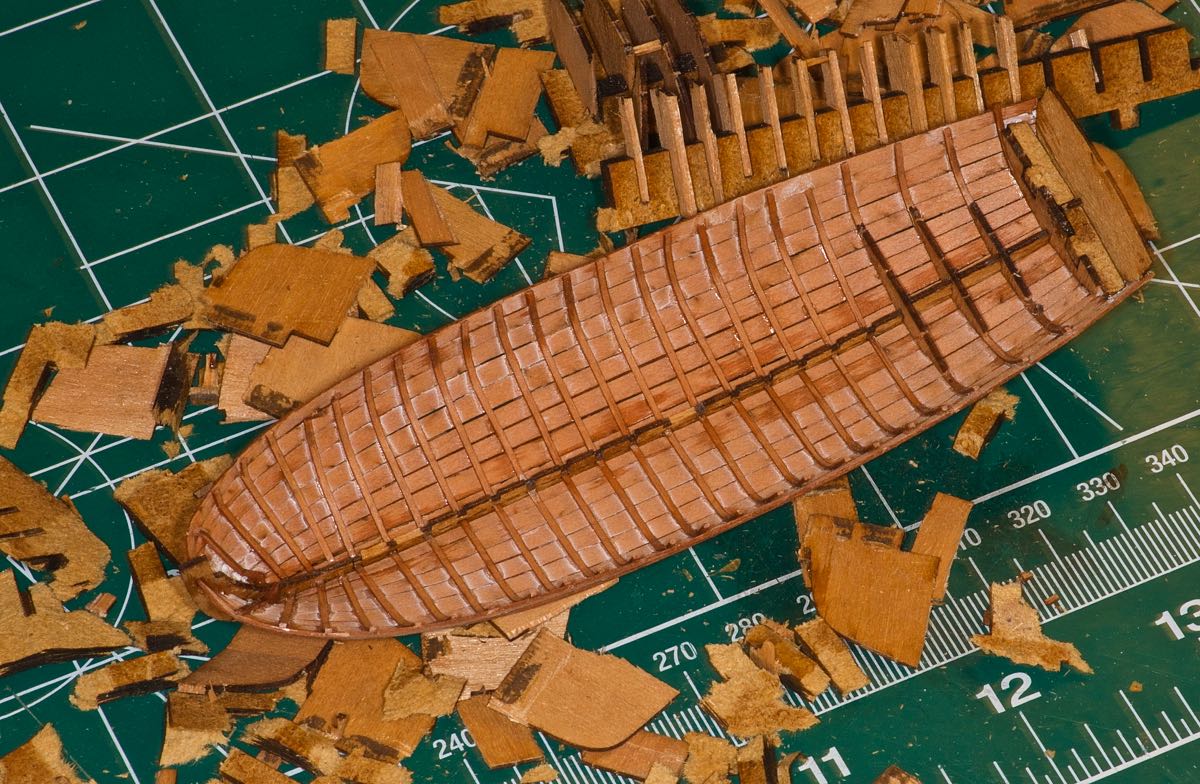
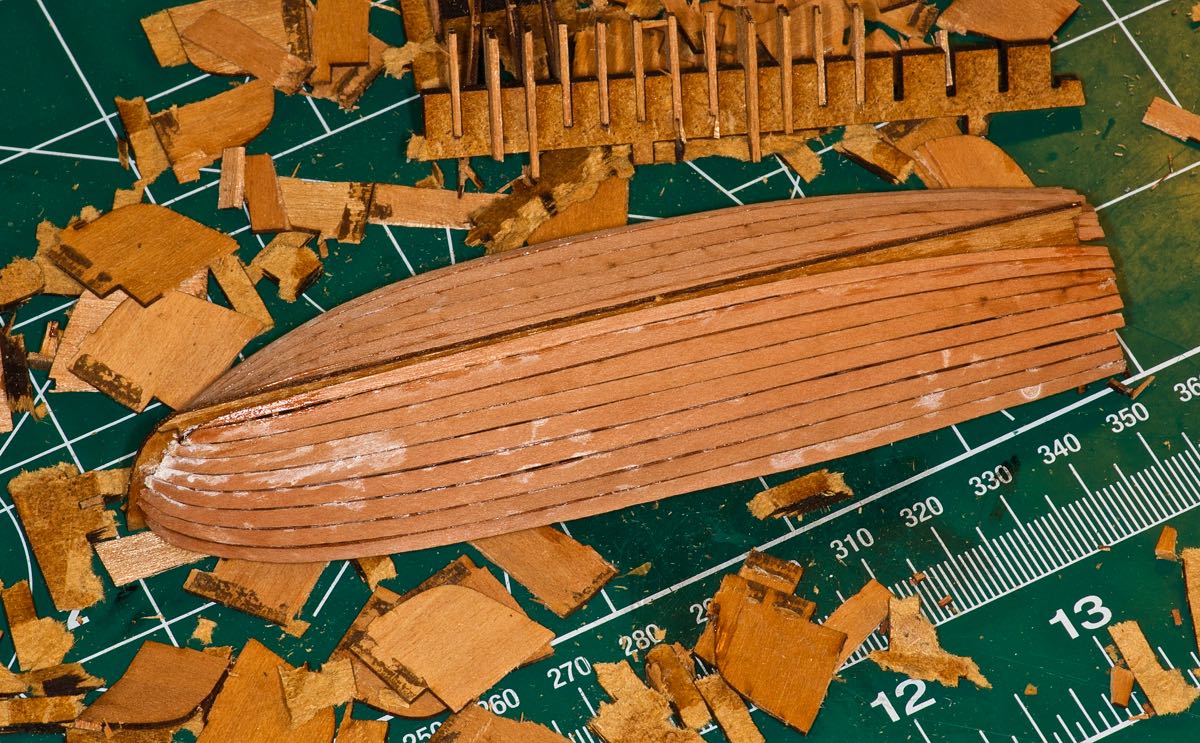
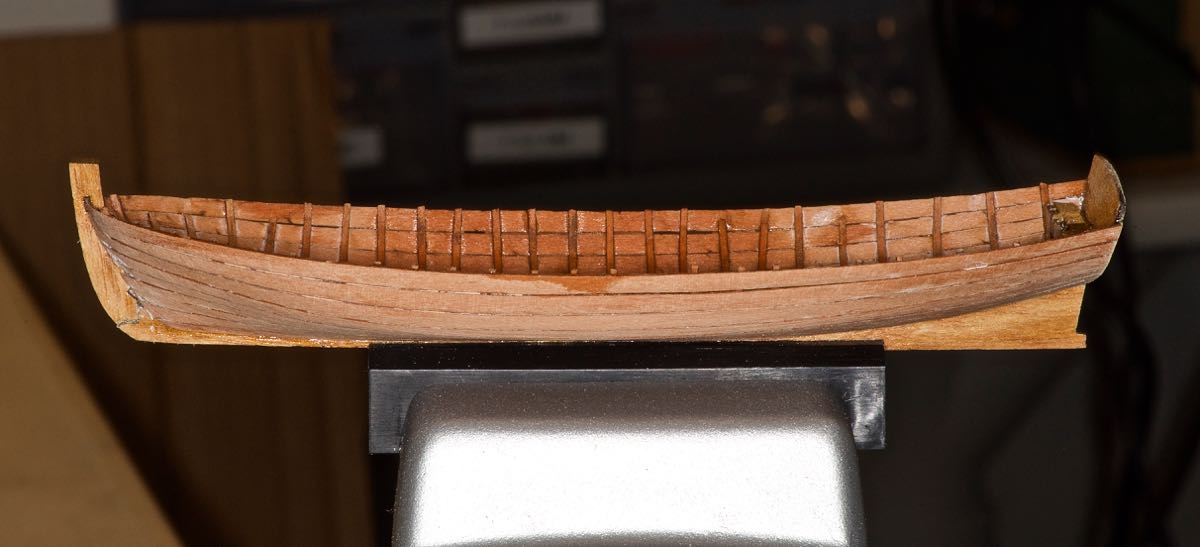
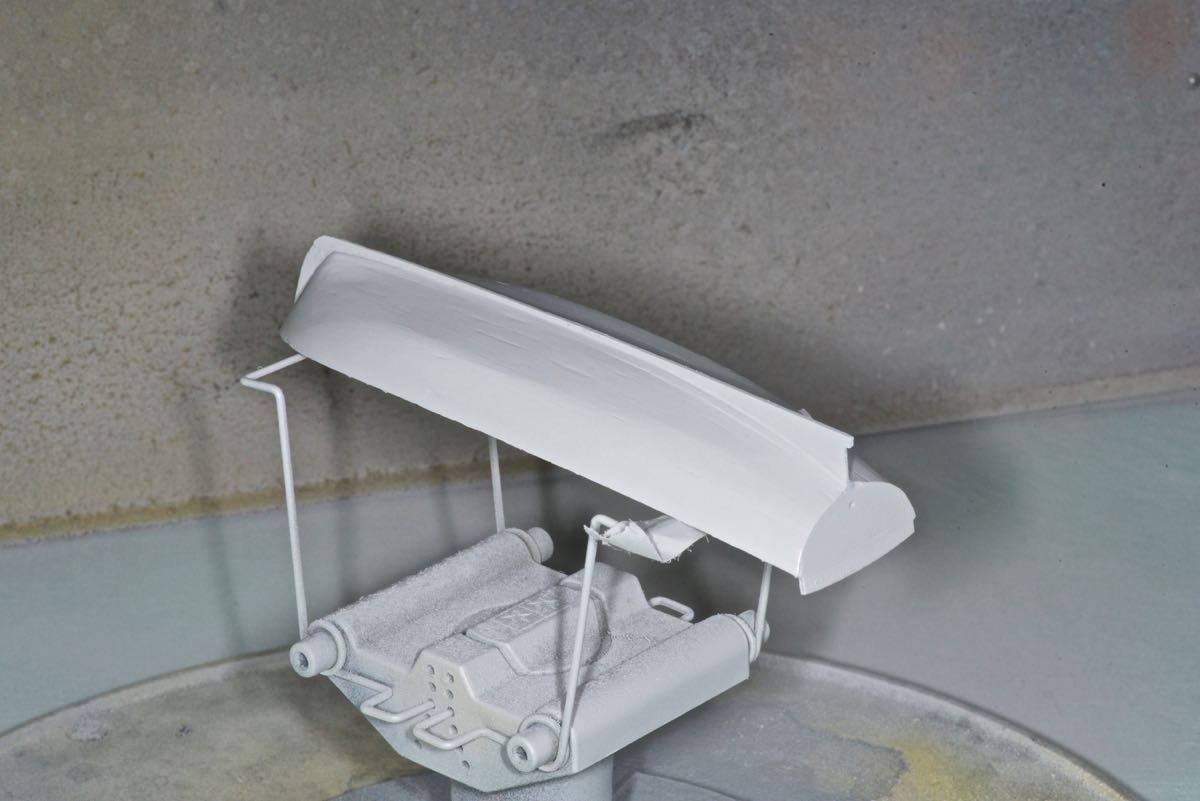
1/31/2017 Today I've taken a breather form rigging the Victory and worked instead on a 1/100 scale 20 oared ships boat that I got from Russia. The cost was $29.00 includeing shipping. It's a very nice kit, but it measures out at about 130mm when finished. That's really big, bigger than I thought; I'm really not sure how I'm going to use it. I started out using wood glue, then switched to thin CA as it just works better in the close spaces that I had to deal with. Here are the pictures of how far I got today.

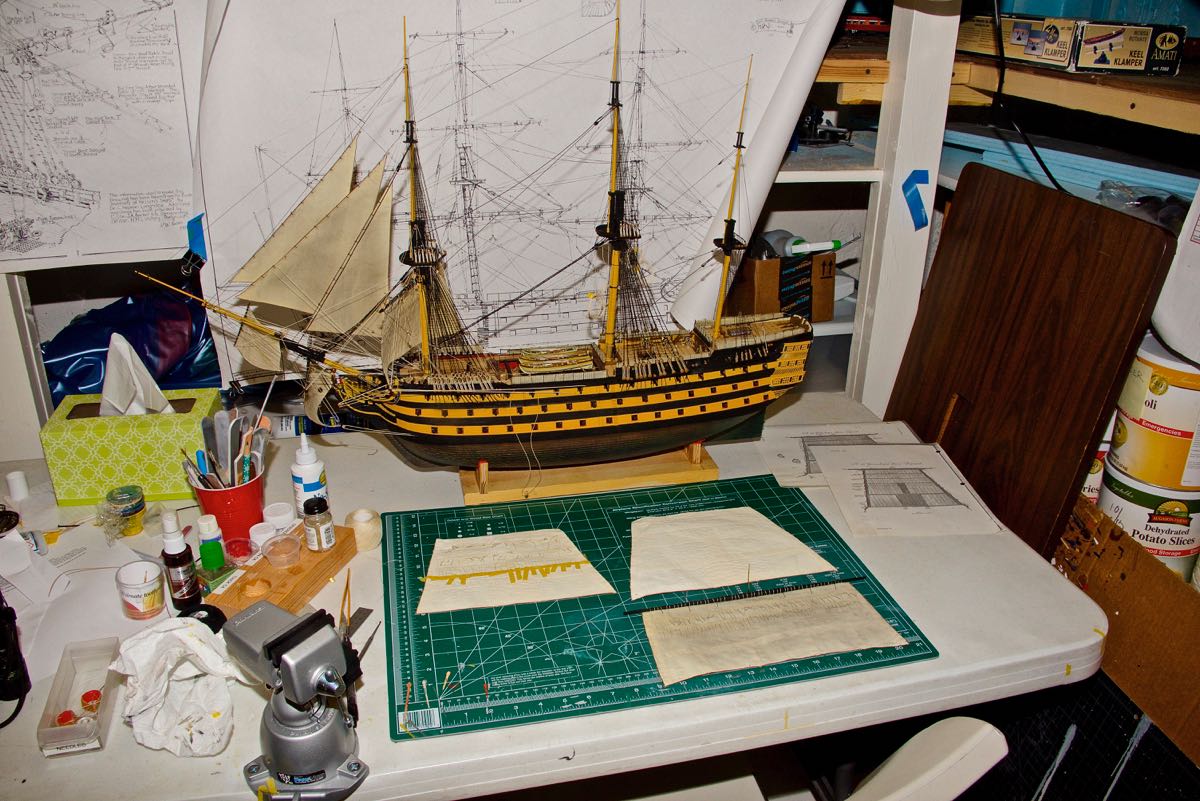
 2/1/2017 I've sanded and painted the ships boat (the one that's really too large). First I gave it two coats of Tamiya liquid primer, then sanded then two coats of Tamiya gray primer from a rattle can. It needs more sanding and more parts go in the inside to finish it.
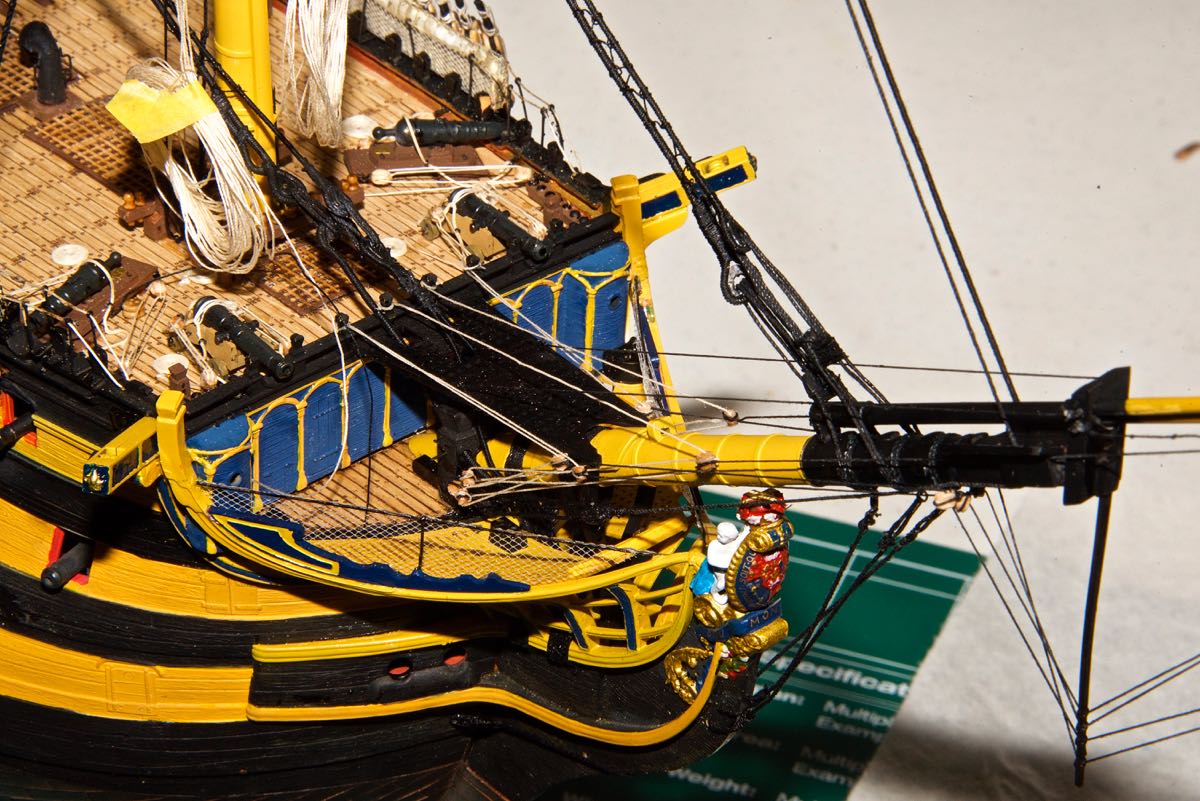
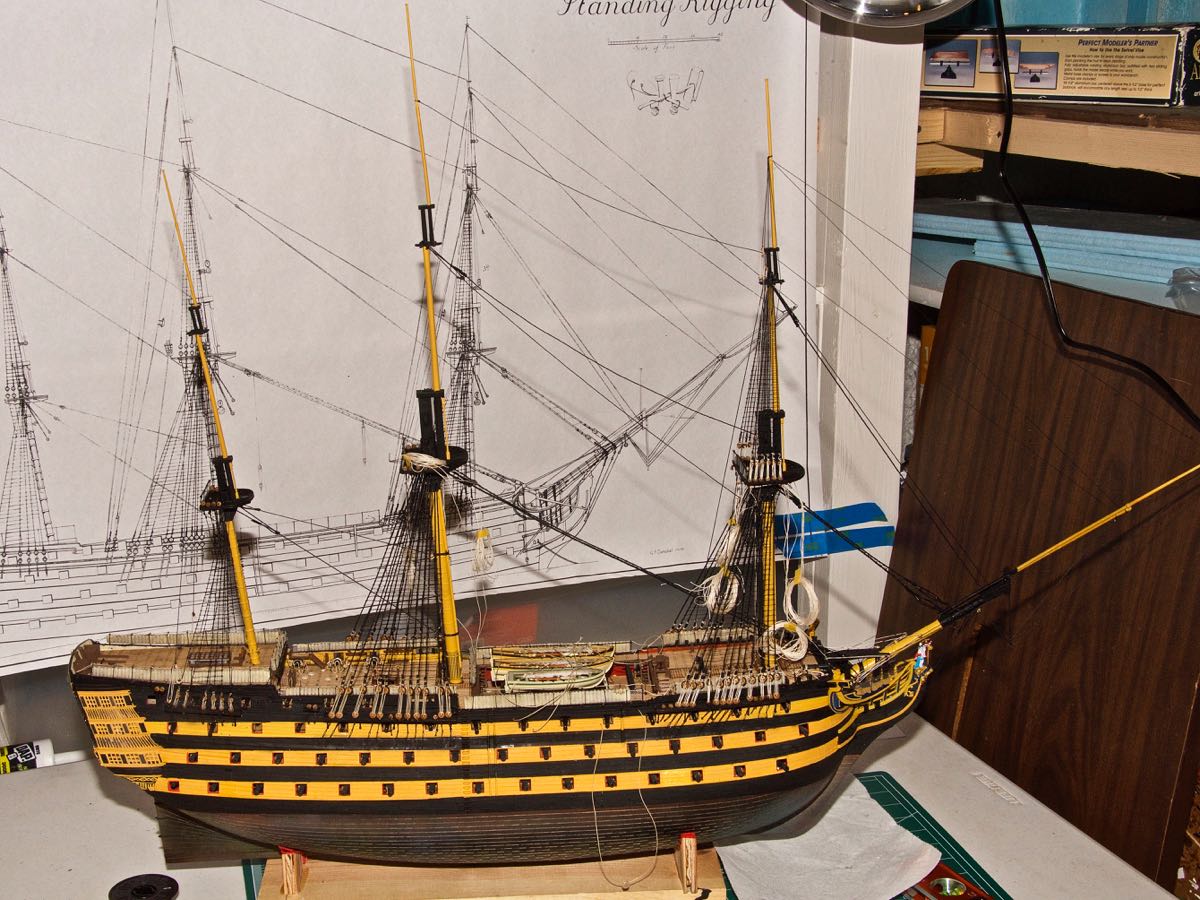
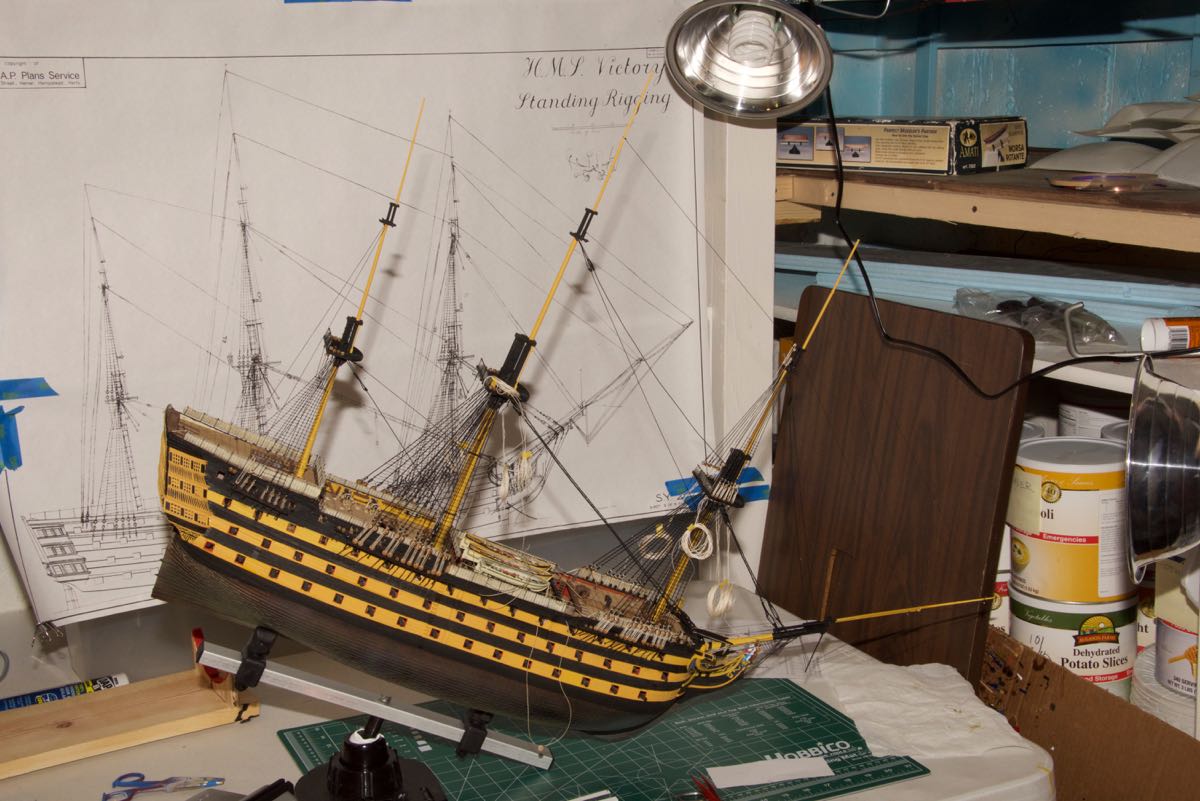
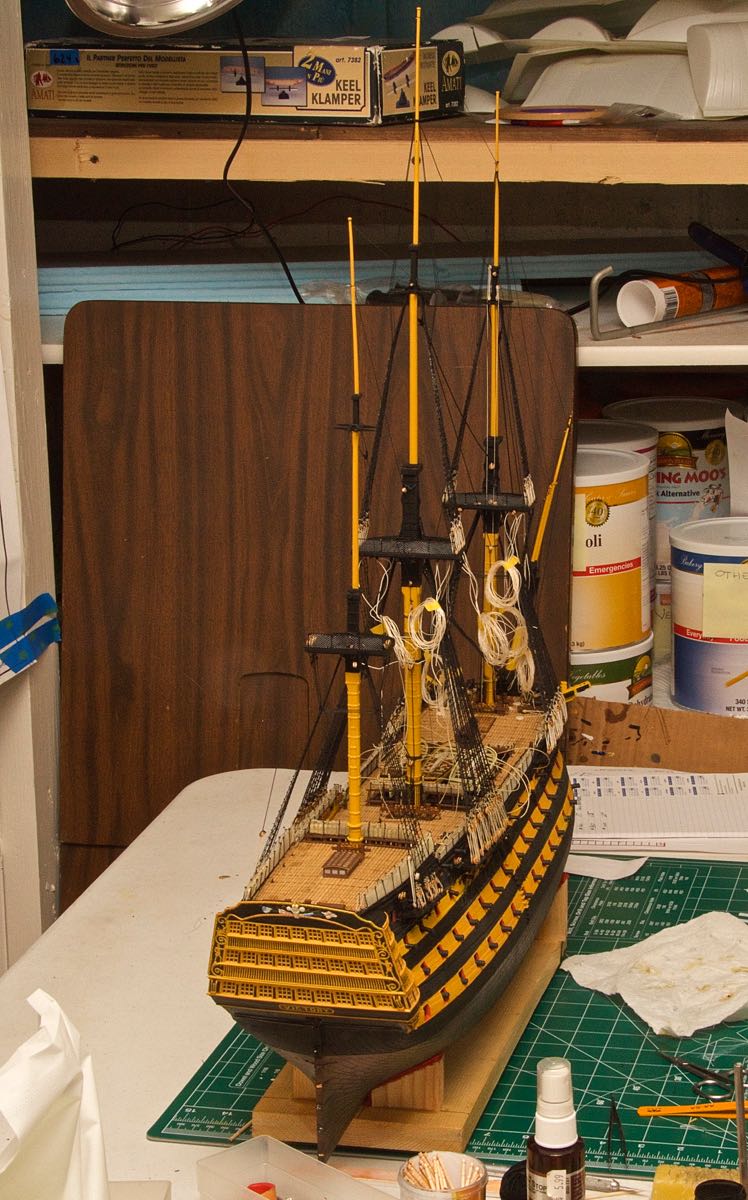
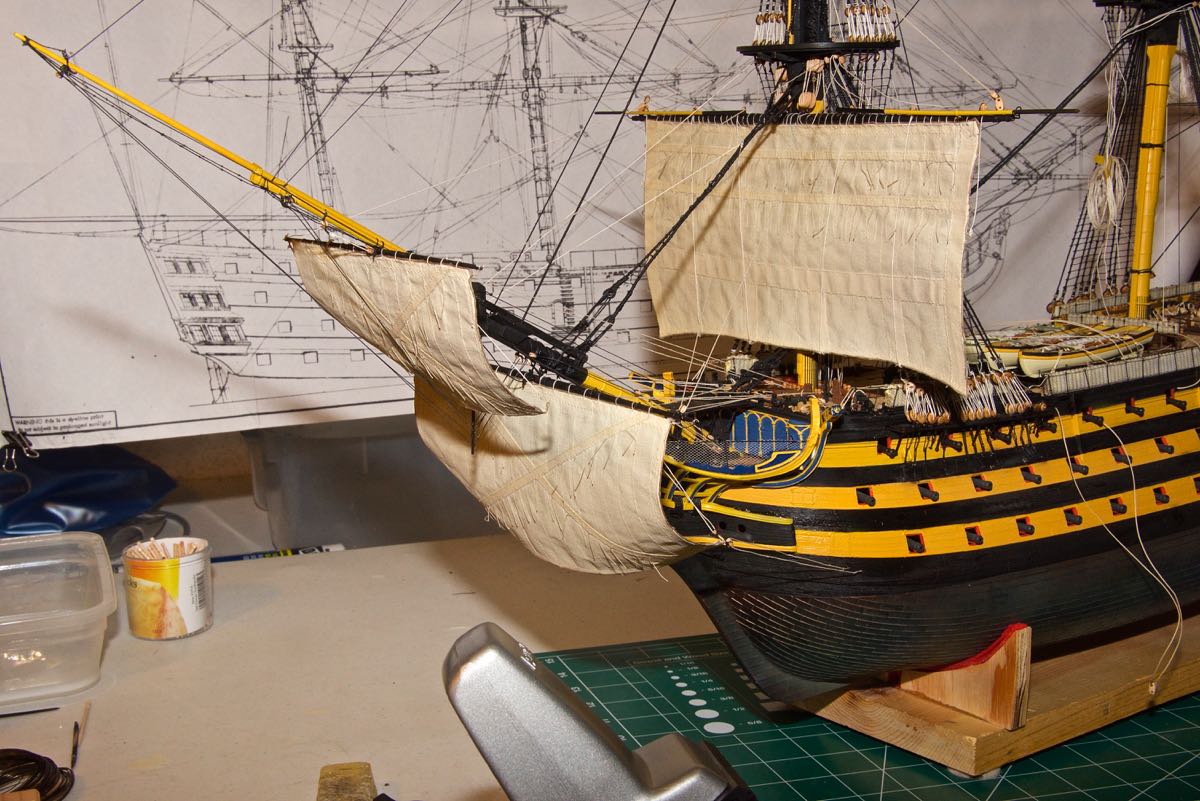
Next I have some updated photos that show a little more rigging done on the bow.
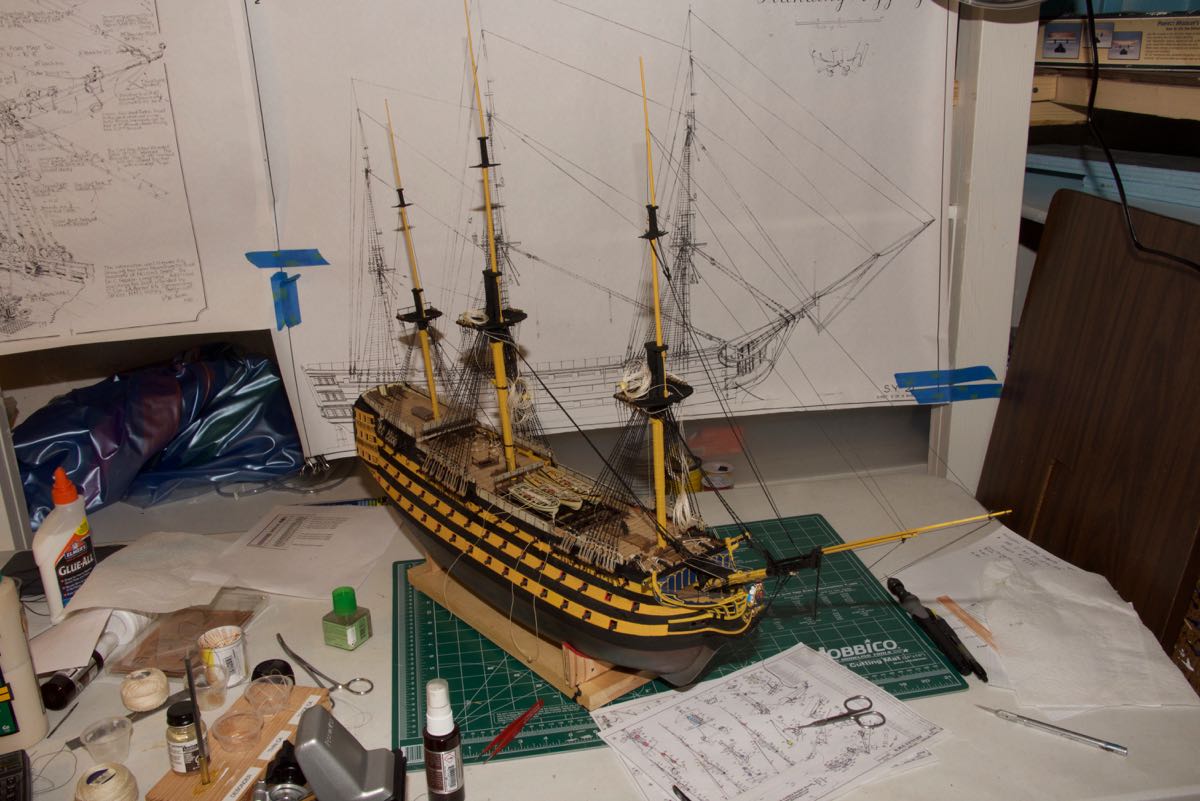
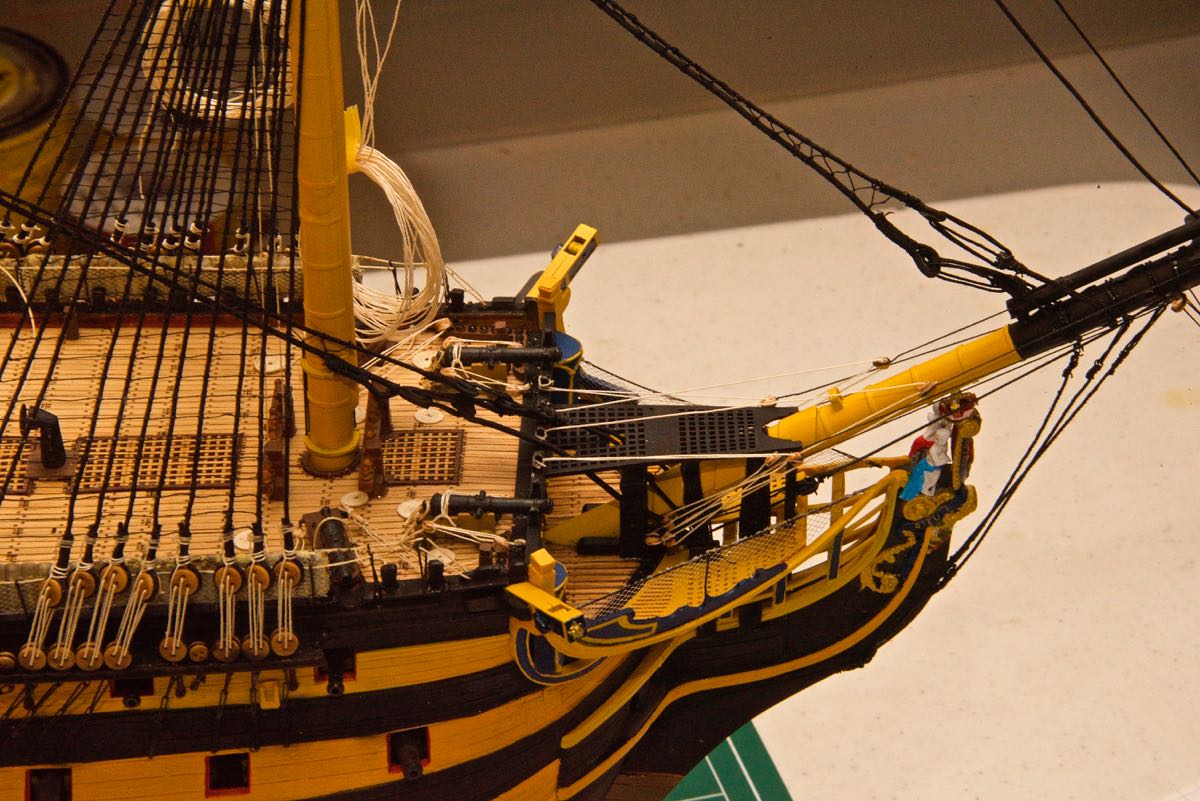
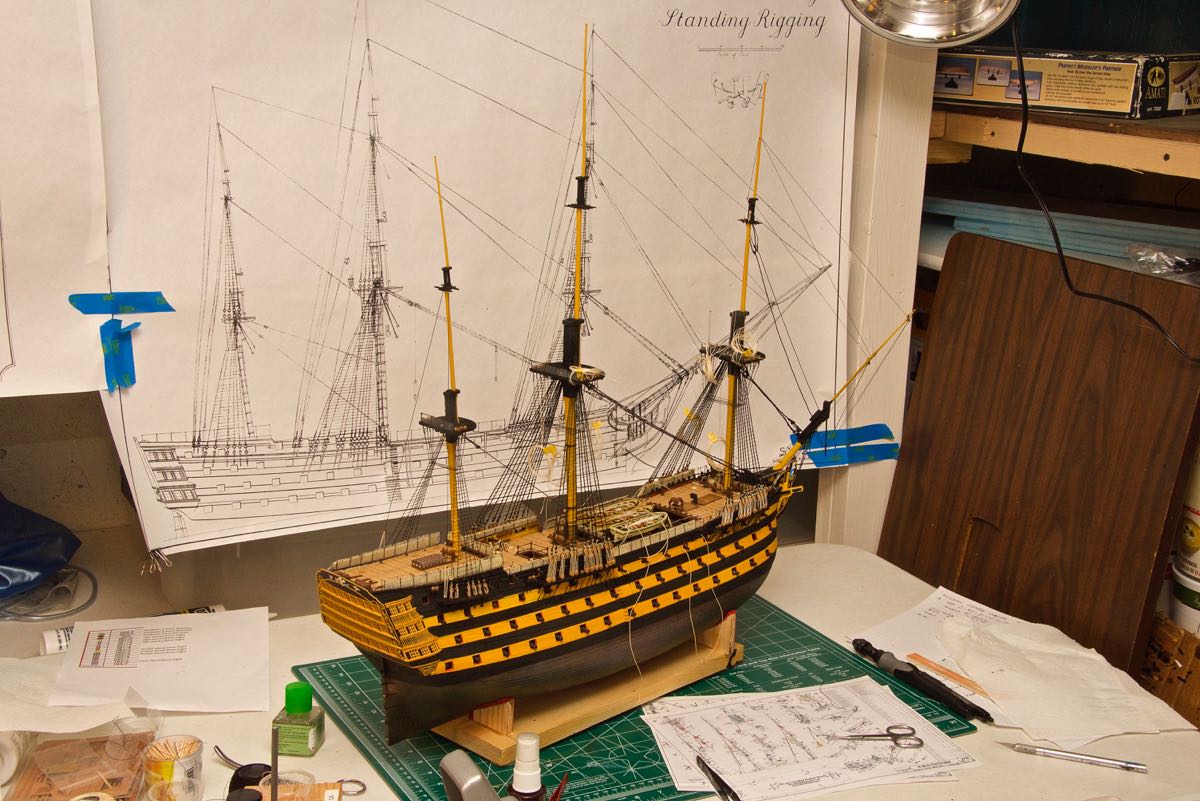
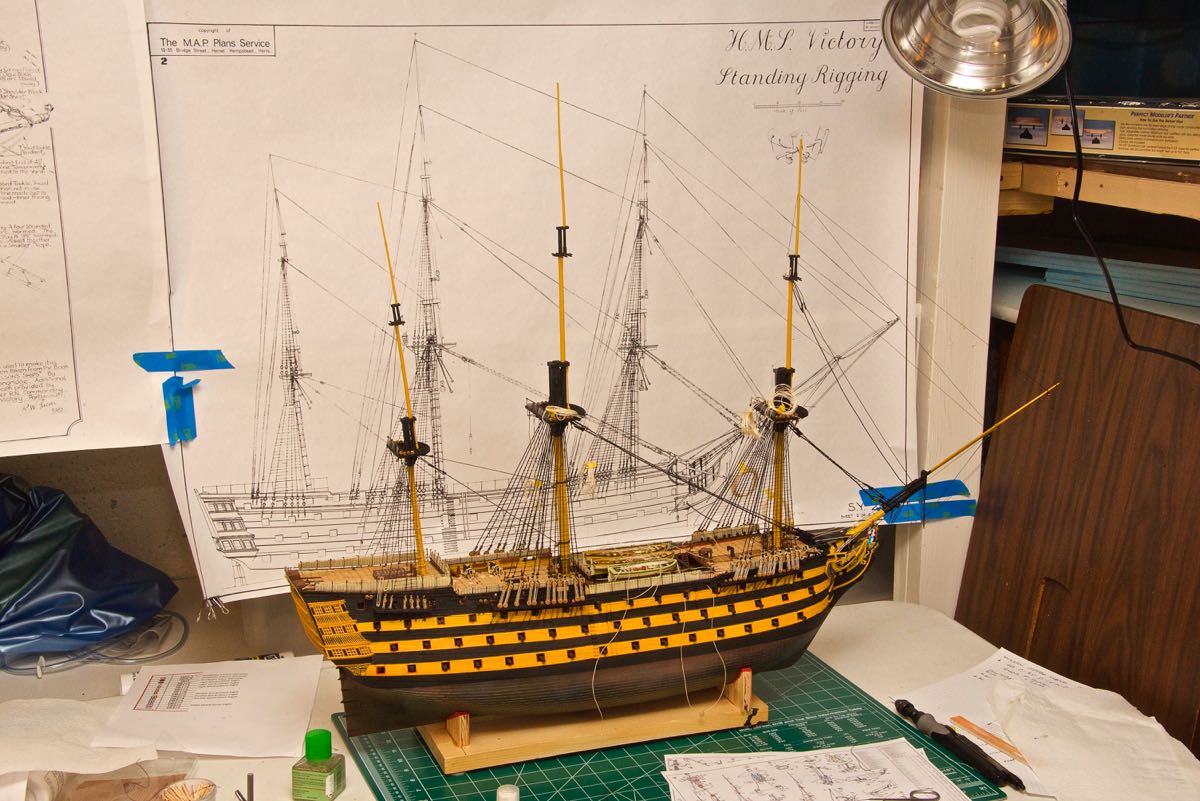
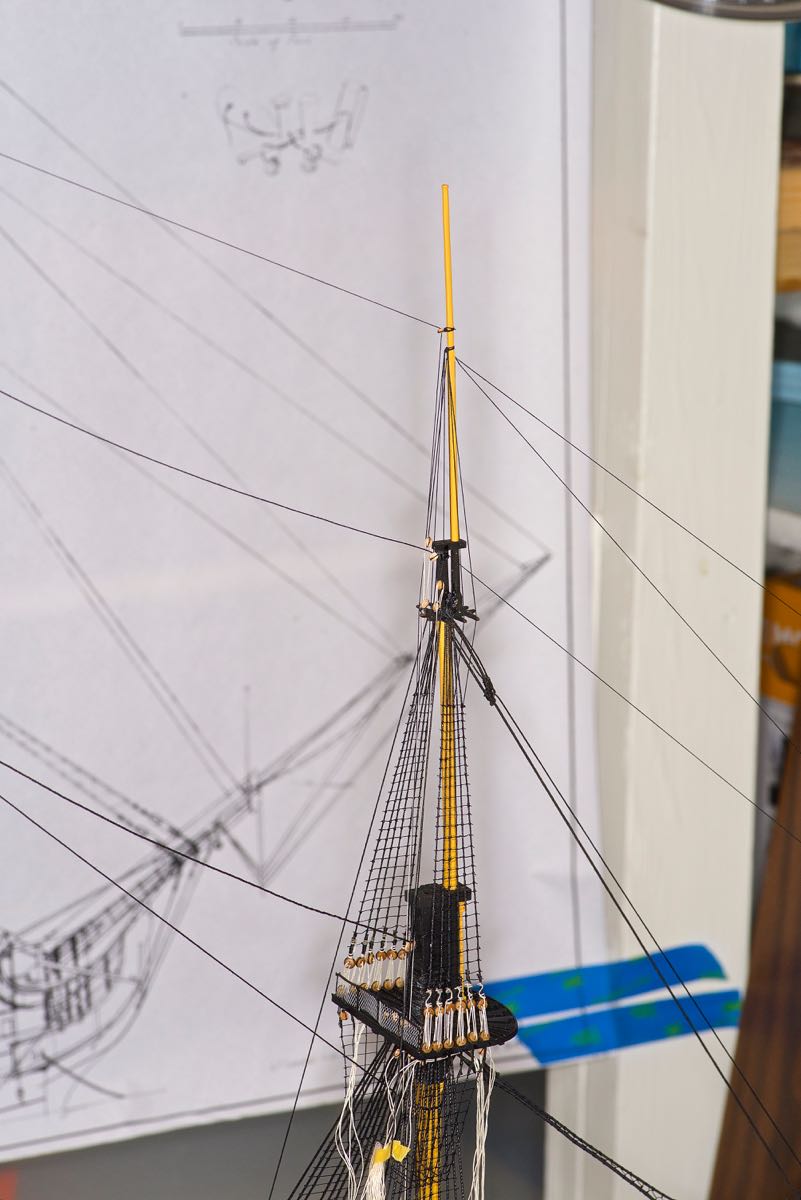
2/6/2017 I've finished the shrouds and ratlines on the foremast, and have added one backstay which I used to the foremast alignment so I woudl line up with the mainmast and mizzen mast. I've also included another pic of the bow spirit to show the latest rigging there.

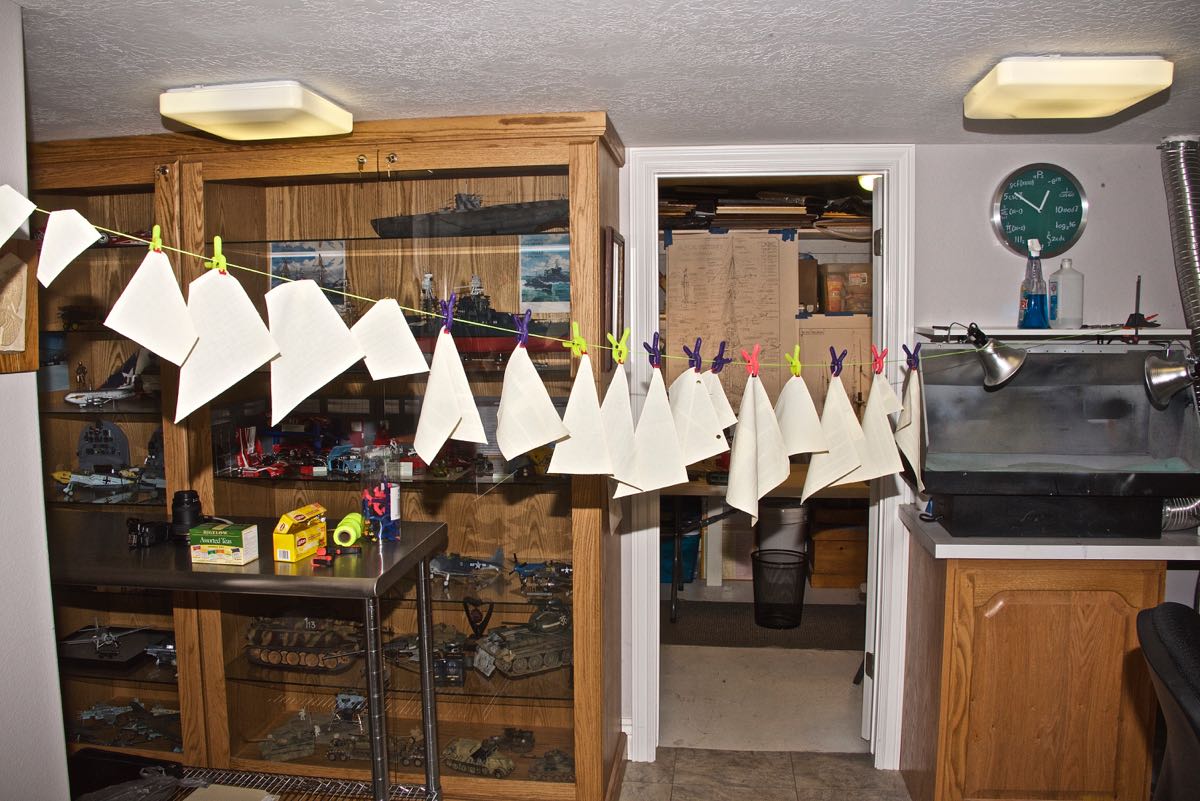
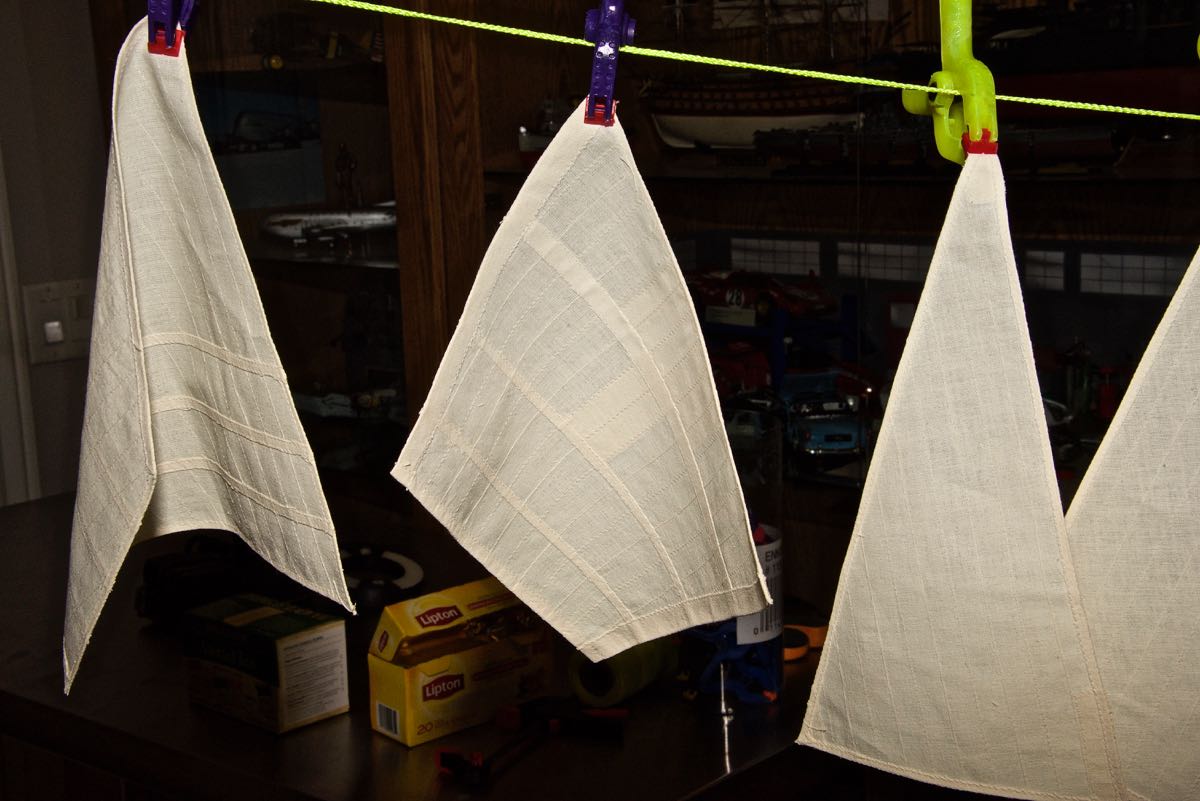
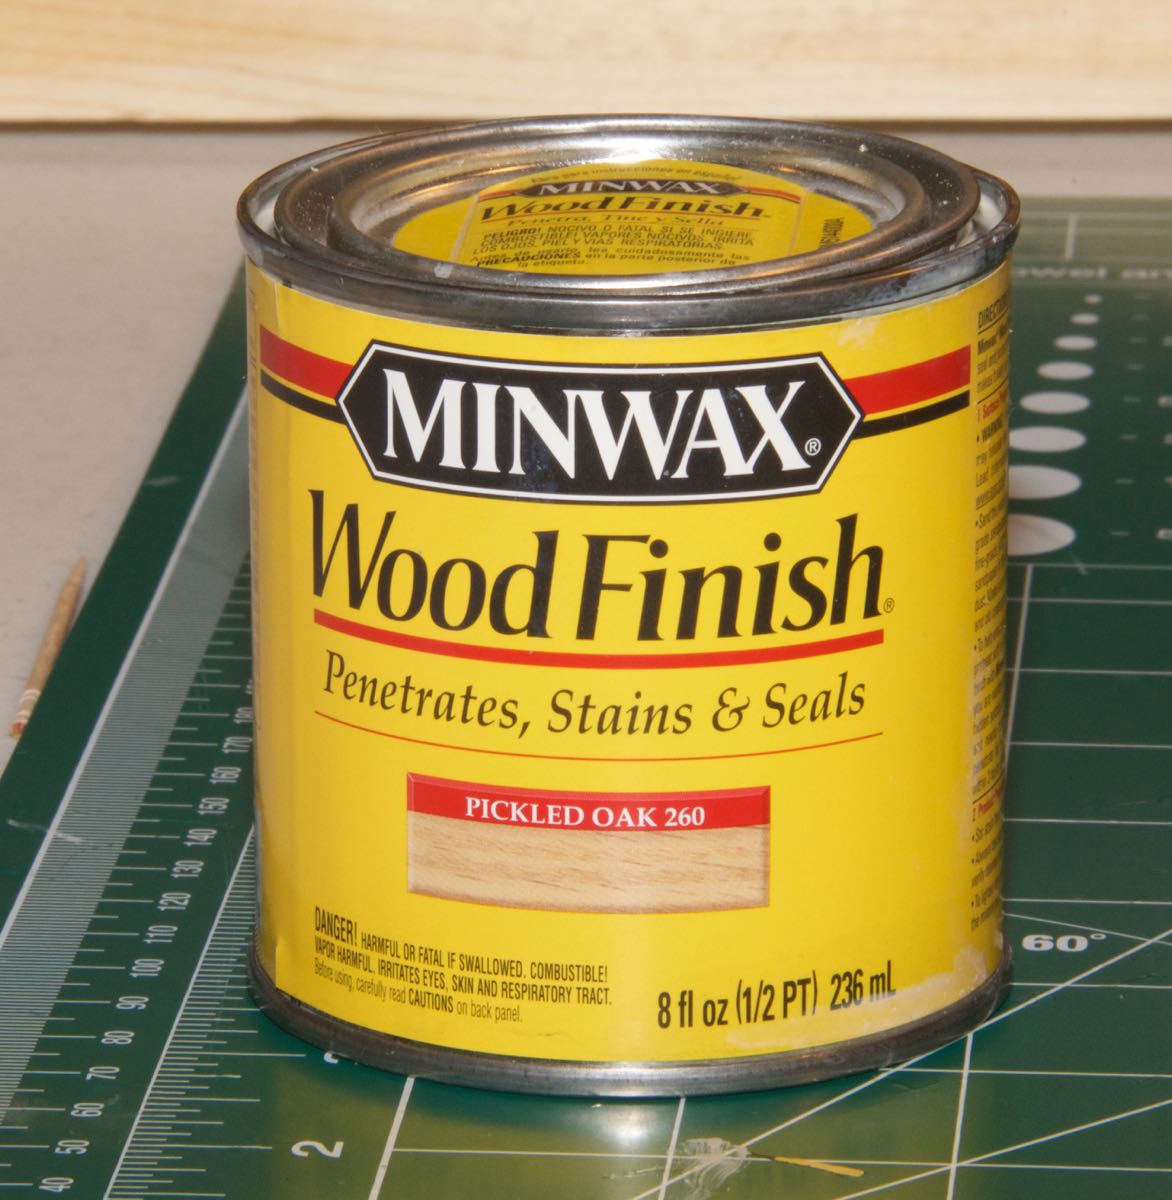
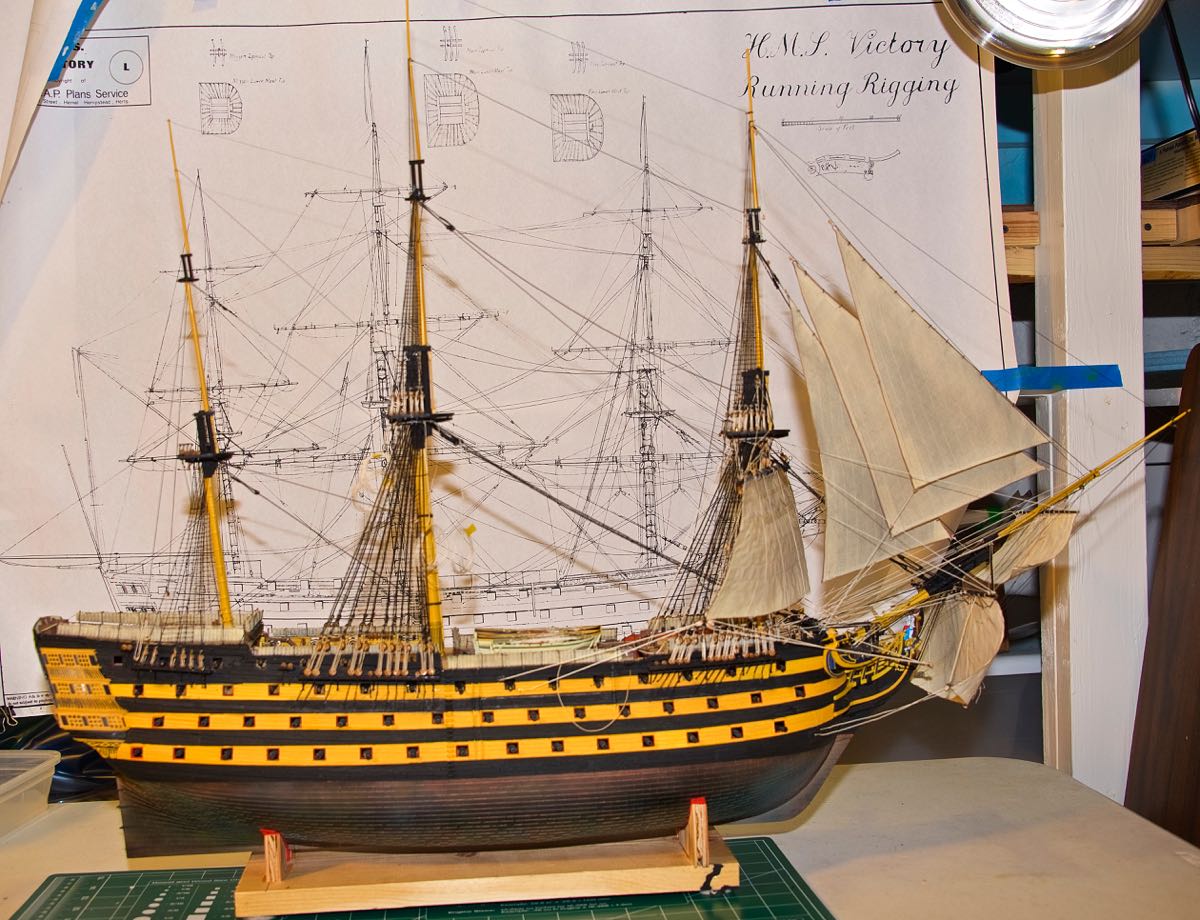
 2/7/2017 I've come to the point where I need to start thinking about attaching the sails. I have more standing rigging to do, but the sails will be in the mix pretty soon. With that in mind I'v been researching how best to stain sails. I've read that tea is not the best way because of the acids in it that may cause deterioration over many years. To that end I went out and bought some tea (just to experiment with) and some Minwax wood finish stain – specifically "Pickled Oak" as that seemed to be the lightest stain they had. I tried the tea first on a piece of scrap and it seems that you need to leave the material in a long time for the staining to take effect – I'm just not that patient. Plus there is that acid effect. I then tried the Minwax stain that that seemed to work much better. I soaked the sails in the stain then blotted them really well and the result was a nice muted effect – just what I wanted. I then hung them all up to dry in my model room. I have the spray booth running to filter out the fumes. I wanted to get away from the bright white original color. So here are the pictures.
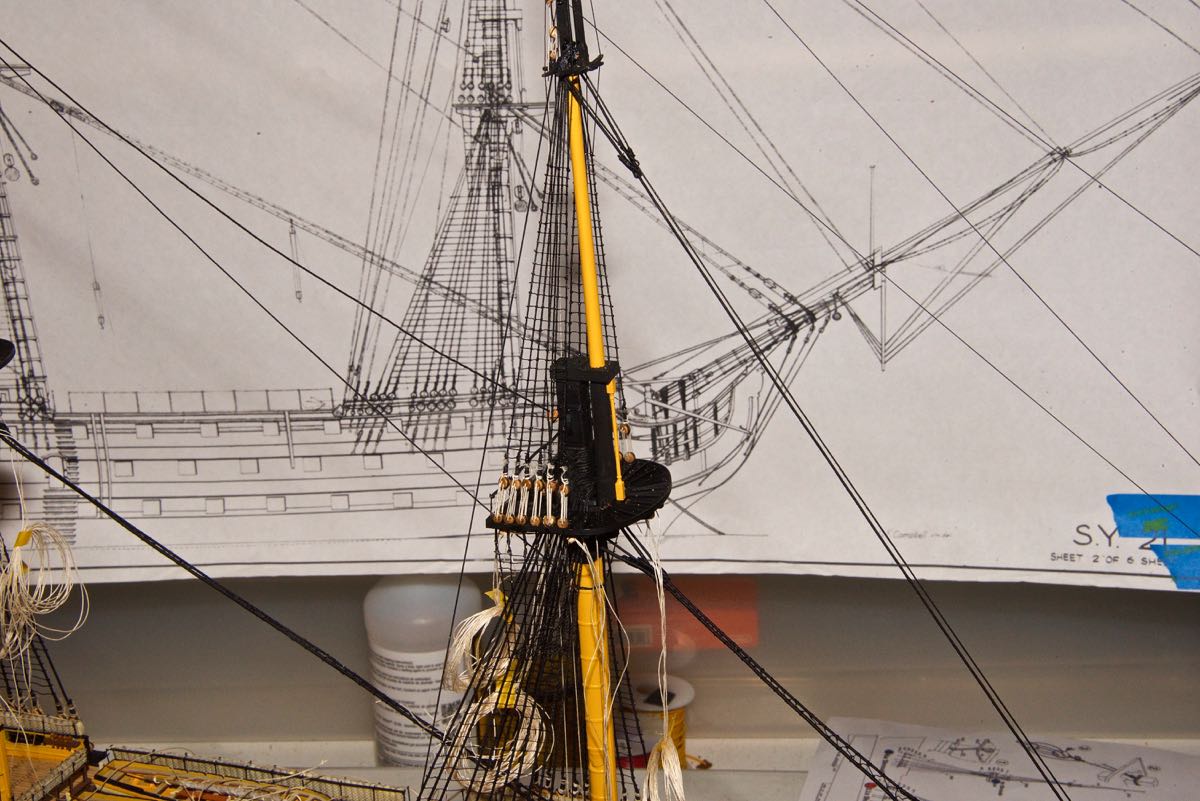
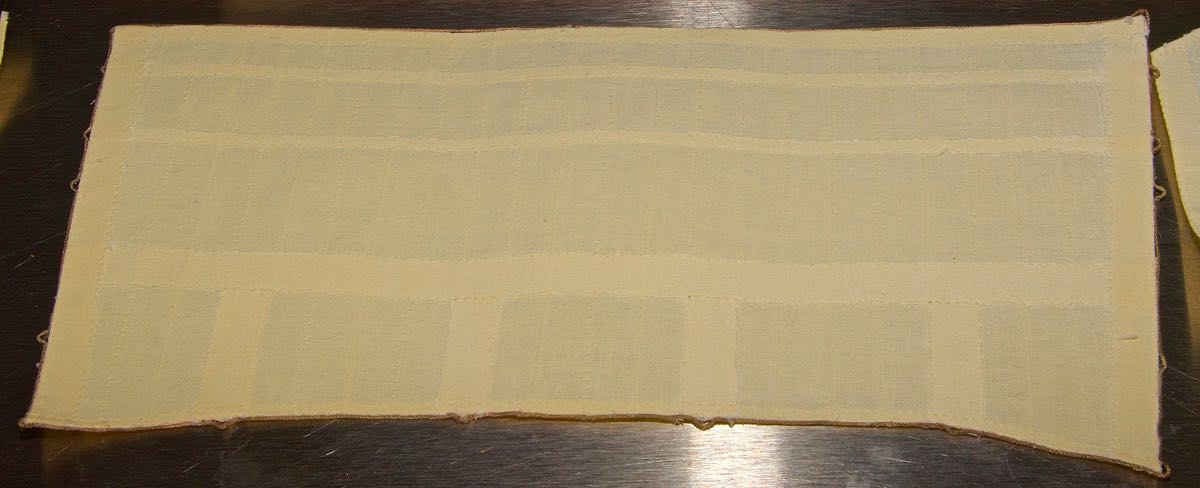
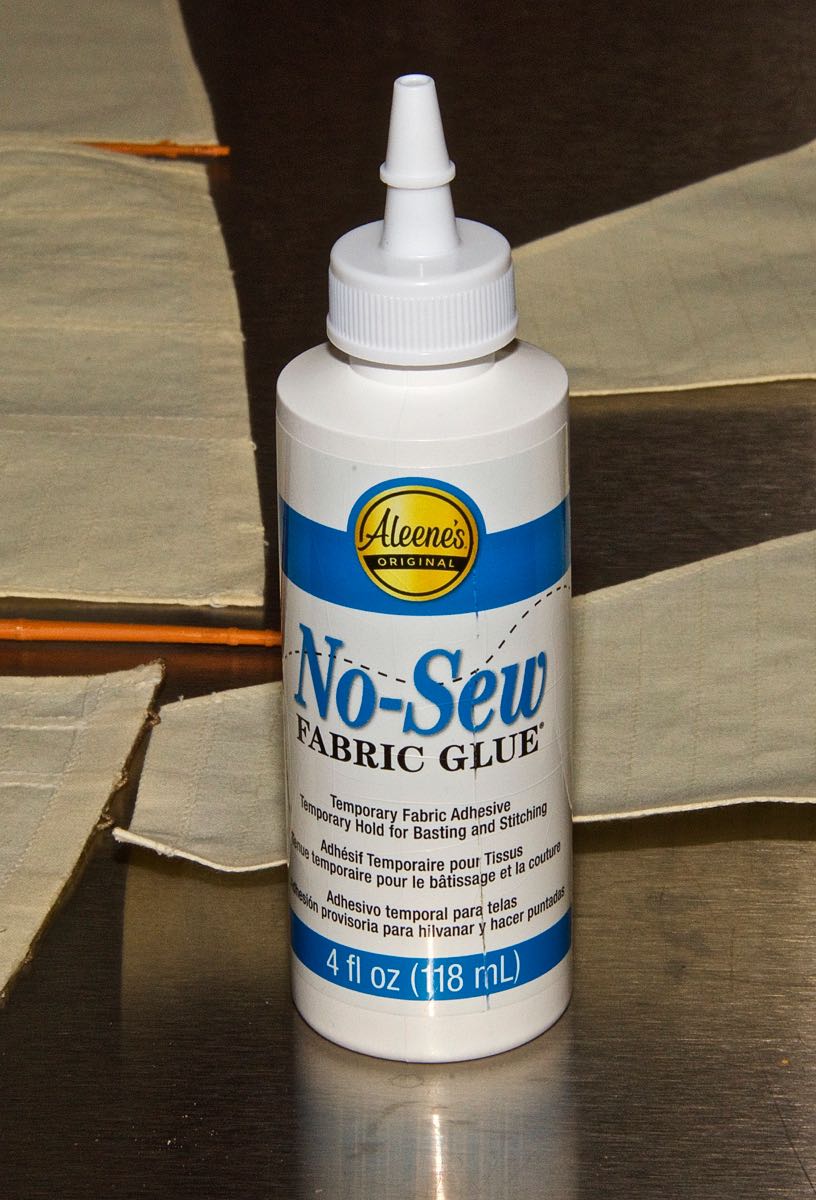
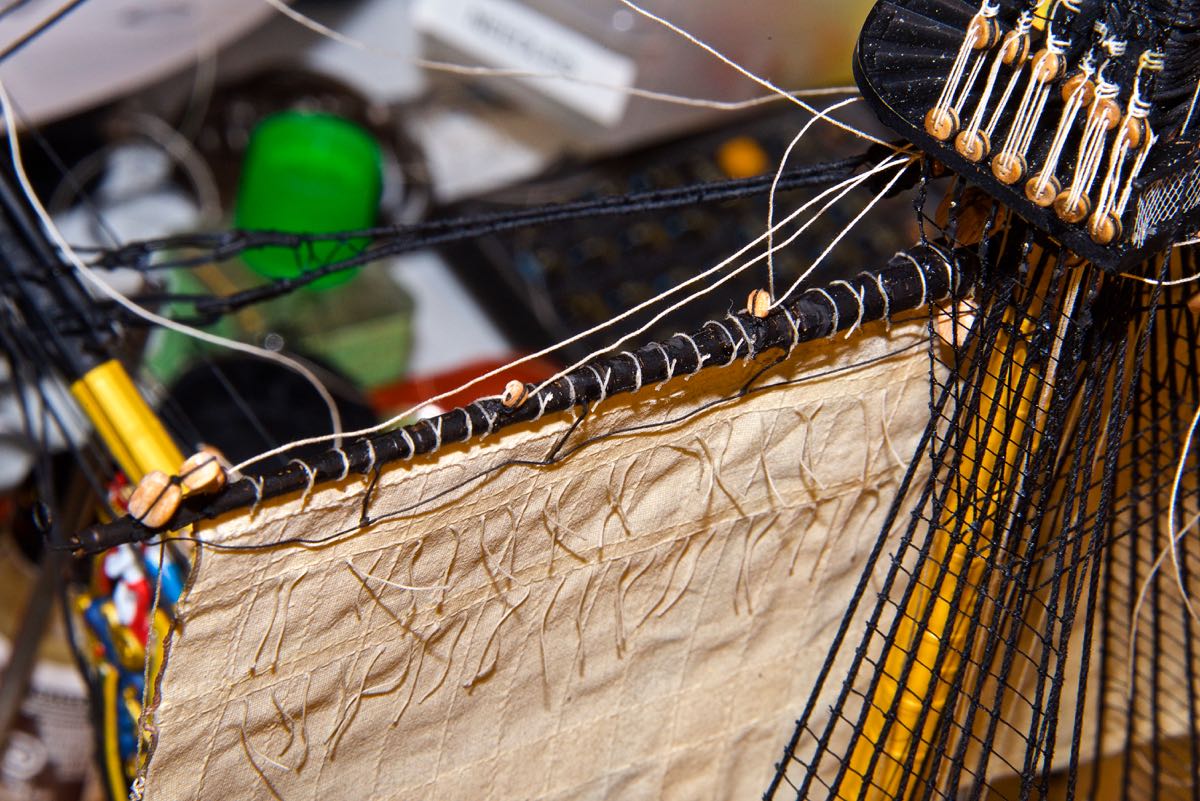
2/14/2017 I've finally finished the upper ratlines on the main and fore masts. I've also started rigging the sails specifically the fire course sail. I've attached a 2 inch rope (thread) around the perimeter using Aleene's No-Sew Fabric Glue. It works quite well and forms a strong enough bond (I hope). I've also made earrings as per Steels book mastmaking sails and rigging.


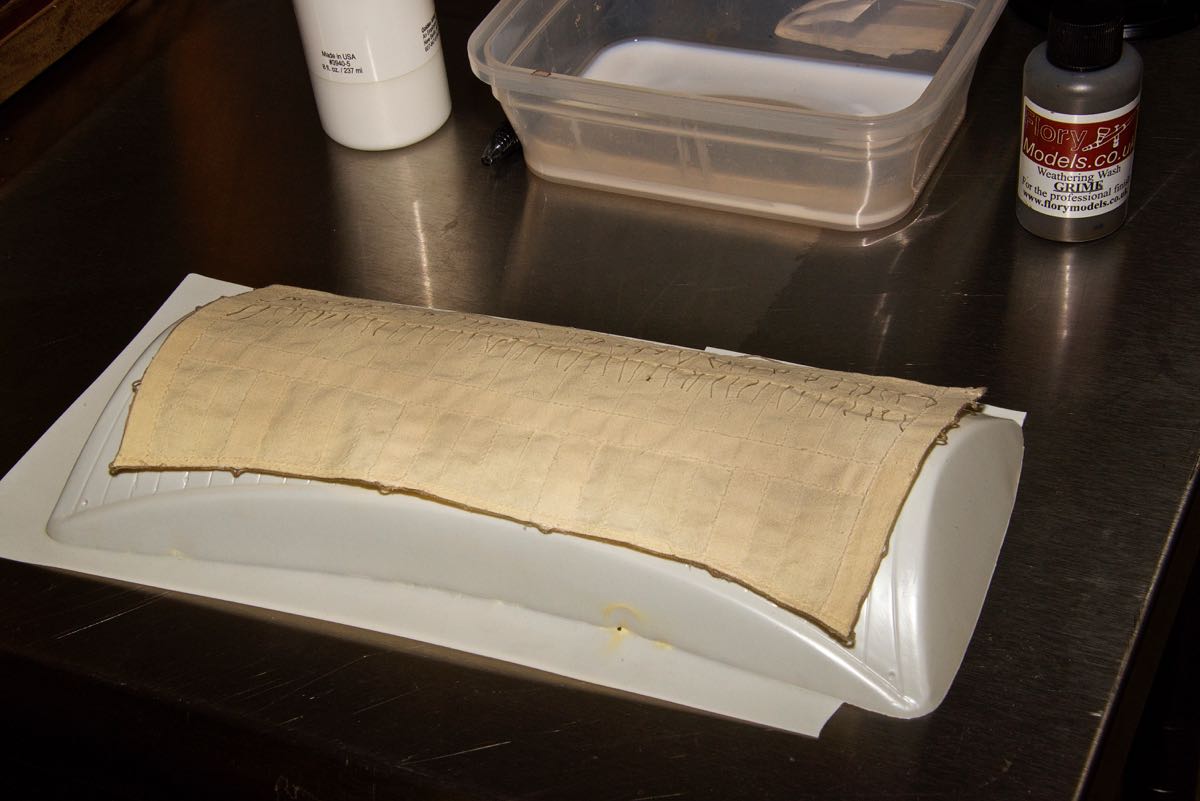
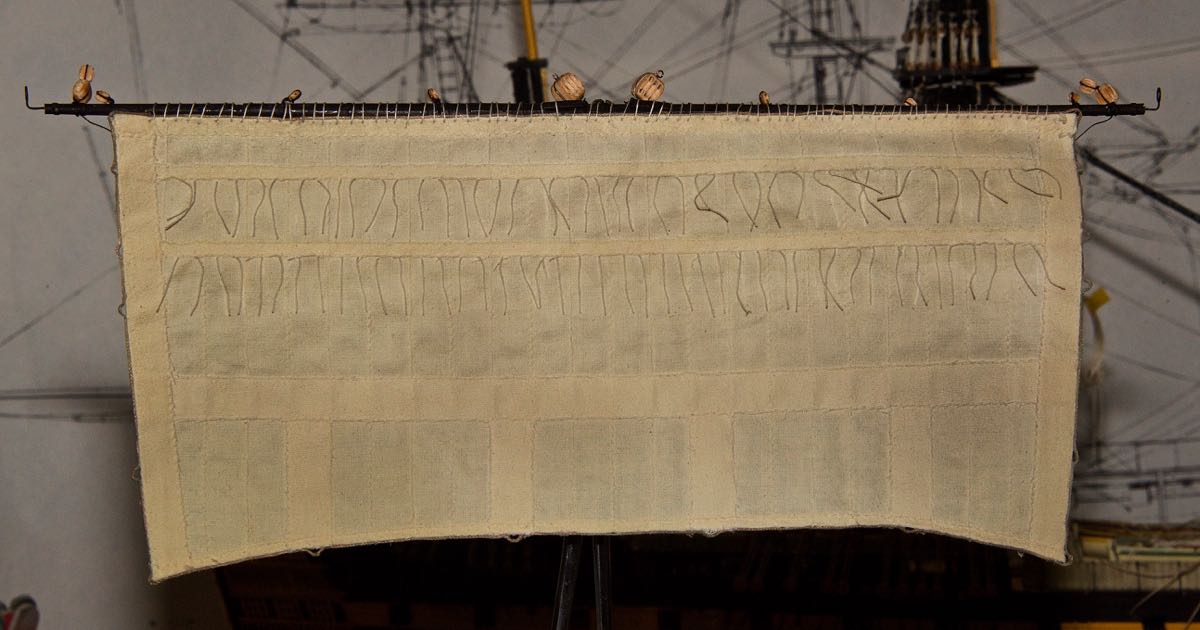
 2/18/2017 I've done some more work on the fore course sail. After giving the sail a wash of GOLDEN GAC-400 and letting it dry over the supplied plastic sail it became much stiffer. I then added the reef lines using a needle and DCM #100 thread. By weaving the thread back and fourth I was able to stitch each row of the reef lines. I used tape on the sail to make sure each line was at least 15 mm long. After each row was done I put a little Model Master flat clear lacquer at each point that the thread passed through the sail. This secured the thread, after the lacquer was dry I trimmed each reef line to 15 mm length on both the front and back of the sail.
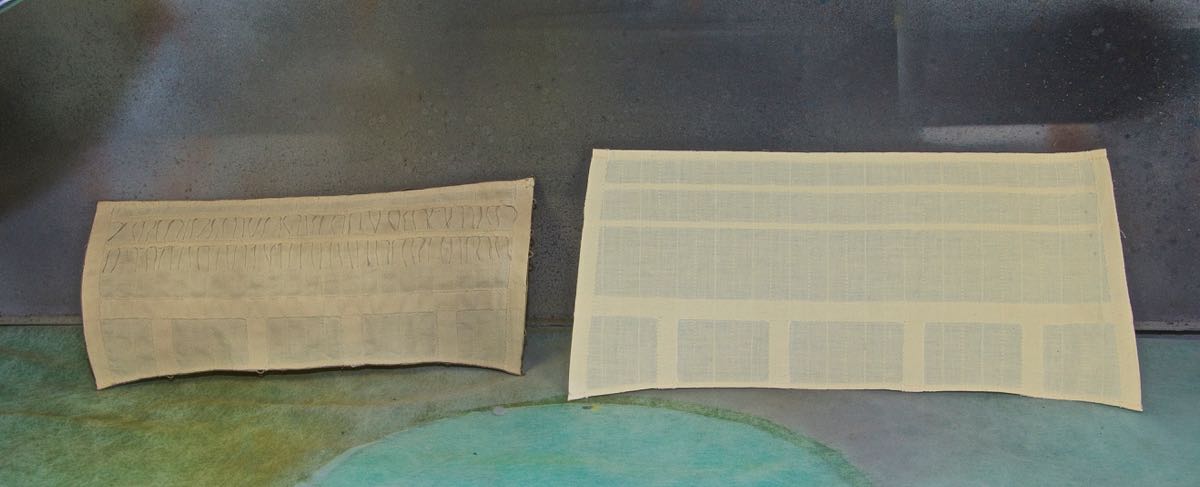
At this point I looked at the sails and they just seemed too yellow, so I airbrushed this sail with Flory's Weathering Wash. I used the grey color, this gave the sail just the right aged look – there is a picture of the aged sail next to and untreated one. I then used DMC #100 thread the stitch the sail to the foremast lower yard arm. The final result is shown below.
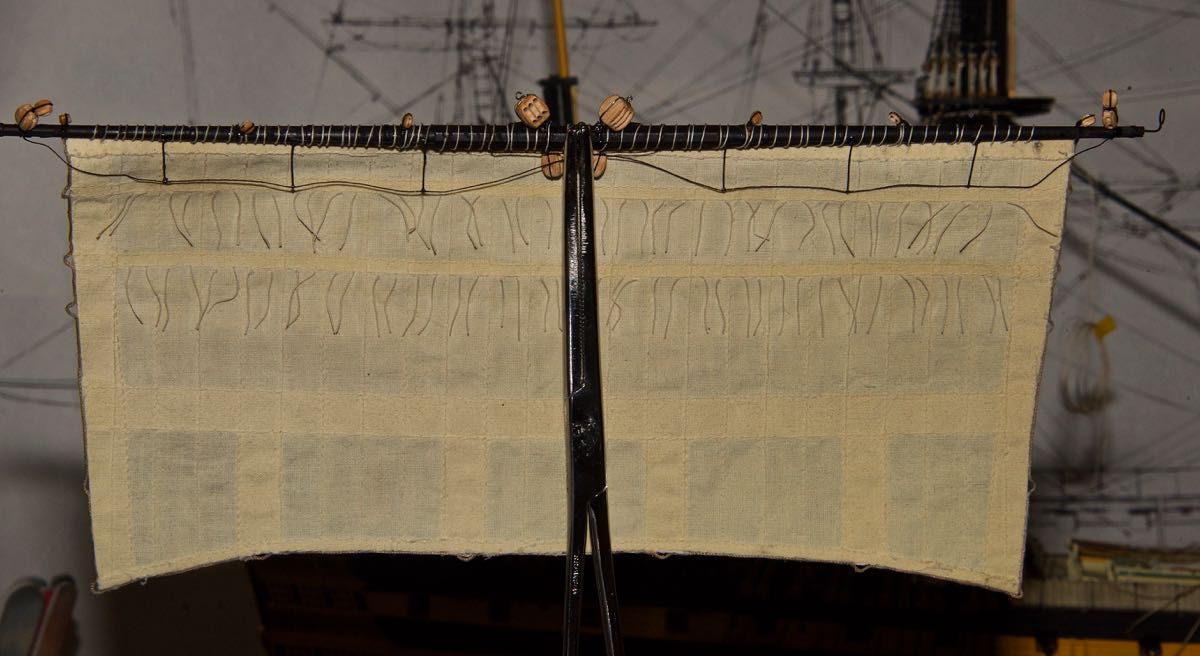
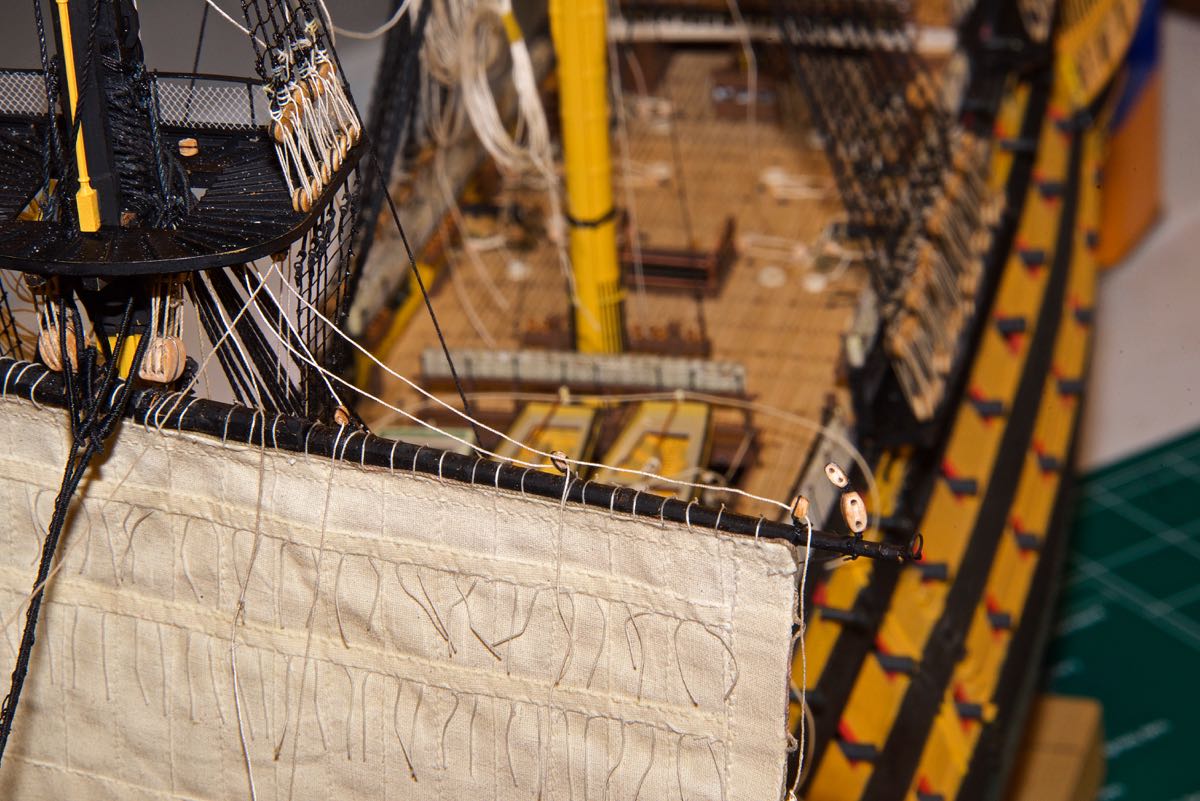
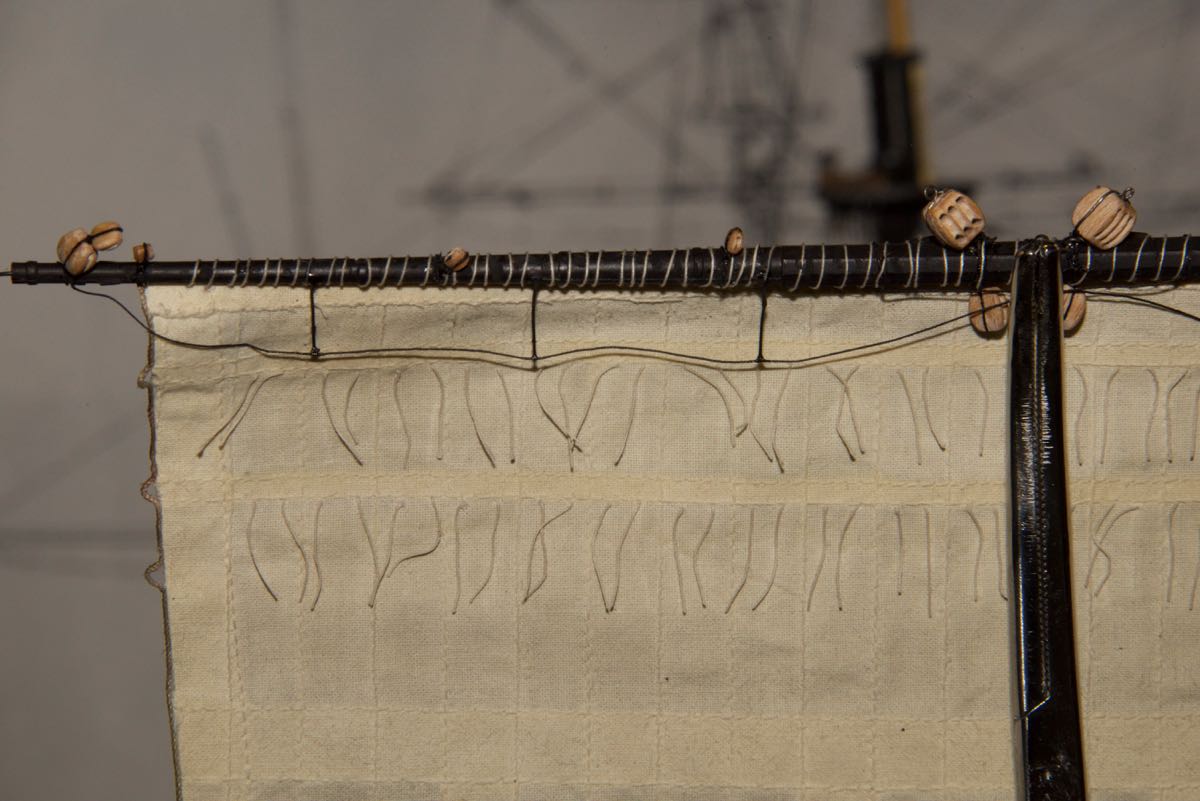 2/20.2017 Ok – let the insanity begin. I realized that the initial method of bending (or attaching) the fore course sail to the yard arm was not correct and just didn't look good. When I did it I must have been a little brain dead because I had looked at the data from HiSModel (company that I ordered the sails from) which clearly shows the different methods to attach sails and my method is not correct. Of course I had already attached the yardarm to the fore mast – I always have to make things as difficult as I can. I was now faced with modifying the attachment while the yard arm was even more encumbered with lines. It took a few hours but the results were worth it.
Here is where I started from with old attachment method:
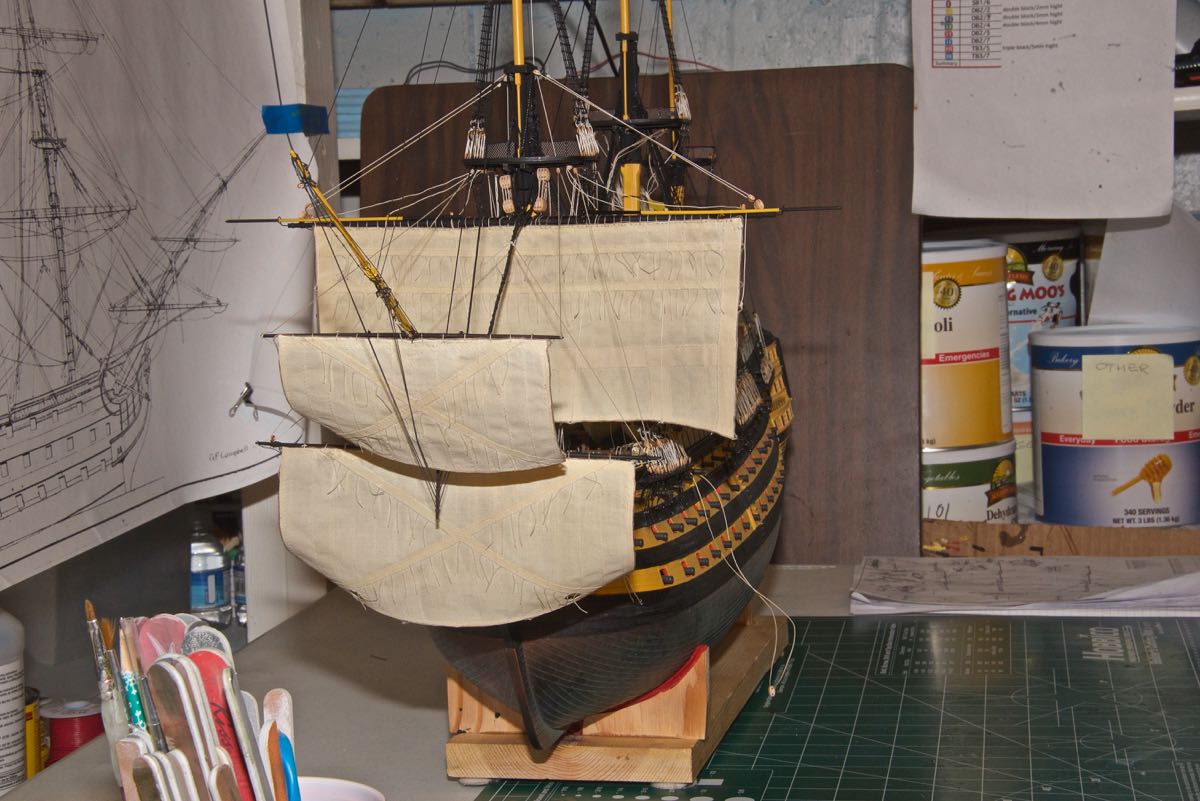
This is the result after changing:
 2/23/2017 Ok – I seem to have run into a problem with the fore top sail. It seems to be too long. To make it fit properly I will have to lower the bottom yardarm a lot – way too much it seems.
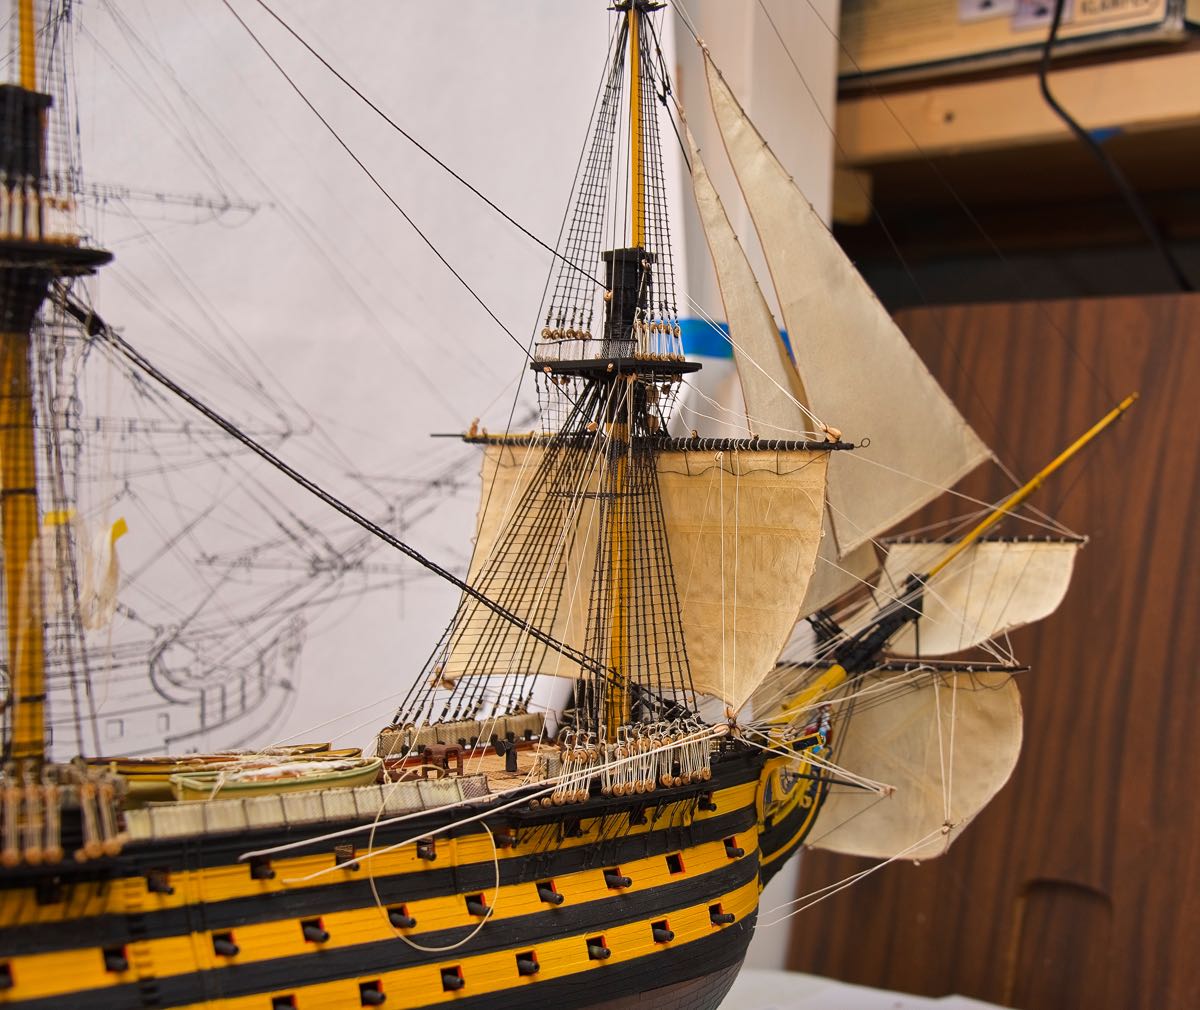
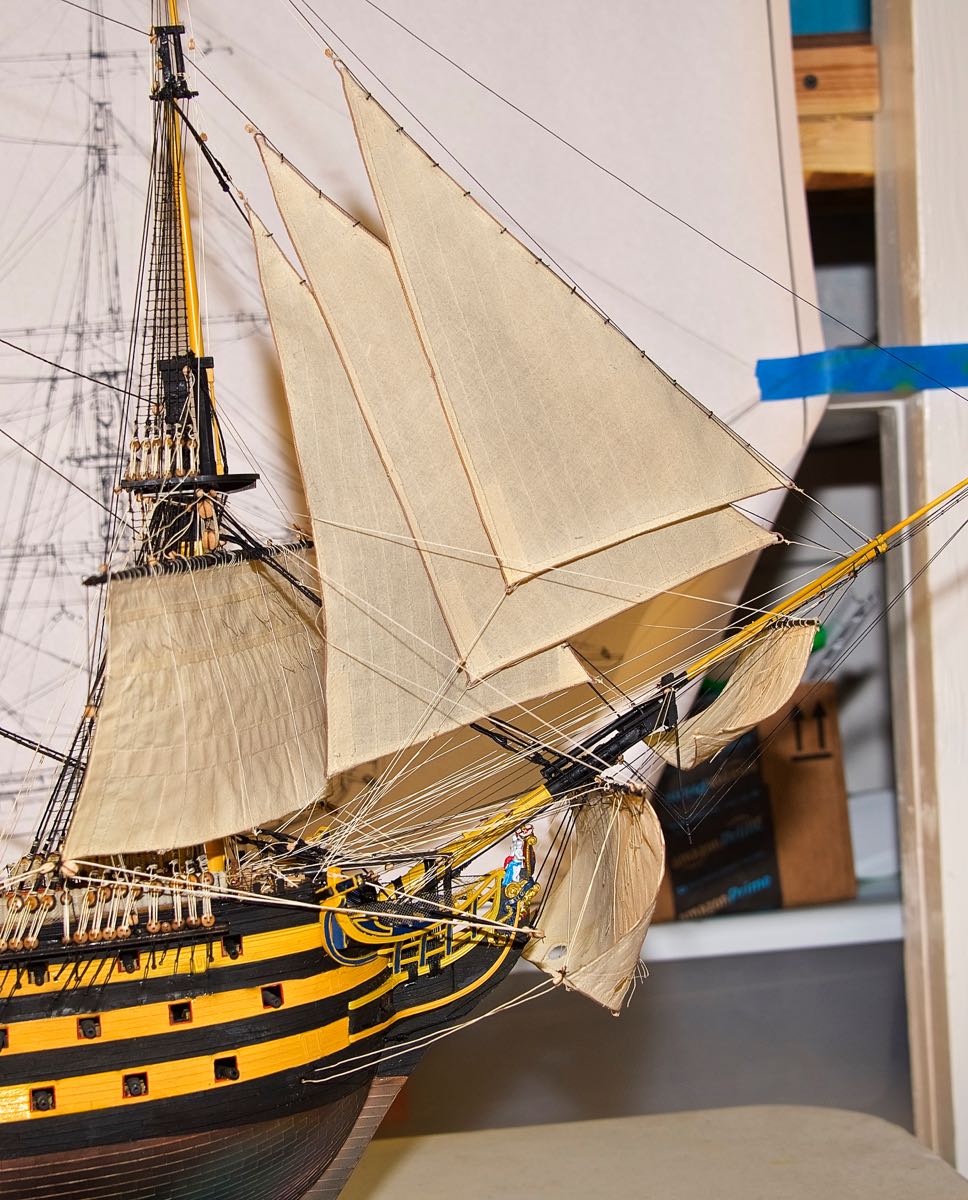
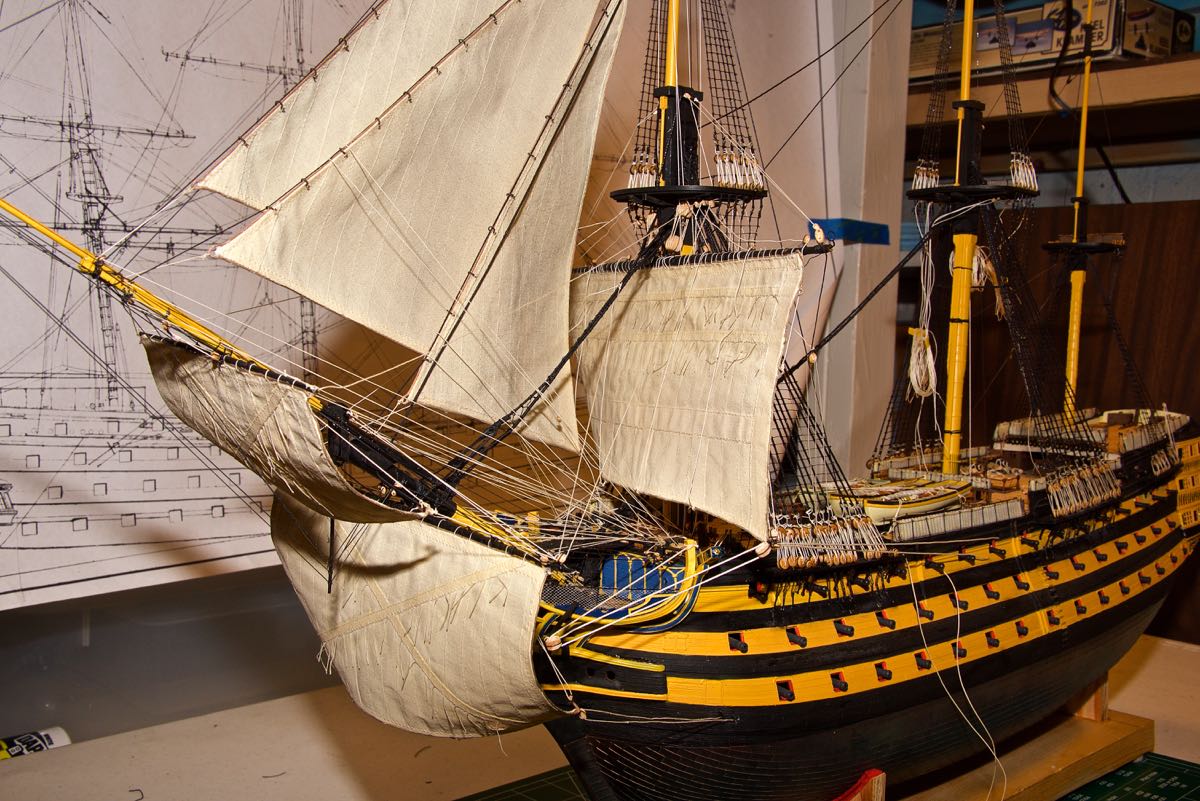
 I've finished adding the two sails on the bow sprit. They were a little touchy to attach but all went well.
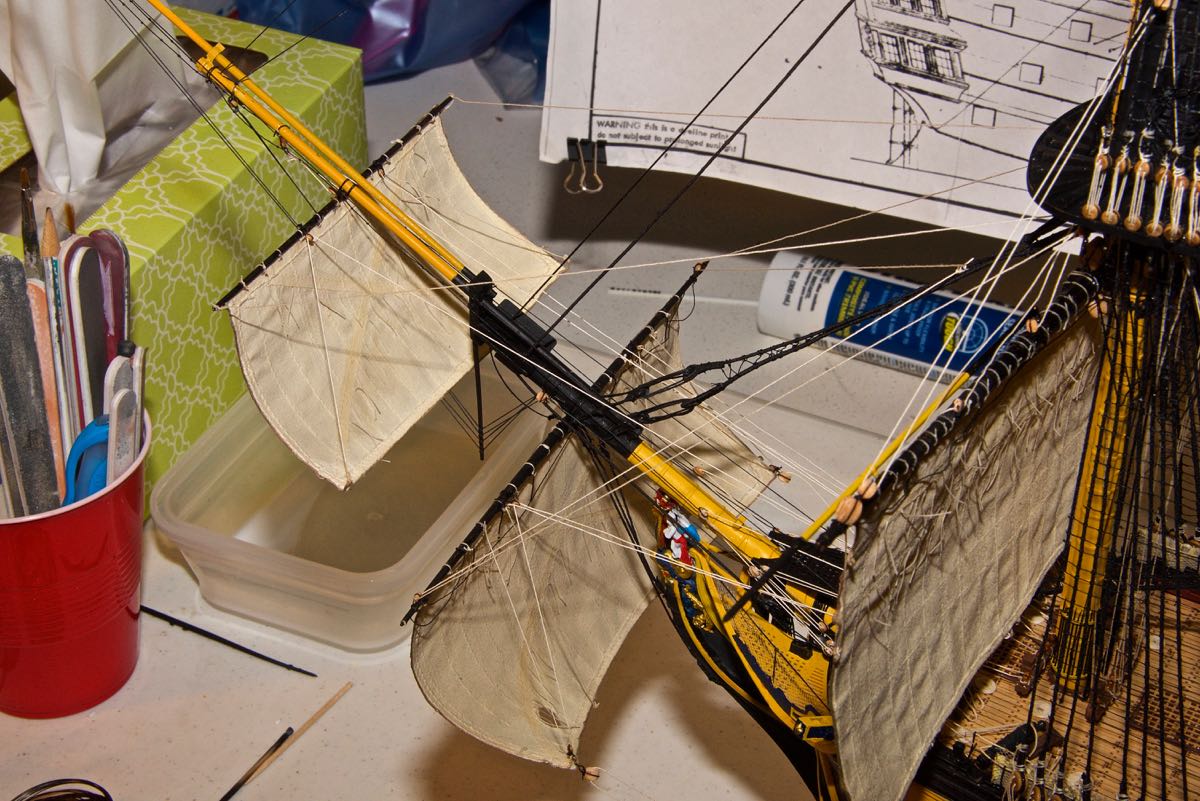
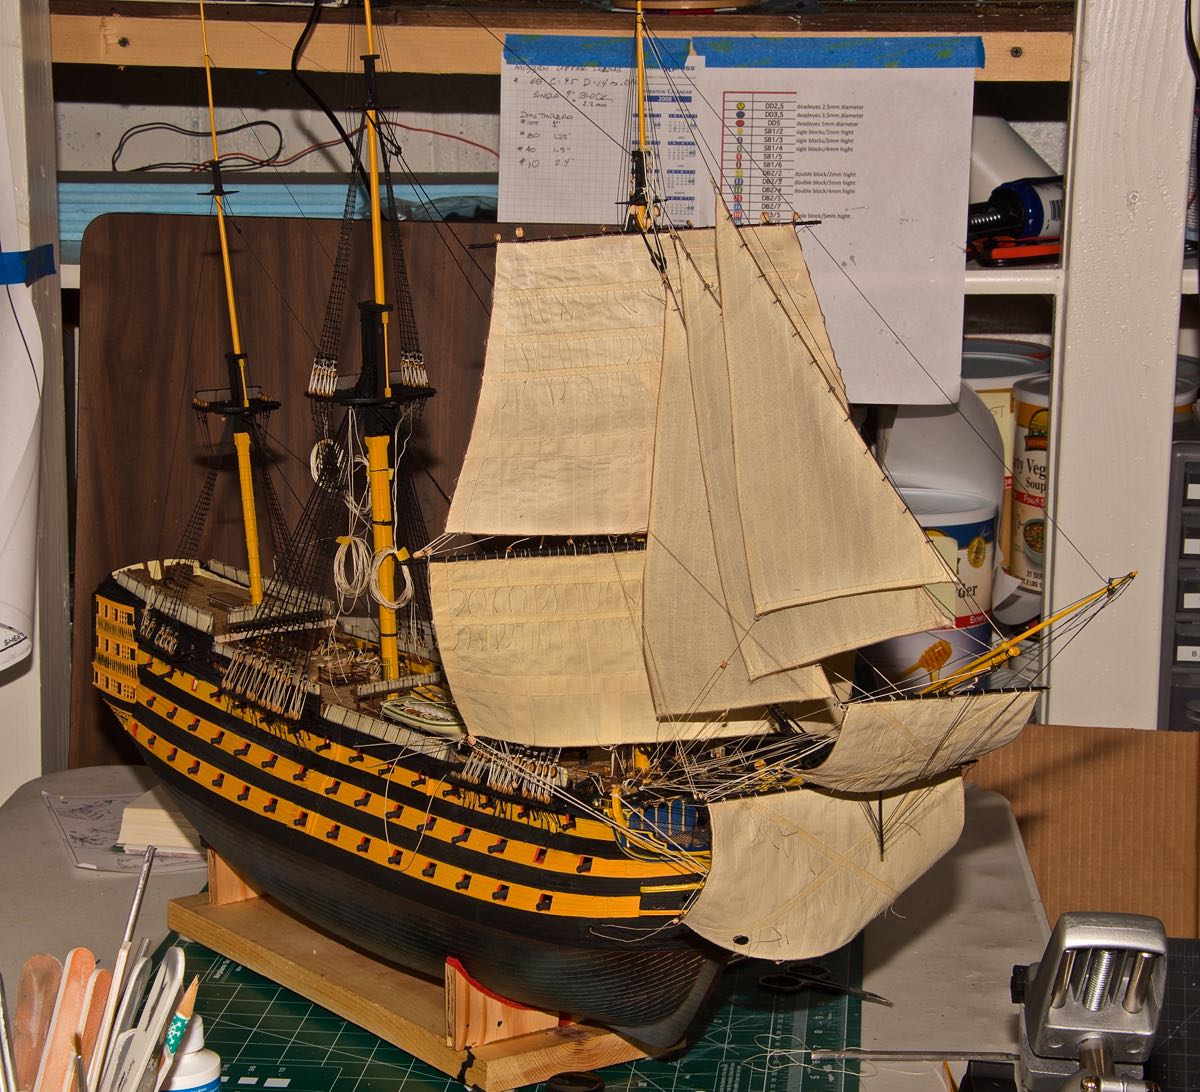
 3/1/2017 I've added two jib sails on the bow. The rigging is gitting a little crowded up ther now.
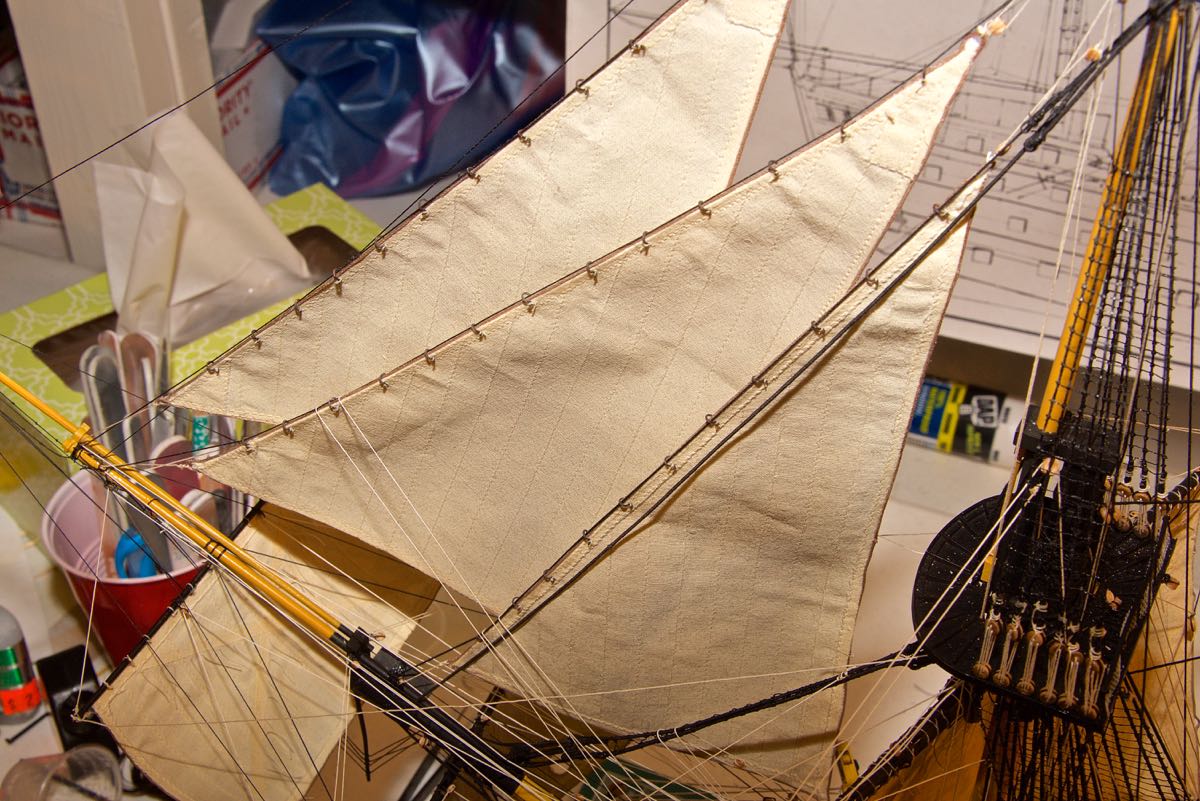
 3/3/2017 It's been a few days, but I've finished the last bow spirit sail for a total of six so far. There are 18 sails so I'm now 1/3 of the way finished!
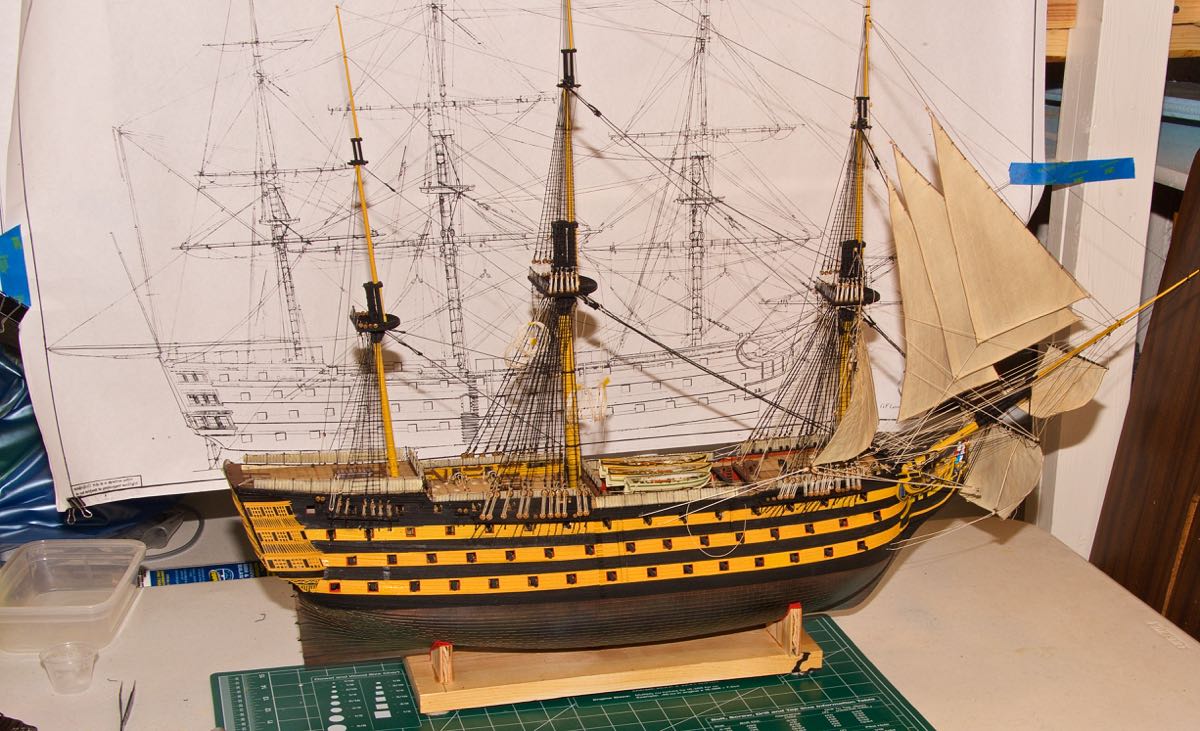
 4/2/2017 After a short break I've started up again. I'm now working on more sails as the corrected ones arrived last week.
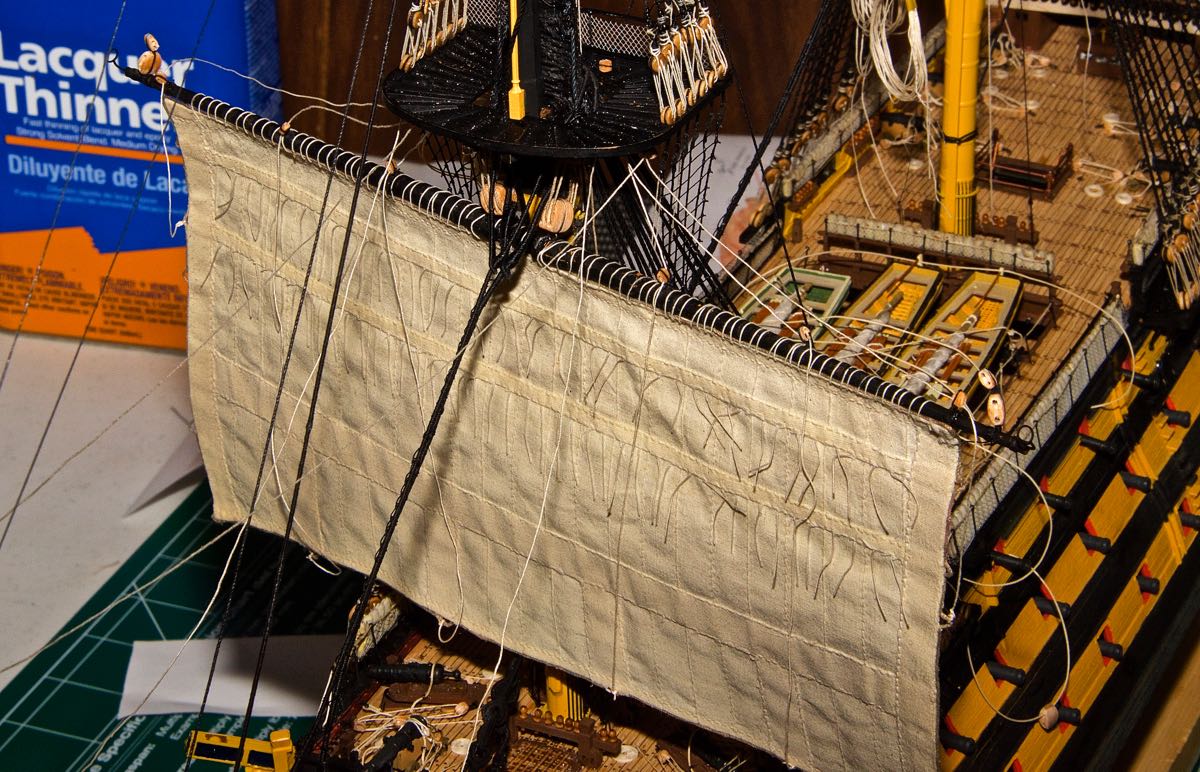
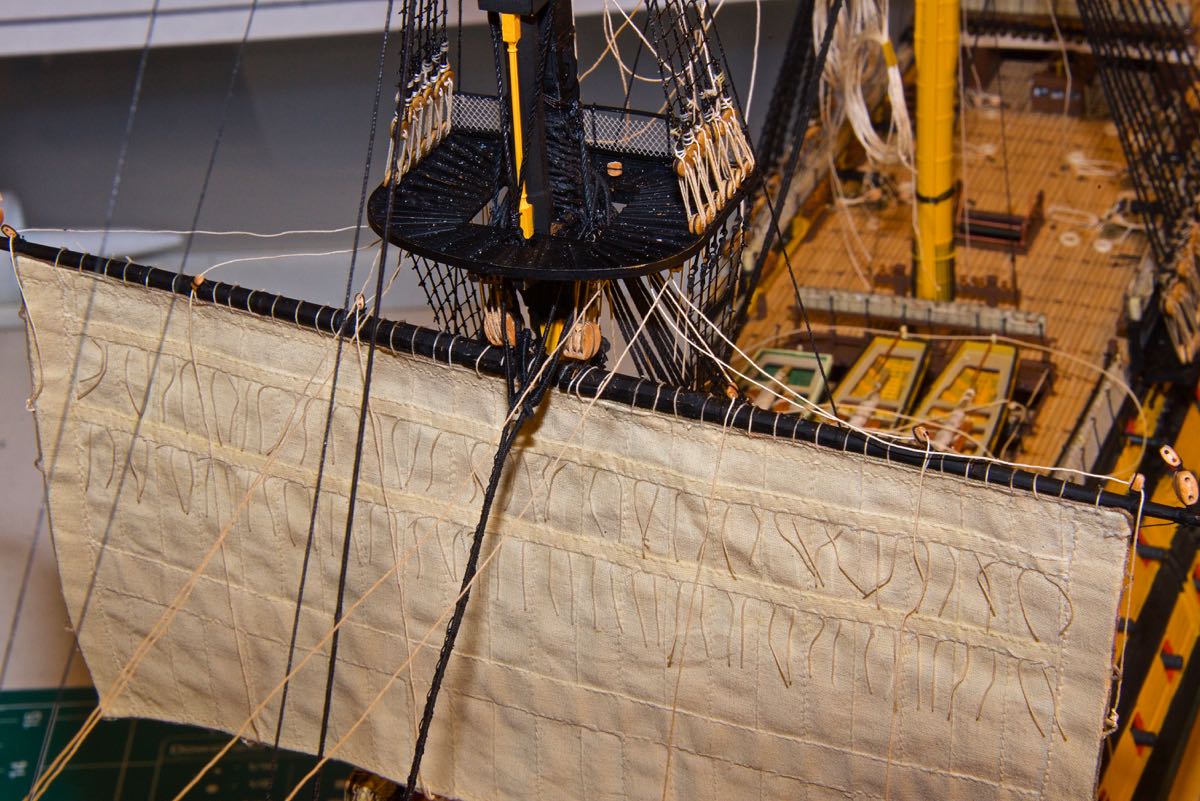
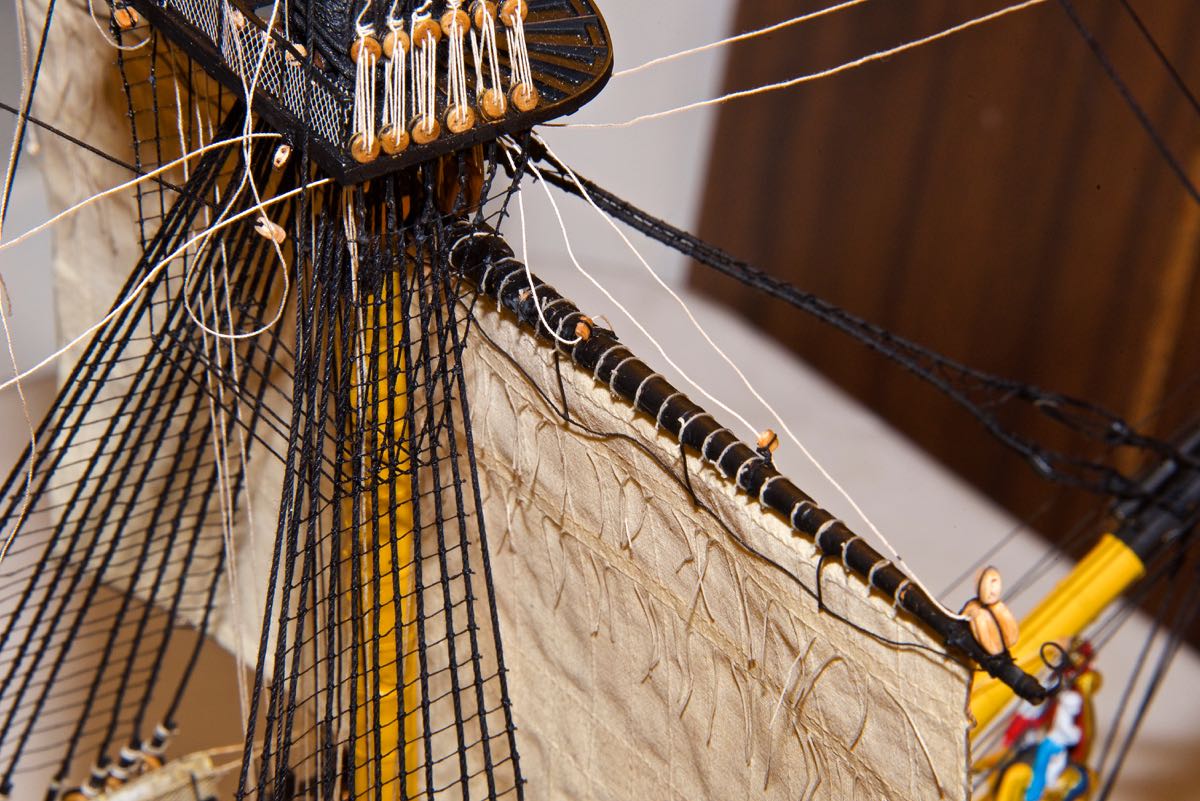
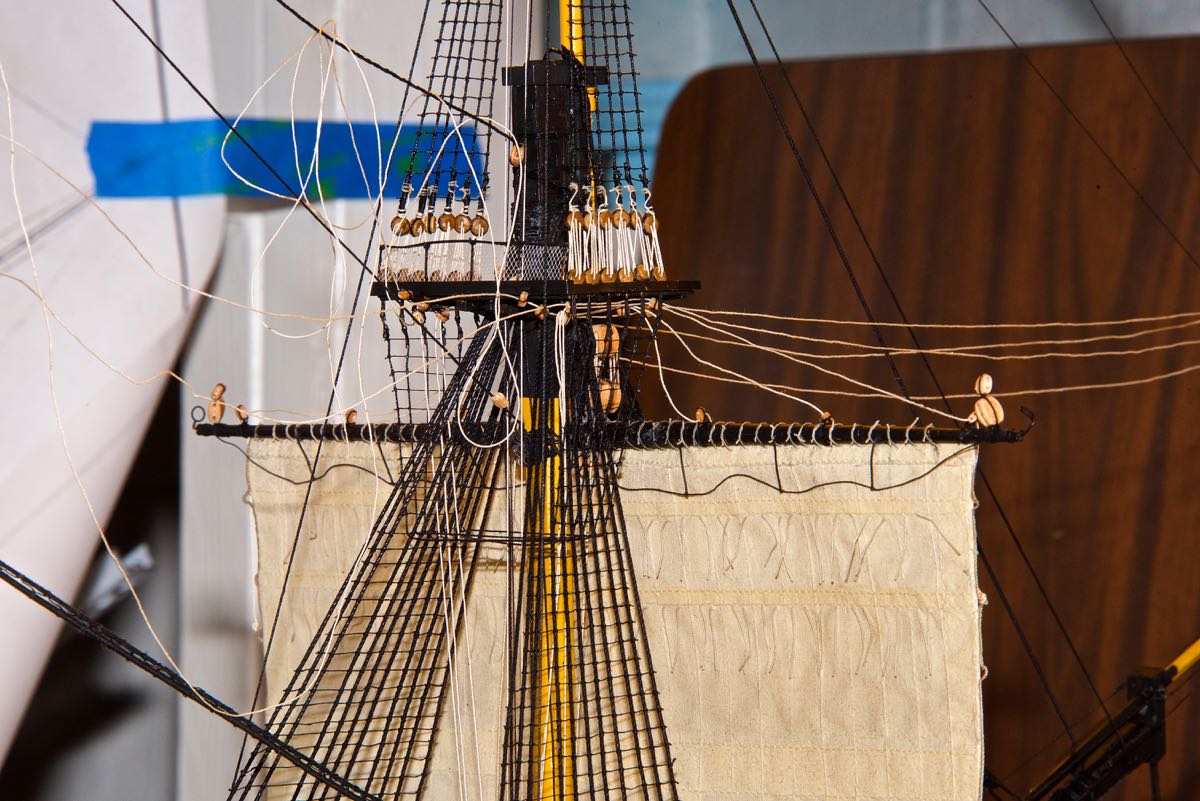
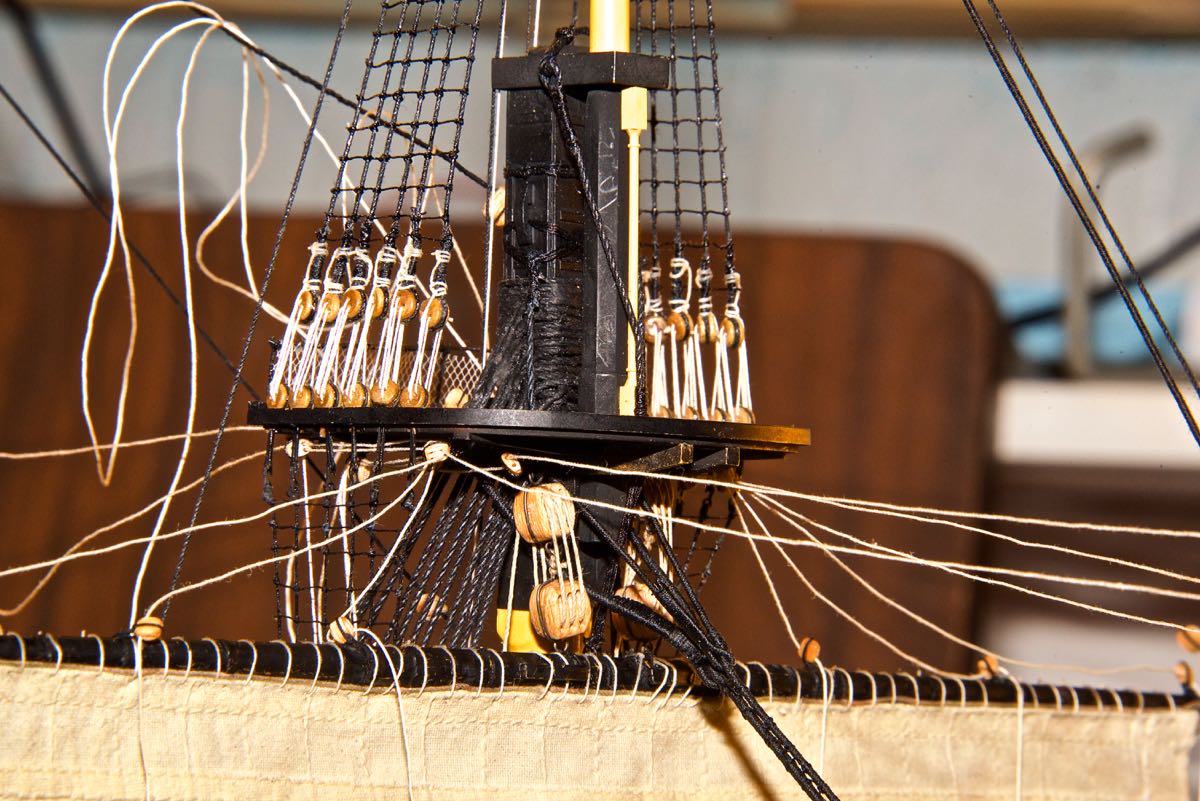
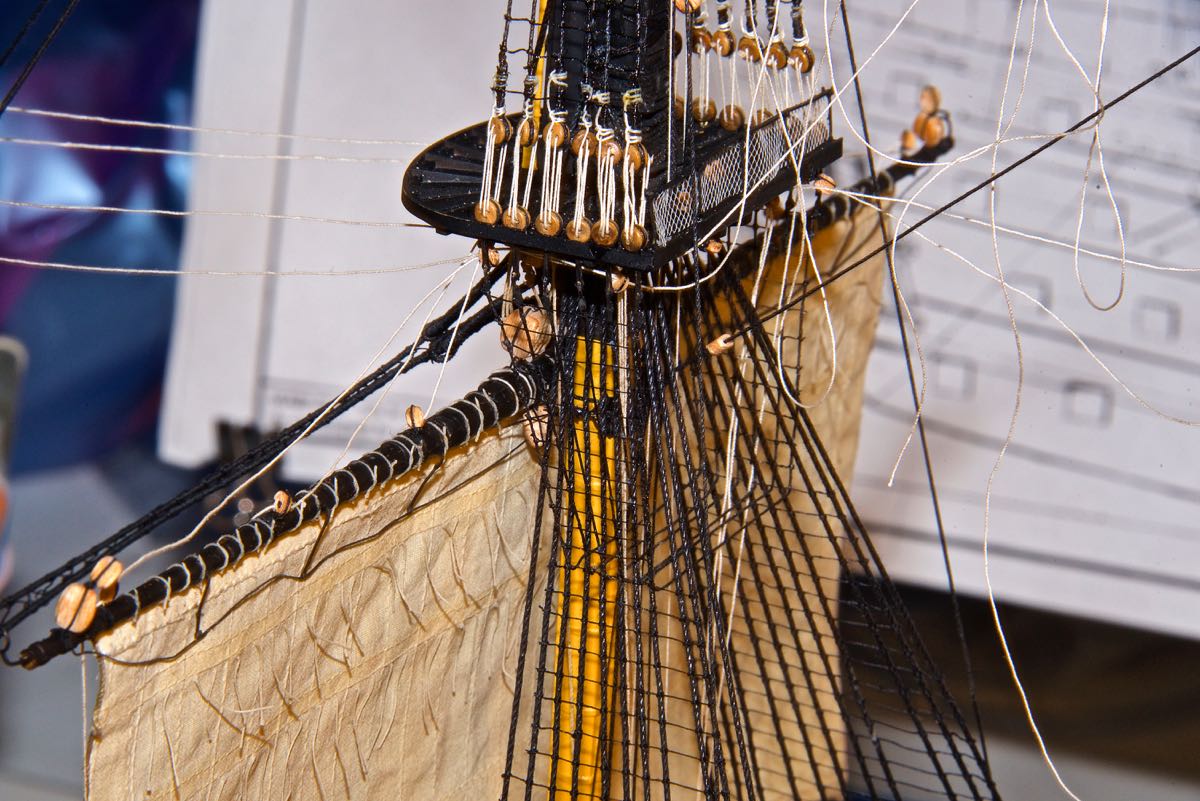
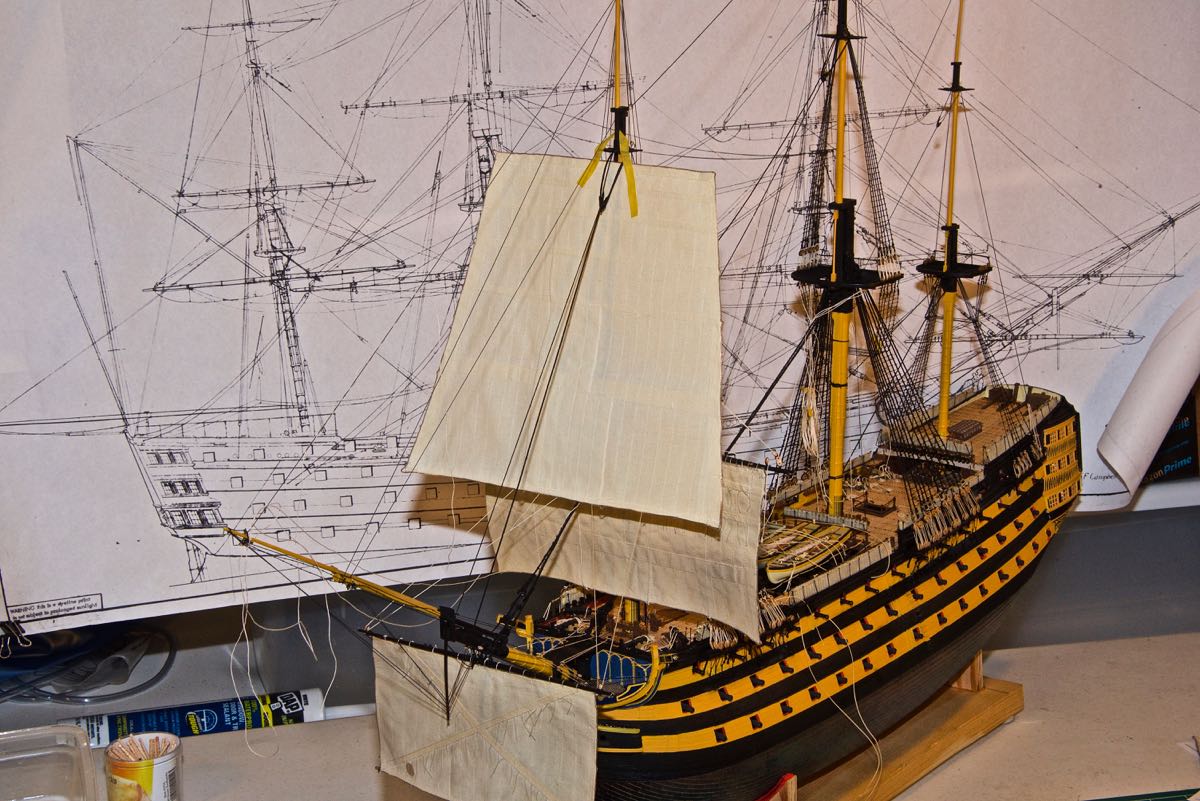
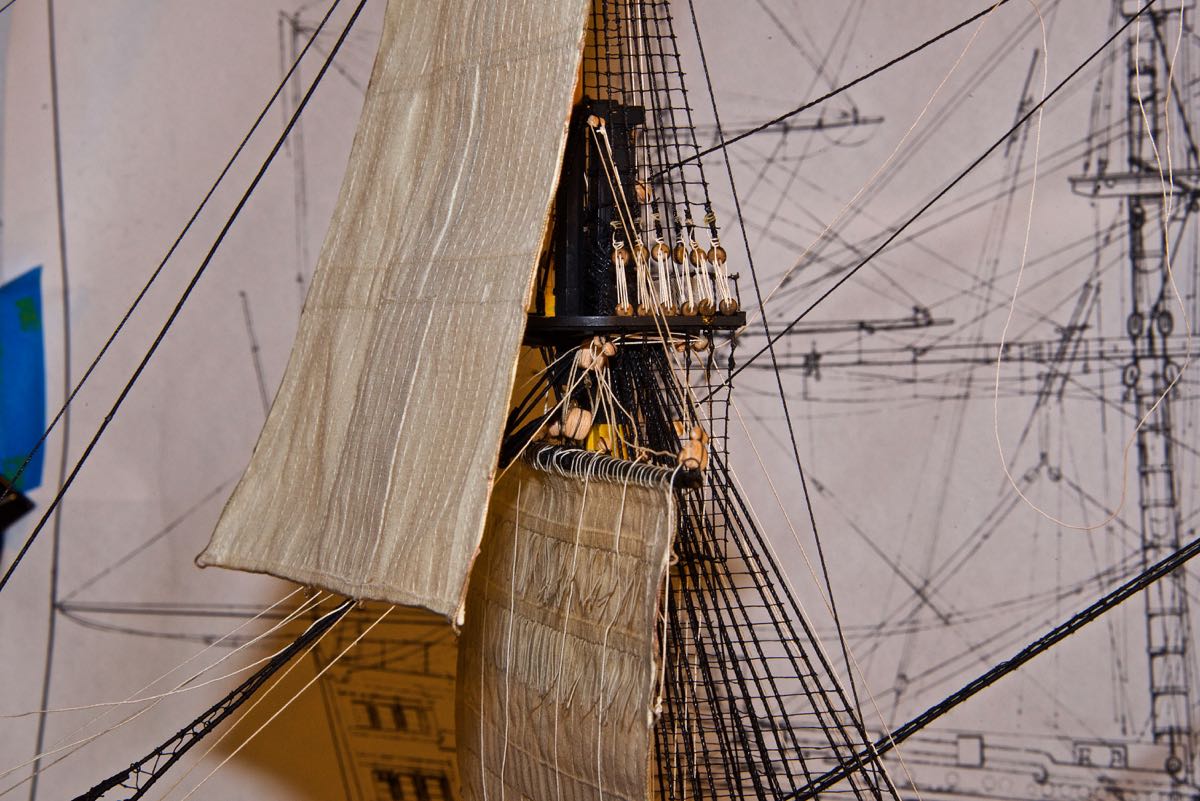
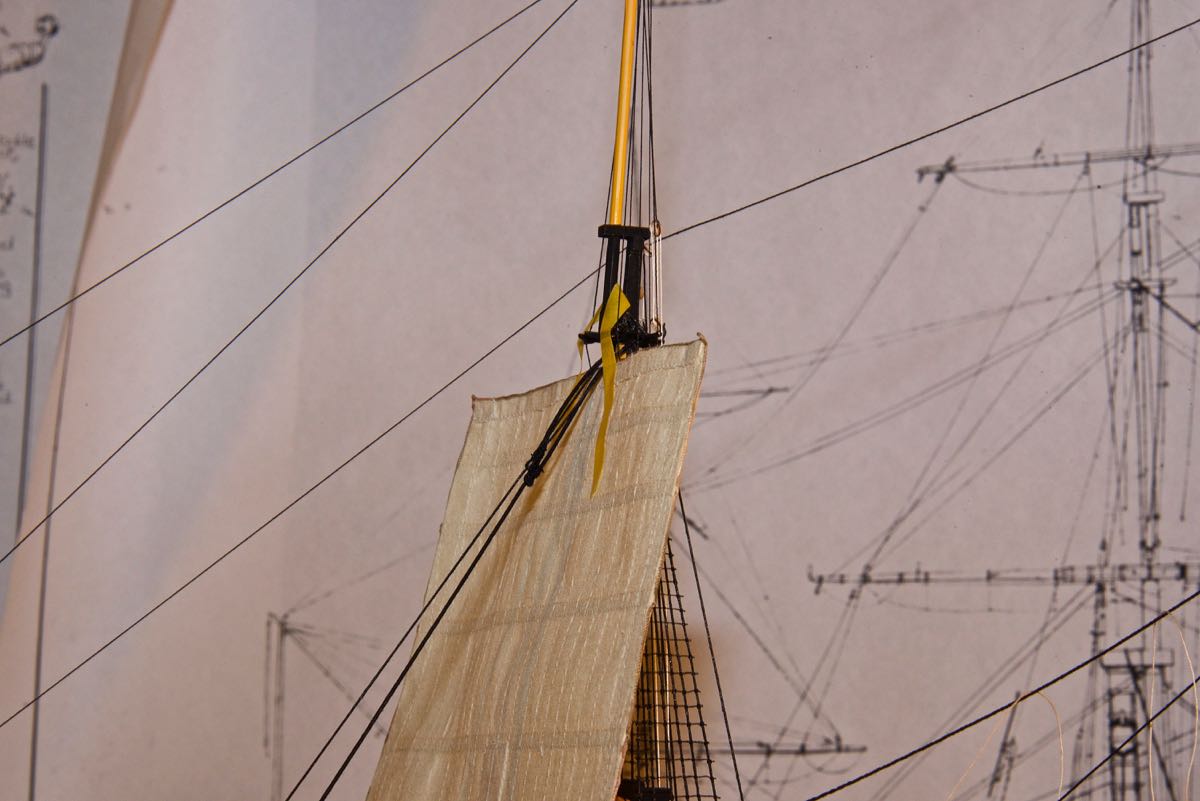
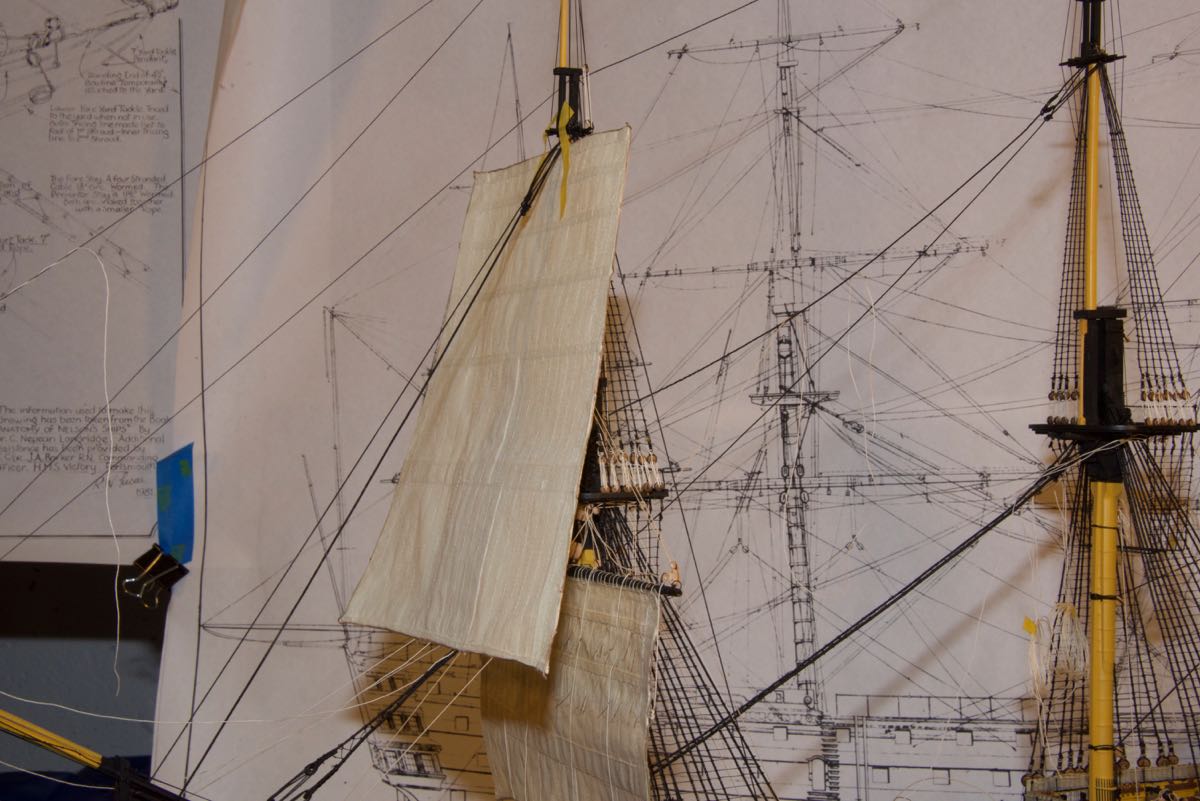
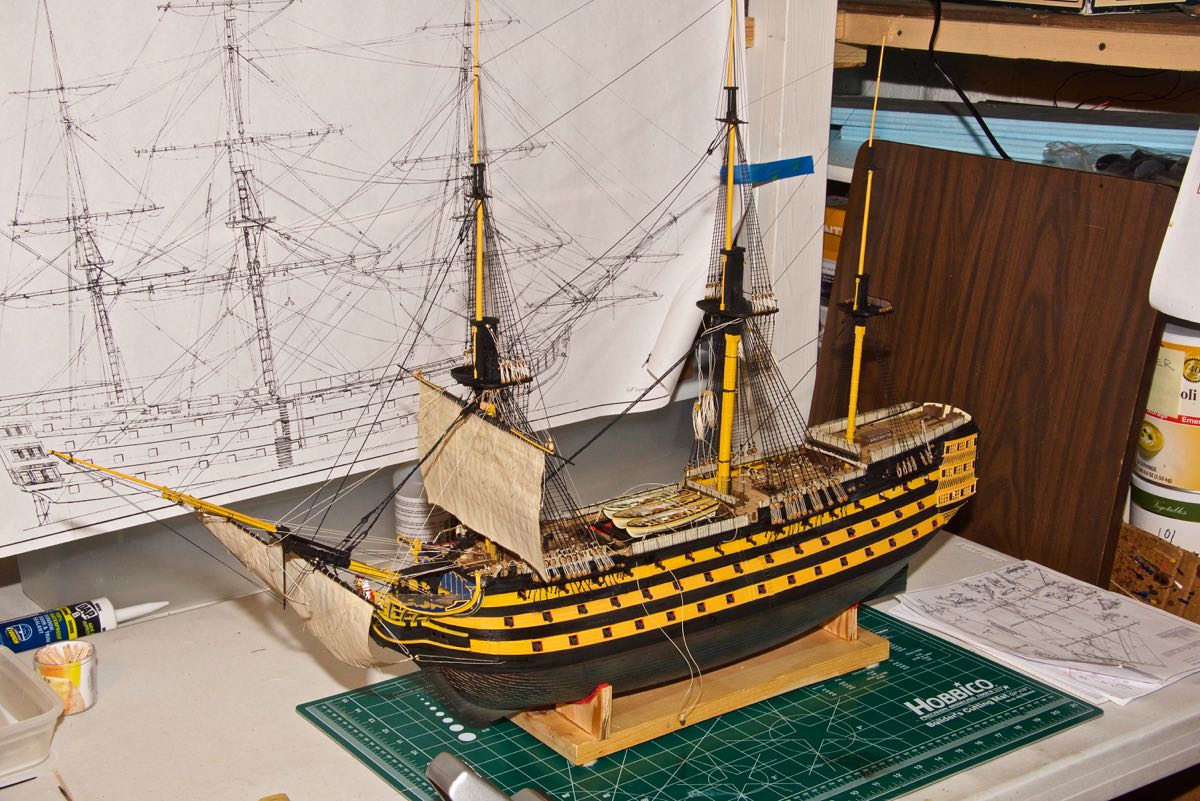
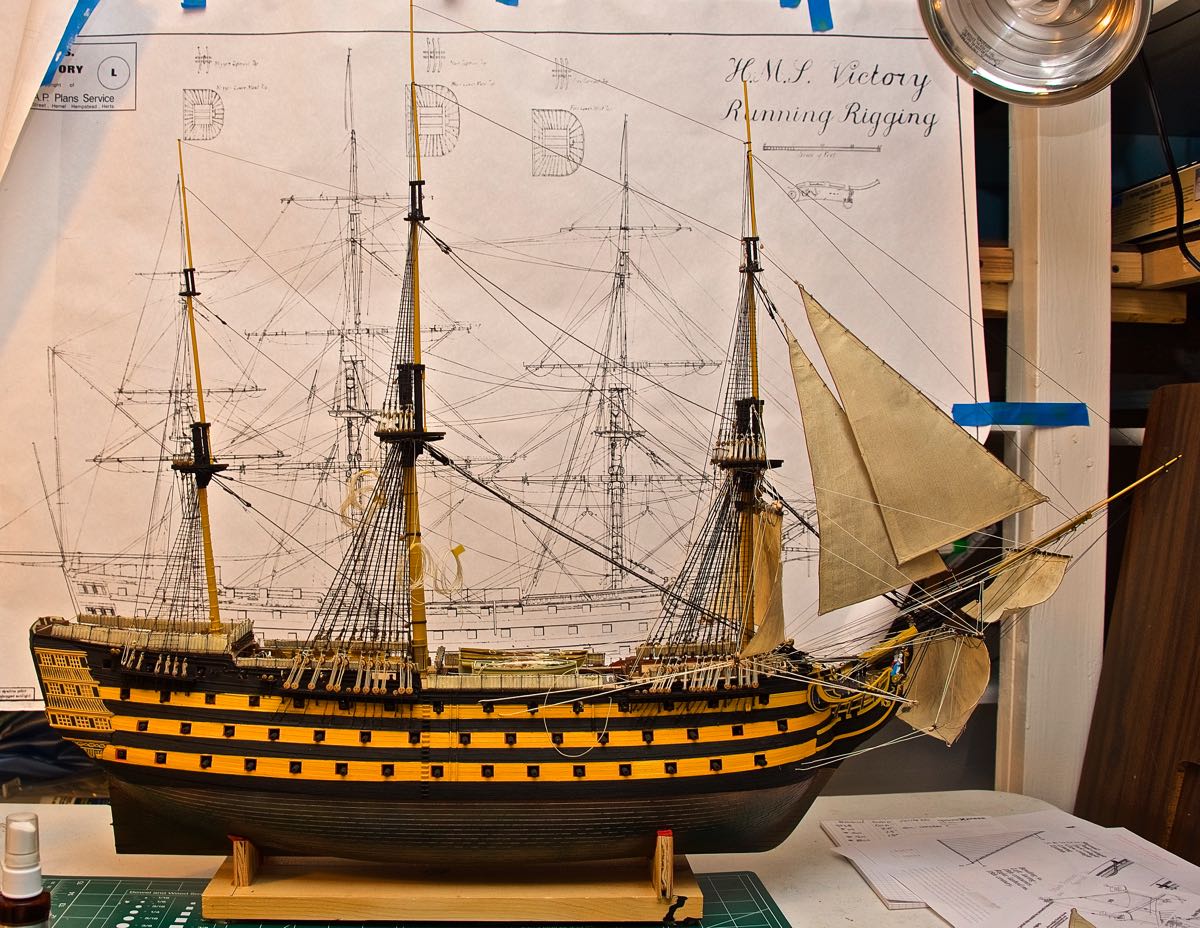
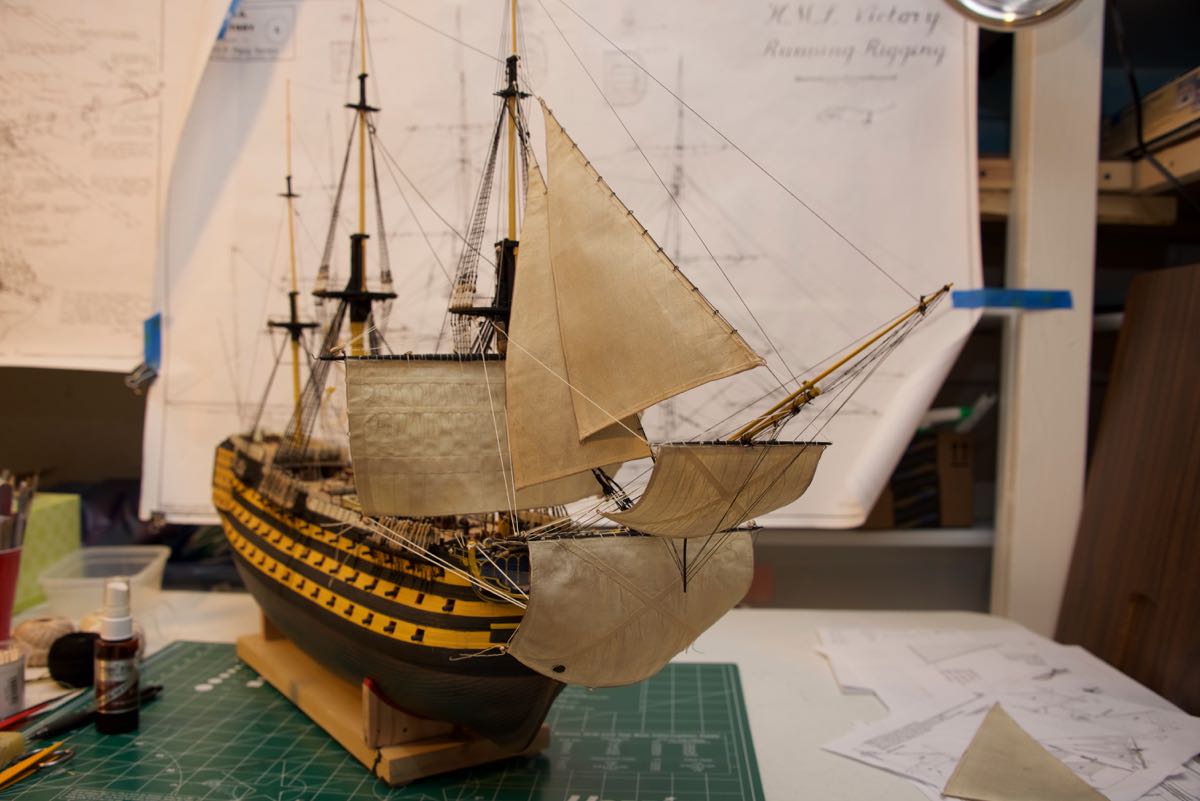
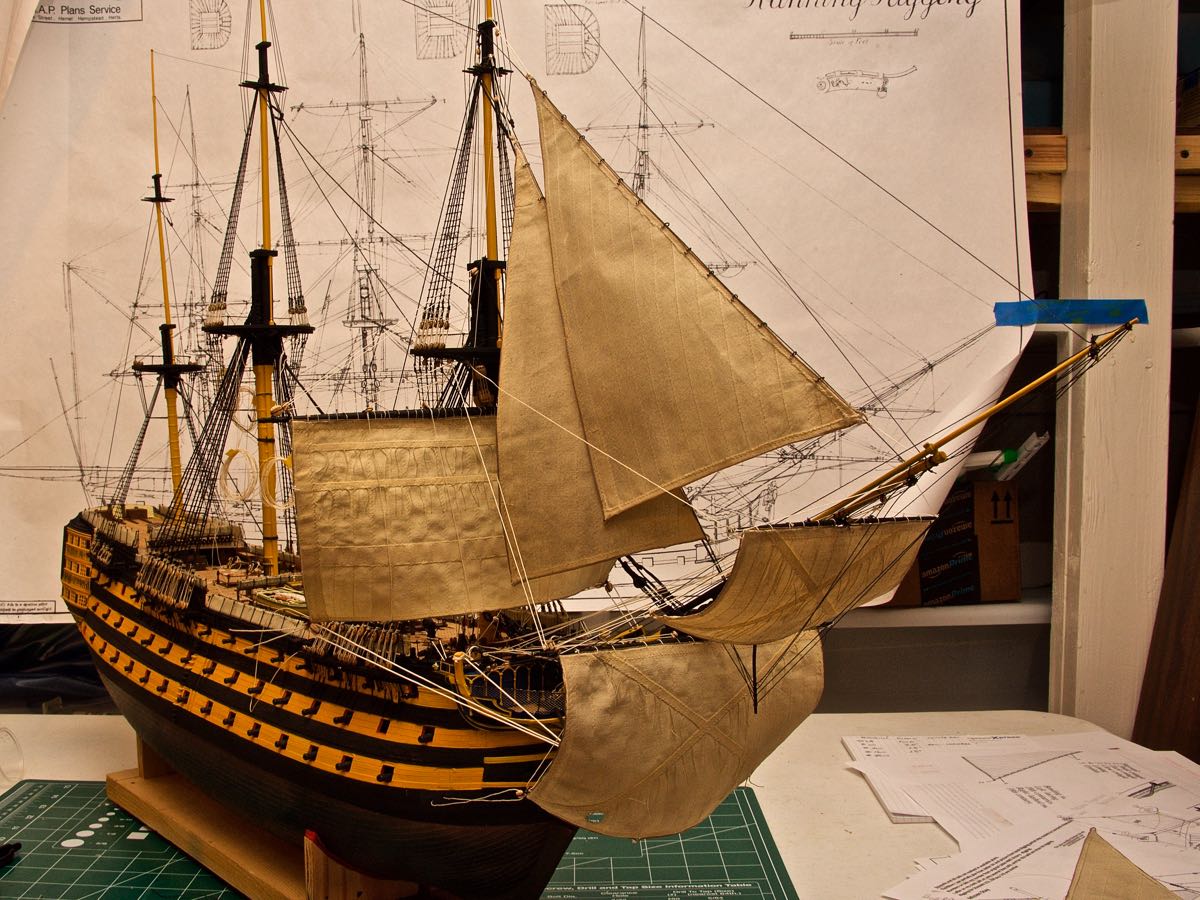
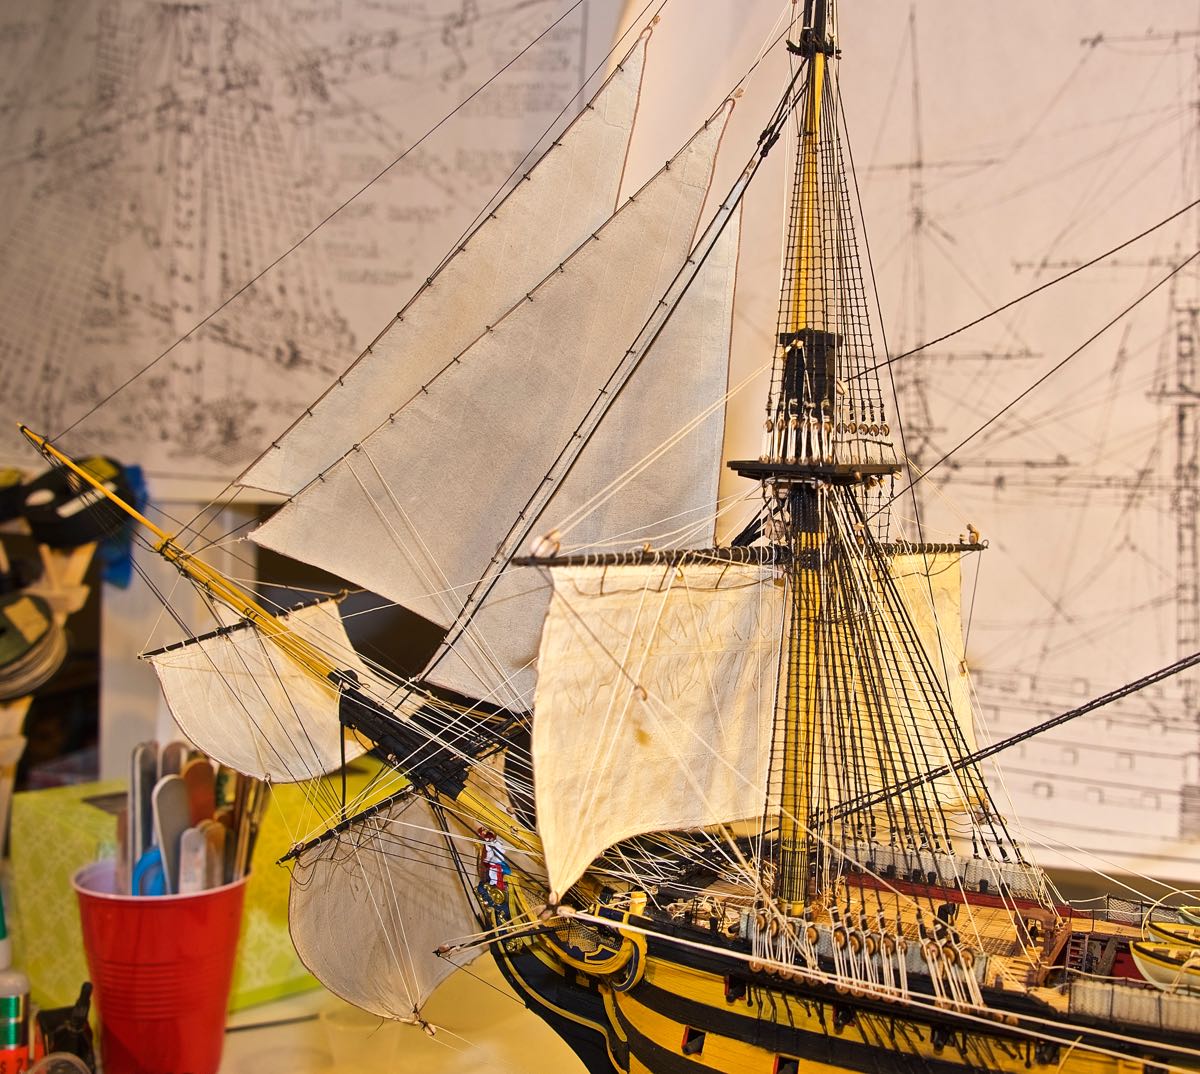
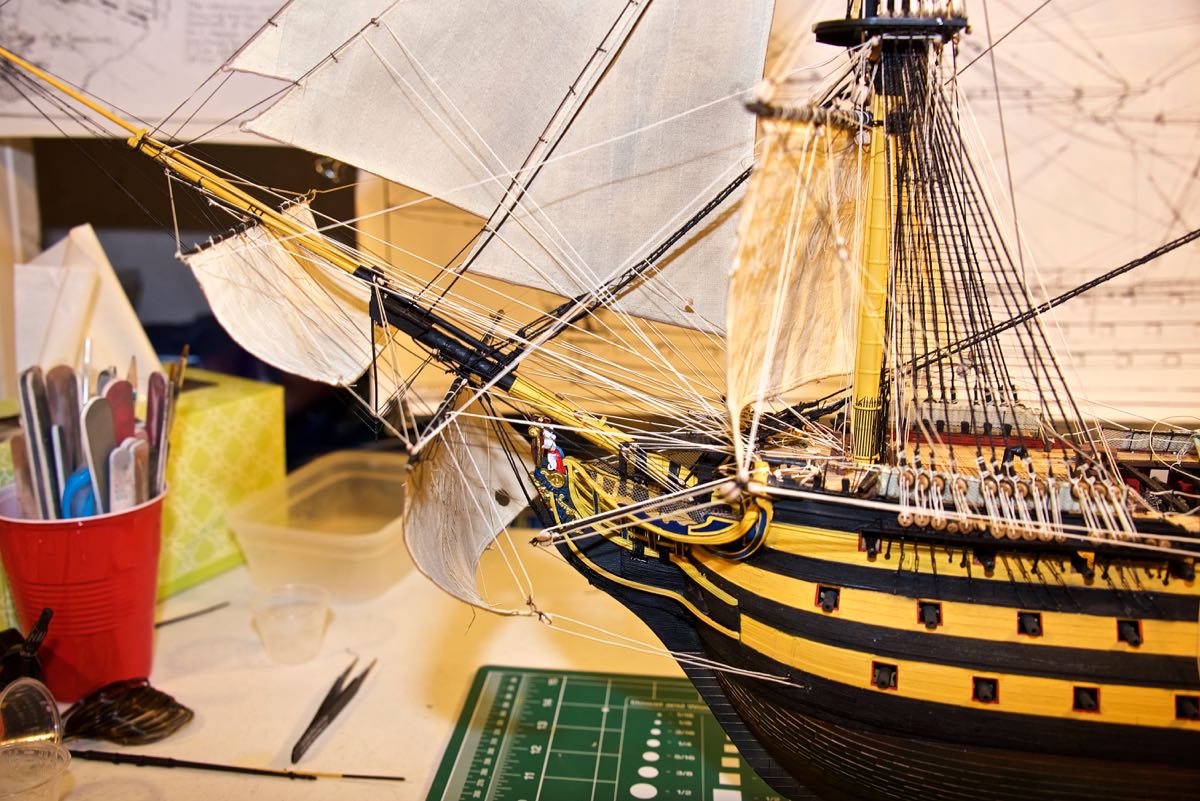
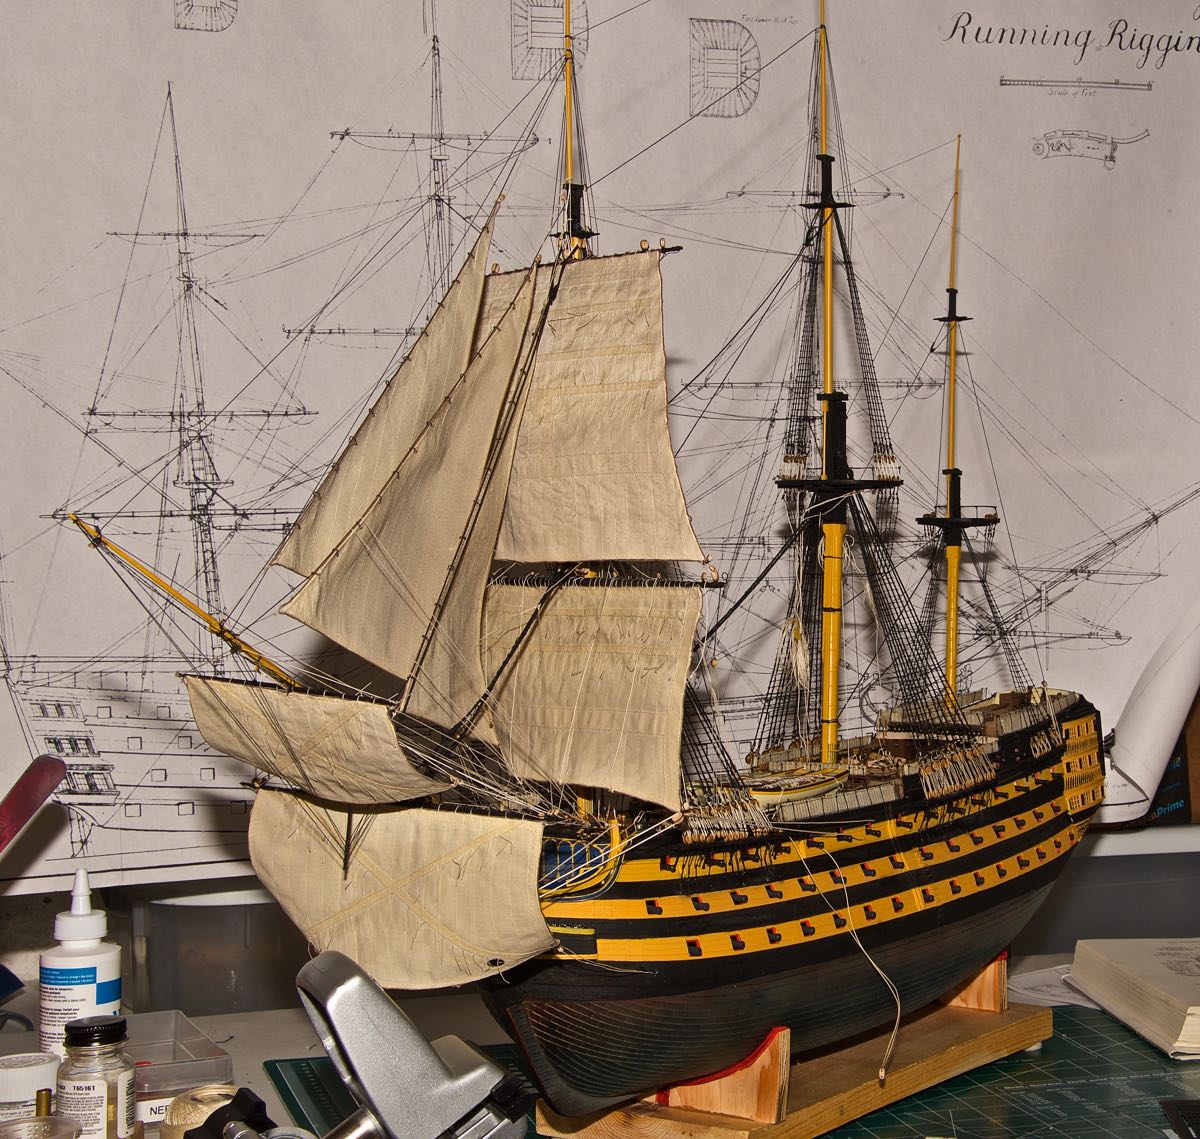
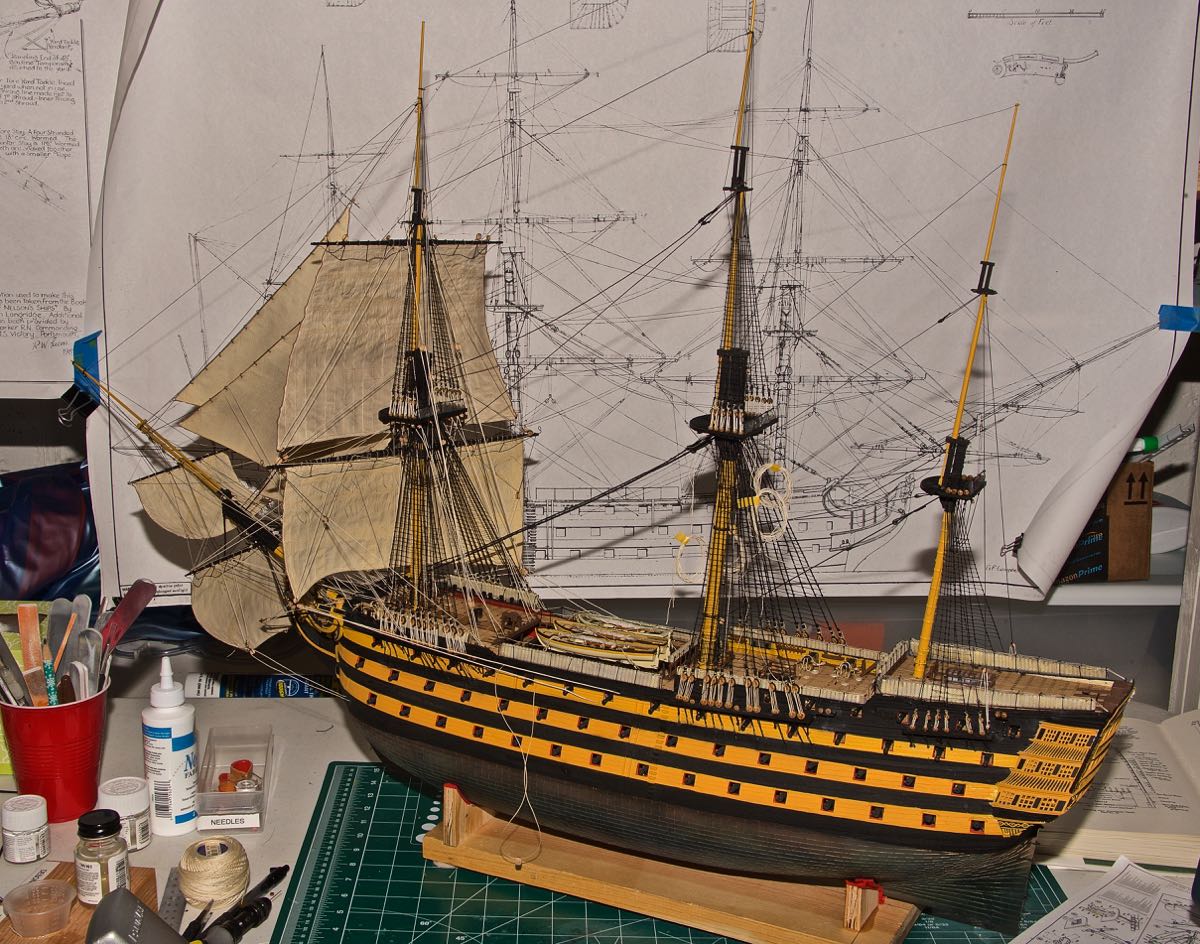
 4/5/2017 Here are some images of the installed fore topsail. Some areas of the rigging are getting really tight, and hard to get to.
 Go to page 3