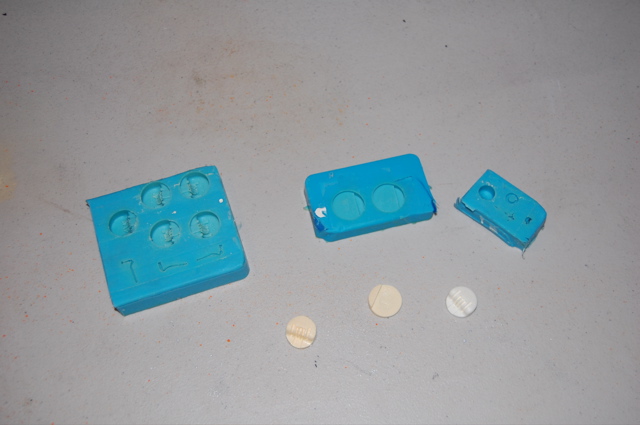
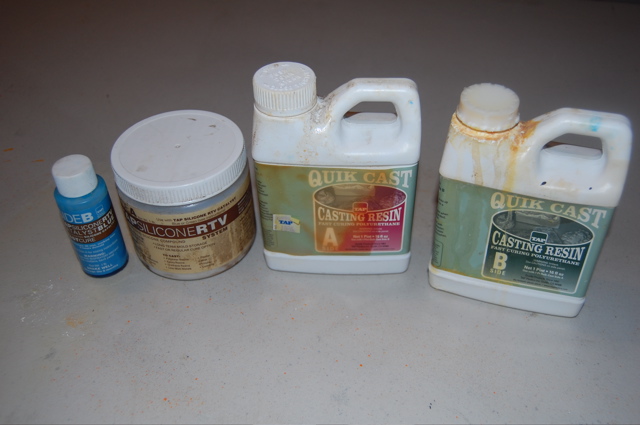
When you build a model – you gotta paint it. I remember the first model I painted. It was a sherman tank and I painted the turret silver. What can I say – I liked silver. I must have been in the second or third grade so that would make me 7 or 8 years old. I have a lot of paint now.
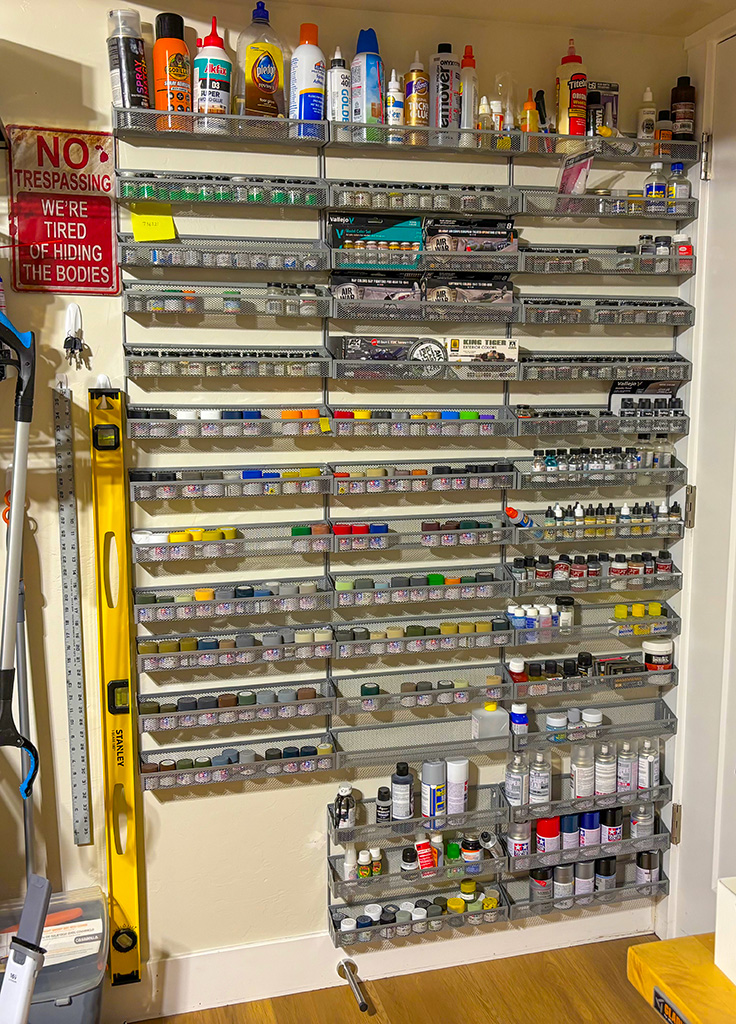
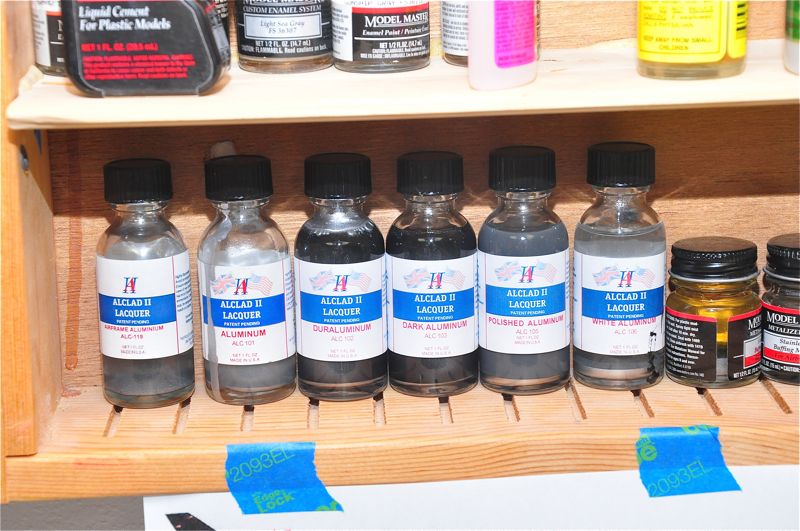
As you can see from the picture I have a wide variety of paints. On the left we have the Tamiya acrylics starting at the top, then Pollys acrylics in the middle and, Testors enamel on the bottom, in the middle there is the continuation of the Tamiya acrylics with Microscale bottles separating the Tamiya gloss and flat, and on the right is the Model Master with acrylics on the top enamels below that. On the bottom right I also have assorted bottles of Alclad II as shown here:
I have all of the paints placed so that the color labels are easily read and the Tamiya paint is also listed in numerical order. I got the shelves from my neighbor at their garage sale. They were for storing tapes or cd’s or something like that. I took the shelving material out and rearranged it and glued it back into the frames in the positions I wanted – then glued the 3 frames together to make the whole thing more stable and vola! I have paint shelving.
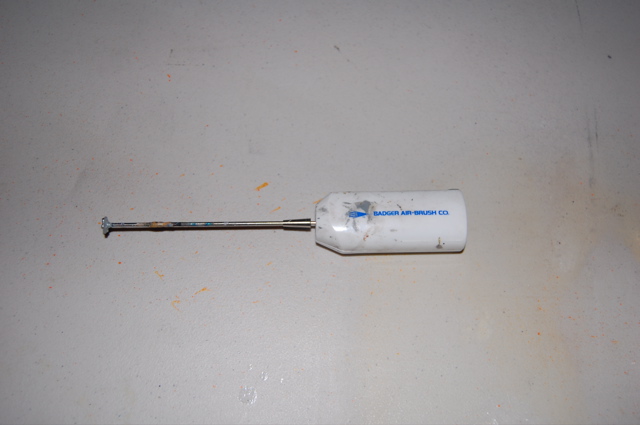
When I open a bottle of paint I ususally find that it needs to be stirred. This Badger brand paint stir does the trick. It uses 2 AAA size batteries. This is really handy and is much better than trying to do it by hand. By the way – before you close the paint jar it’s important to wipe off the jar lip and the inside of the paint cap. If you don’t you will soon find the cap has sealed itself to the jar. I have broken paint jars trying to get the lid off using a pair of pliers. At 2 to 4 bucks a jar – paint is way too expensive to waste.
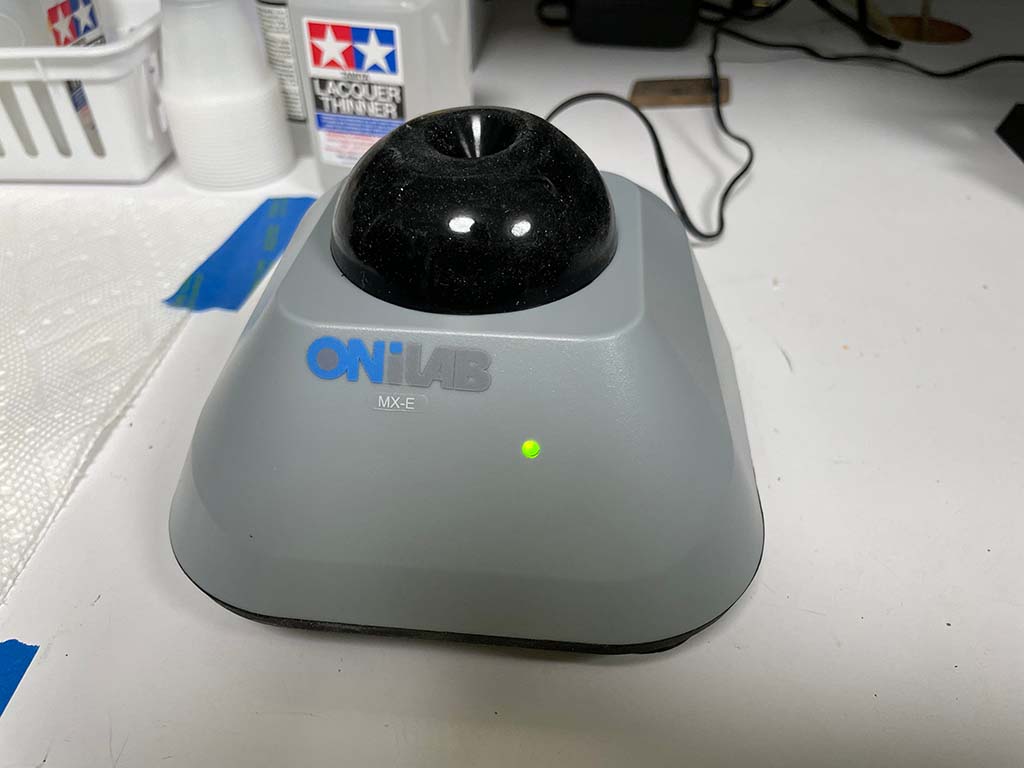
This is an even better soluton to mix your paint. It's a little more expensive at about $50.00 but does a much better job and is less messy than the battery operated mixer above.
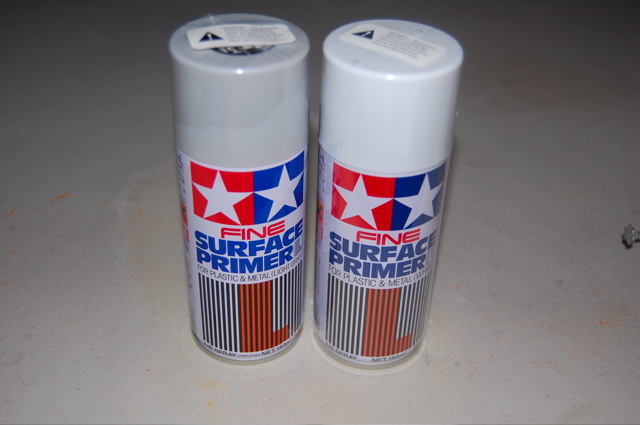
I frequently will prime the plastic surface before I paint it. I really like the Tamiya fine surface primer for this.
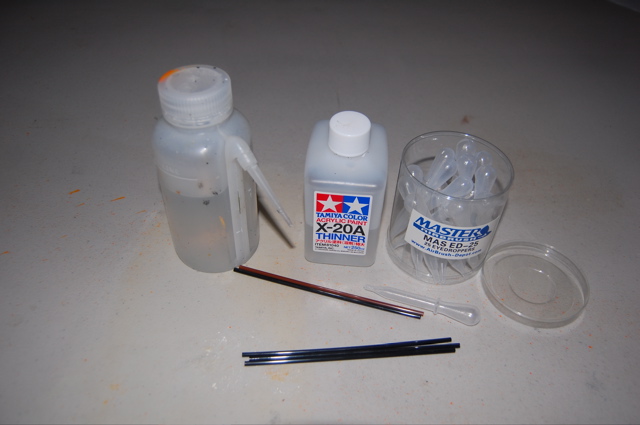
If you airbrush you will really need to thin the paint. I use the water bottle below to add small amounts of water to thin the acrylic paint. The tapered spout really does a good job of metering out small amounts of water into the paint cup. For Tamiya acrylic paint I use their X-20A thinner. It works quite well and goes a long way. I use the large syringes shown here to suck up the thinner and then transfer a little to the color cup in the airbrush. Those skinny straws you use to stir hot drinks are perfect to stir thinned paint in the air brush cup.
I would like to say a few words about Alclad II paint.
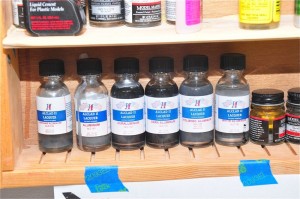
This is a highly thinned metalizer lacquer that if done right can make your model have a very realistic metallic look. Since the lacquer will attack plastic you will need to apply a coat of primer first. If you go HERE you will see a very nice article about how to apply it. Thank you Swanny! I first used this correctly on my Tamiya 1/32 P-52D. You can see an article on this build in this web page – just go to ARTICLES and then scroll down.