Saturday, August 22, 2026

Bishop Hobbies

Wood & Plastic Models, Astrophotography

Author Archive

Astronomy Equipment

Posted by Paul On April - 21 - 2013

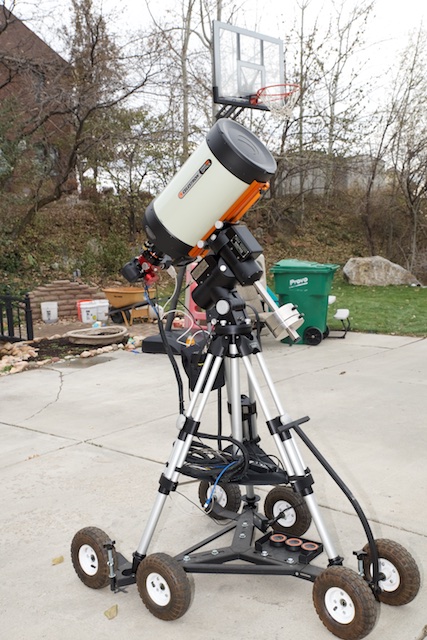
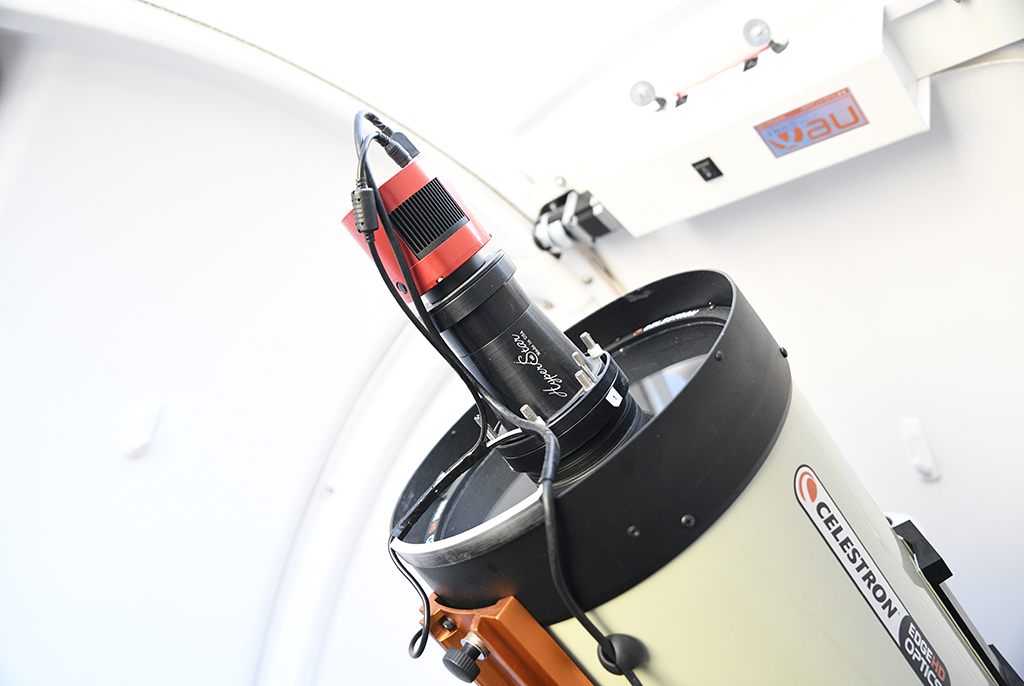
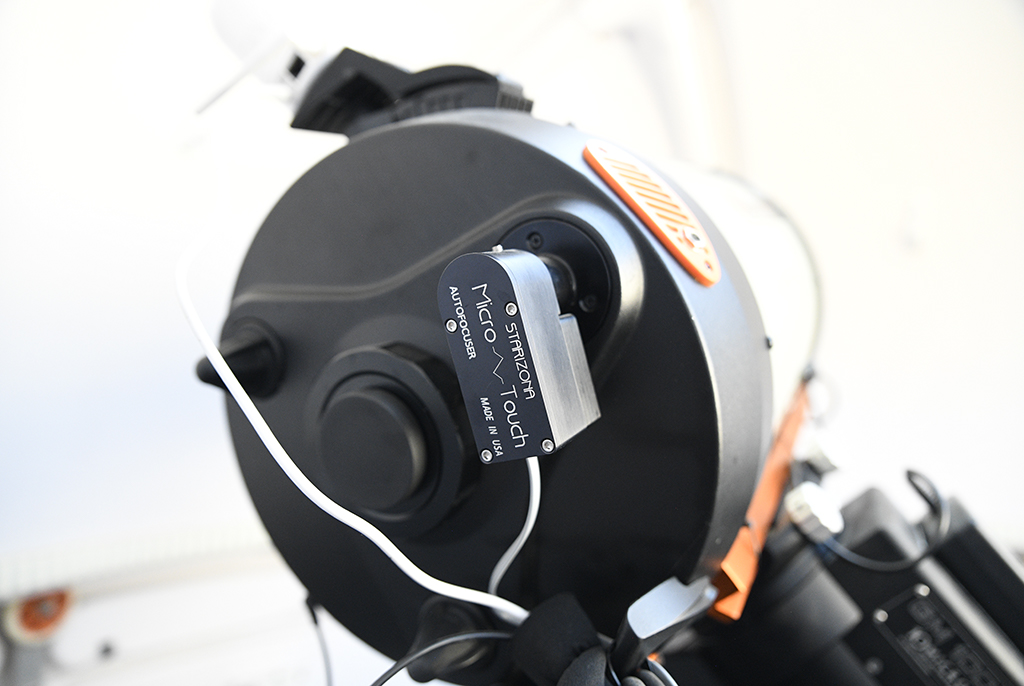
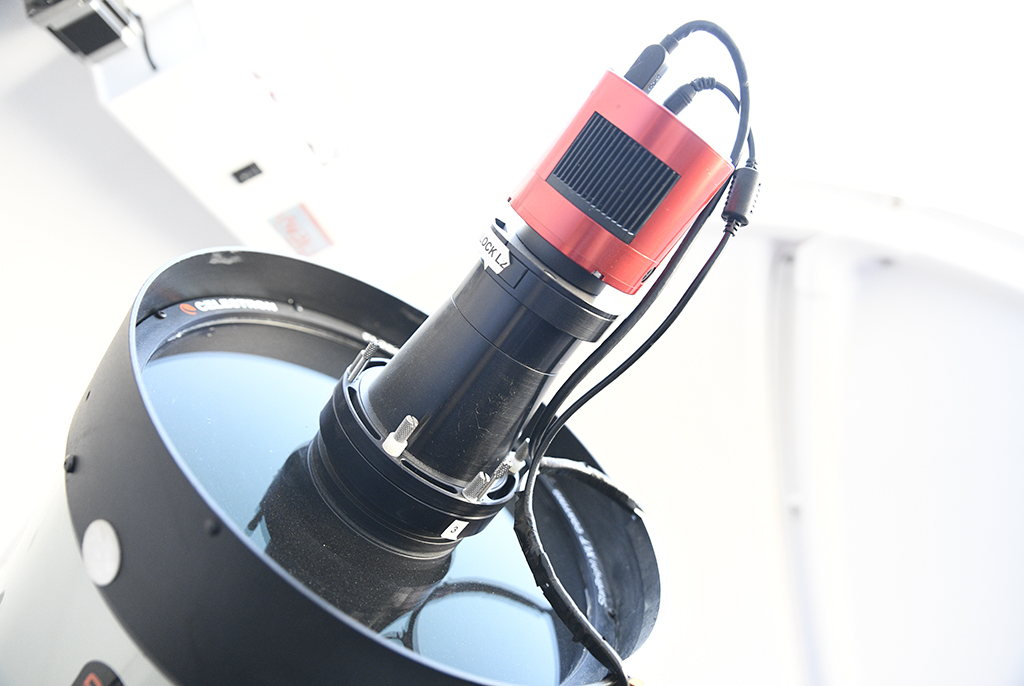
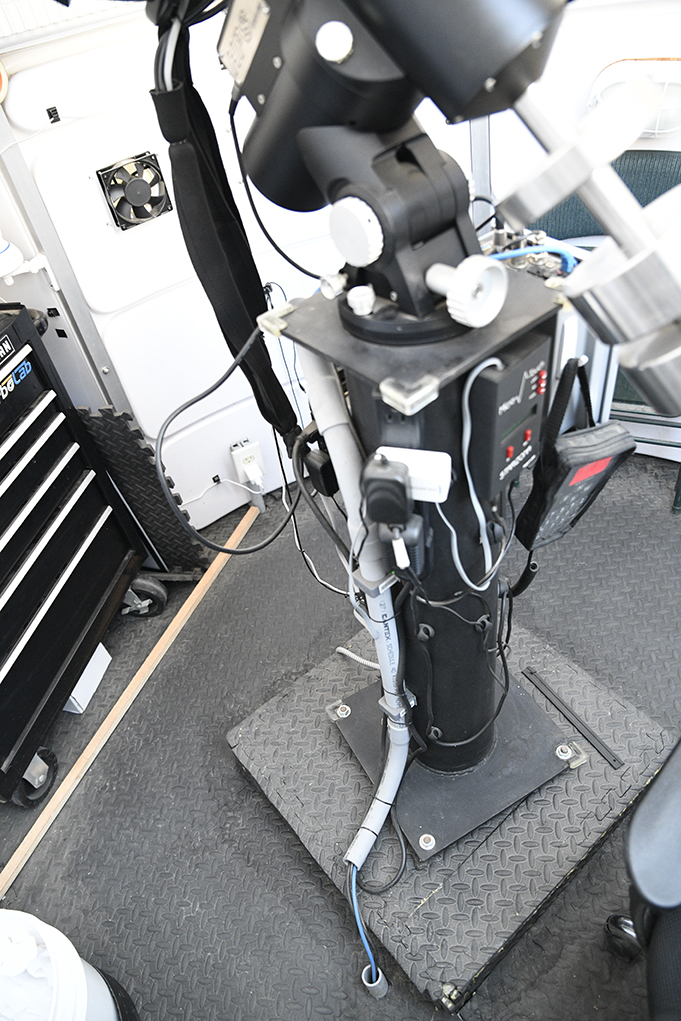
 Here are some pictures of my astronomy setup.

I'm currently using the following equipment:

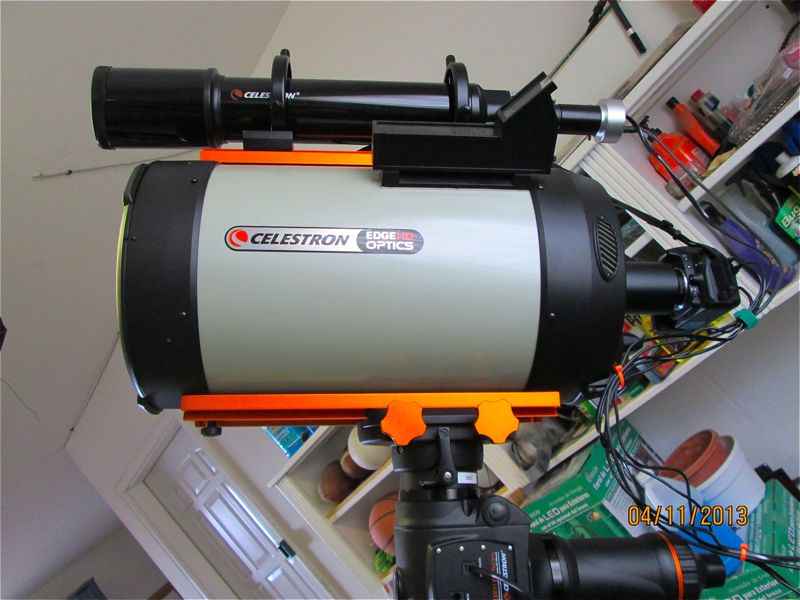
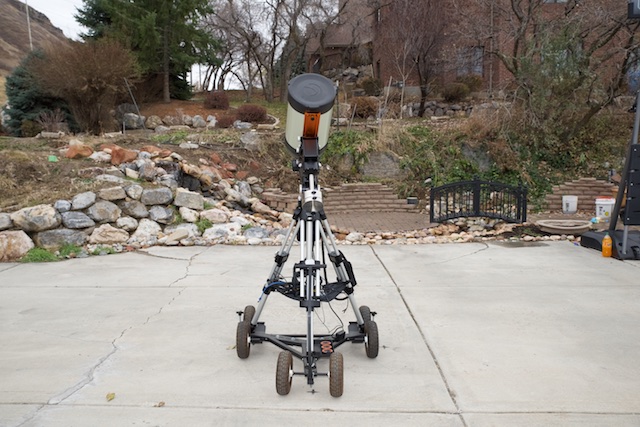
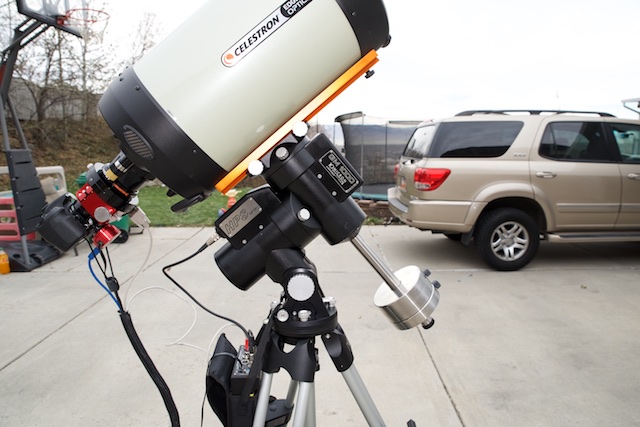
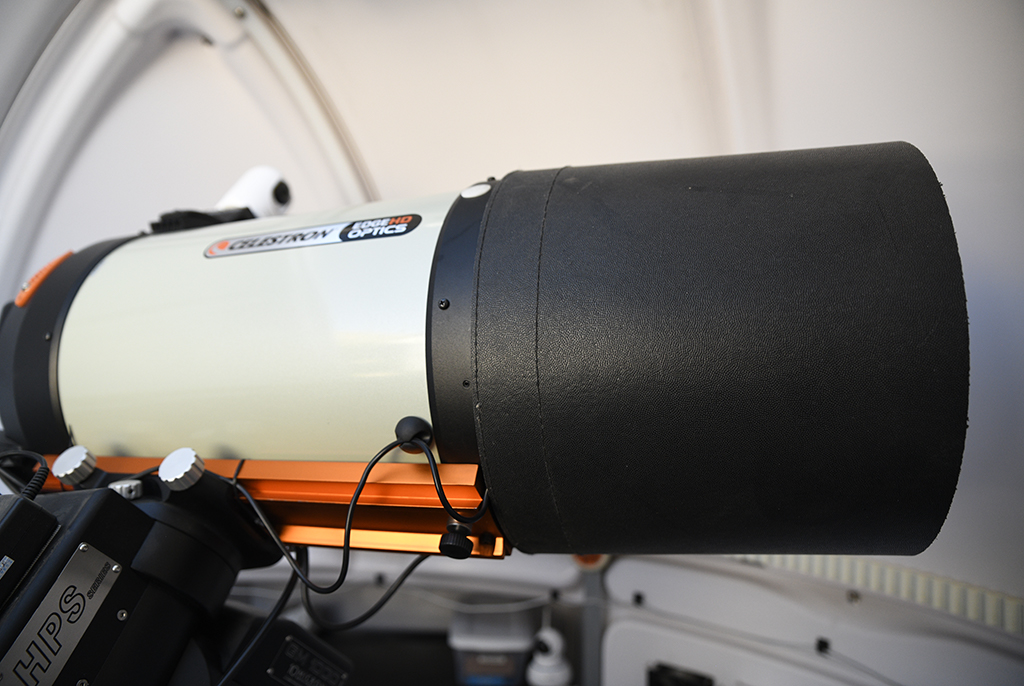
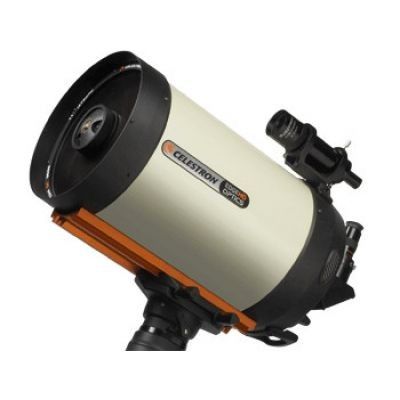
Telescope – Celestron 1100 Edge HD

this is an 11 inch Schmidt Cassegrain telescope with a focal length of 2800 mm F10


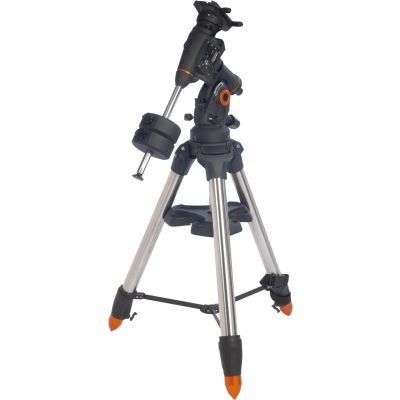
Mount – Celestron Cgem DX

this mount has a 50 pound weight capacity


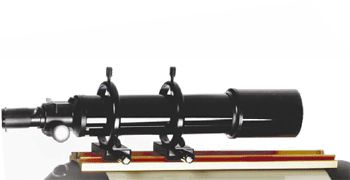
Guide Scope – Celestron 80 mm guidescope


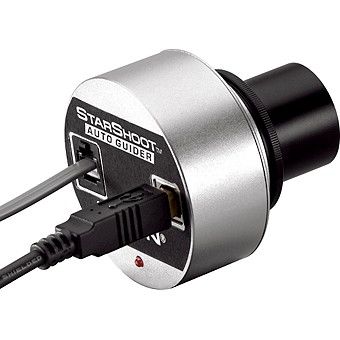
This is my Orion autoguide camera.  It's used to help guide the mount for astrophotography.


This is my ZWO ASI120MM-S Super Speed Monochrome CMOS Camera which I'm currently using for guiding, but this camera will take fabulous pictures of planets.


Like this:


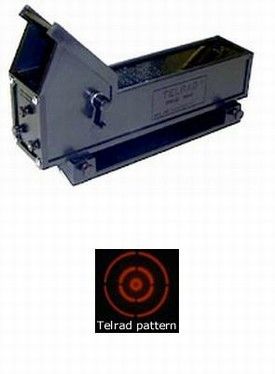
Finder Scope – Telrad Finder


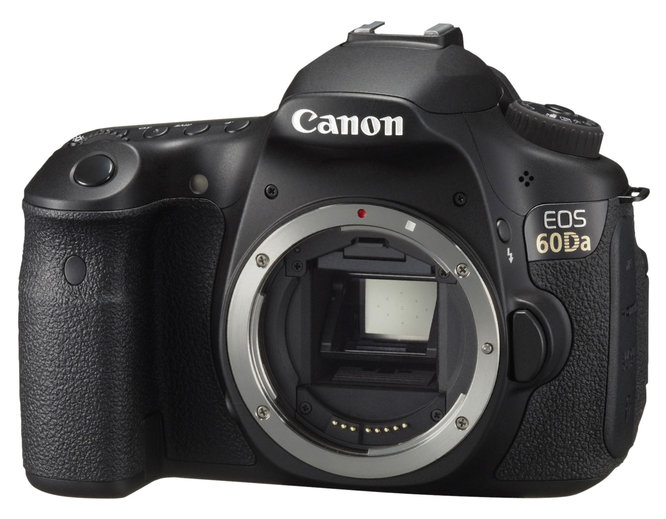
Camera – Canon 60Da
666-canonEOS60DaFSL_1333437175


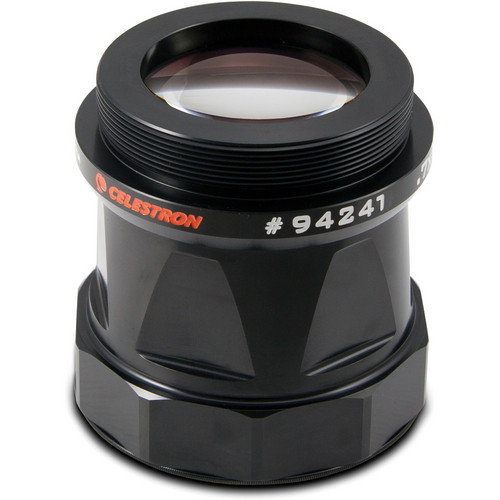
Celestron .7x Focal Reducer

Celestron_94241_0_7x_Edge_HD_Reducer_1329766564000_844553


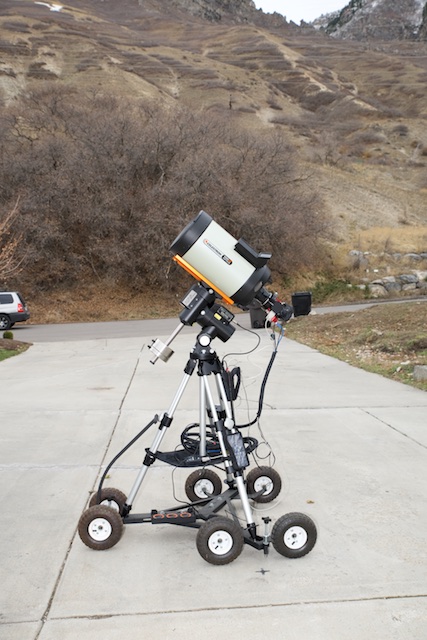
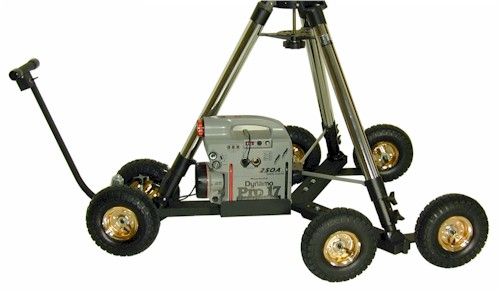
Scope Dolly – JMI large size wheeley bar with 10 inch pneumatic tires


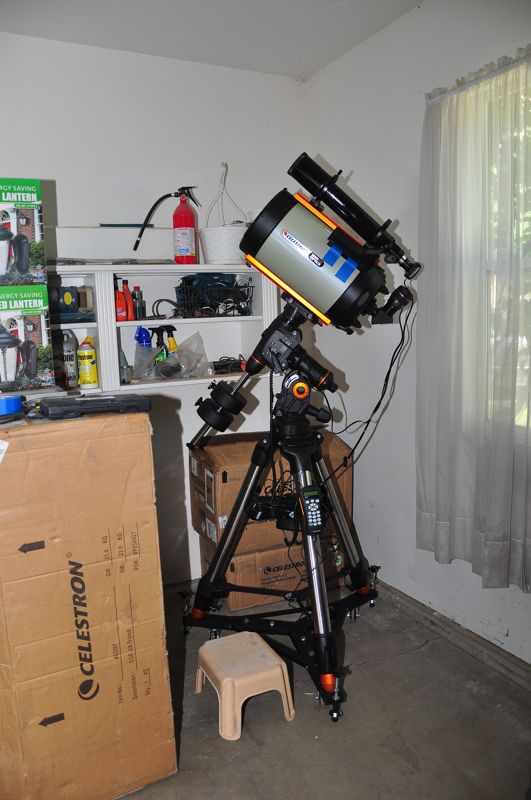
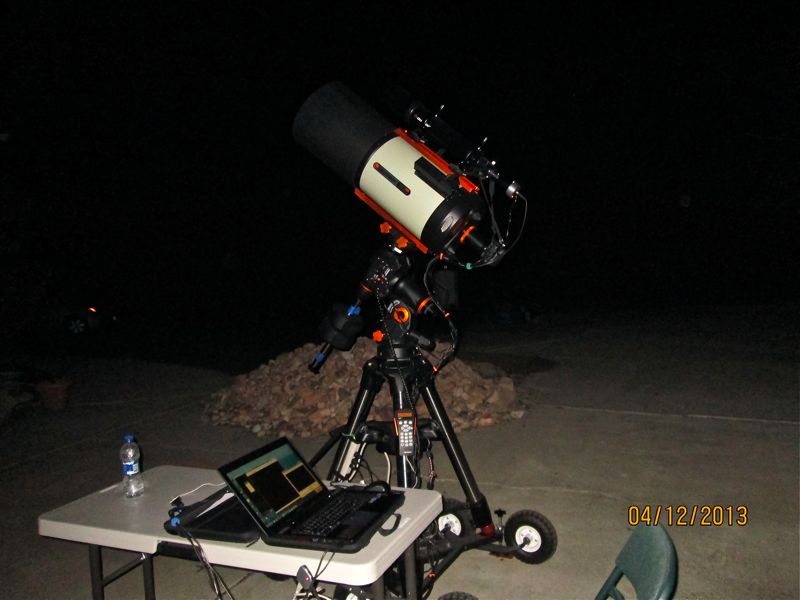
This first picture shows my telescope right after I got it in June of 2012.  I haven't yet installed the 10 inch pneumatic tires.  This version has the 3 inch plastic castors that were very difficult to move over even slight height variations in the concrete.


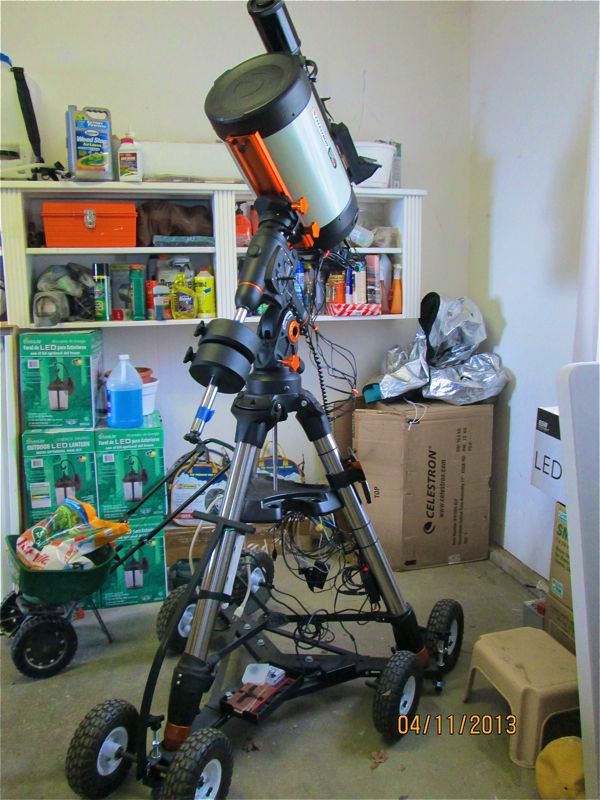
This picture shows the 10 inch pneumatic tires.  A great improvement.


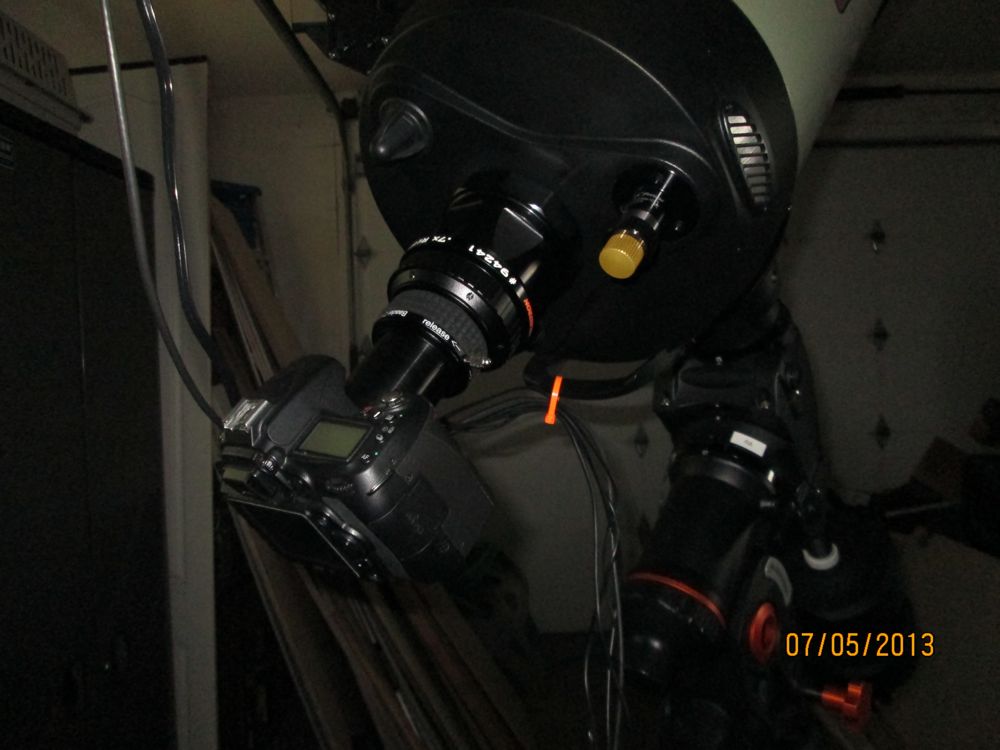
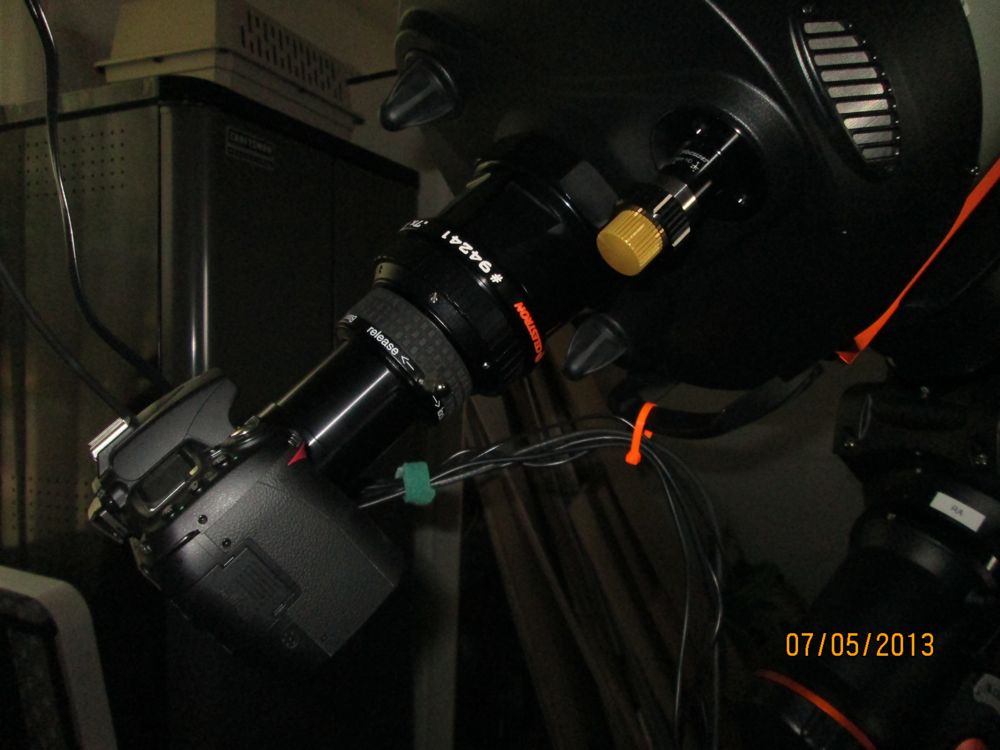
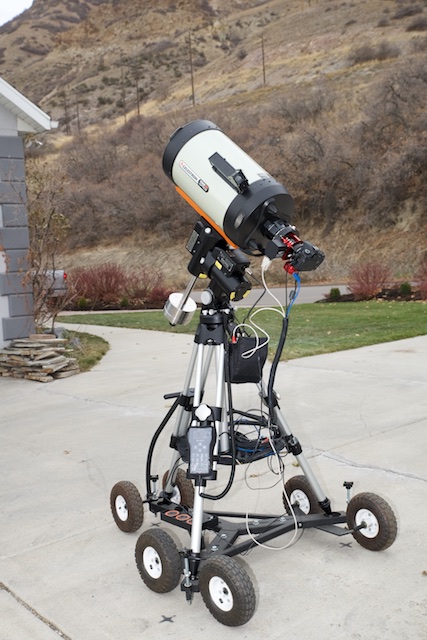
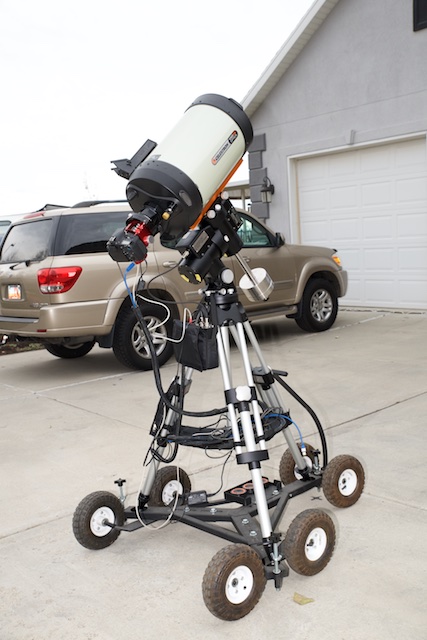
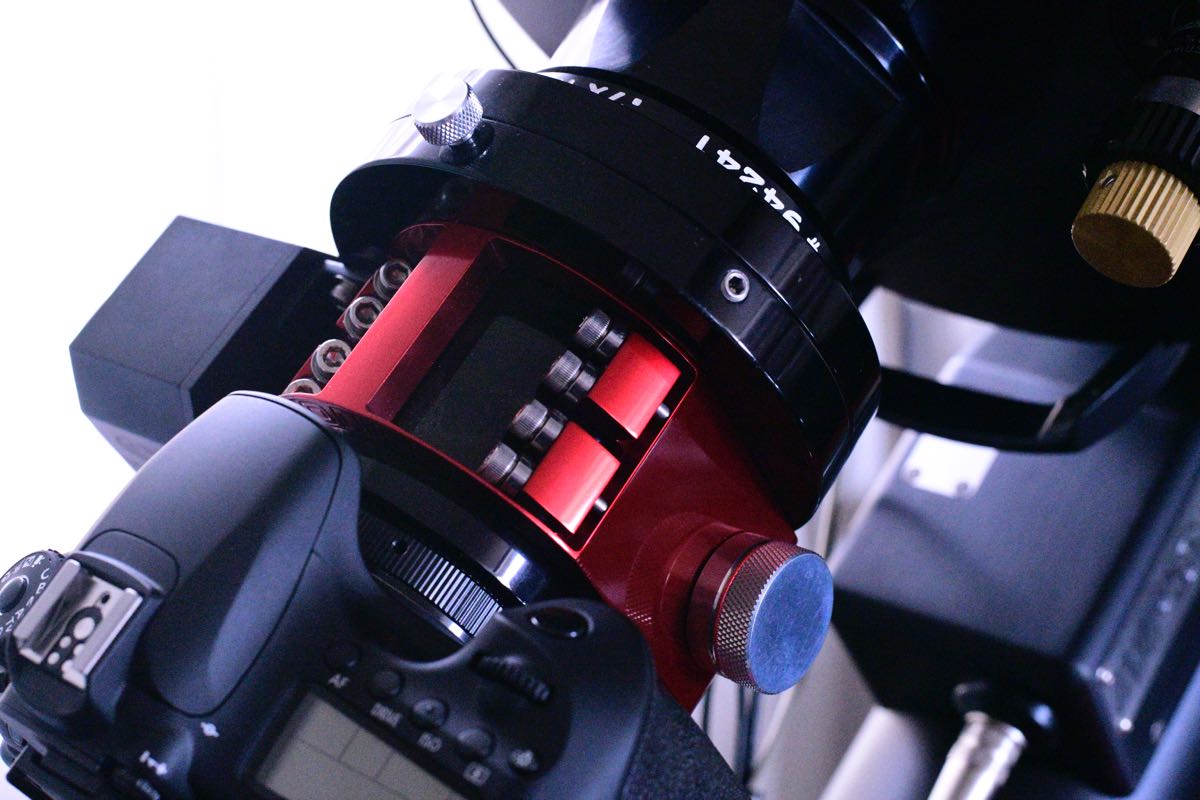
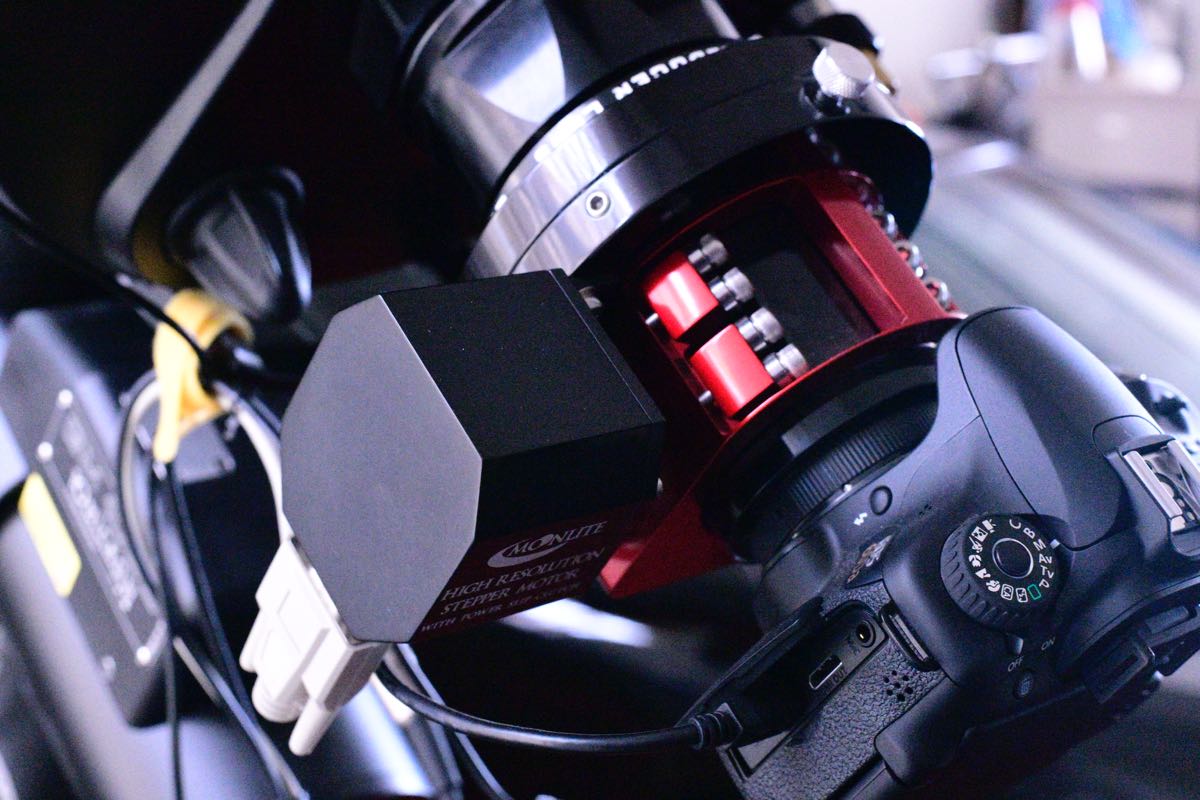
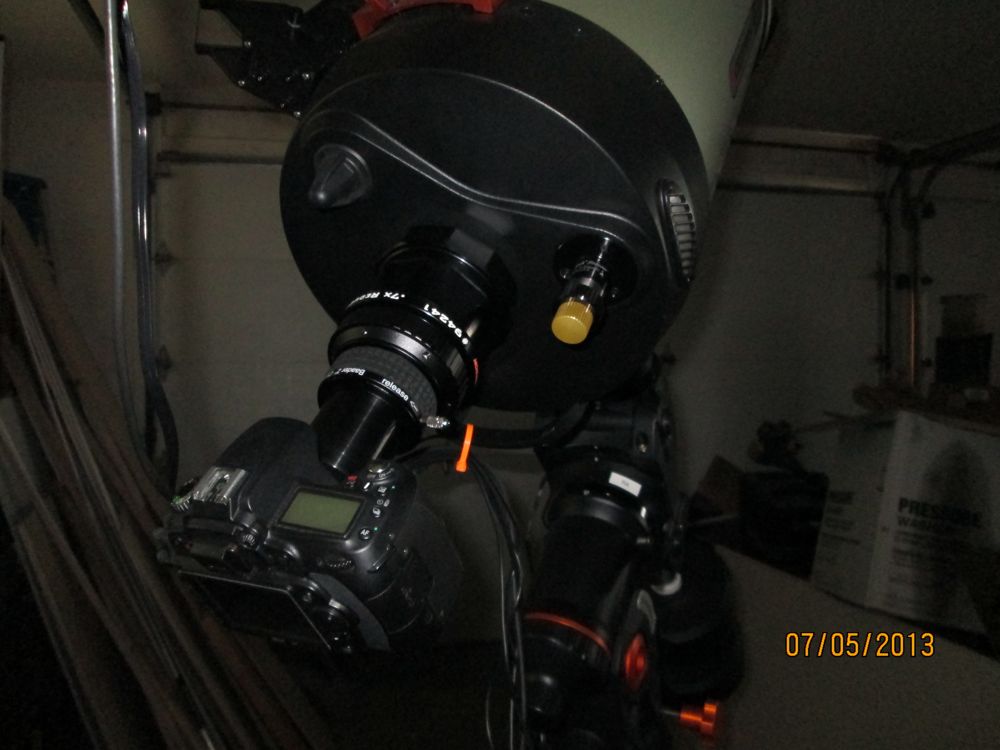
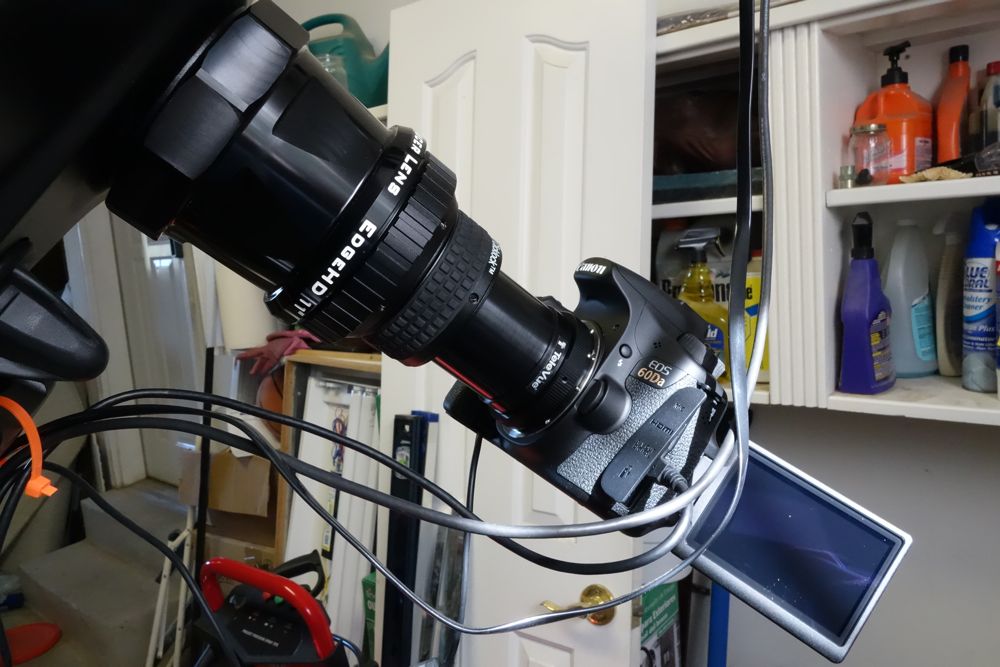
These pictures show the camera installation
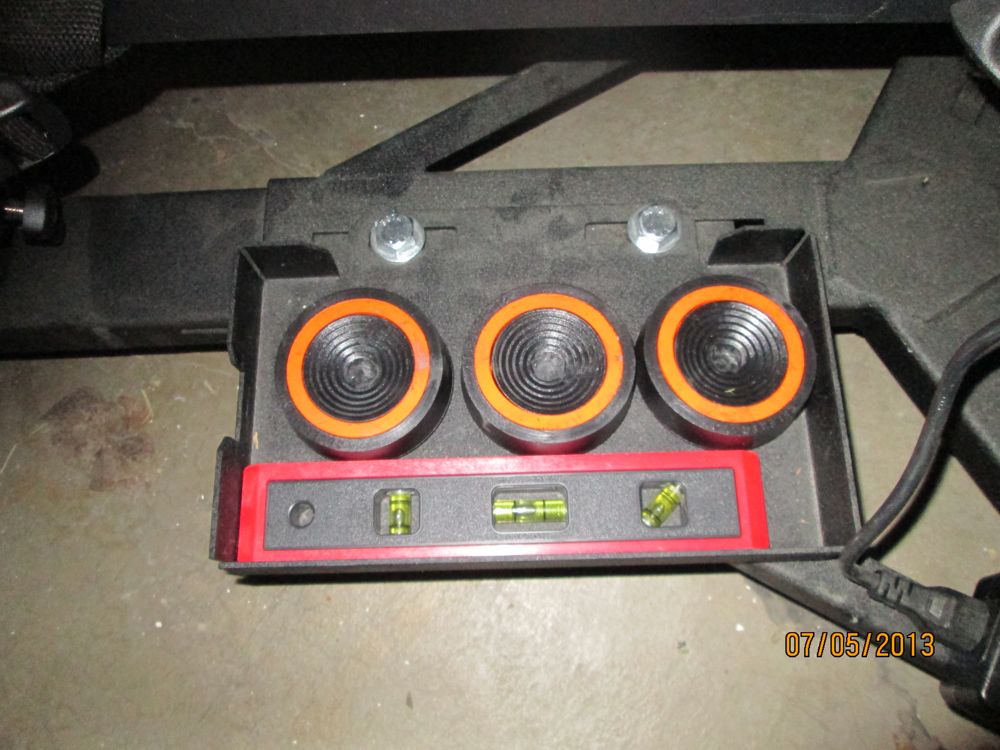
These orange pads are placed between the dolly jackscrews and the cement driveway to damp out vibrations.
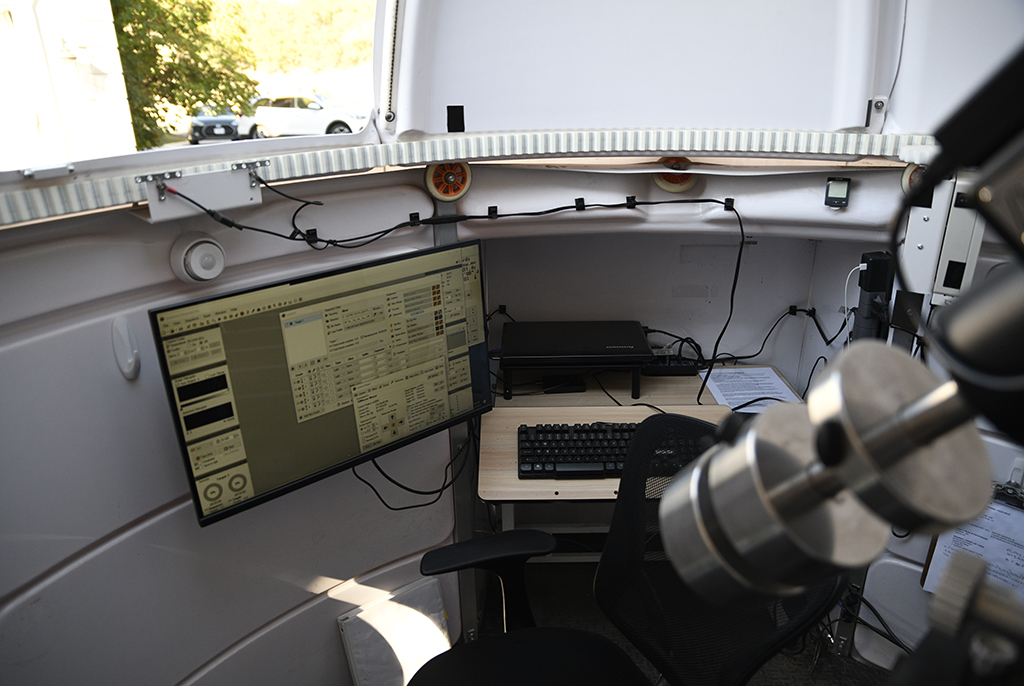
This view shows the telescope connected to my laptop.  I can control all aspects of the telescope from the laptop.  No more standing on my head to see what's up there.
8-9-2013 Here is a picture of the installation of my new camera – the Canon 60Da which is specifically set up for astrophotography.
 

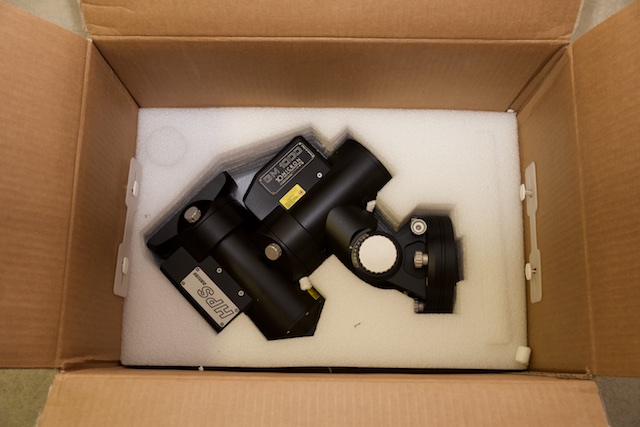
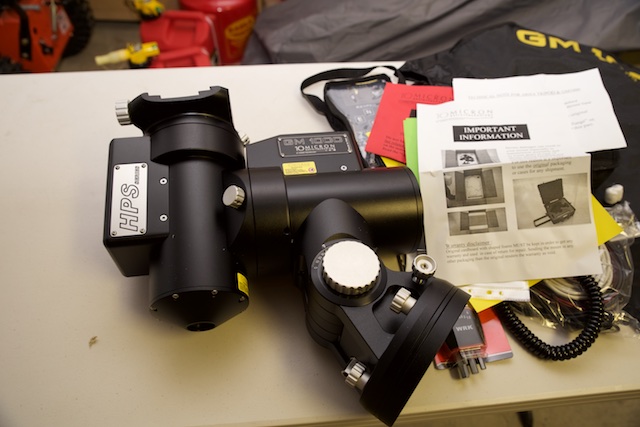
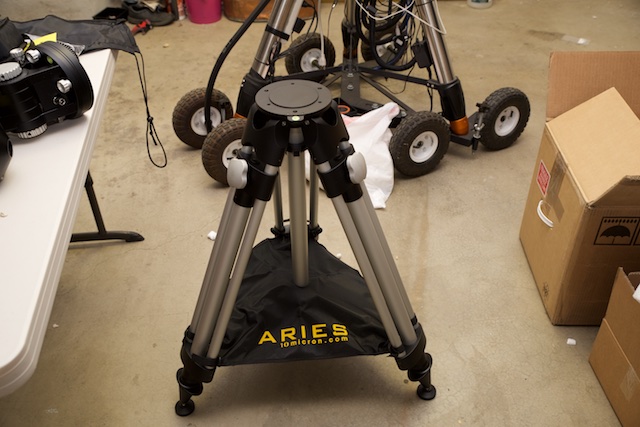
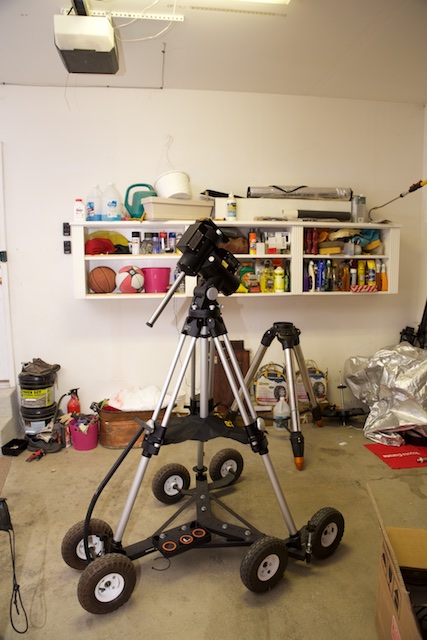
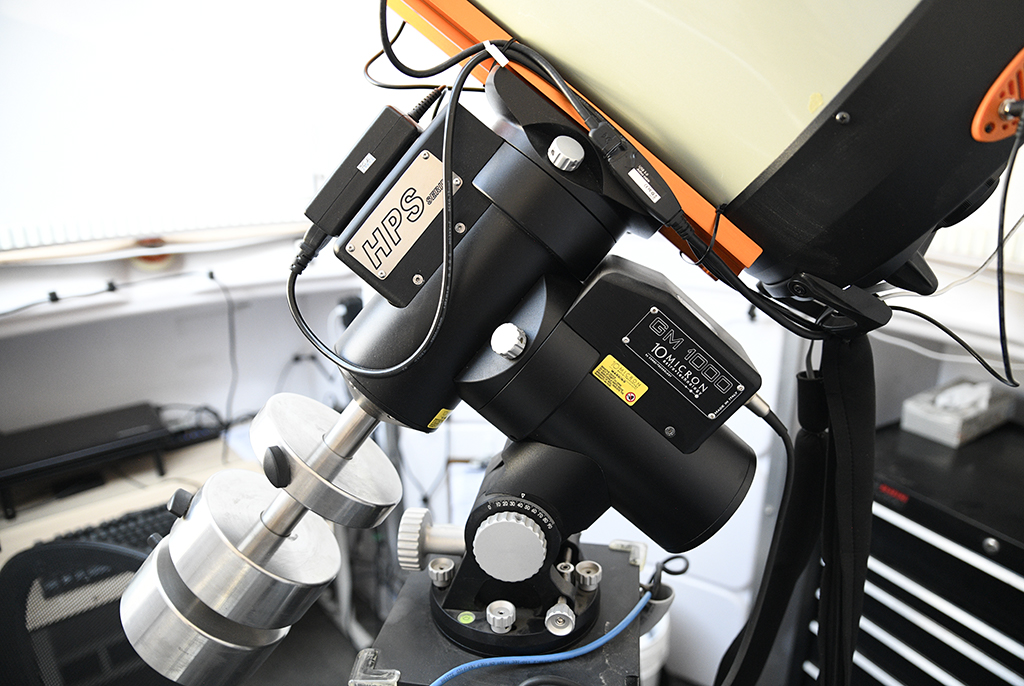
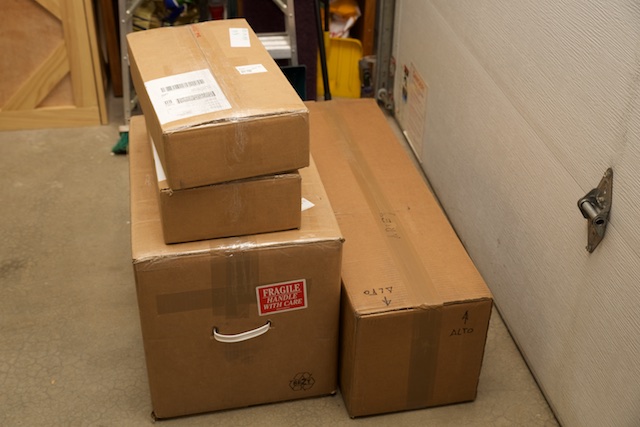
12/8/15 My 10Micron GM1000HPS mount finally arrived.  It's made in Italy and will go a long ways to improving my ability to track objects in the night sky.  

10 Micron are one the highest regarded manufacturers of high precision ultra high quality mountings in the business.

The GM1000 HPS features:

Absolute on-axis encoders in RA & Dec, featuring
more than 10 million increments (interpolated),
fully encapsulated and calibrated

•Provides up to 0.5“ RMS tracking accuracy – for long duration UNGUIDED imaging – even at long focal lengths

• Closed loop (encoder controlled) satellite tracking

• speed – up to 20°/s

and much much more!

Here are some photos:
_DSC2530_DSC2531_DSC2532_DSC2533_DSC2534_DSC2539_DSC2541_DSC2542_DSC2543_DSC2544_DSC2545


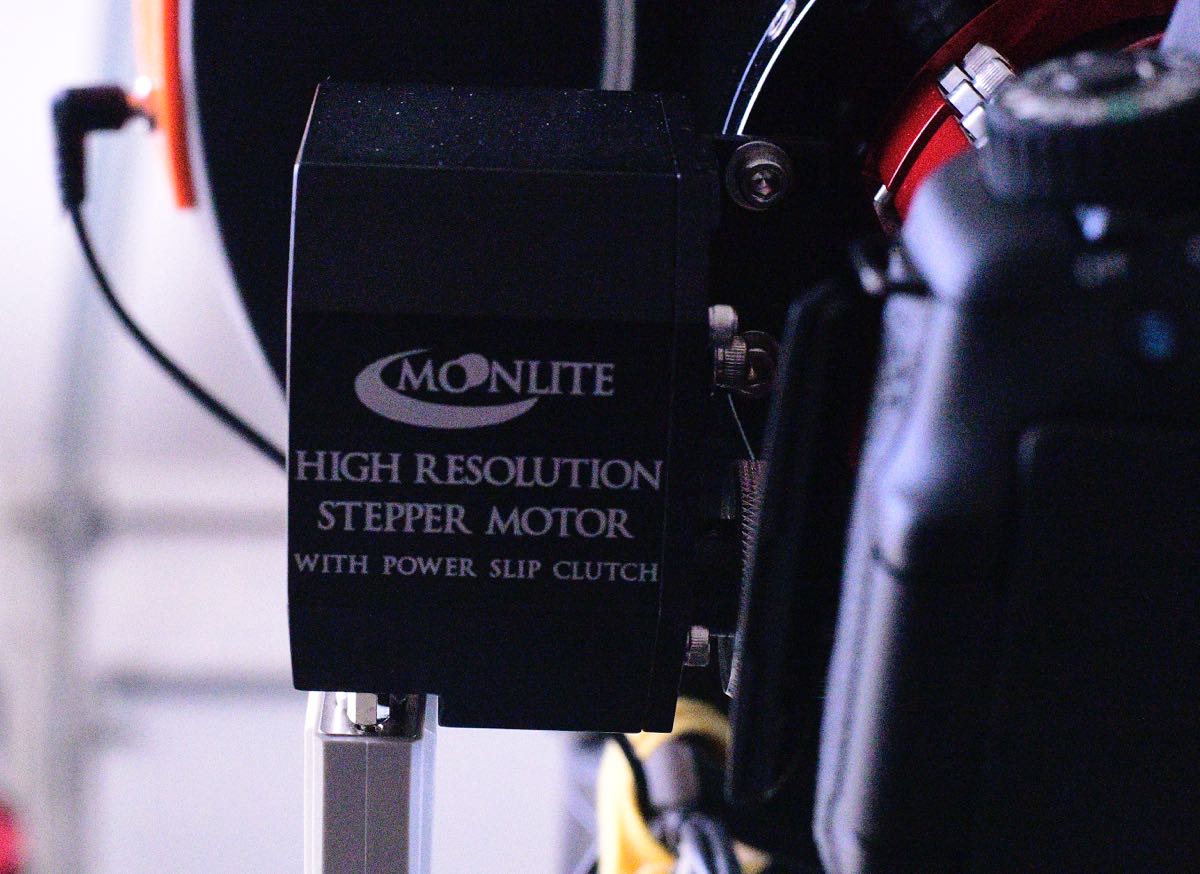
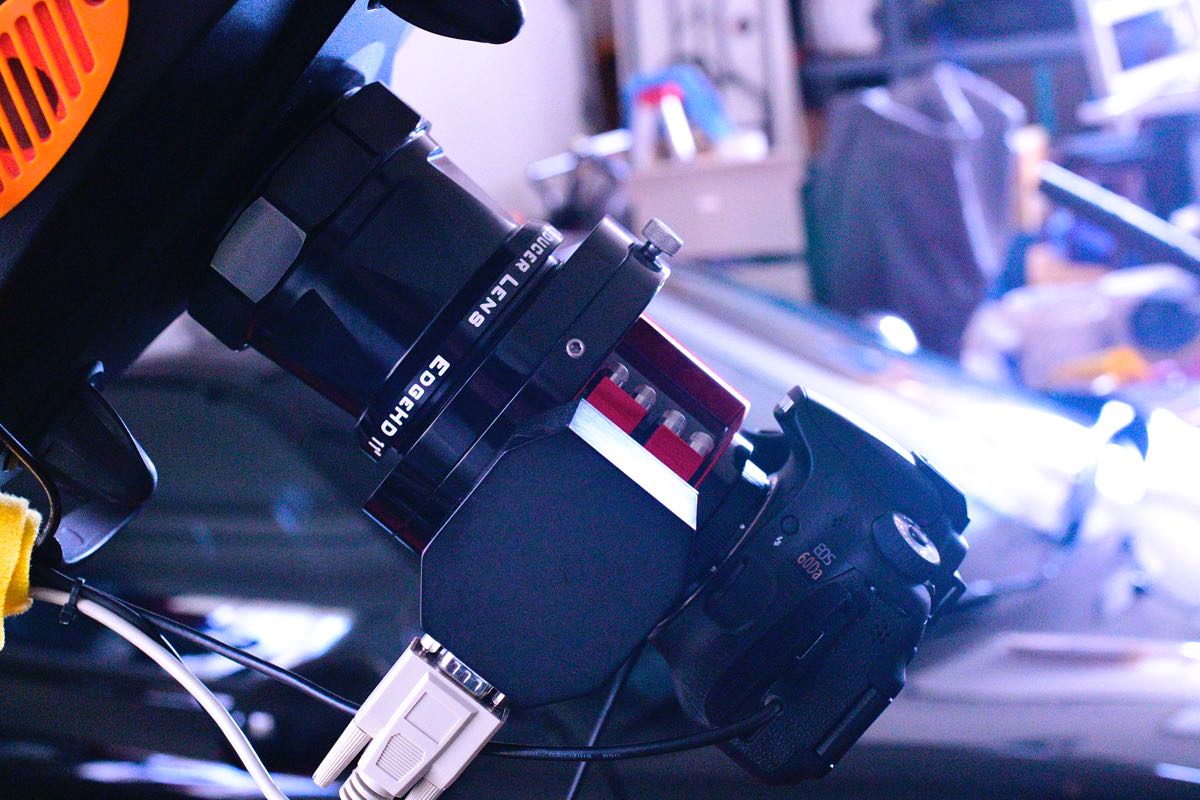
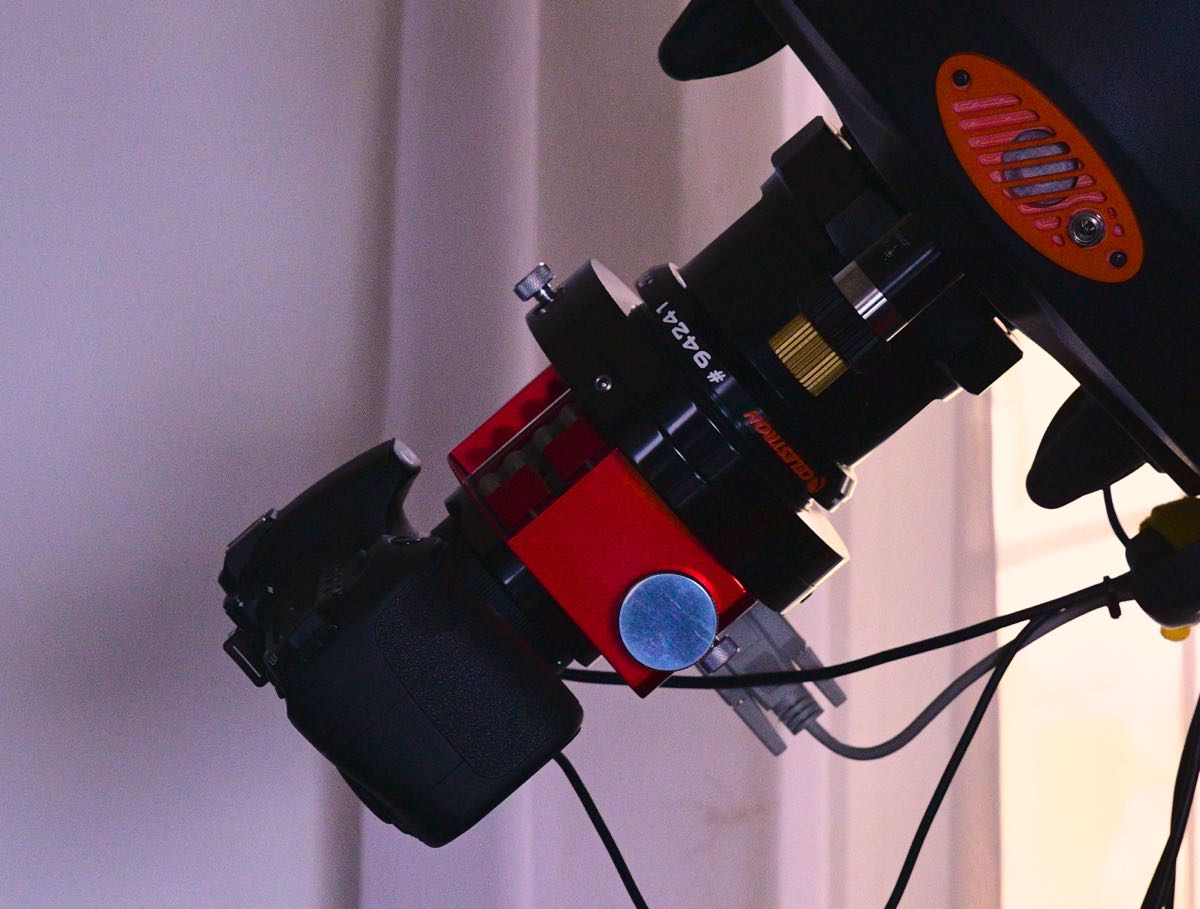
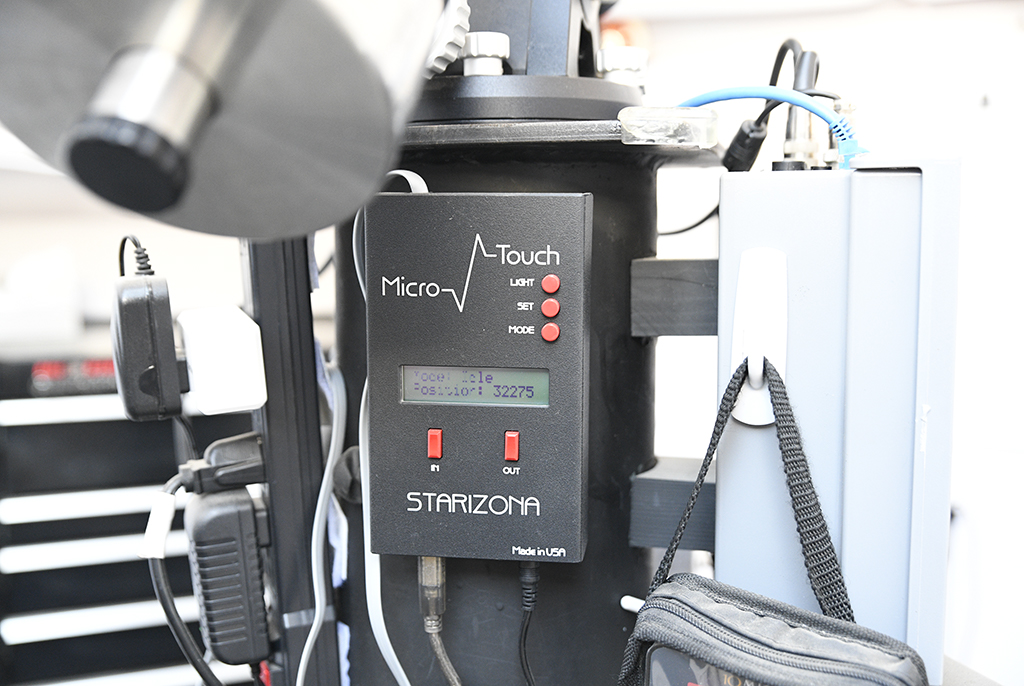
11/5/2017 In the above photos you will notice the red object in the imaging train.  That is my Moonlite CHL 2.5 inch large format Crayford EDGE focuser.  It allows me to focus from inside the garage where it is warmer in those cold winter months.  Here are some photos:
_FPB7108 _FPB7109 _FPB7110 _FPB7111 _FPB7112

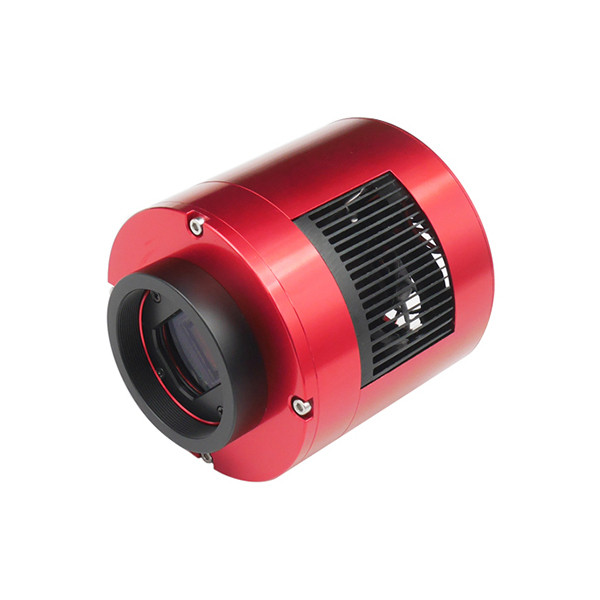
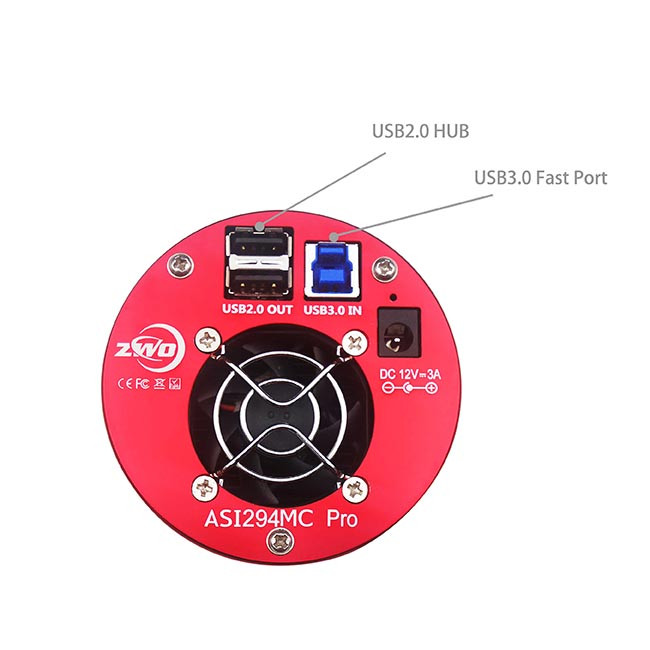
Here are pictures of my new astrophotography camera, the ZWO ASI294MC PRO.
The Sony IMX294CJK is the first internal imaging sensor for astronomical cameras to support the Type 4/3 format, producing the pixel output necessary for 4K at 120 frame/s (in ADC 10-bit output mode, the ASI294MC can run up to 25 fps at 4K format base on USB3.0 bandwidth). Additionally, the ASI294MC Pro uses large pixels to achieve SNR1s of 0.14 1x* which is comparable to the ASI224's (0.13 1x*) value.
This camera can cool the sensor up to 35 Deg C below ambient, and is much much more sensitive and noise free than my Canon 60da DSLR. As with any big change in operating – there is a learning curve. You will notice that my first pictures are rather crude – but they do get better as I learn how to manage the gain, cooling temperature, exposure etc. Also – no matter how good your equipment is – if the visibility is poor the final pictures will reflect that. There are many nights here where the sky may look clear but the transparency is not good.
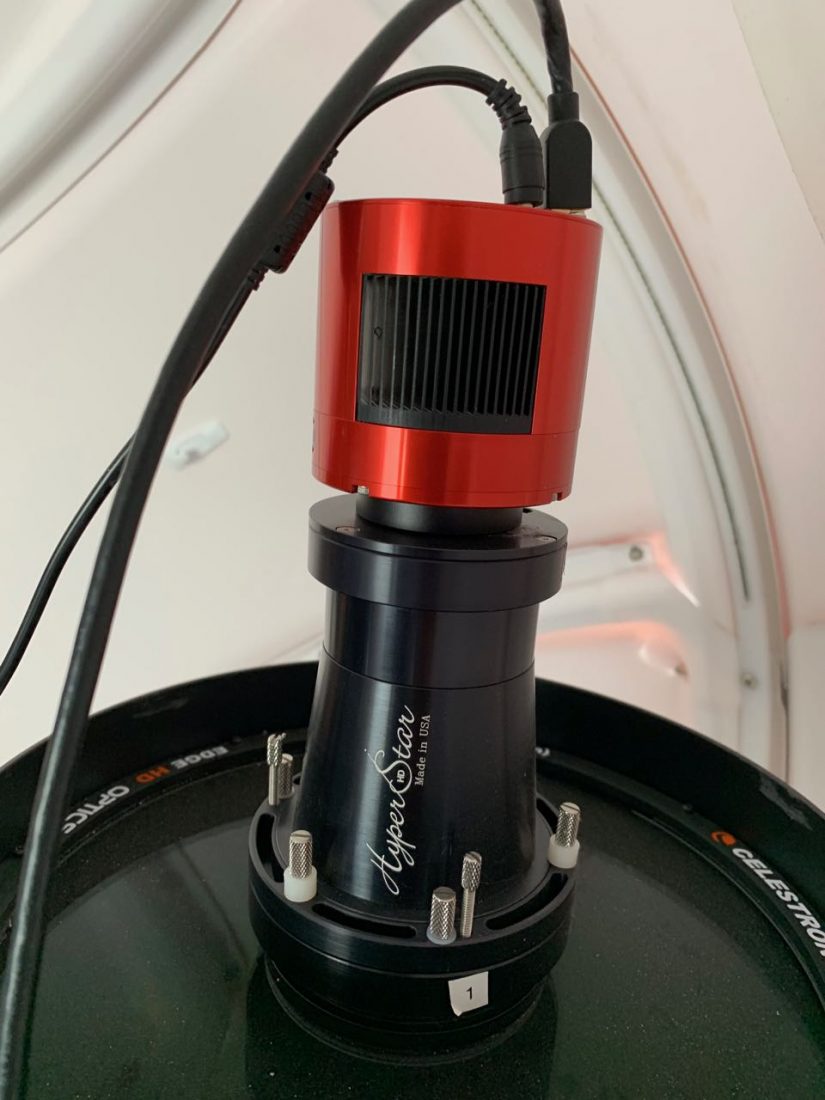
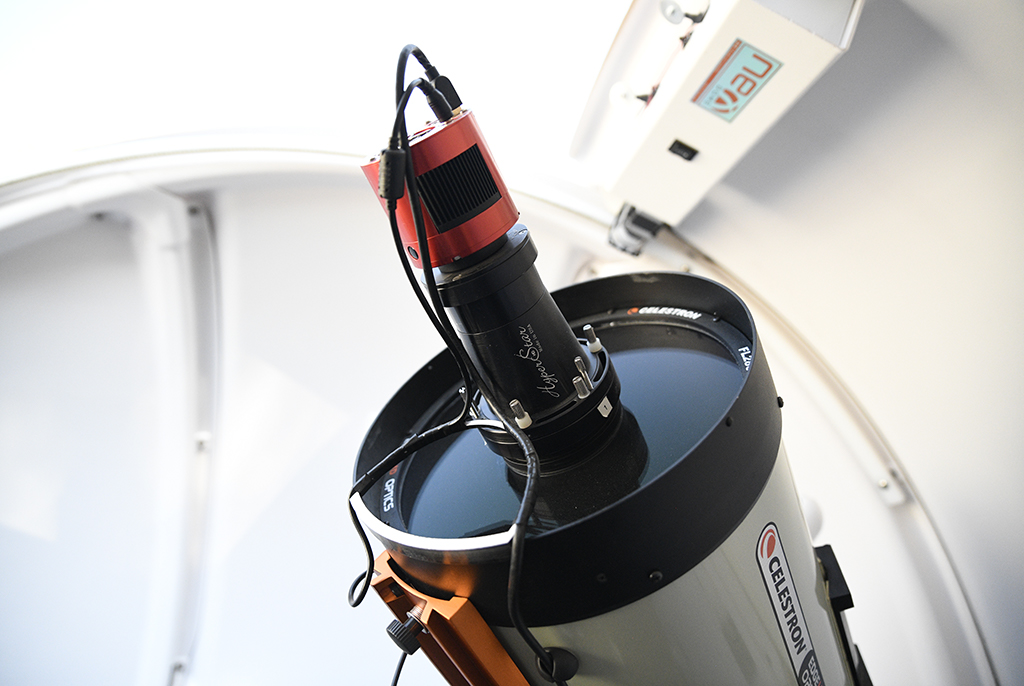
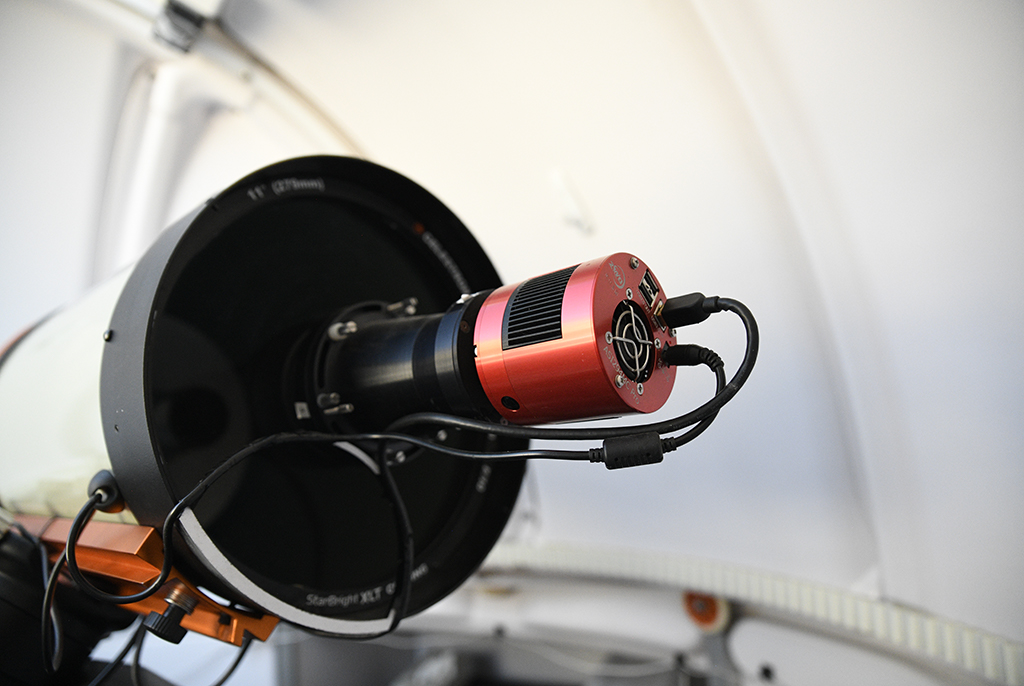
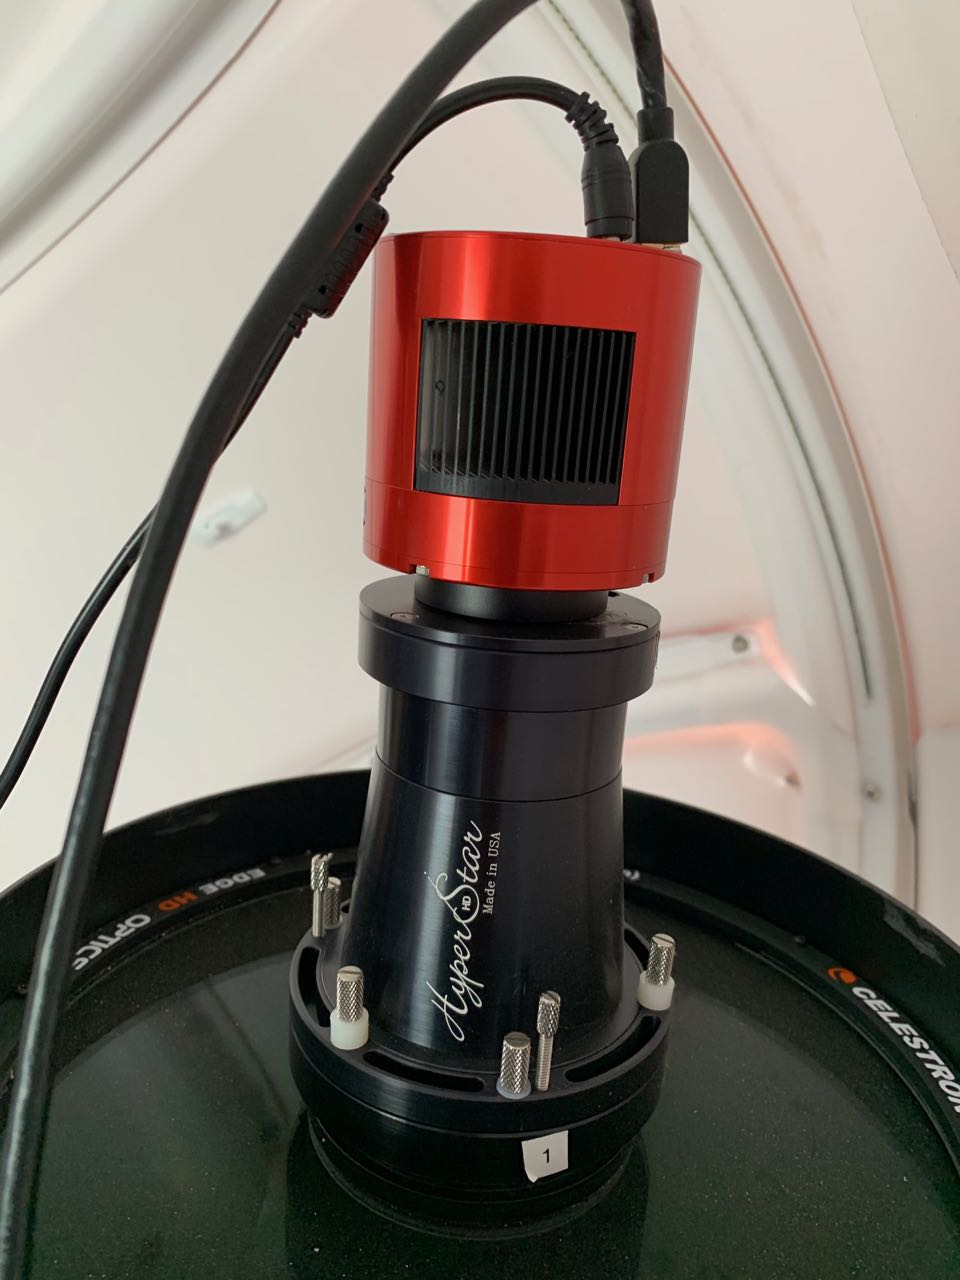
Late last year (2018) I purchased a Hyperstar version V.  This allows the camera to be attached to the front of the telescope which is called the collector plate.  The focal length went from a f/7 (with the Celestron focal reducer) and an f/1.98.  This enables much shorter exposures and allows me to gather much more data in a shorter amount of time.  Here is a picture of the Hyperstar V:
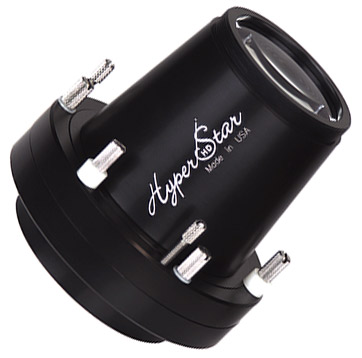


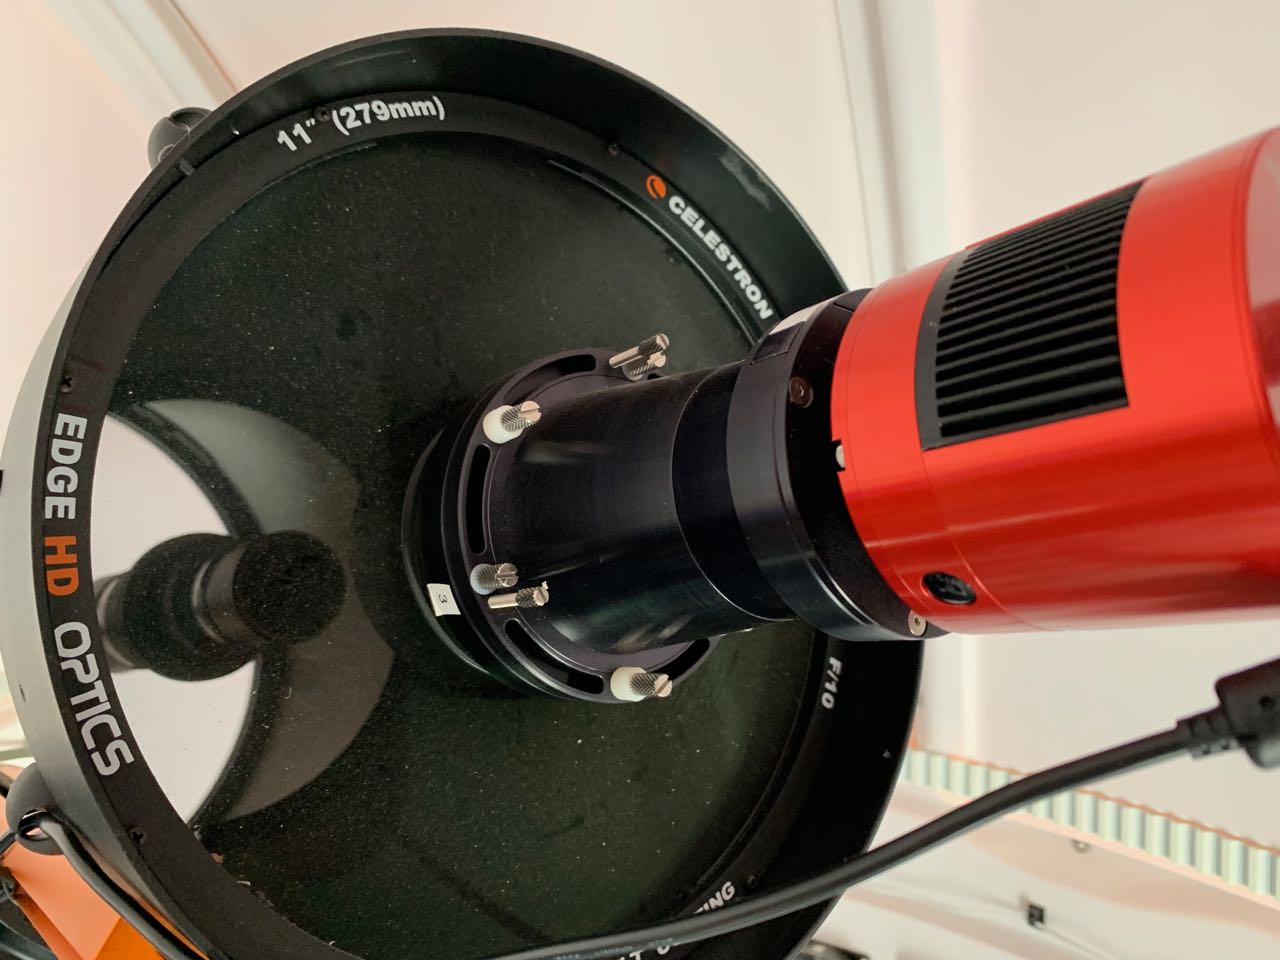
Here are some pics of the Hyperstar on my telescope.
9/26/2021 Here are some more pics of the observatory.


Back in December of 2021 I upgraded to this very nice ZWO 2600 camera.
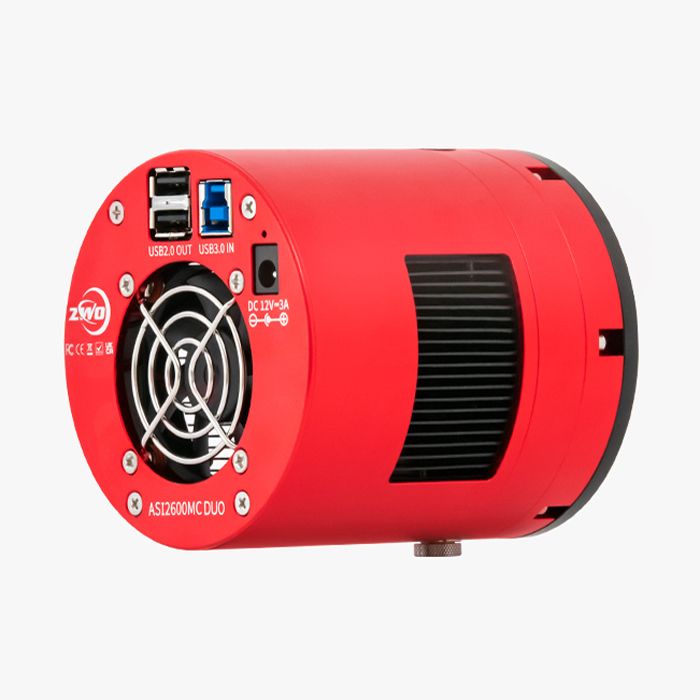
ASI2600MC Pro uses Sony’s latest back-illuminated IMX571 APS-C format sensor with a native 16-bit ADC. It is the colour version of the ASI2600MM Pro. It has an impressive range of features that make it a popular choice for astrophotographers. Here are some of the reasons why:

  • Ultra-low 0e- readout noise – bringing out more details in your images with improved dynamic range
  • Innovative breakthrough design resulting in zero amp-glow – even during long exposures, which means one thing less to worry about in post-processing
  • 16-bit ADC sensor – giving a high dynamic range of up to 14 stops!
  • 80% peak QE – no need to worry about saturating stars


This is a slide presentation (4 minutes) of images I took with my telescope at Y Mountain Observatory.  This illustrates what you can’t normally see.  There are Heavenly Father’s creations all around us, that testify of Him in our world that you can see, if you have eyes to see.

CLICK ON THE LINK BELOW

https://youtu.be/1qRrCRNL-CU


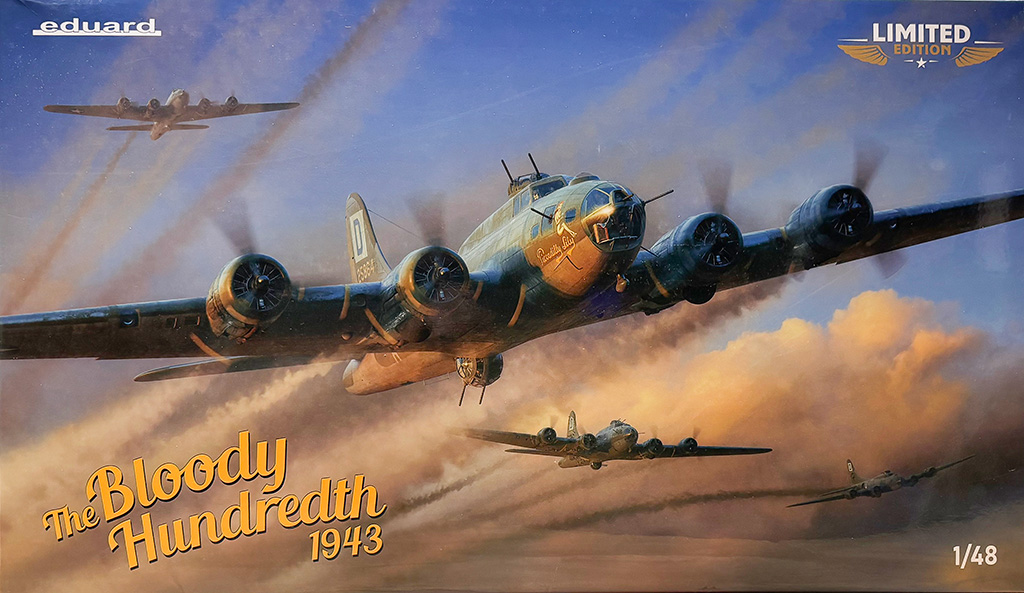
1/48 eduard B-17F Bloody Hundredth 1943

Posted by Paul On October - 18 - 2012

10/18/2025 Today I have cleaned up my workroom in preparation to build this very nice eduard 1/48 B-17F from 1943.  I plan on building Robert Rosenthal's plane "Rosies Riveters".

Here is a little background on him:

On January 2, 1942, Rosenthal enlisted in the United States Army as an aviation cadet. In September 1942, he graduated from the Air Corps Advanced Flying School at Moody Field, near Valdosta, Georgia, earning his wings and a commission as a second lieutenant. In September 1943, he completed Boeing B-17 Flying Fortress combat crew training at Dyersburg Army Air Base near Halls, Tennessee. He and his crew were immediately shipped overseas and joined the 418th Bombardment Squadron, 100th Bombardment Group, stationed at RAF Thorpe Abbotts in England.

On the October 10, 1943, mission over Münster, Germany, only the third mission for Rosenthal's crew with the 100th Bombardment Group, the B-17F s/n 42-6087, nicknamed Royal Flush, that the crew were flying was the only plane out of 13 from the group that reached Münster to return to base. Royal Flush landed back in England with two engines dead, the intercom and the oxygen system non-functional, and with a large ragged hole in the right wing. Later the ground crews found an unexploded cannon shell in one of Royal Flush's wing tanks. Rosenthal would receive his first Silver Star for this mission.

On March 8, 1944, Rosenthal's crew, nicknamed Rosie's Riveters, completed their 25-mission combat tour, although the B-17F (s/n 42-30758) that they usually flew bearing the same name was shot down while being flown by a different crew during the February 4, 1944, mission to Frankfurt, Germany. The crew returned to the United States, but Rosenthal extended his tour, eventually flying a total of 52 missions. In May 1944, he took command of the 350th Bombardment Squadron.

On September 10, 1944, Rosenthal's B-17G Terrible Termite (s/n 42-97770), flying on a mission to bomb Nuremberg, was hit by flak and crash-landed around Reims in German-occupied France. Along with all the officers on his plane he was seriously injured. Suffering from a broken arm and nose, he was pulled from the cockpit unconscious by Free French, flown back to England, and woke up at a hospital in Oxford. Rosenthal would receive his second Silver Star after this mission. He returned to duty as soon as he had healed. Rosenthal was assigned to a desk job at wing headquarters, but he managed to return to the 100th Bomb Group and take command of his old squadron, the 418th.

On his last combat mission on February 3, 1945, Rosenthal, commanding the 418th, was part of a 2,500-plane raid against Berlin. His B-17G (s/n 44-8379), the lead bomber, suffered a direct flak hit which killed two of his crew. Although his plane was in flames, he continued to the target to drop his payload, then stayed with the plane until after the rest of the crew had bailed out, just before it exploded at an altitude of only about 1,000 feet (300 m). He broke his arm upon landing and was confronted at gunpoint by Red Army soldiers. Rosenthal identified himself as an American by yelling "Americanski!" which worked, as the Soviets understood he was an ally and helped him again return to duty. Rosenthal would earn the Distinguished Service Cross for this mission. Among the buildings hit in the raid was the "People's Court", killing the court's president, notorious "hanging judge" Roland Freisler. Freisler was an attendee of the Wannsee Conference, which formalized plans for the "Final Solution to the Jewish question".

After the war, Rosenthal served as an assistant to the U.S. prosecutor at the Nuremberg trials, where he interrogated the former head of the German Air Force, Hermann Göring and Wilhelm Keitel, former head of the German Armed Forces High Command Oberkommando der Wehrmacht (OKW). He was honorably discharged from the Army on November 30, 1945.

Robert Rosenthal married Phillis Heller (1918–2011), whom he met on the ocean voyage to Germany. She served as a WAVE, and was also another lawyer on the prosecutorial staff for the Nuremberg trials. They had three children, Peggy, Steve and Dan. Robert Rosenthal died on April 20, 2007, at age 89, in White Plains, New York. He was interred in the Sharon Gardens Cemetery plot Community Synagogue of Rye Lot 197 Grave 3.

Now on to the build….

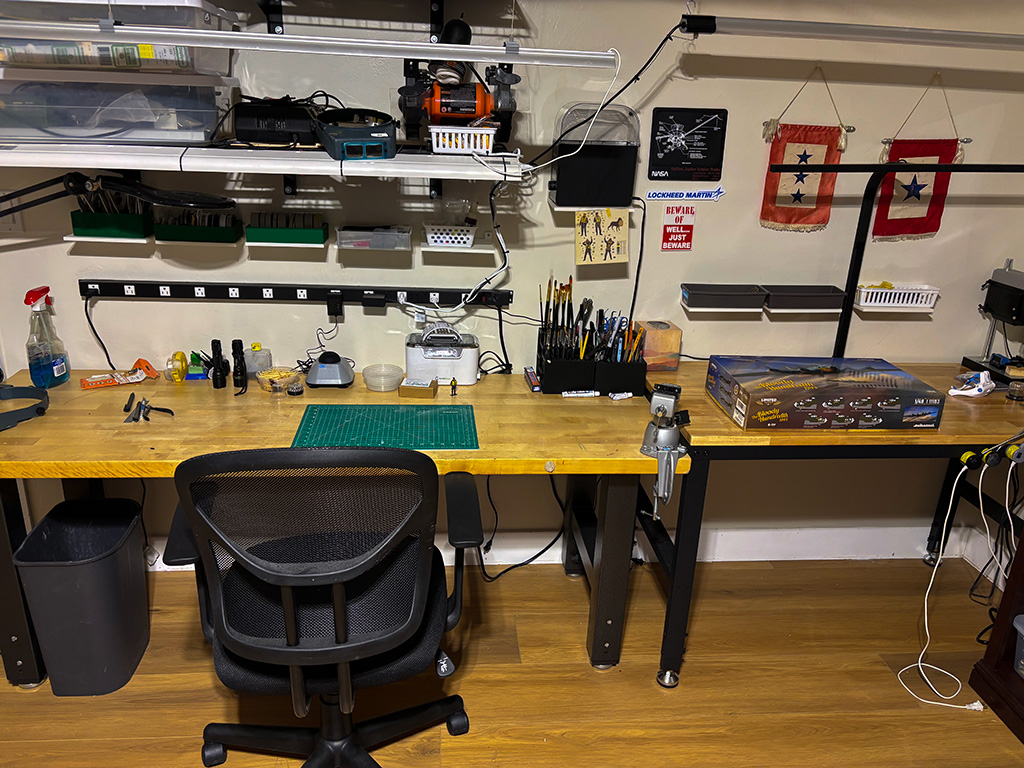
10/22/2025 I have my workbench cleaned up, now I'm ready for this build.

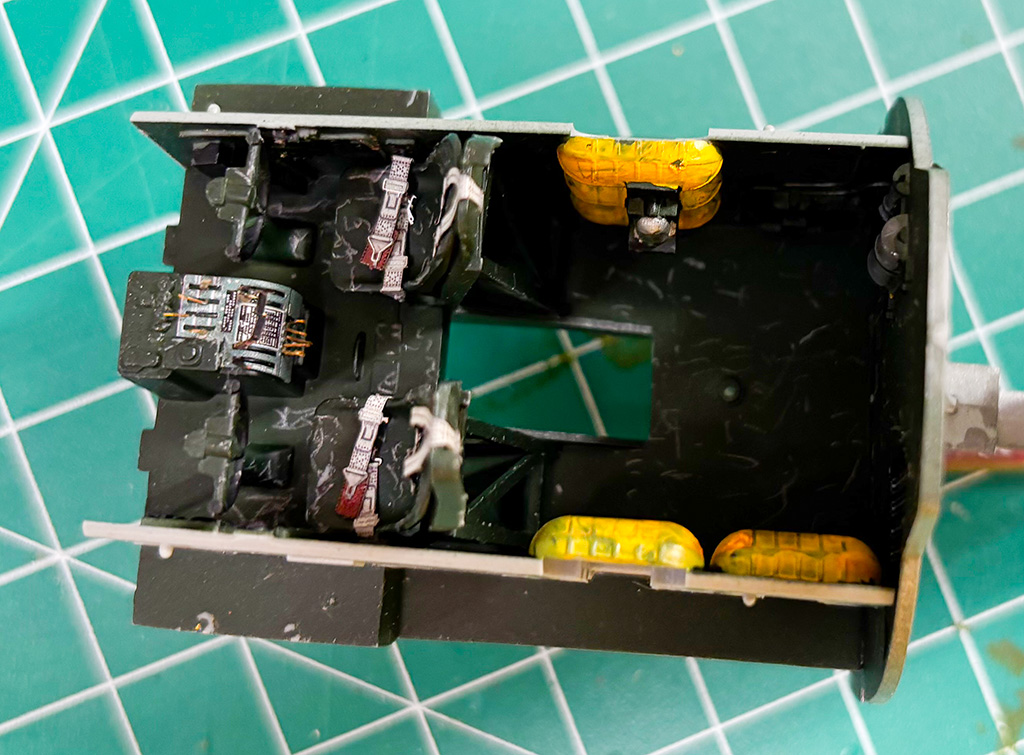
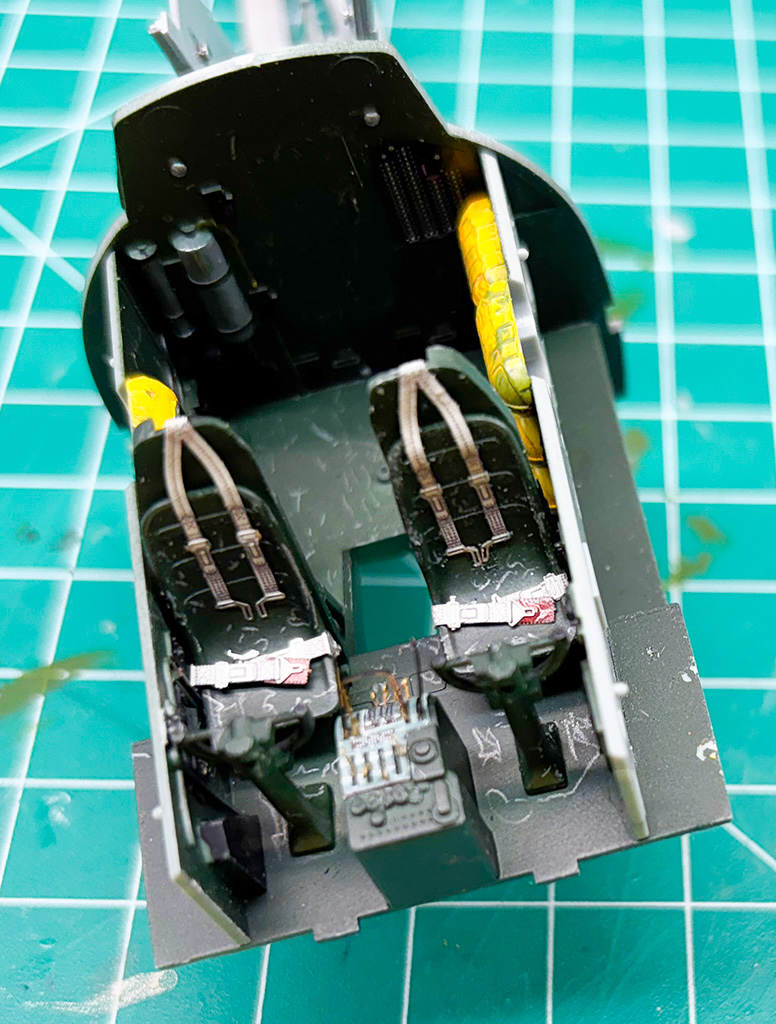
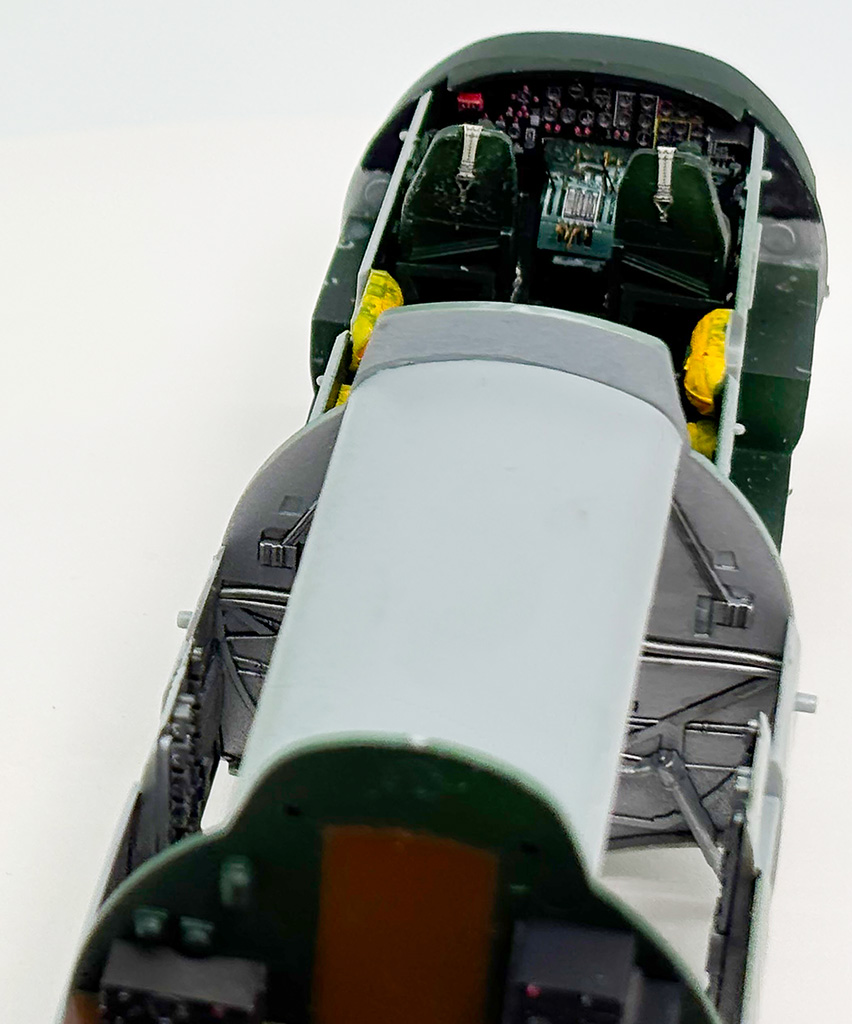
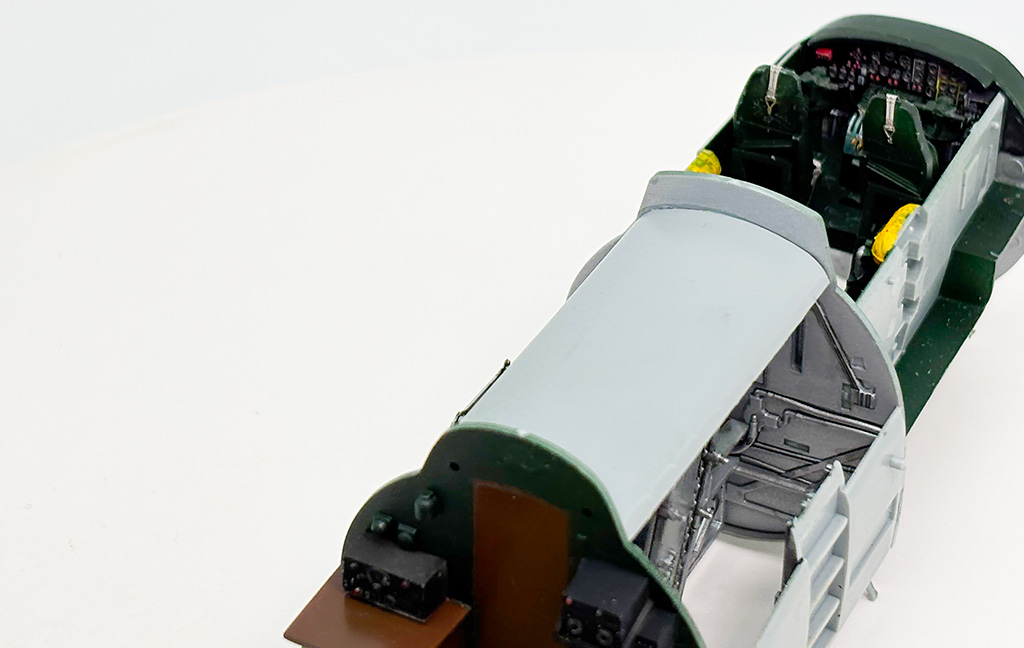
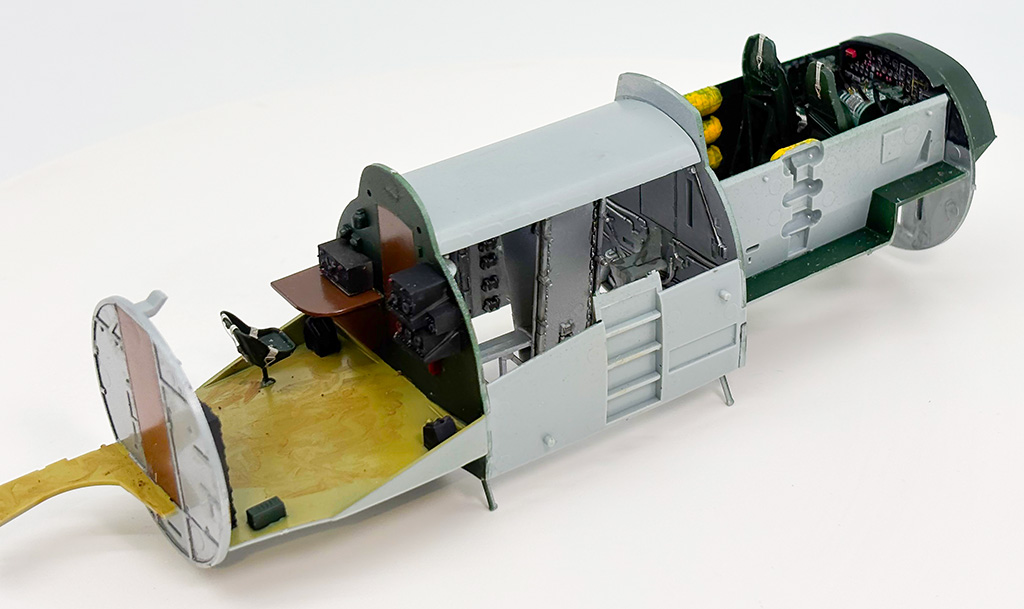
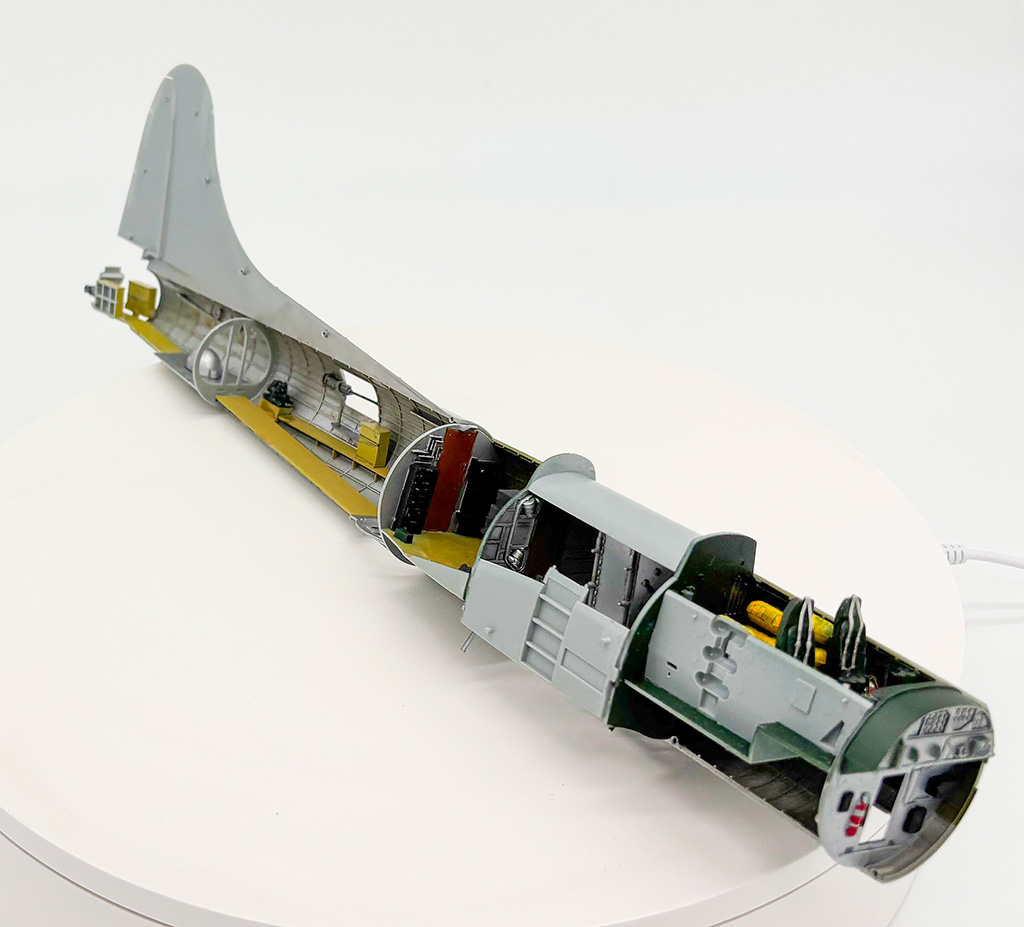
10/25/2025 Here are a few pictures of the cockpit.

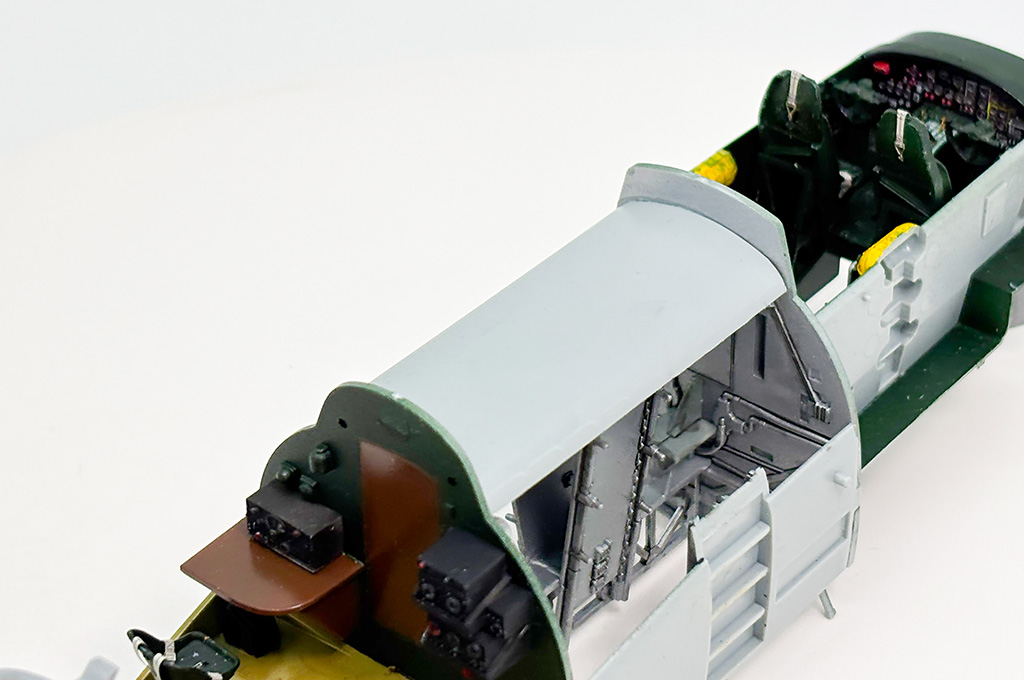
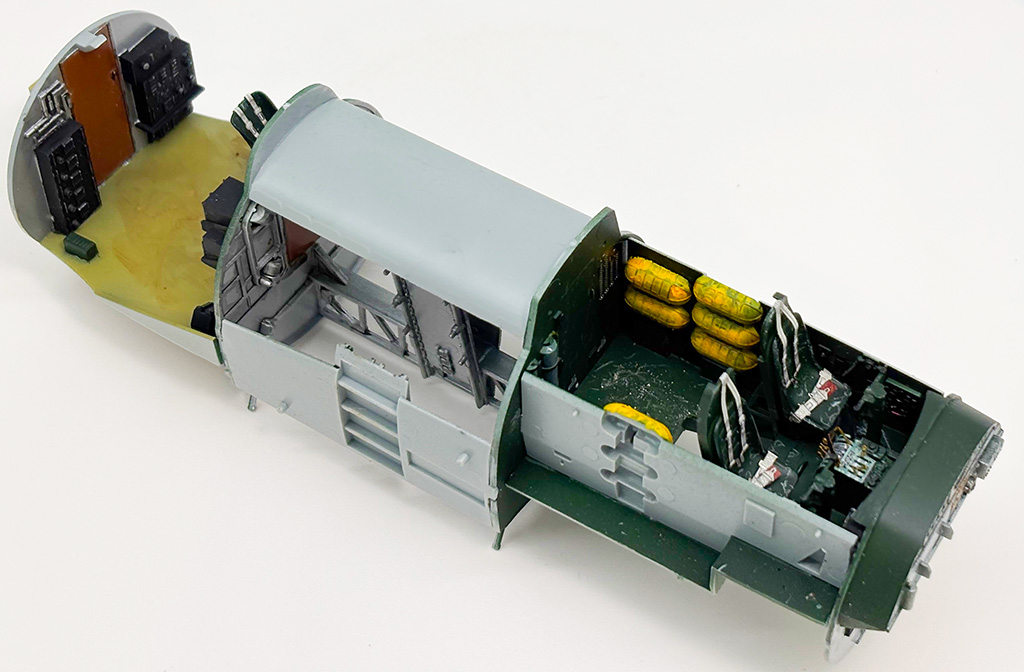
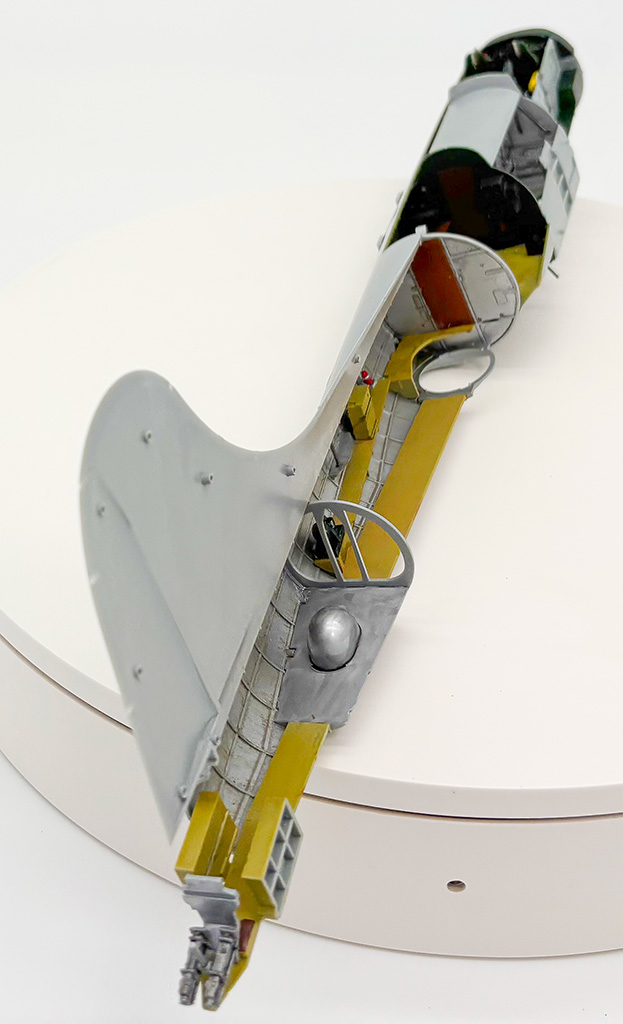
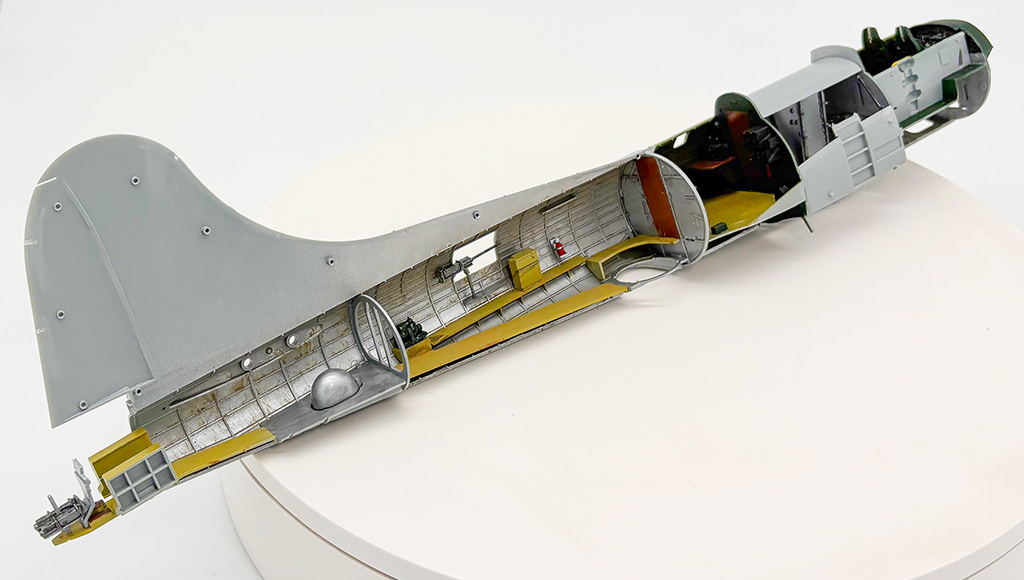
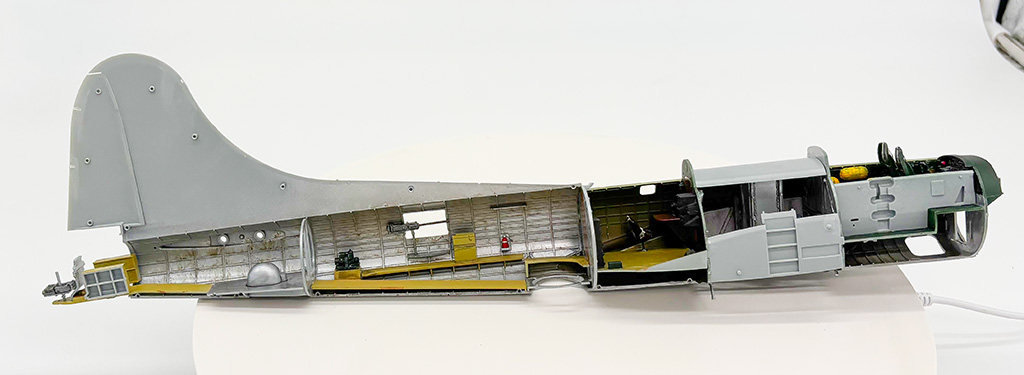
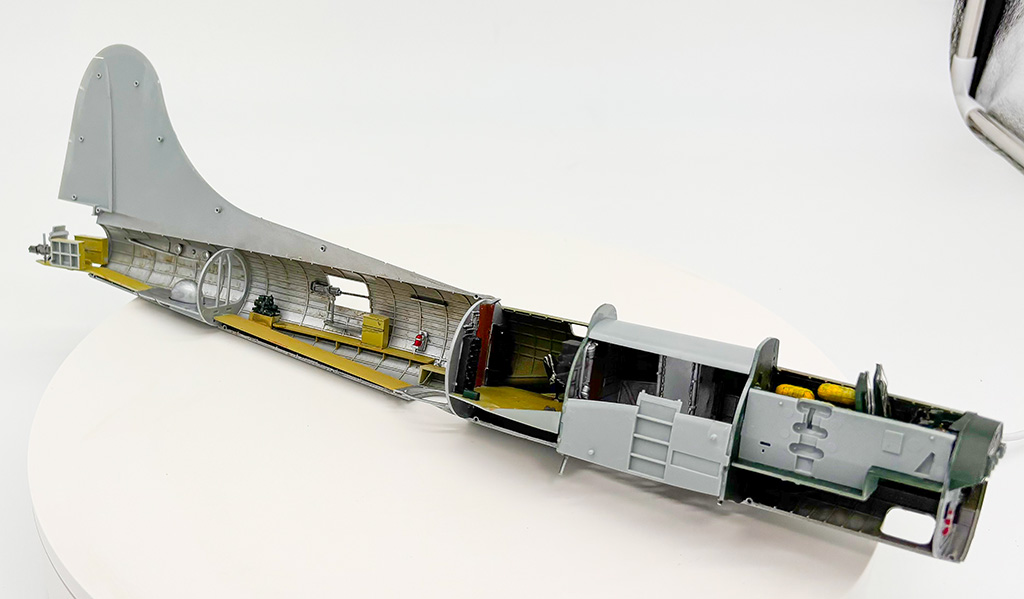
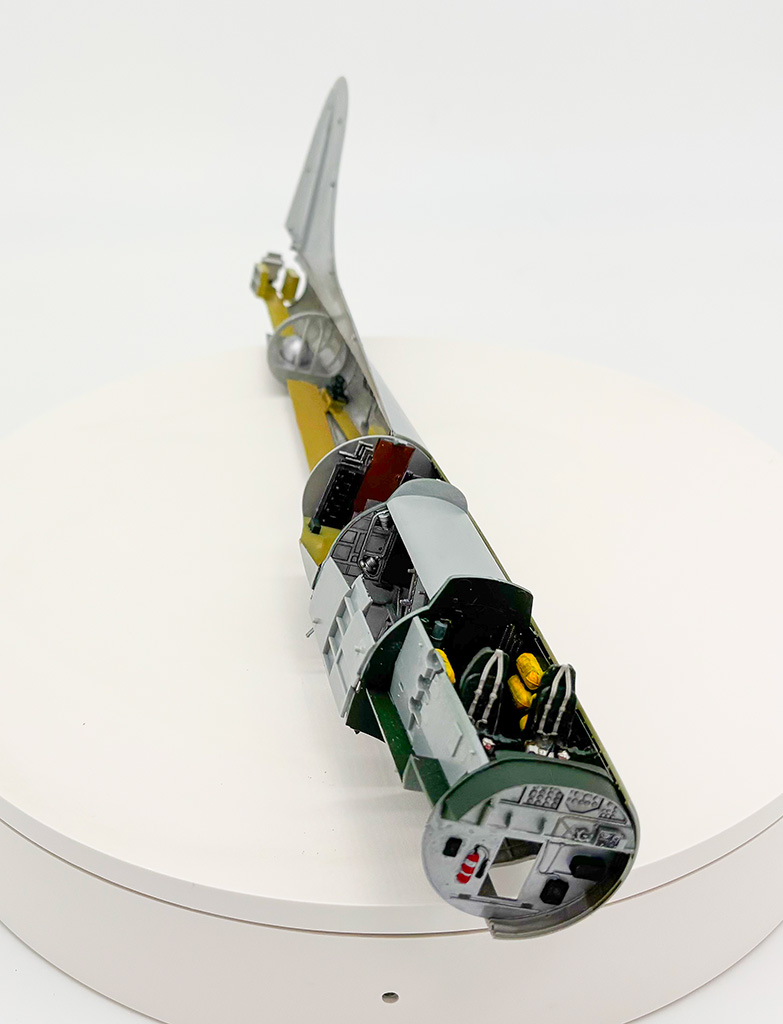
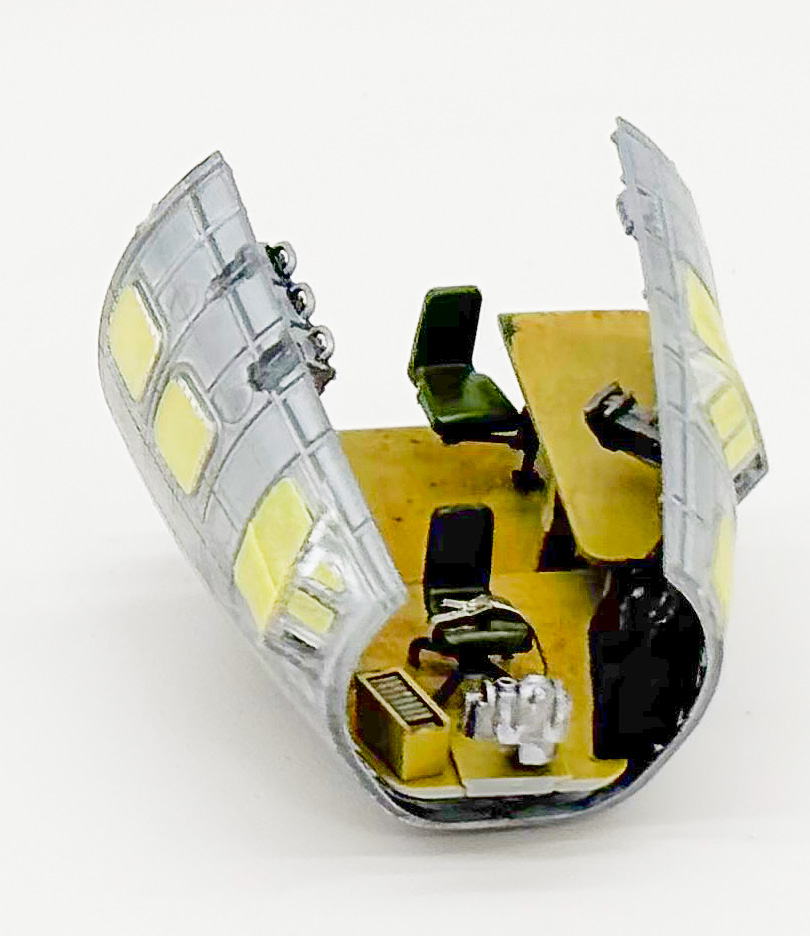
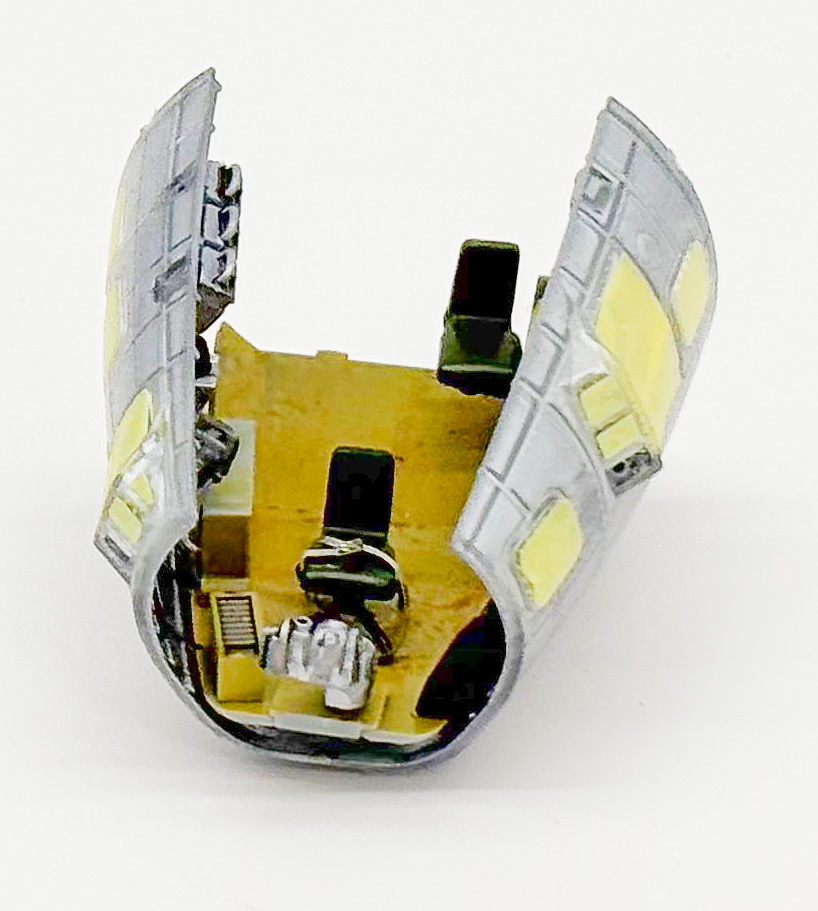
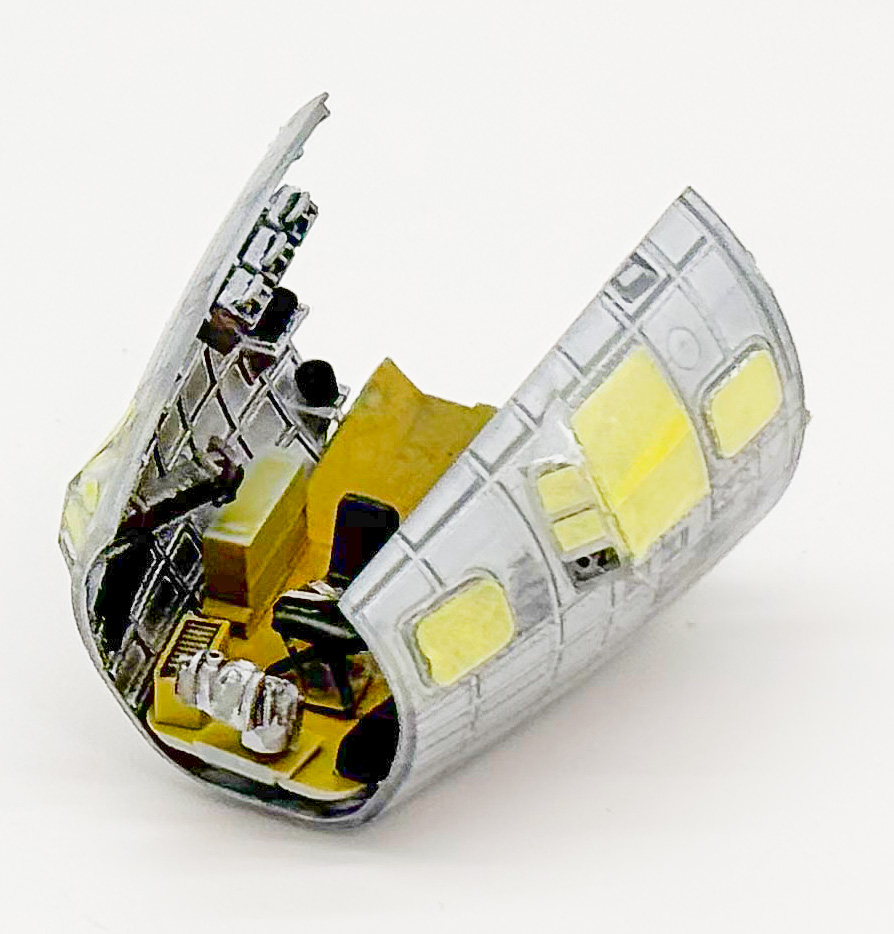
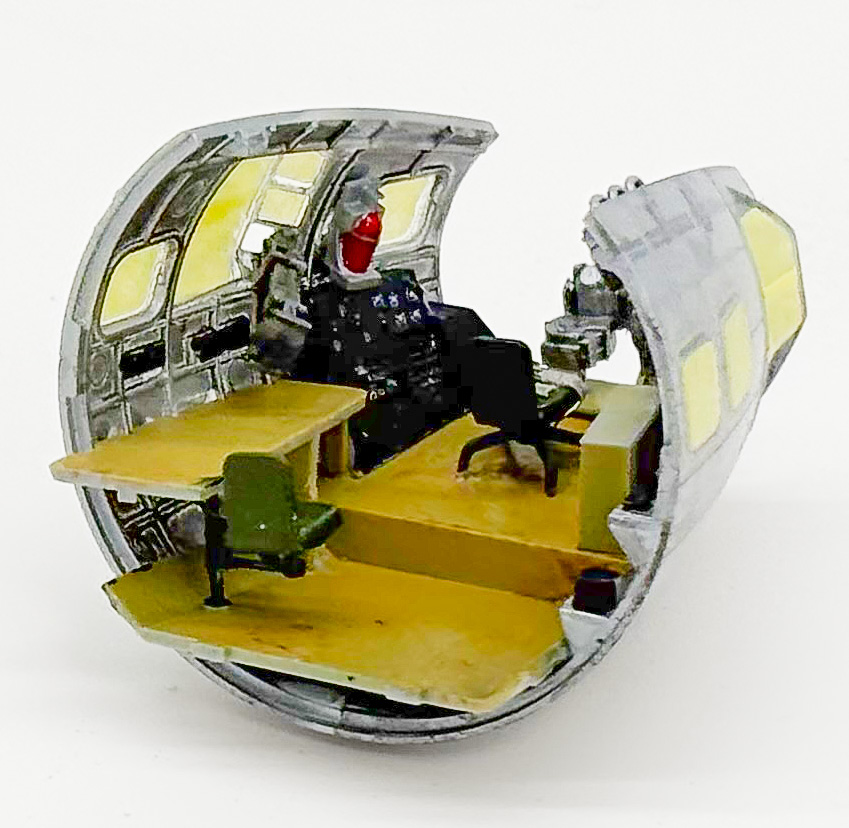
10/30/2025 I've been working on the interior.  Here are some pics…

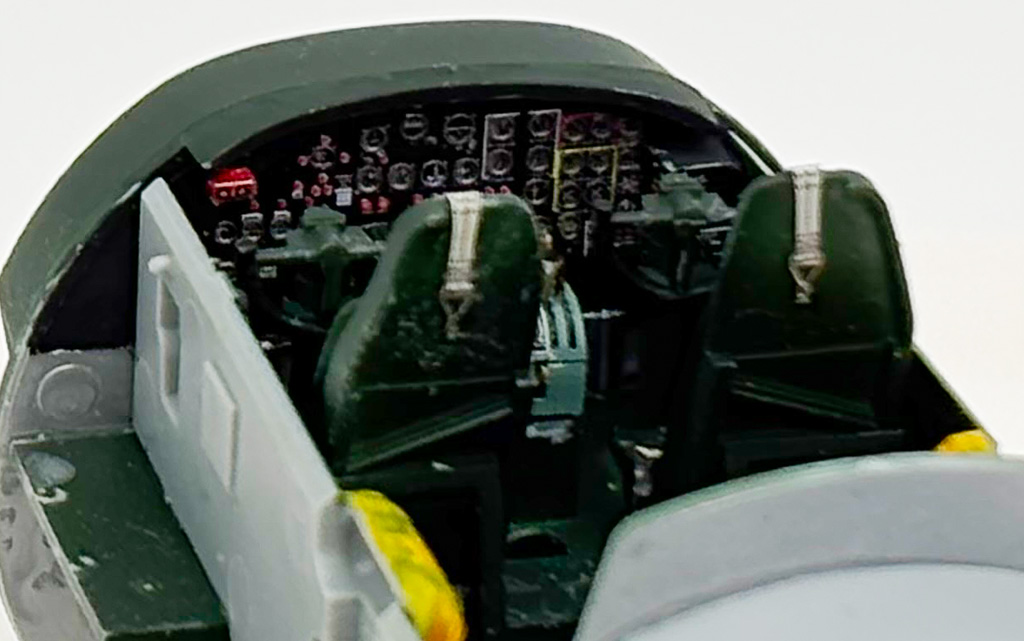
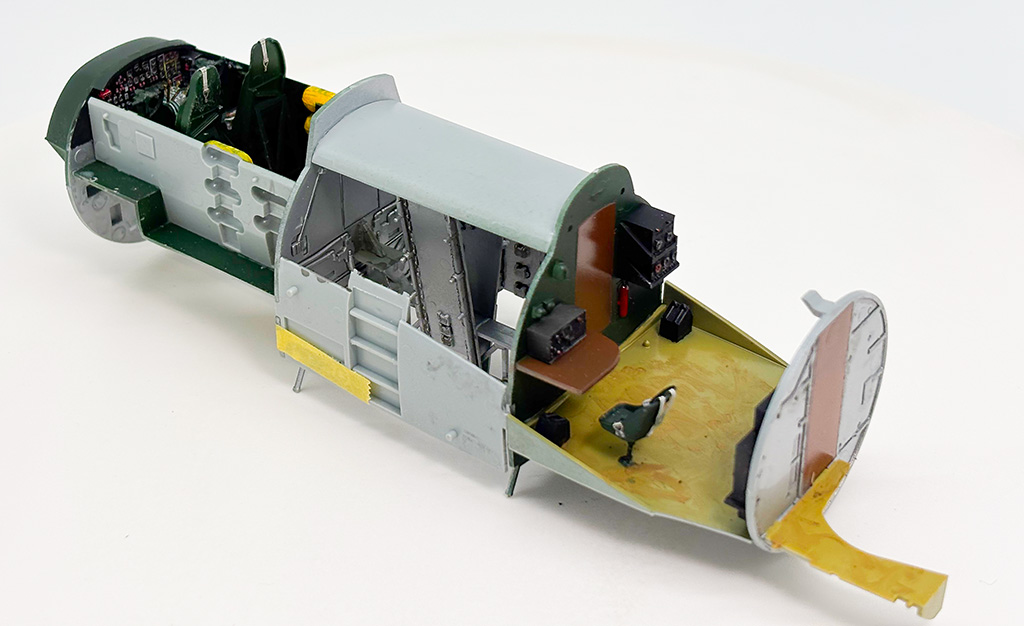
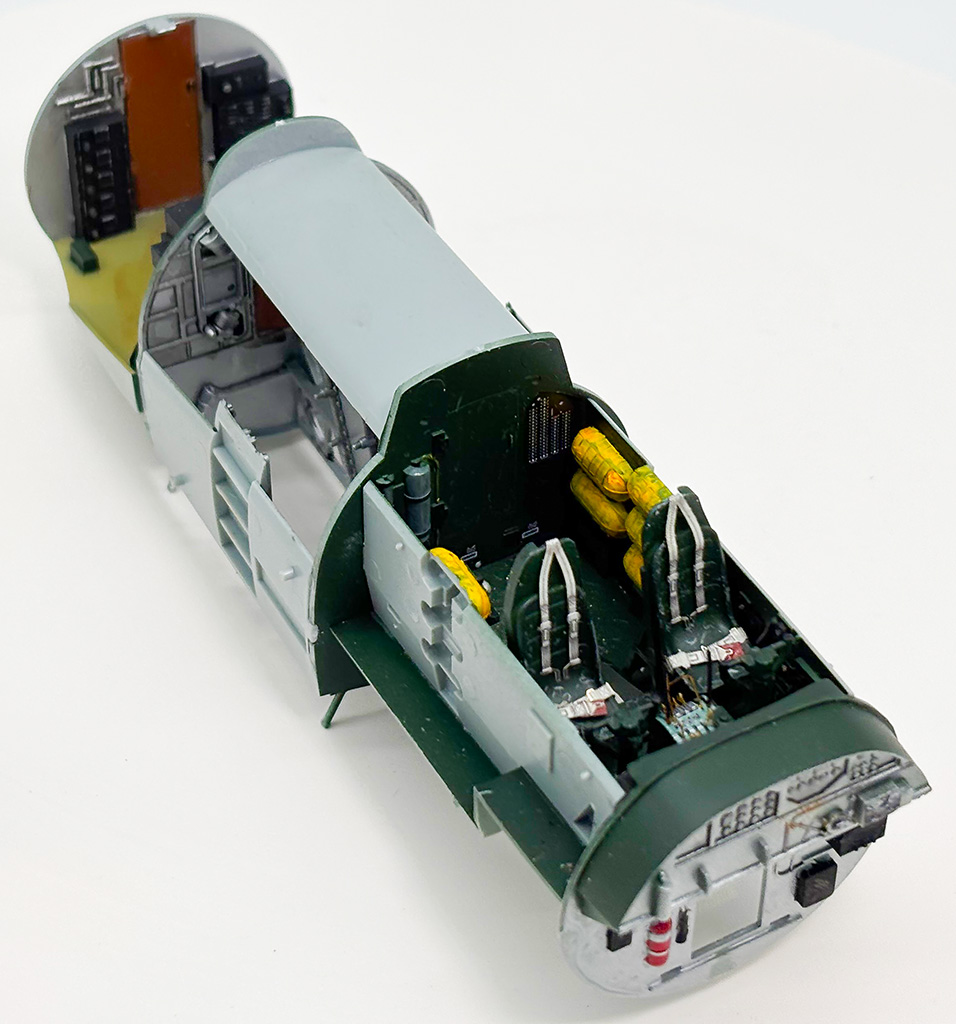
10/31/2025 Some more interior photos


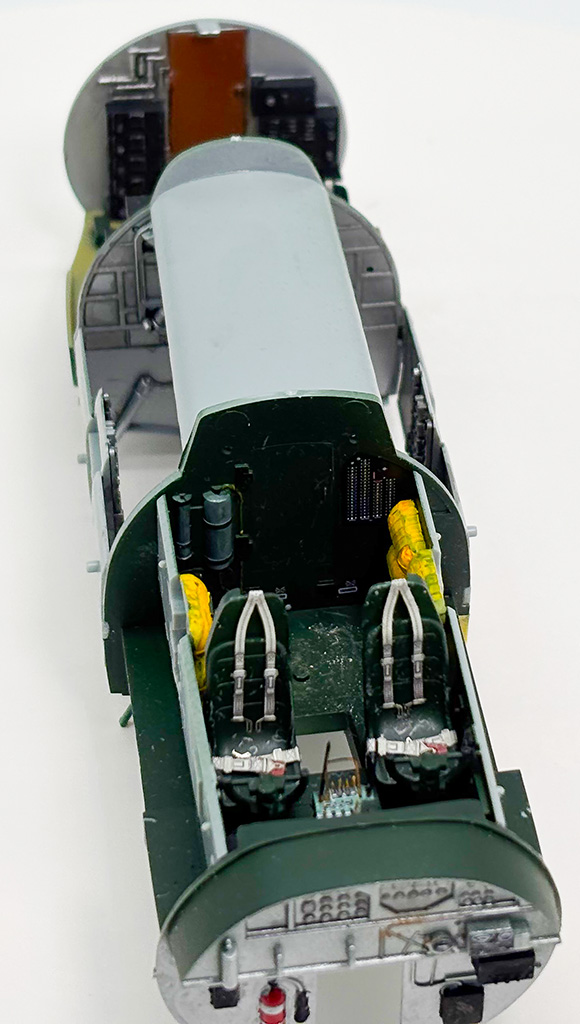
11/10/2025 Here are a few more progress photos….

You can watch a video of the above pictures HERE.

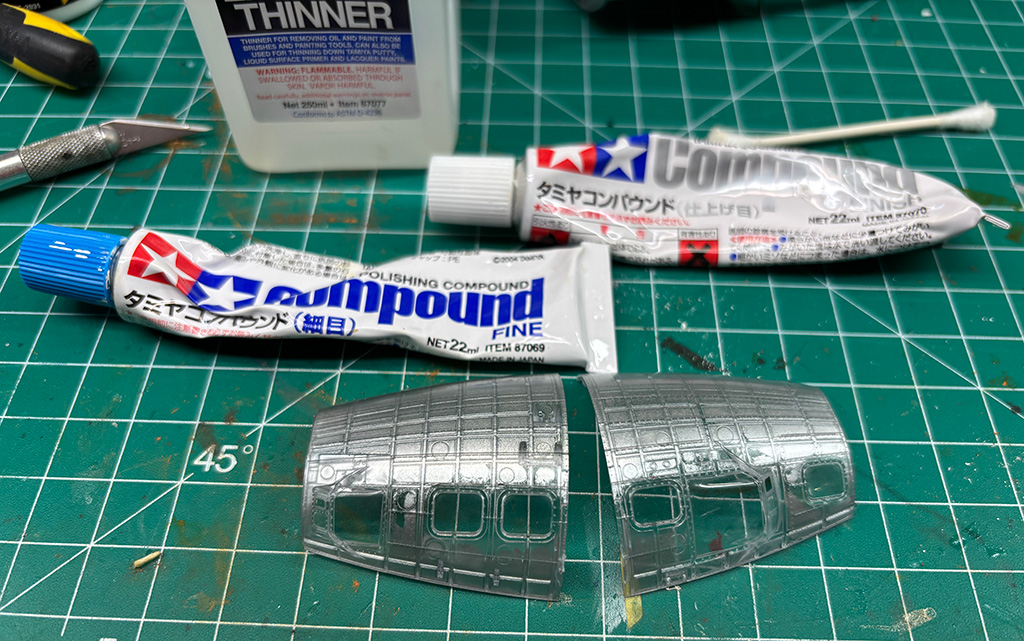
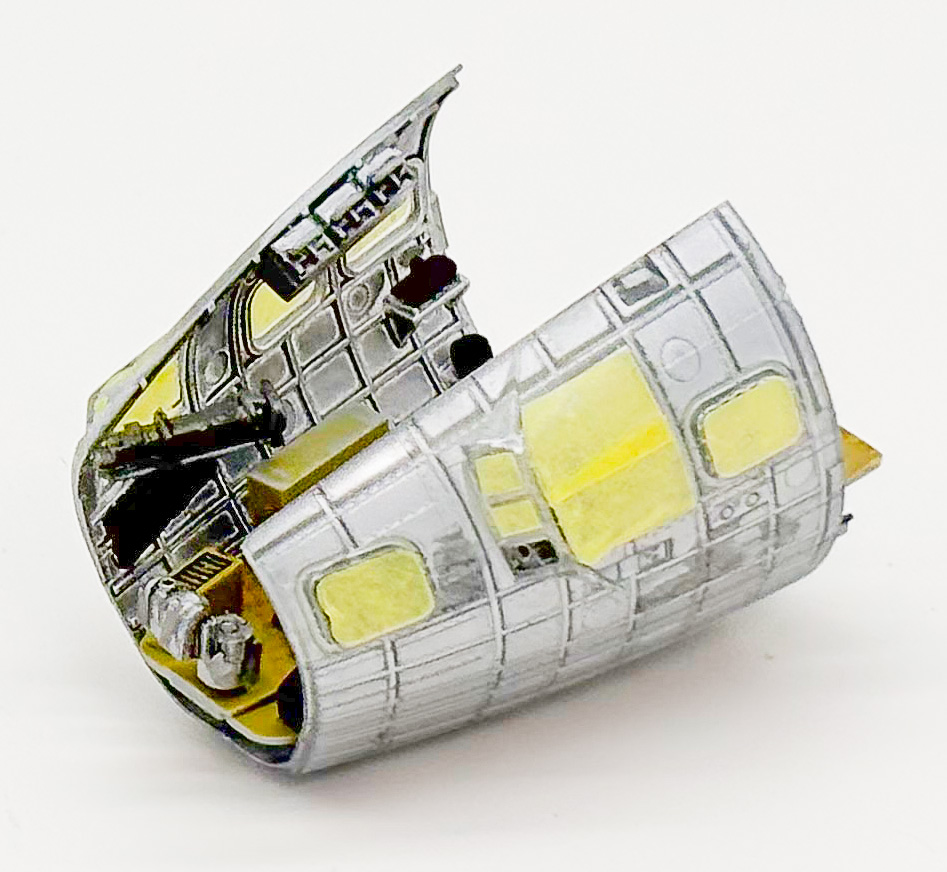
Before you paint clear parts with a rattle can, be sure and attach the window masks. I had to clean the paint off with Tamiya lacquer thinner followed by Tamiya polishing paste. Finally I washed the parts in a Dawn dish soap solution and dried with a microfiber cloth. The result is as good as new, but I wish I had my brain in gear when I painted these in the first place.

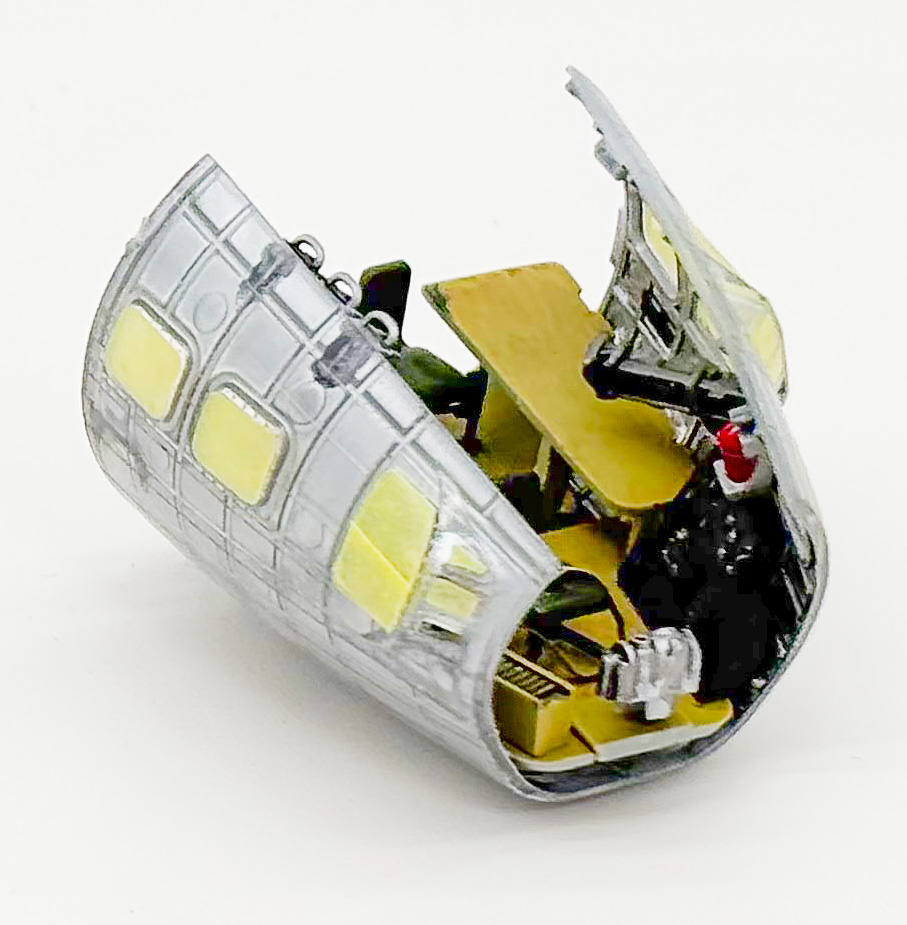
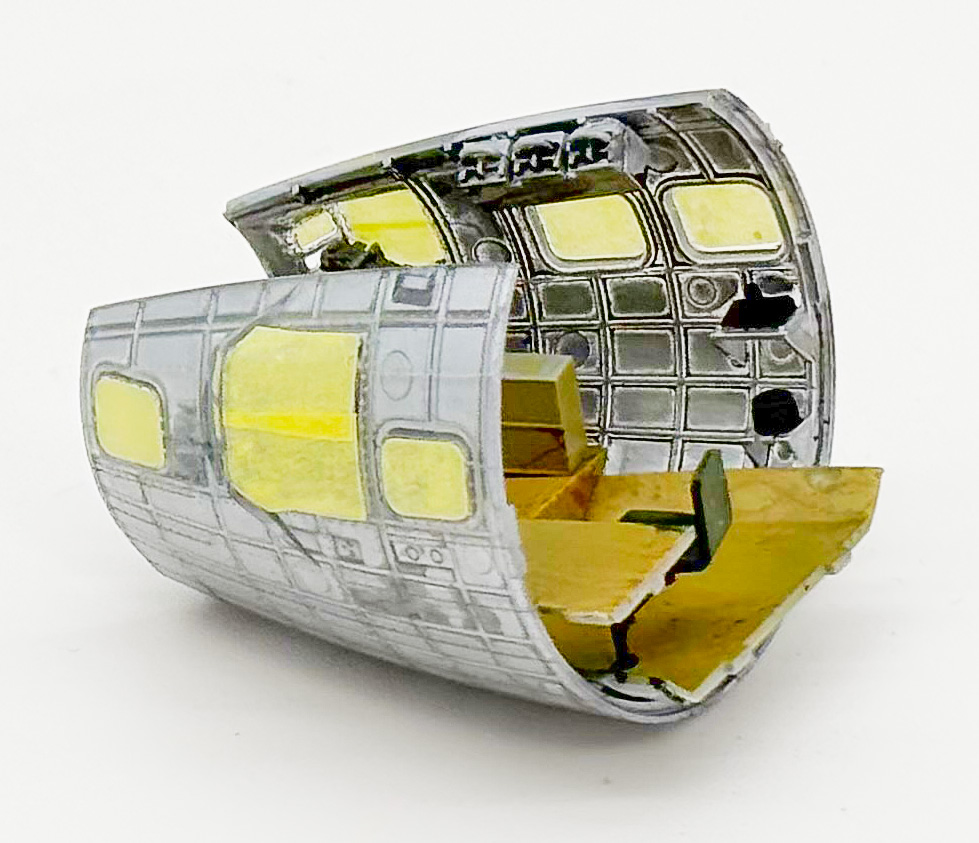
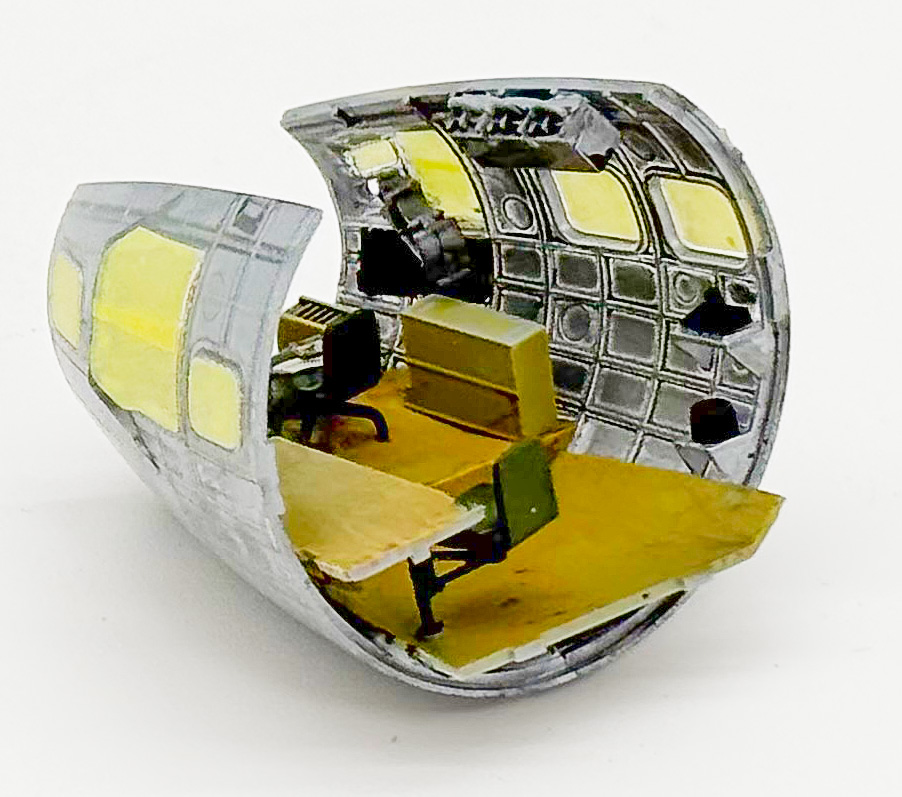
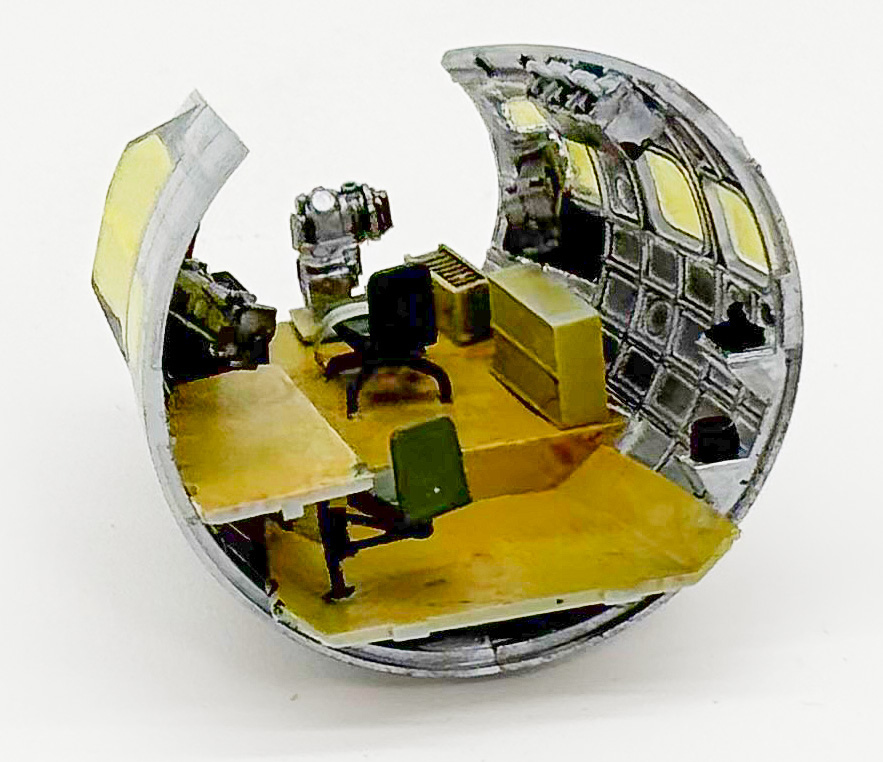
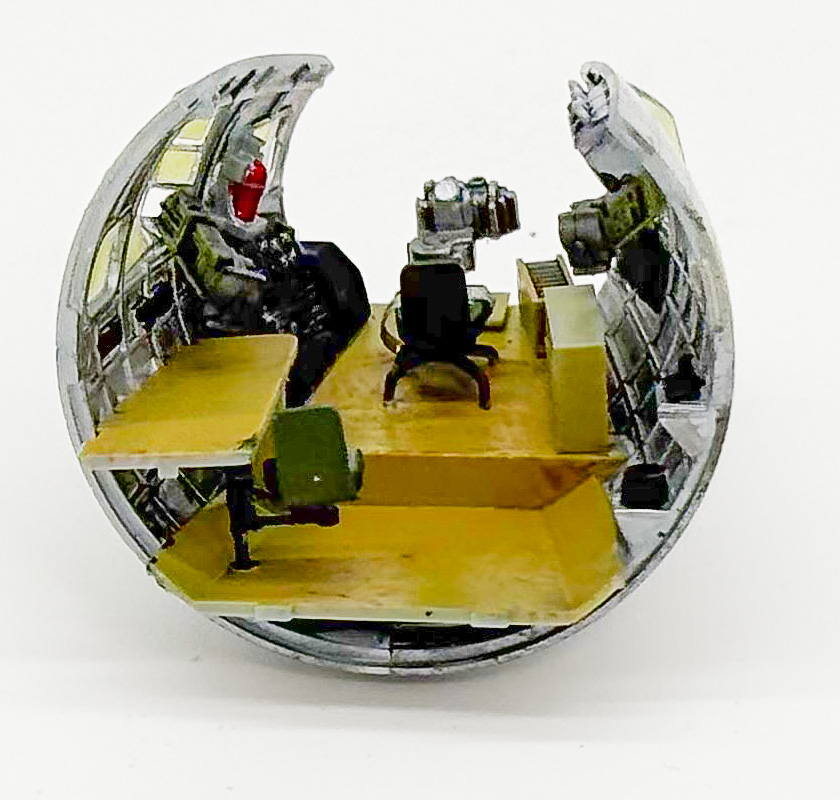
11/21/2025 I've finished the nose interior. The exterior masks are still on as the outside hasn't been painted yet.

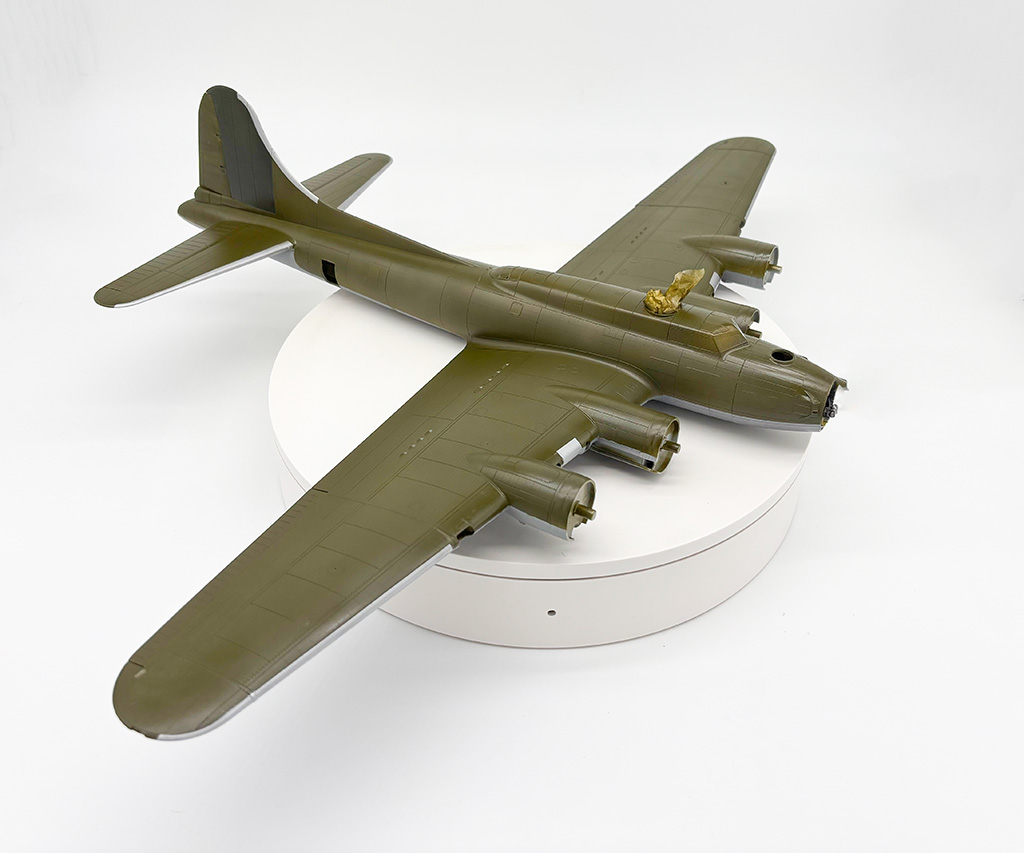
12/6/2025 I have accomplished a lot since my last post. I now have the fuselage closed up, the wings and tail surfaces on and painted.

The paints I used were as follows:

upper surfaces – Vallejo Model Air Dark Olive Drab 71.316 N 41

darker vertical stabilizer panel – Tamiya XF-62 with a little Tamiya XF-1 added

lower surfaces – Vallejo Model Air Neutral Grey 71.051

leading edges – Vallejo Model Air Silver 71.062

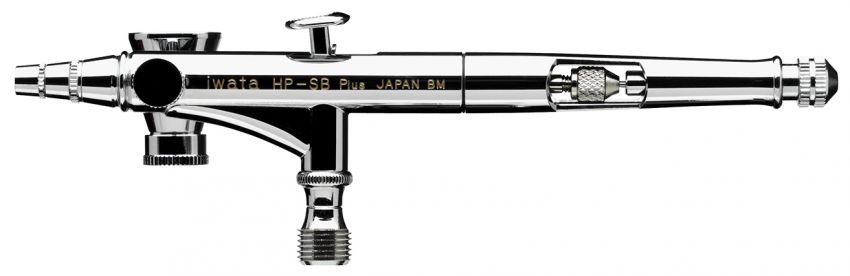
For all of the airbrushing so far I have used my Iwata High Performance HP-SB Plus side feed dual action airbrush.

Iwata High Performance HP-SB Plus Side Feed Dual Action Airbrush

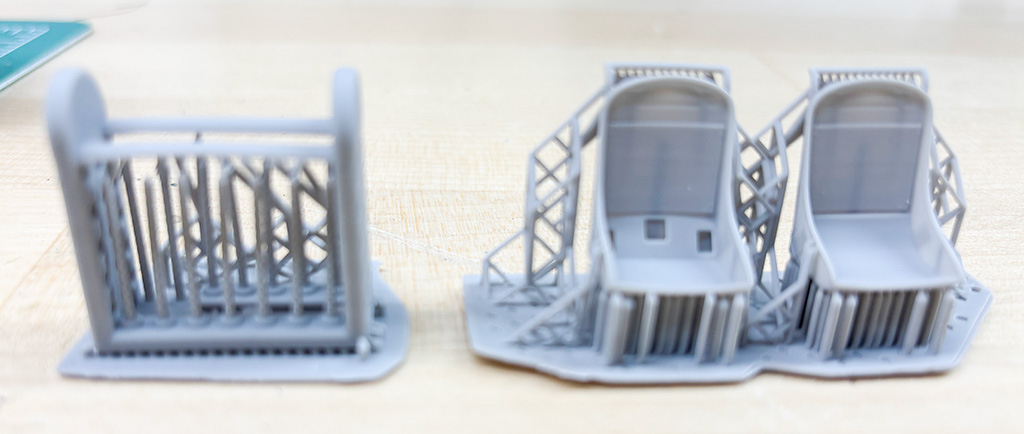
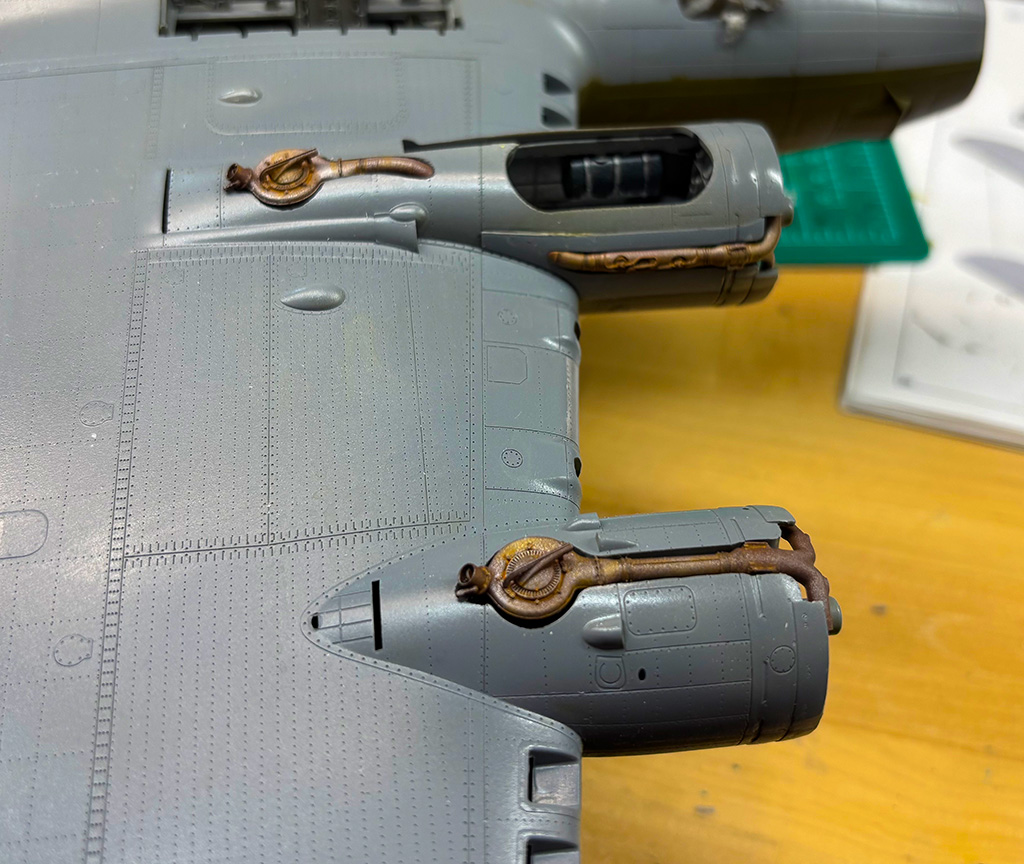
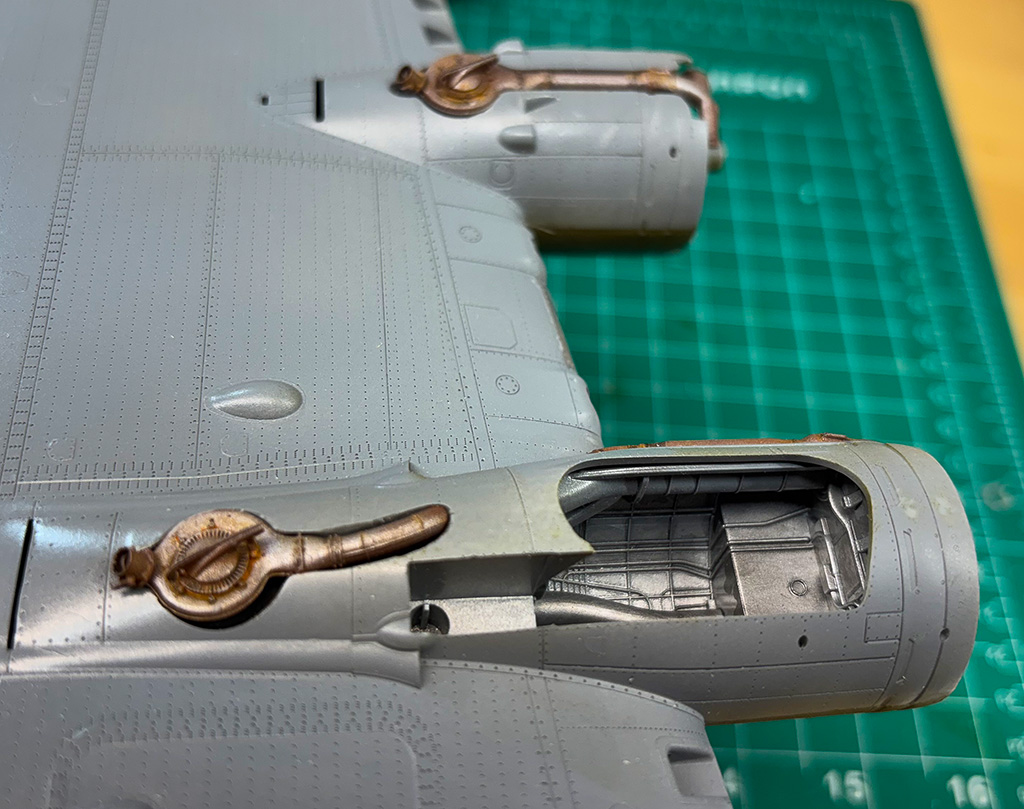
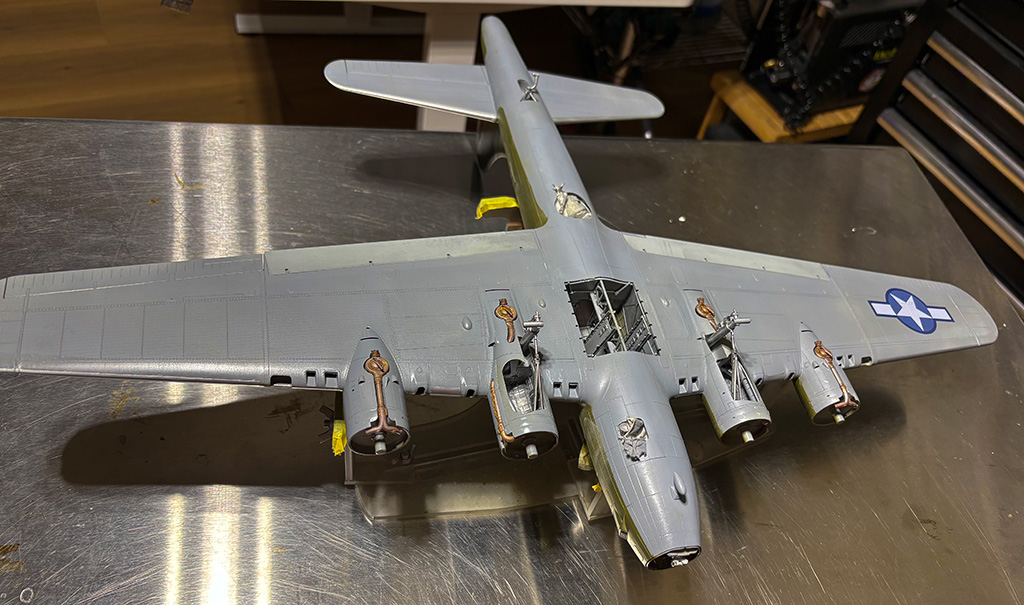
12/11/2025 I've finished the 3D printed superchargers and attached them.

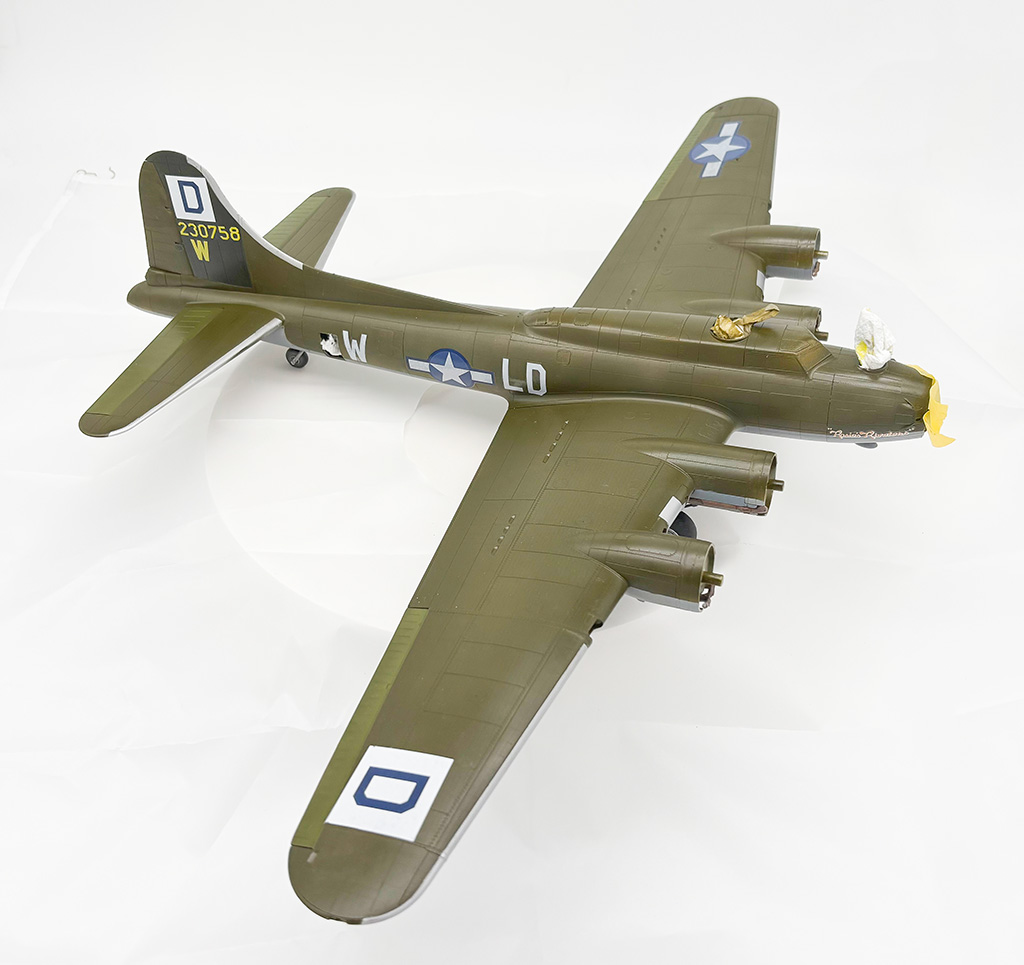
12/13/2025 Here is another photo with the landing gear installed and one decal. This is my first encounter with Eduard decals where you need to peal the film off. I'm impressed.

12/16/2025 I've finished the larger decals and added the landing gear and wheels. 

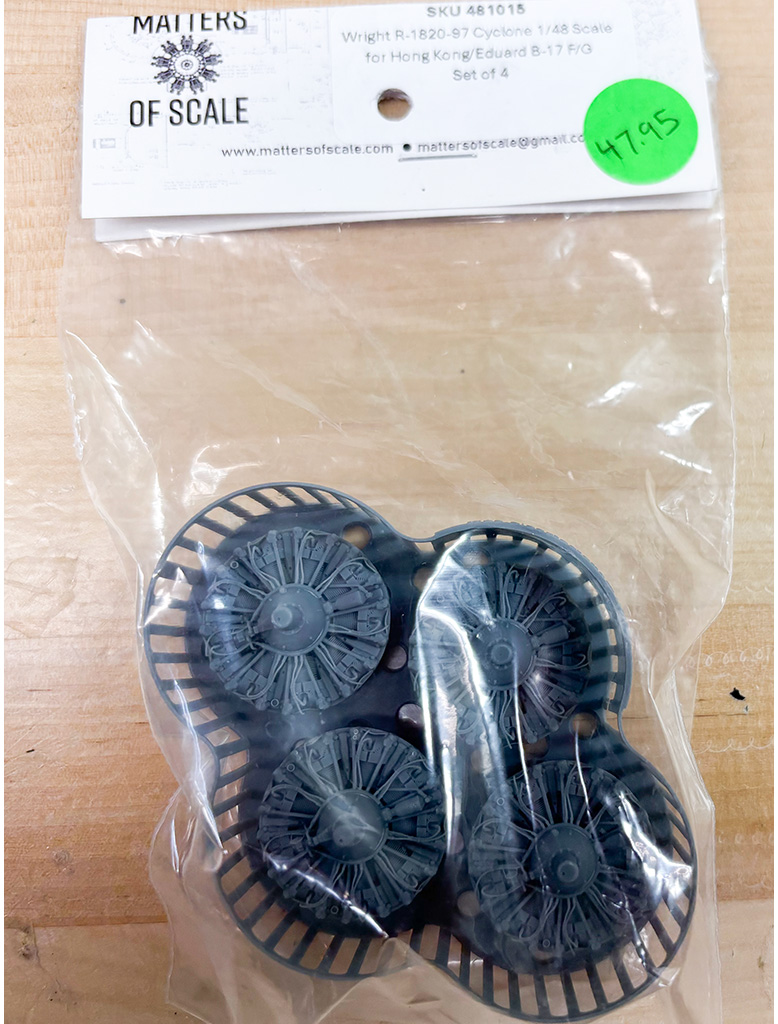
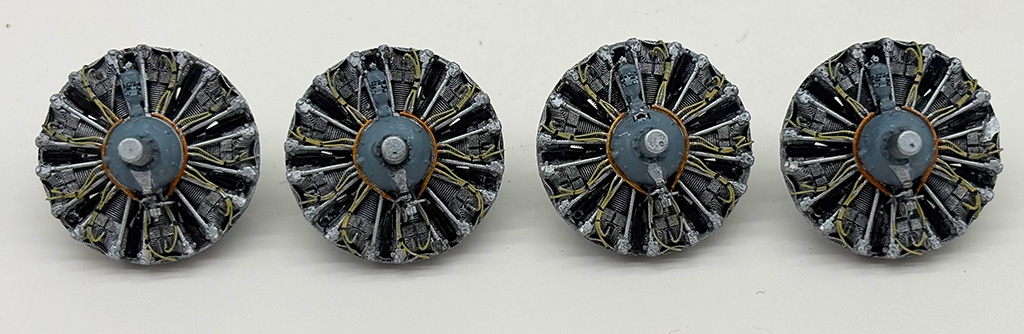
12/19/2025 I'm getting close to finishing. The 4 3d printed engines are finished …

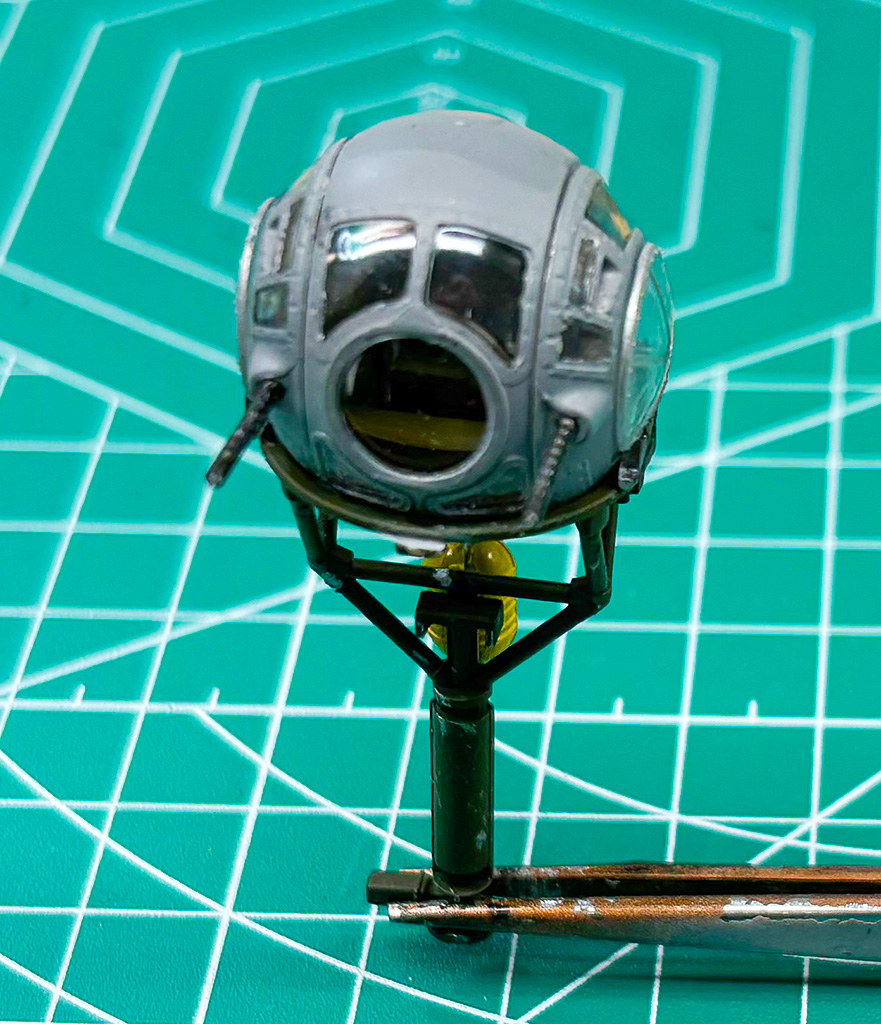
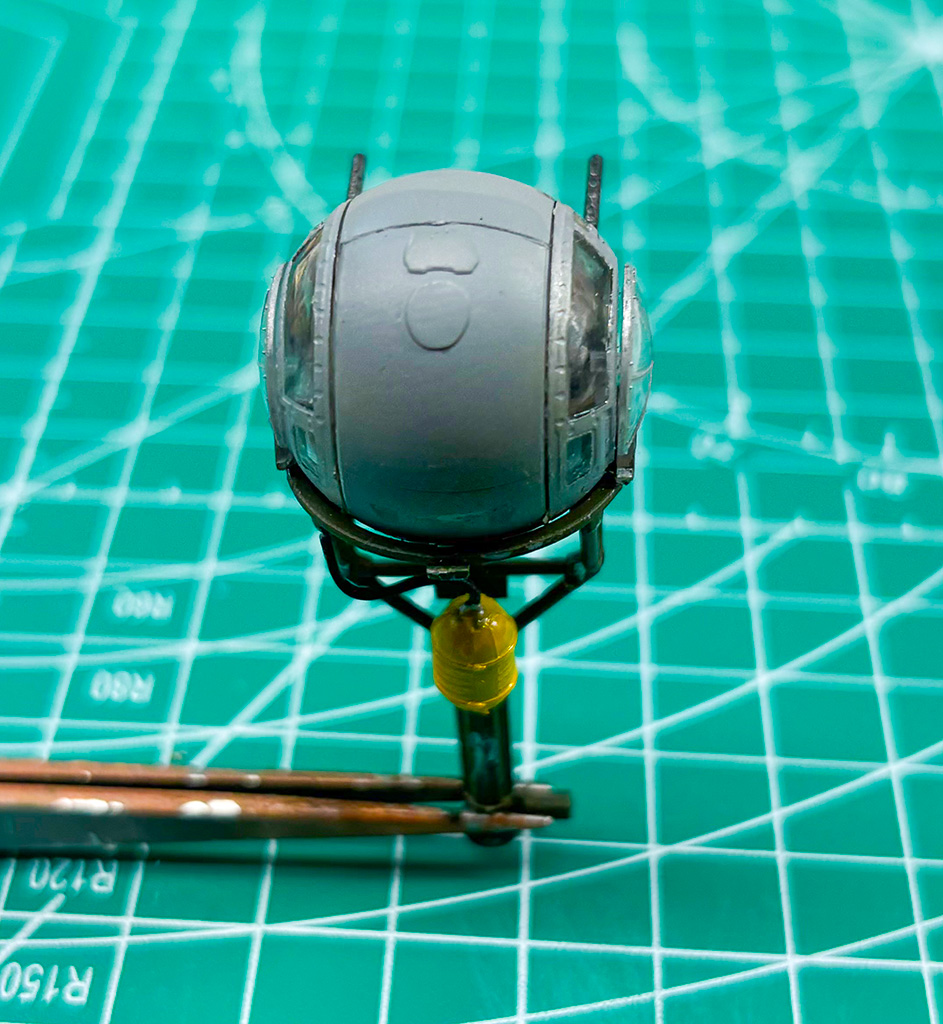
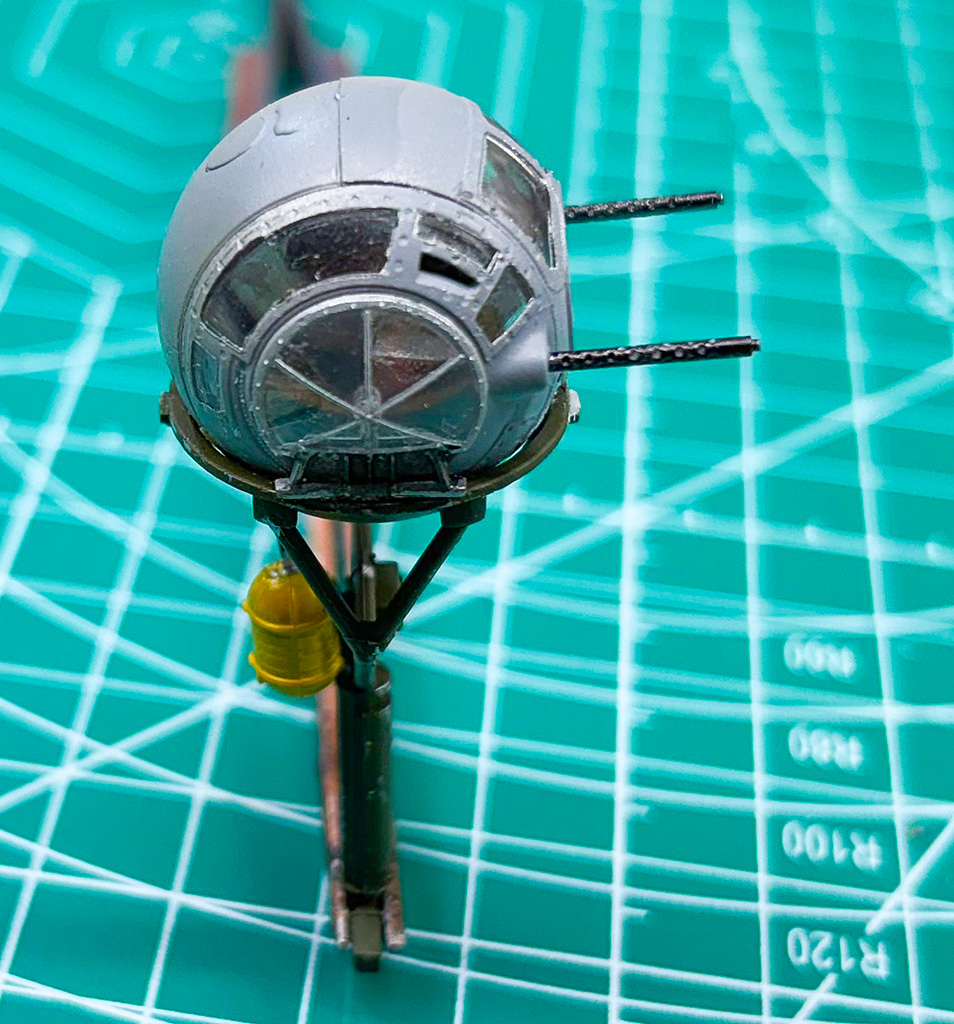
12/27/2025 Here are some photos of the finished ball turret…

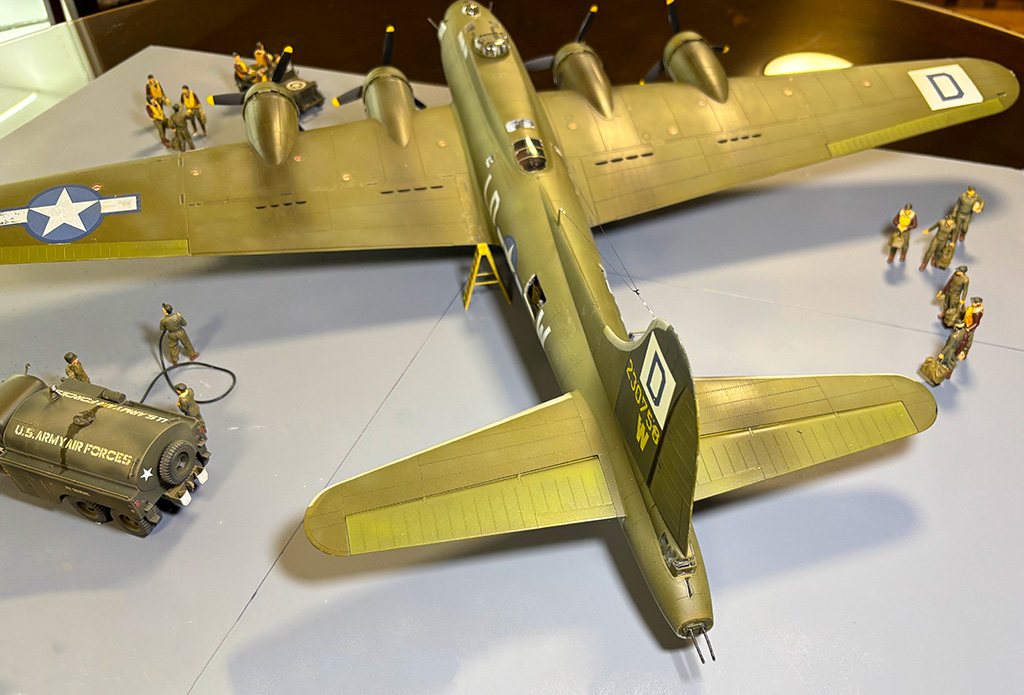
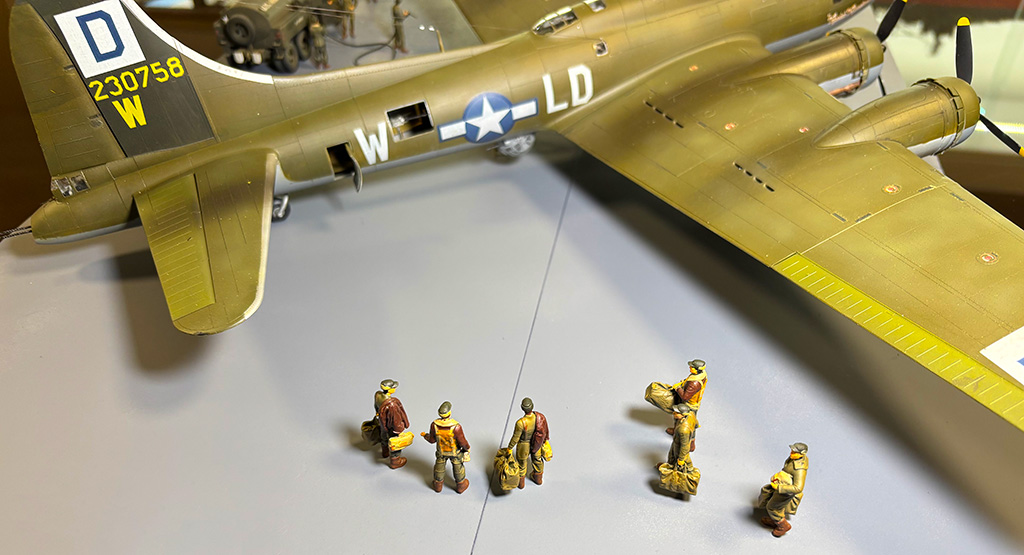
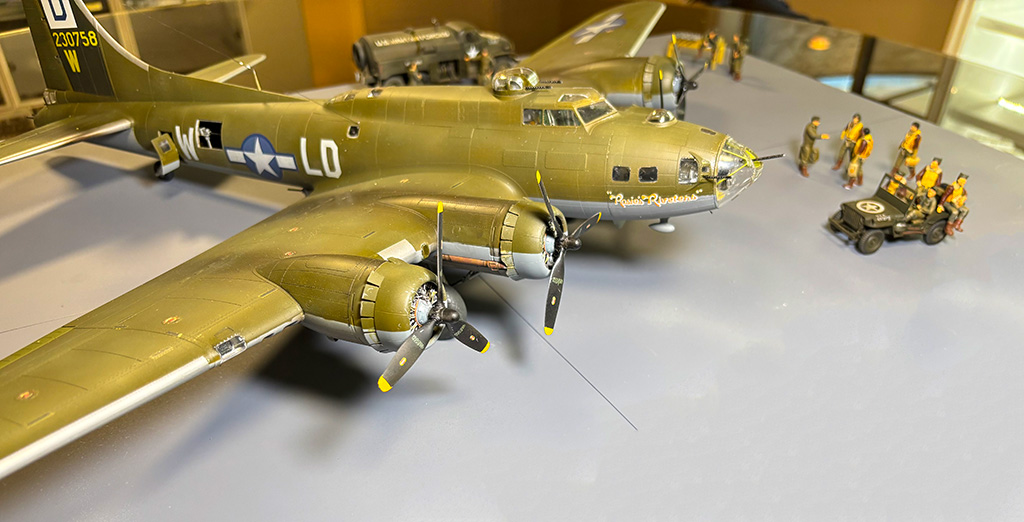
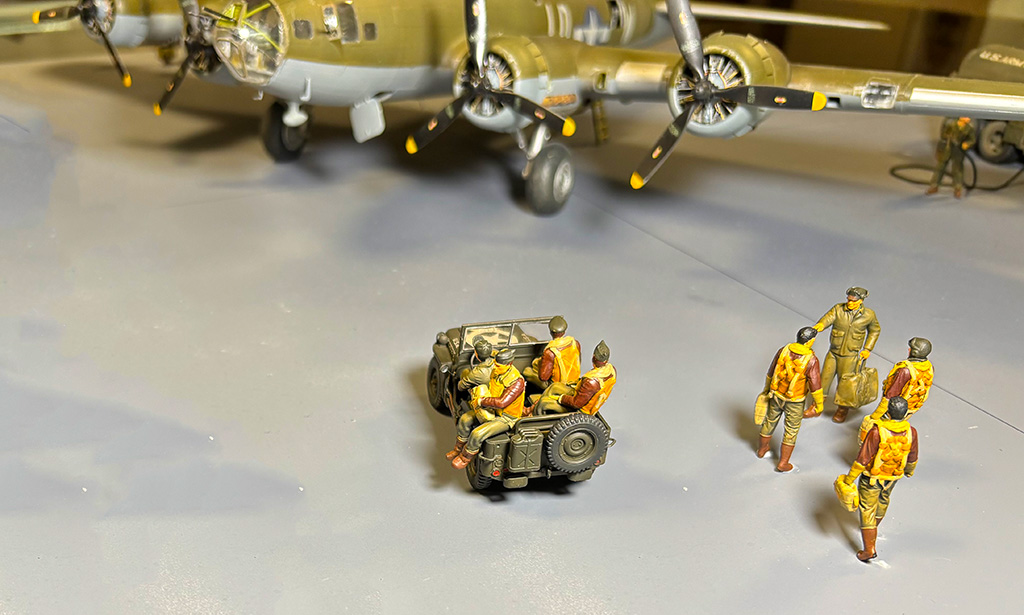
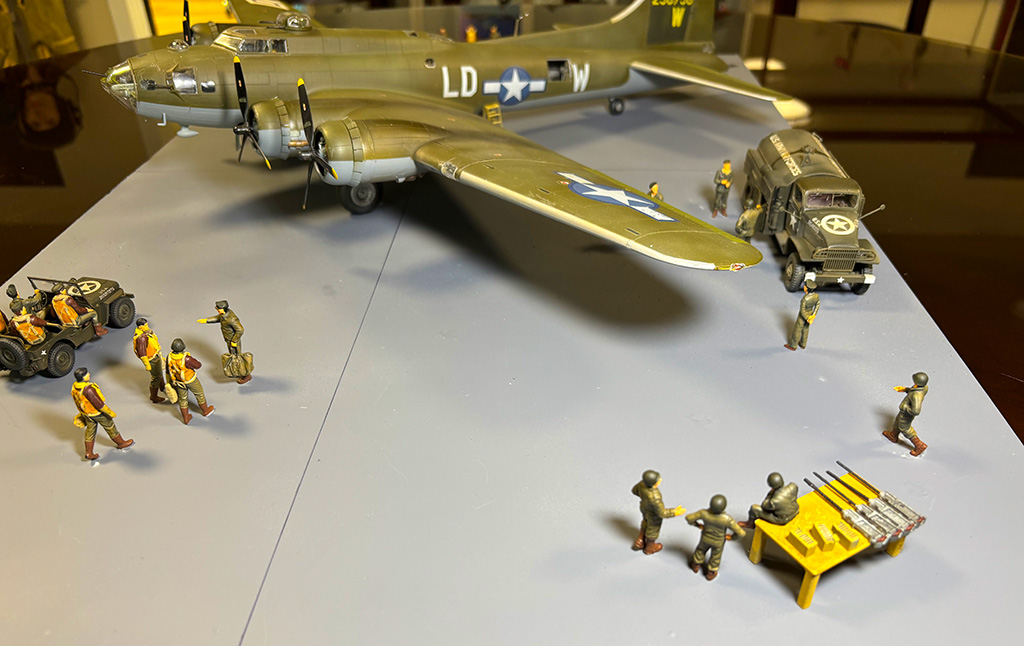
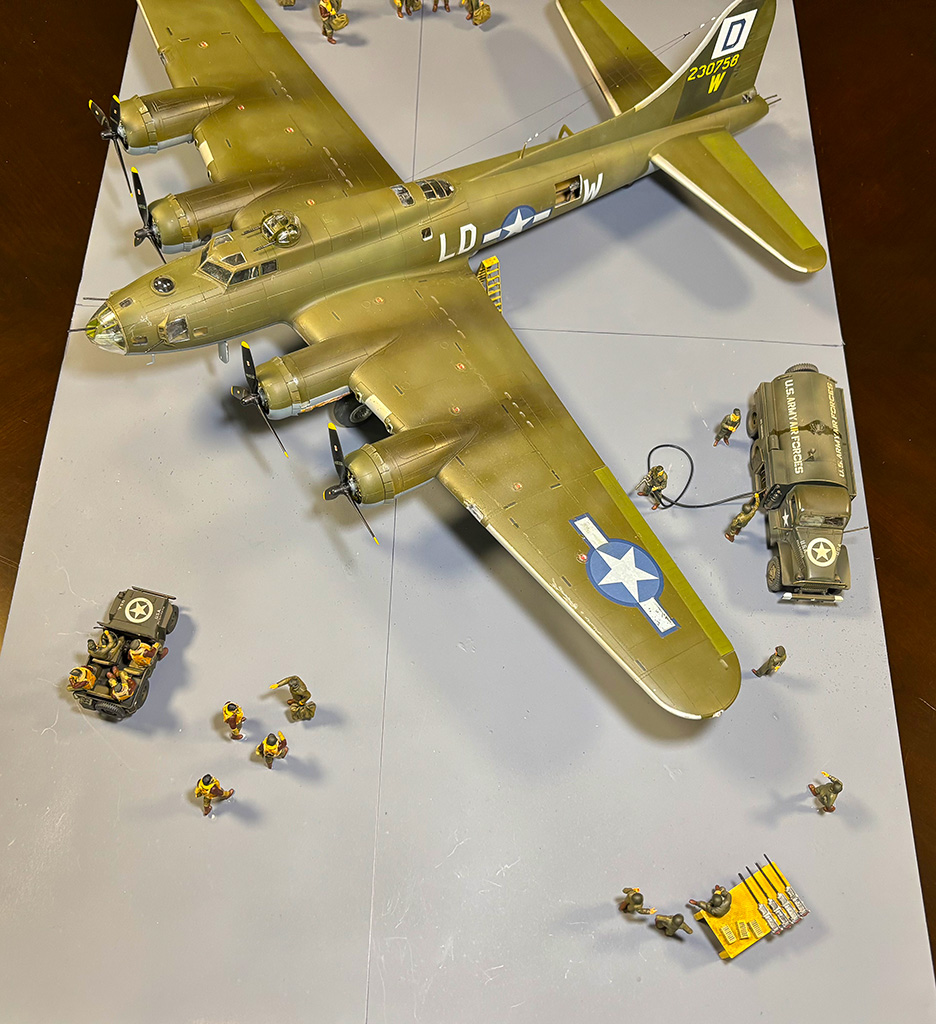
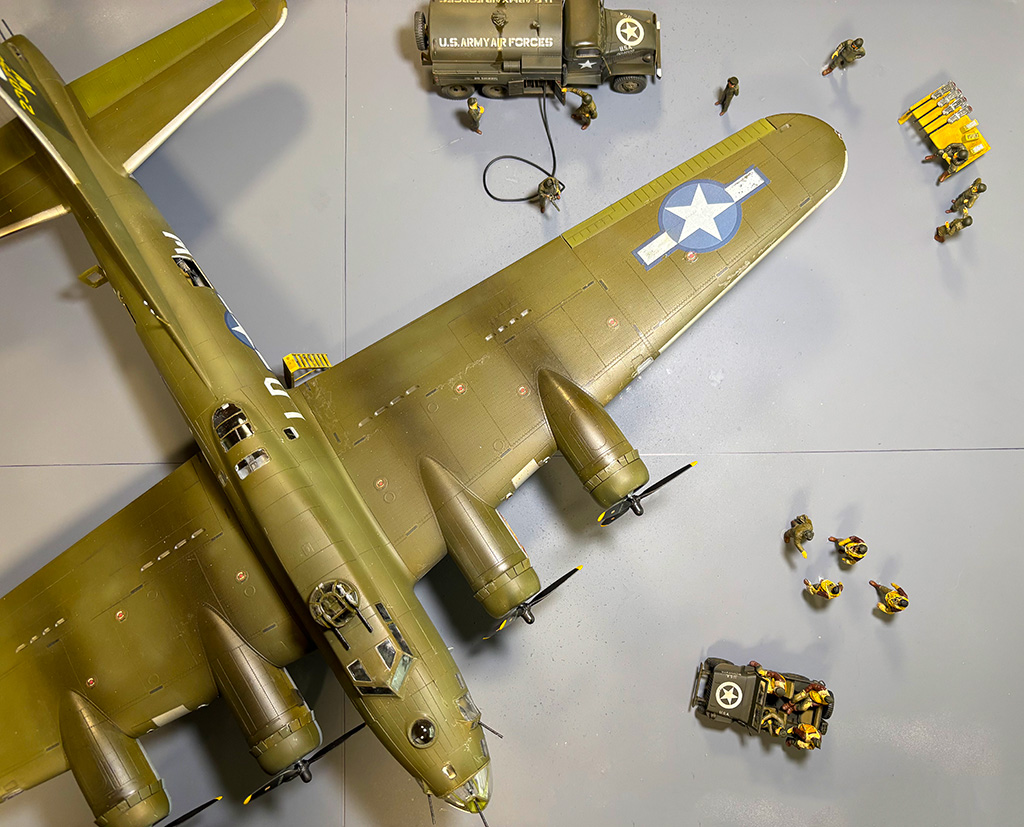
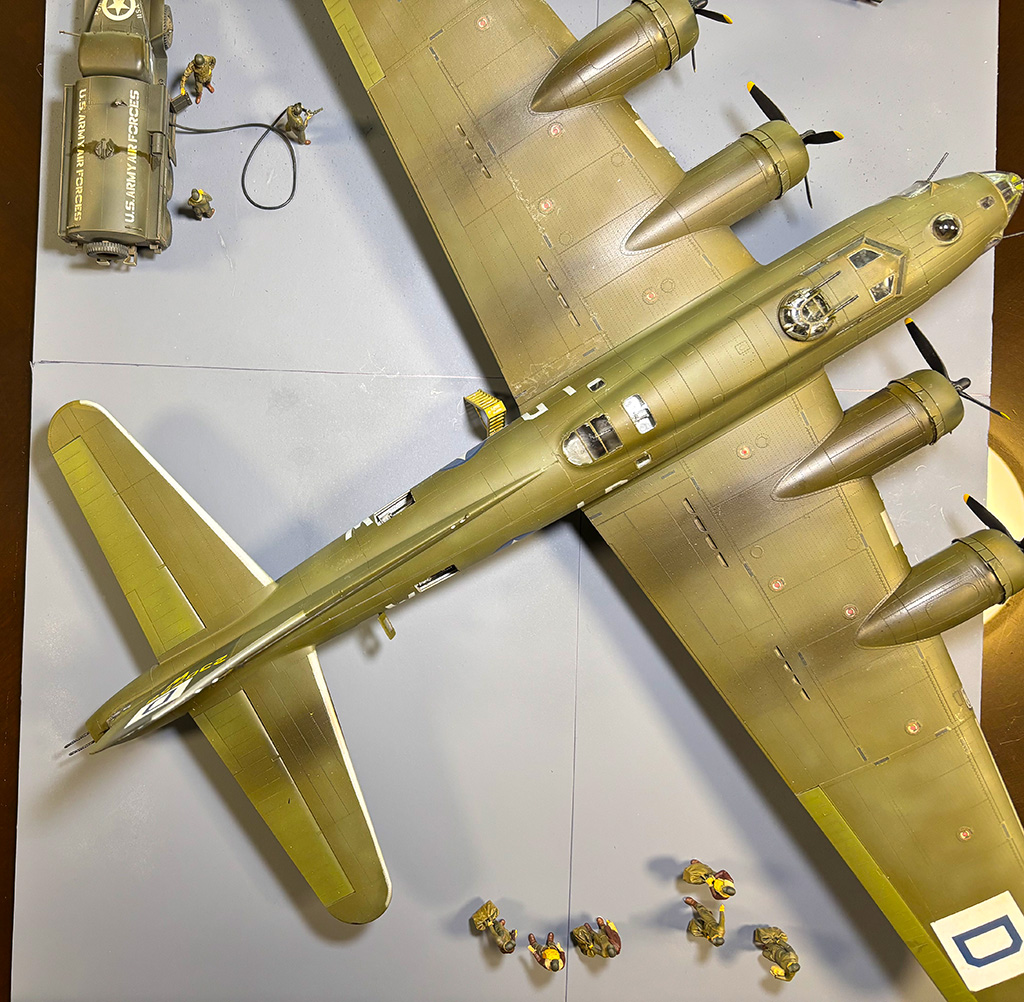
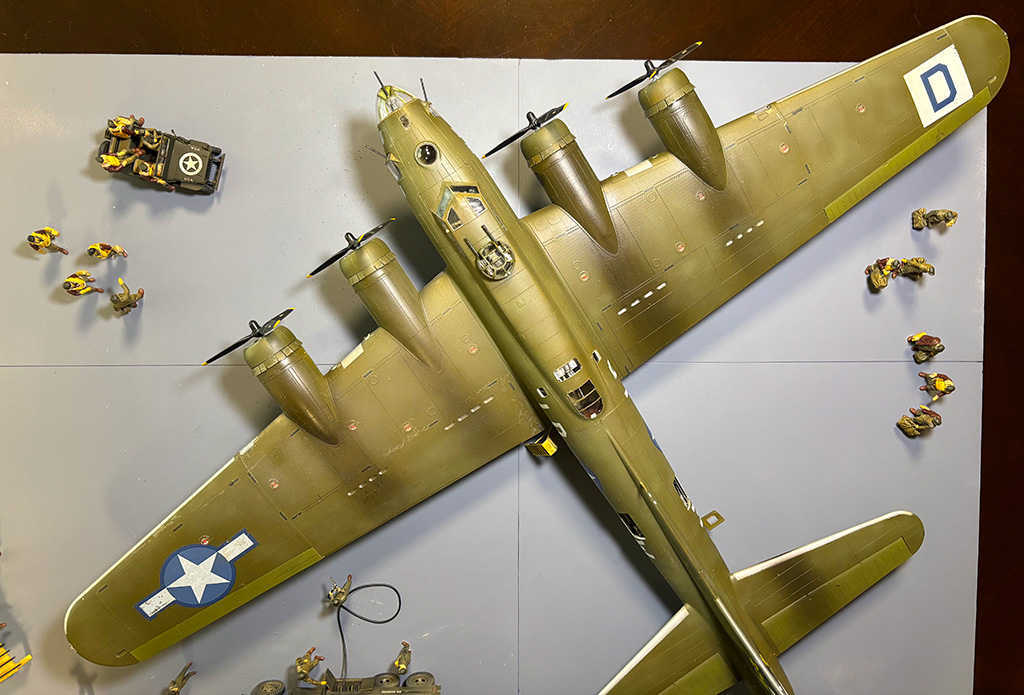
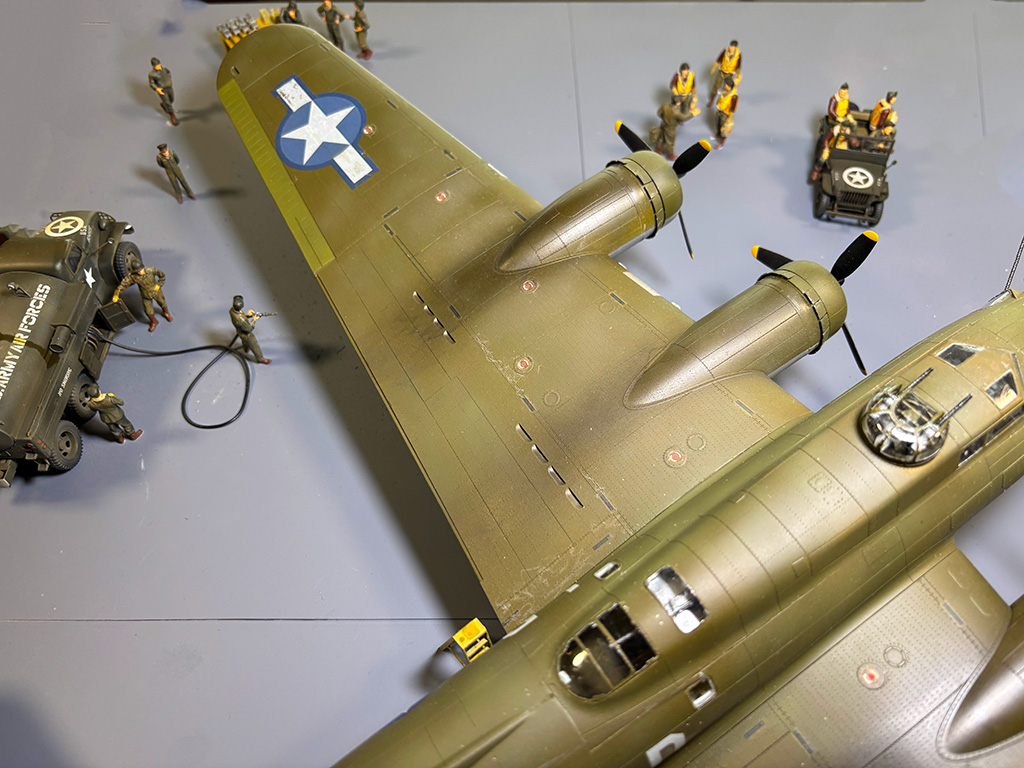
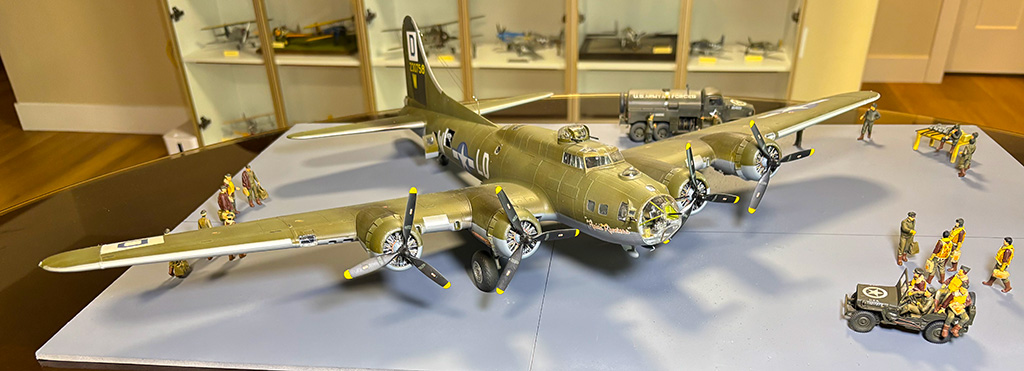
12/10/2025 The model is finally finished; it was a very pleasant build. I’ve decided to pose it in a diorama depicting the plane as it is getting ready for its next mission. I know in this situation the crew wouldn’t be arriving until later, but I exercised some artistic license. I used online color photos as a reference for painting the figures. The fuel truck and jeep are from Tamiya kits. The figures are from the two Tamiya kits, other resin figures were purchased on eBay. Some of the figures were attached using canopy glue which hasn't yet dried – hence the white outline on some of the shoes. The workbench and ladder were 3D printed on my Bambu A1. The machine guns and ammo boxes on the workbench are left over from the kit. On to the pictures.