12/31/2013 I'm in the process of ordering aftermarket parts for this. The basic model will be built from the Monogram B-25H from 1977. I'm building this for a friend whose grandmother worked on the last one built in Inglewood California. The workers all signed it, and it went on to serve overseas in World War II. I'm using this kit that came out in 1977, because it's the best model for this version in 1/48 scale. Even tho it's an old model it stands up well today with great surface and cockpit detail. 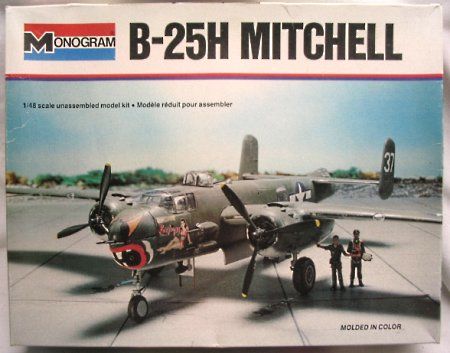 Here are pictures of the actual aircraft.
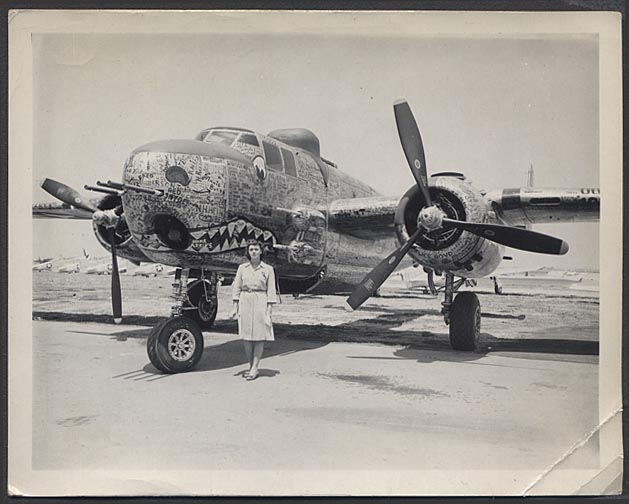
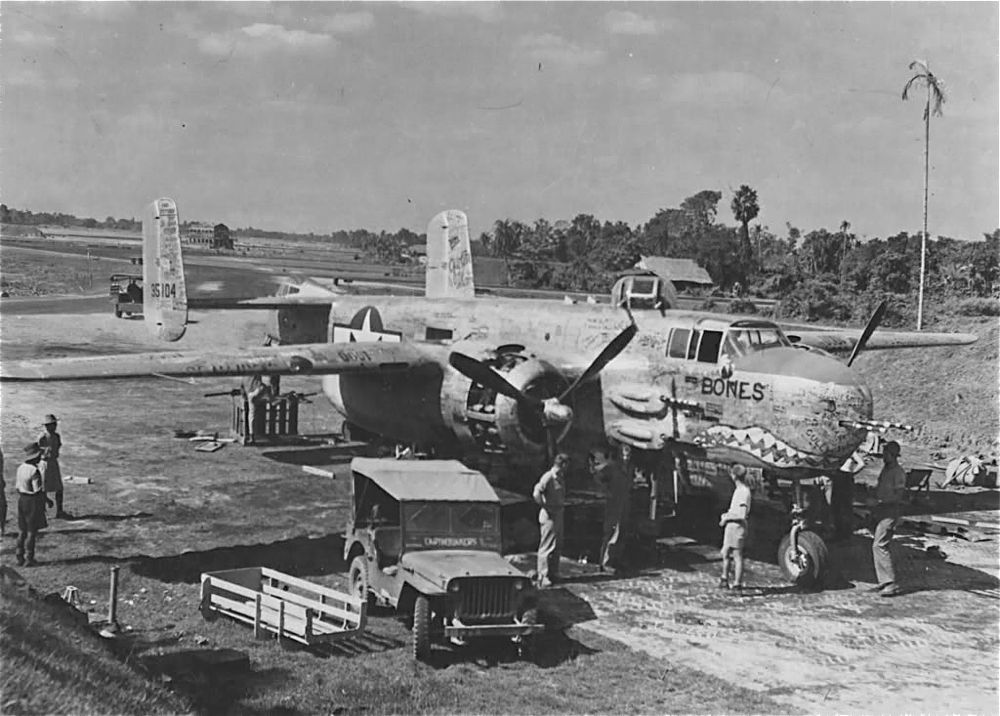
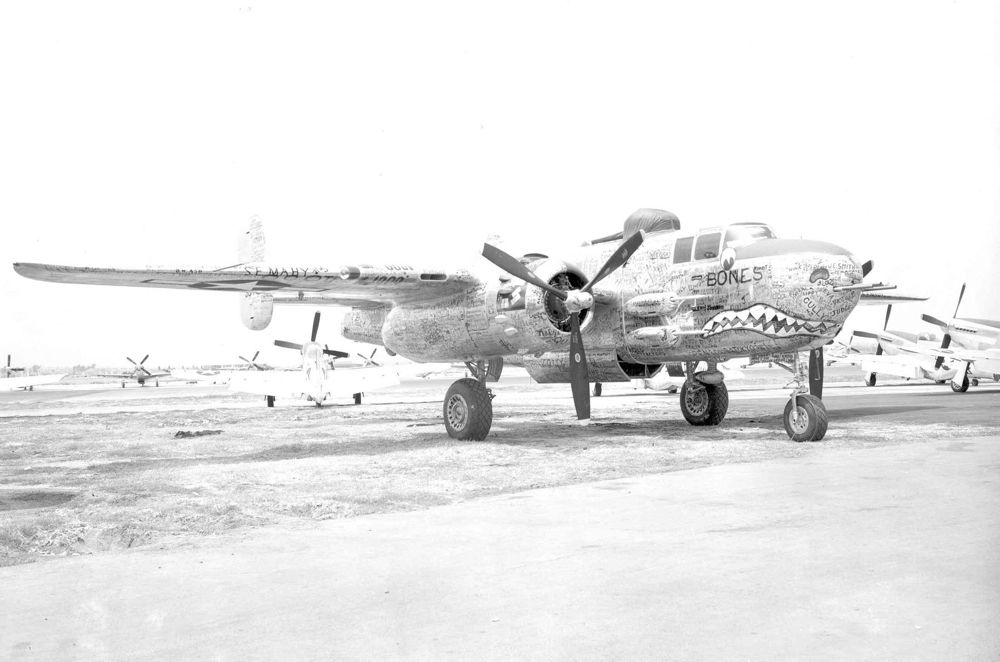
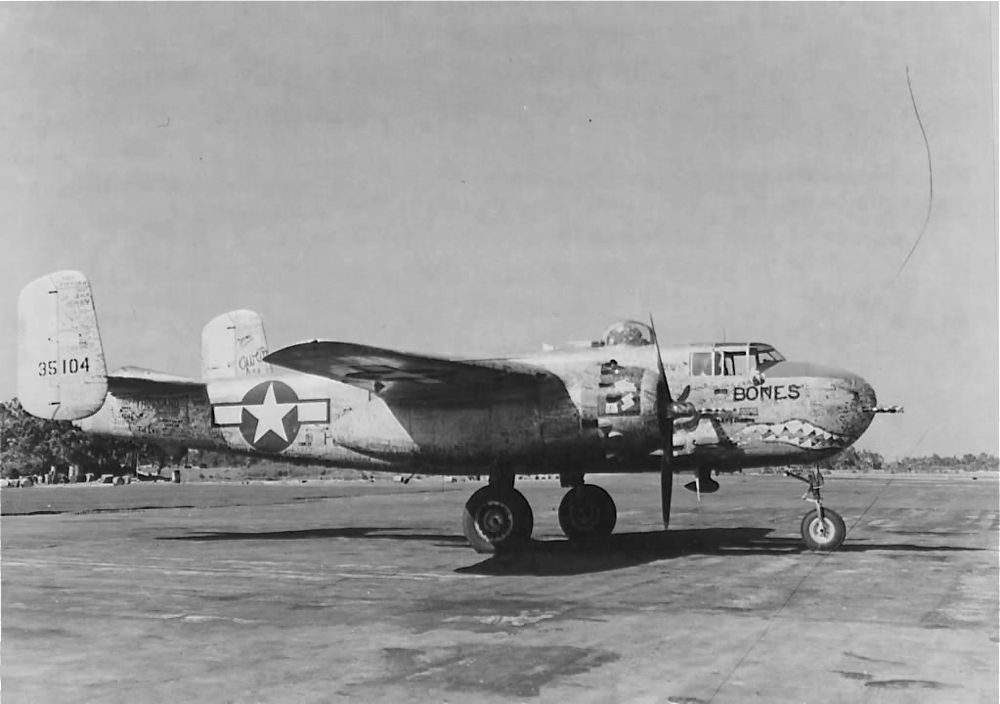
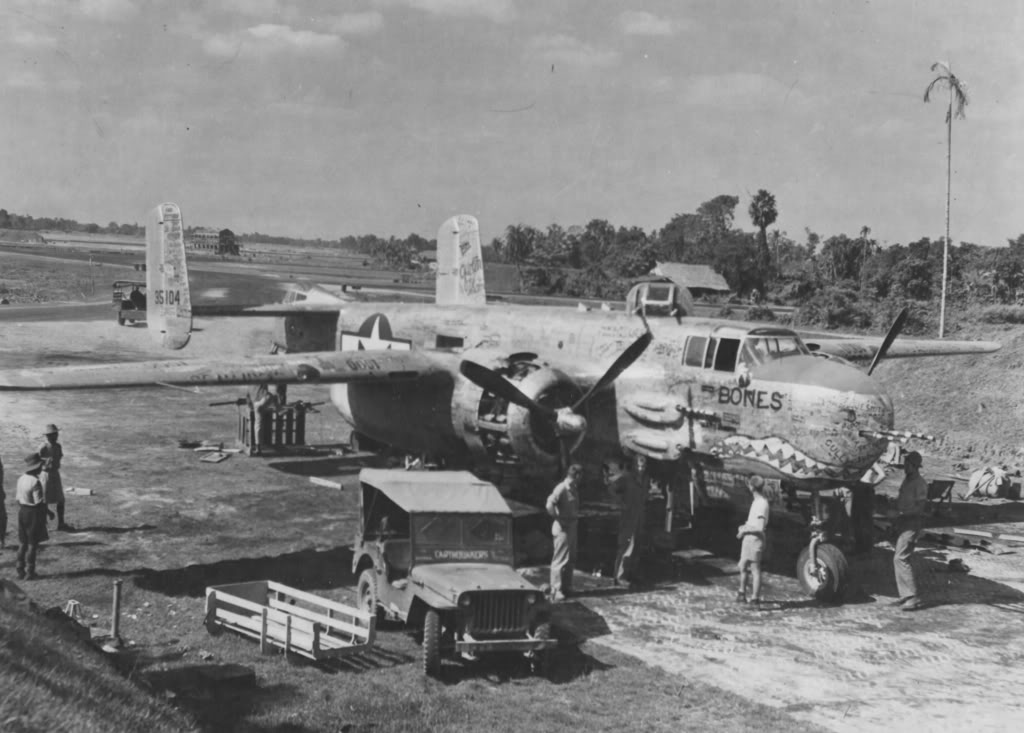
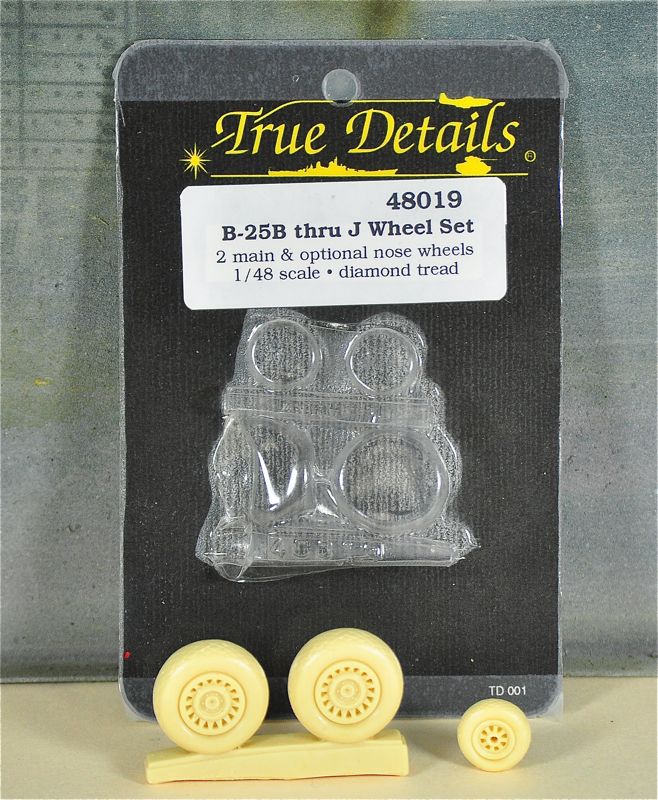
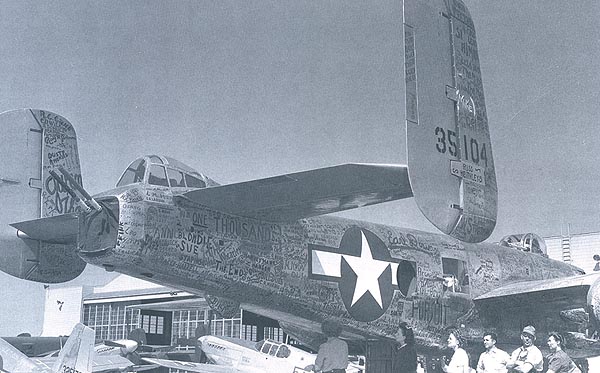 I'm adding the following aftermarket items: True Details 1/48 B25B/C/D/H/J/Mitchell main and nose wheels (diamond tread)
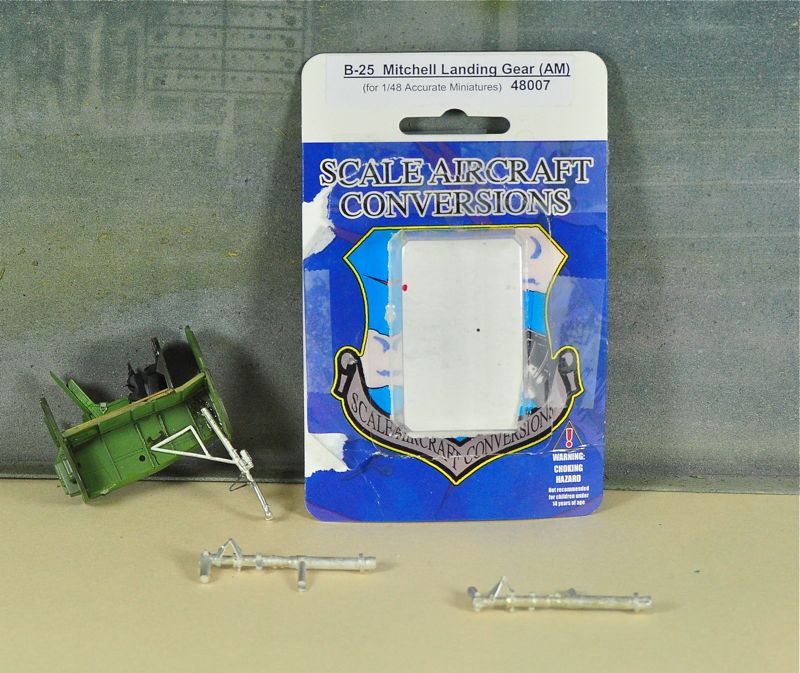
  B-25 White Metal Landing Gear (1/48 Scale Air Conversions 48007)
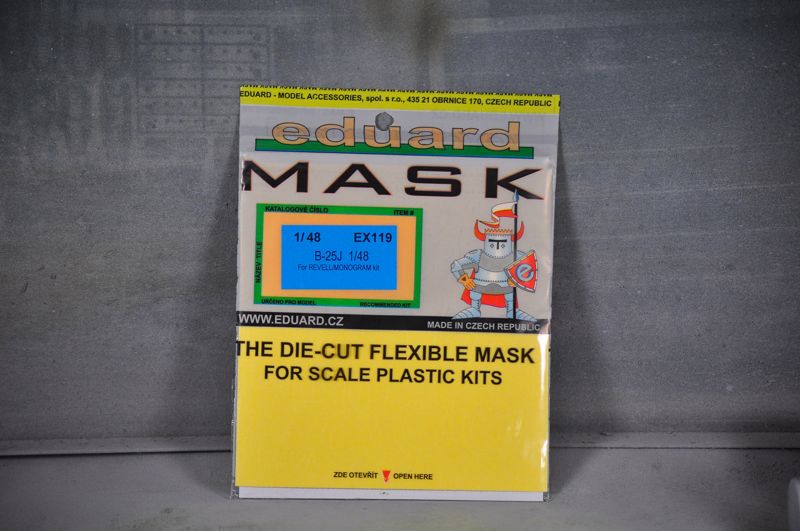
  Eduard Mask 1/48 B-25j Mitchell for Revell and Monogram
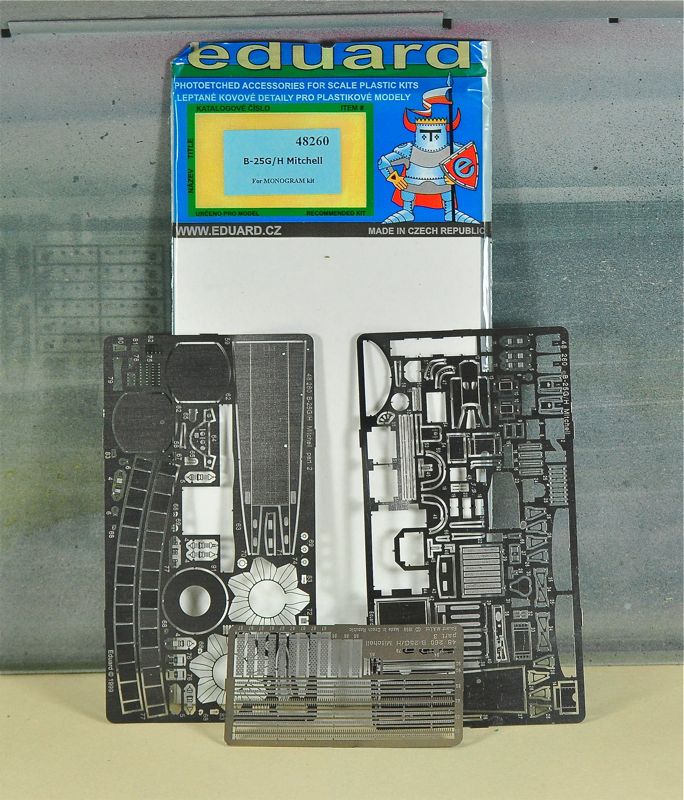
  Eduard EDU48260 B-25G/H photo etch for RMX
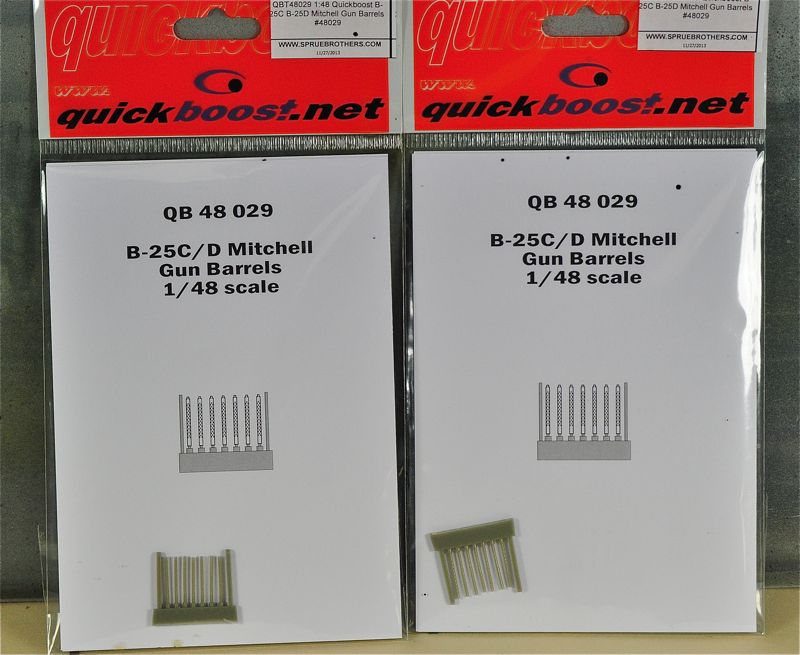
  Quickboost QTB48029 B-25C/D Mitchell Gun Barrels x 2
  Quickboost QB48554 Mitchell Engines
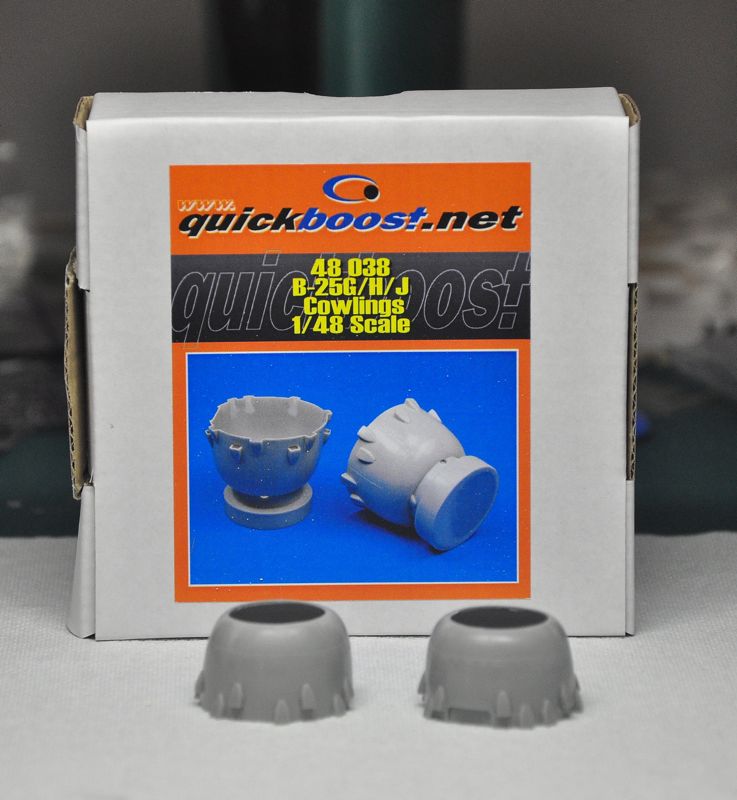
 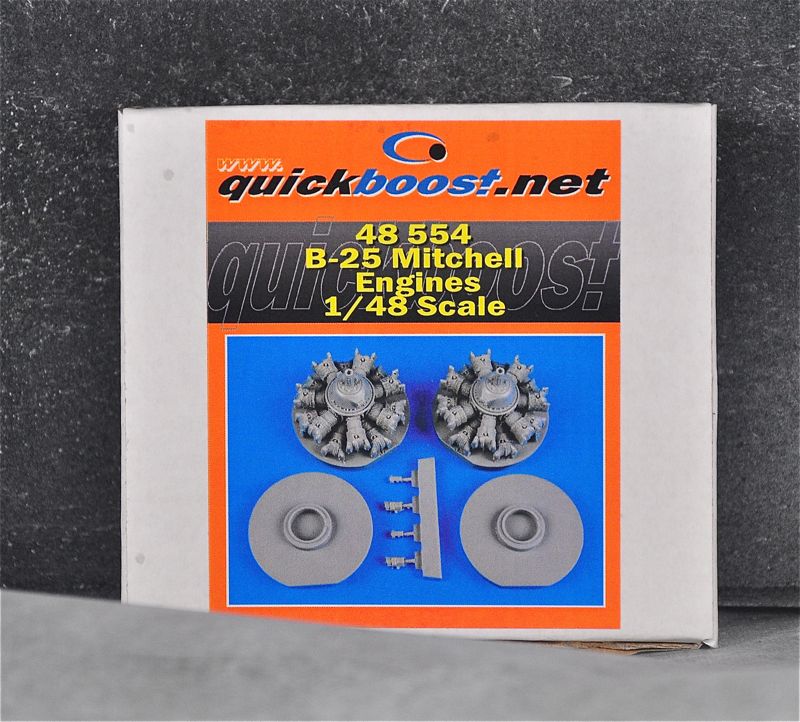 Quickboost QB48029 B-25H/J Mitchell Correct Cowlings
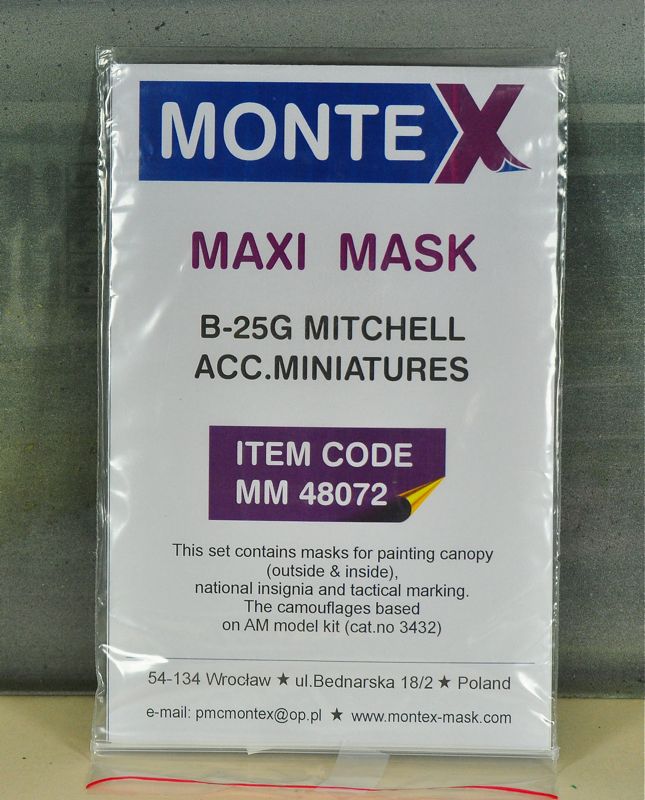
  Alclad II Aluminum & Airframe Aluminum Montex 1/48 masks & markings for Acc Miniatures #3432 B-25G Mitchell – MM48072
1/6/2014 Here are some construction photos: 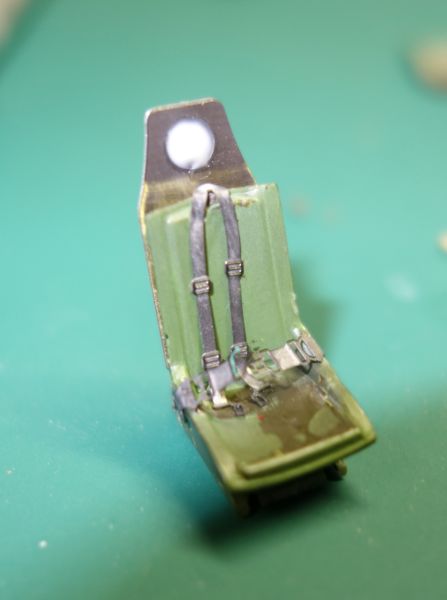
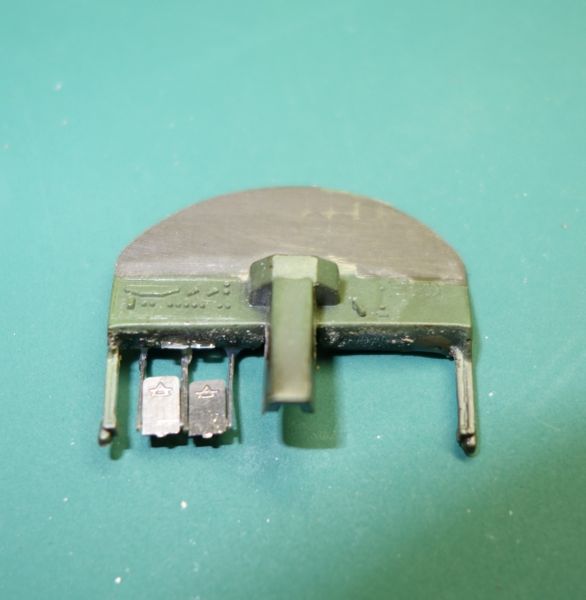
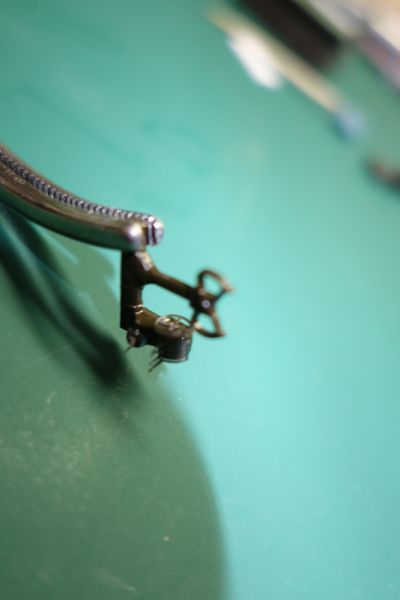
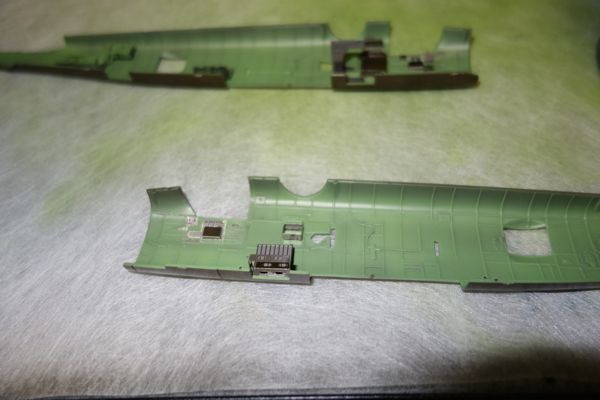
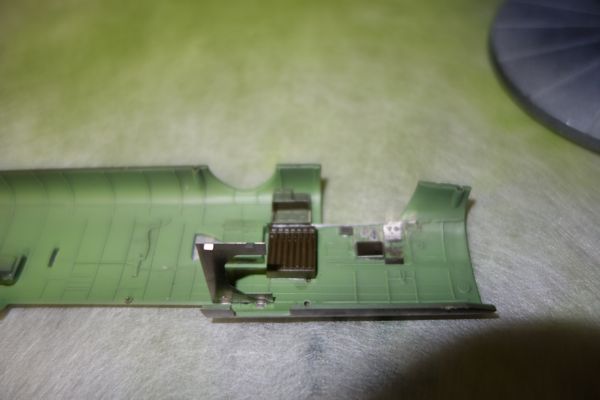
The Eduard instrument panel adds a lot of detail – will be hard to see when finished though. As you can see here the H model had no co-pilot so I had to remove that seat and put a plastic panel over that area. 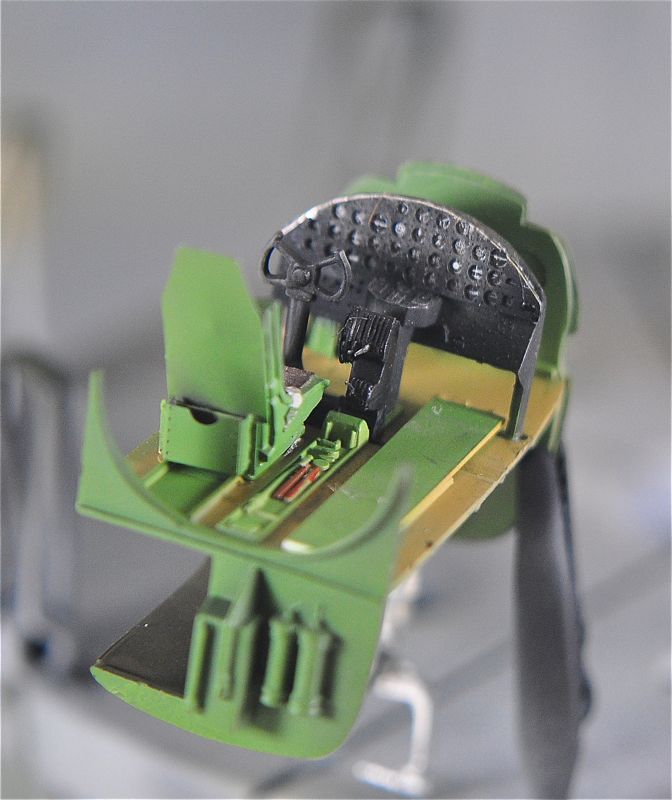
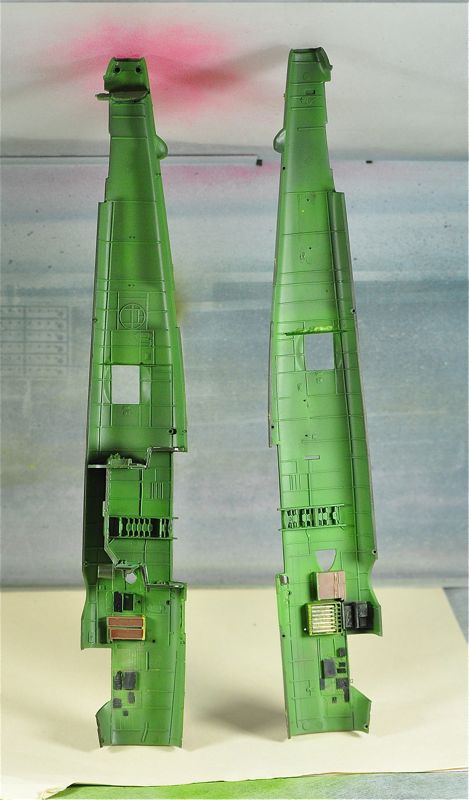
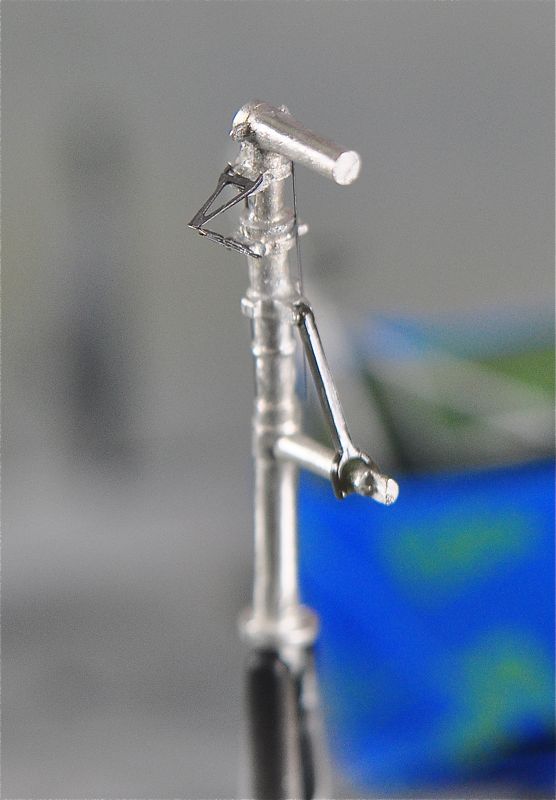
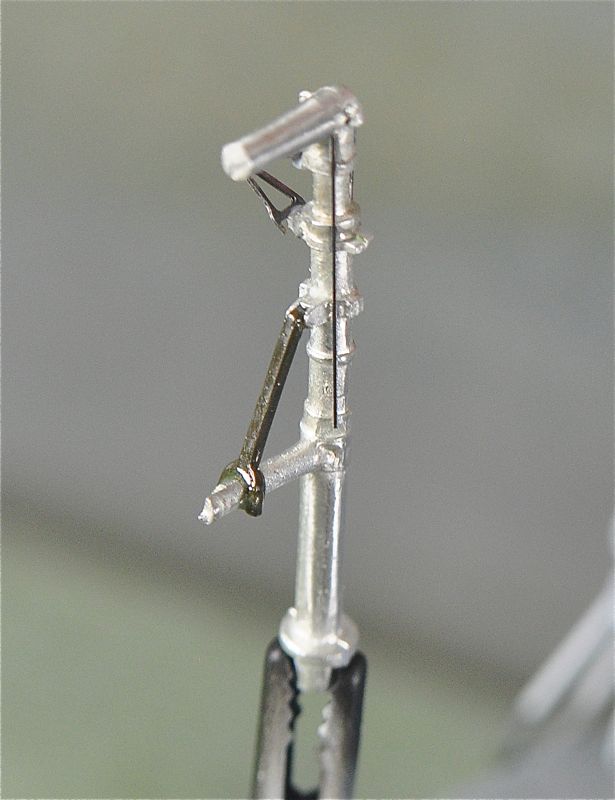
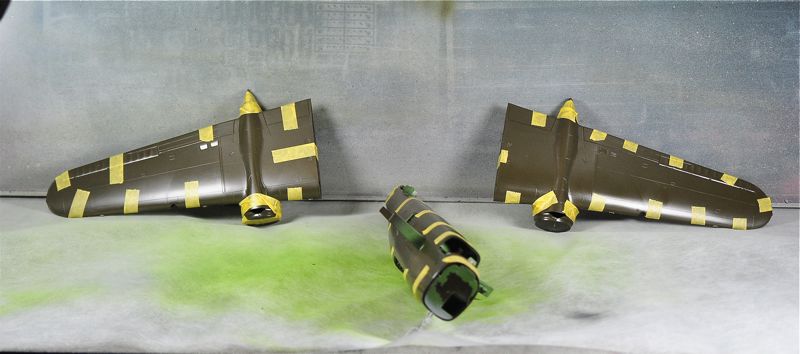
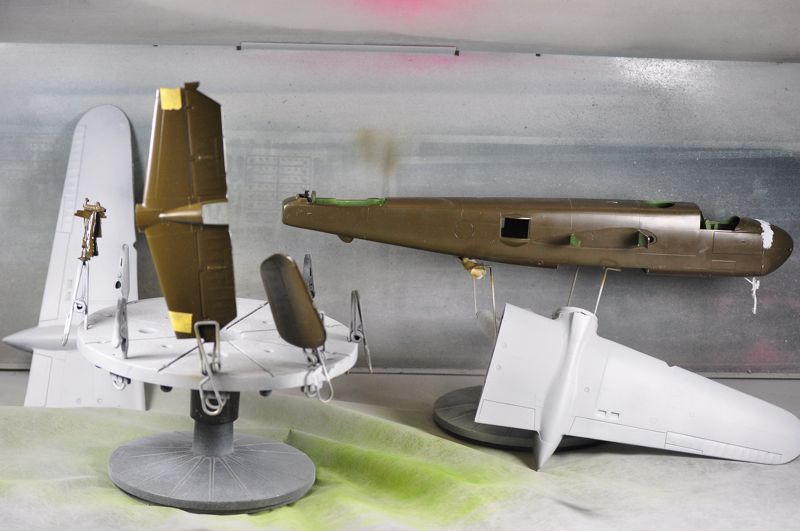
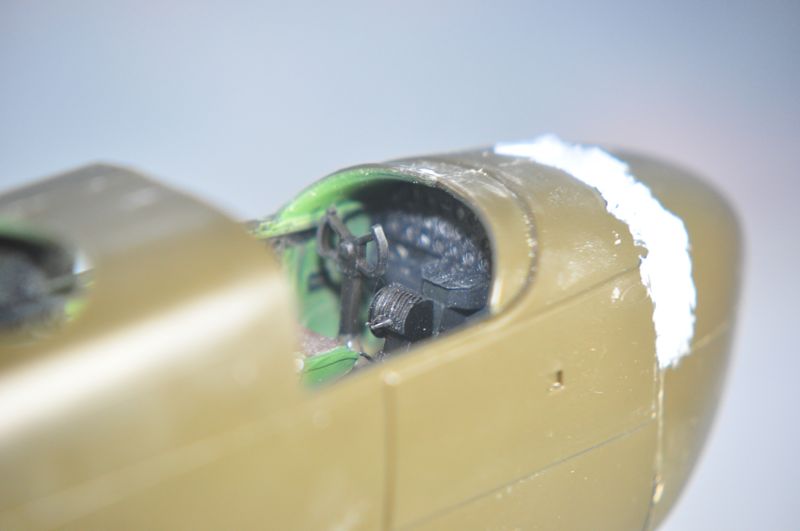 Now adding the primer coat using a Tamiya rattle can of fine surface primer. Then I sand the finish with fine grit paper ending with .5 micron paper using K & S Sanding Film.
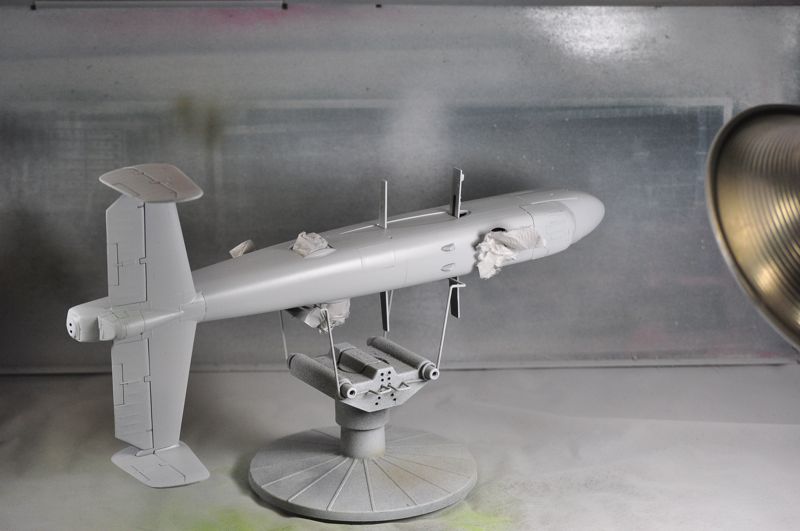
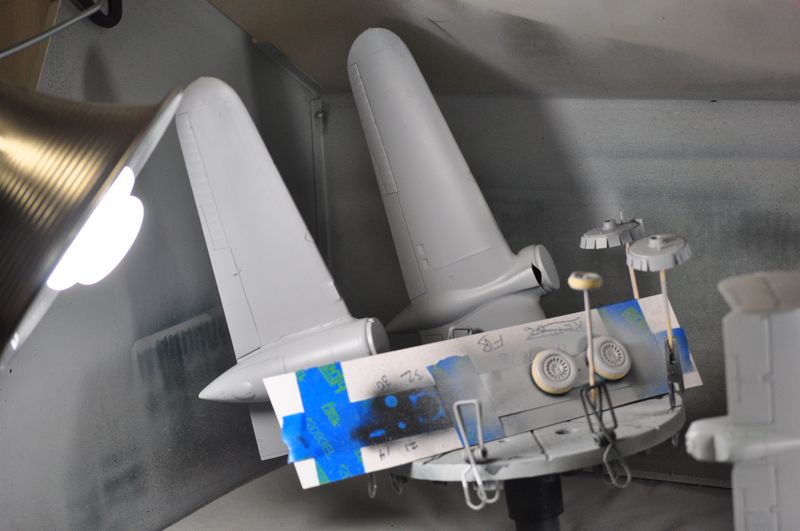
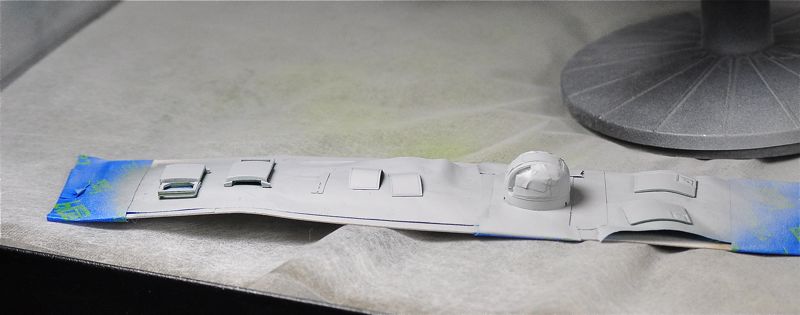 1/13/2014 Here I've sprayed the model with a Tamiya rattle can of gloss black as prep for the Alclad II Lacquer metalizer paint.
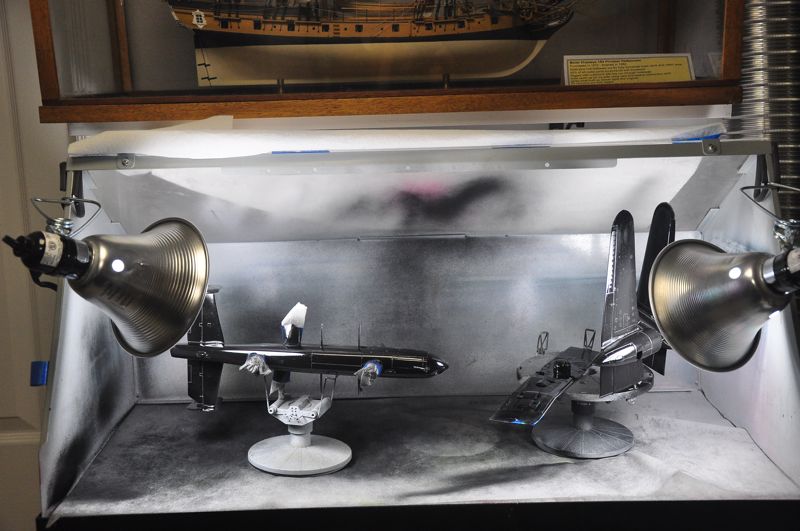
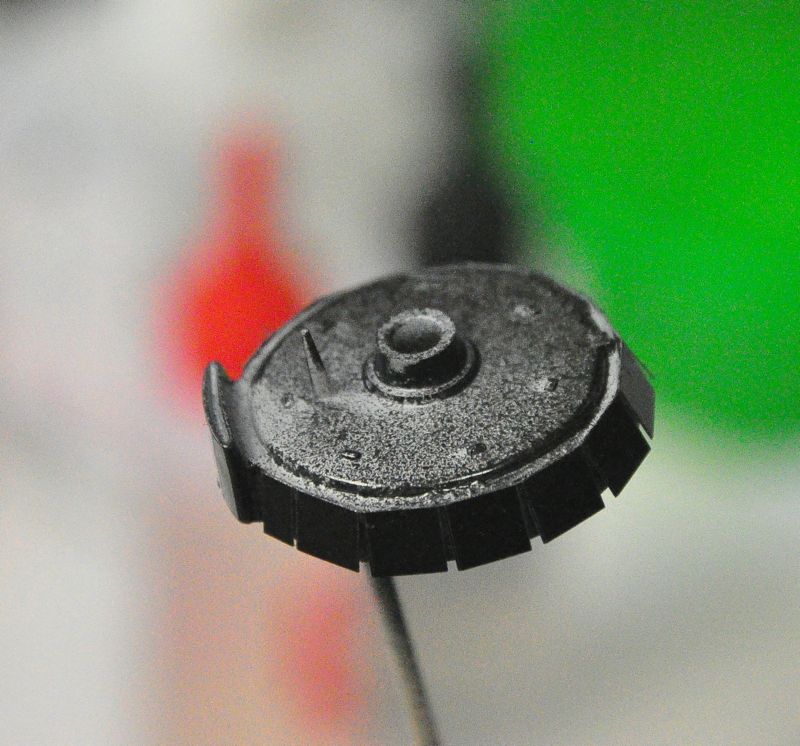 1/16/2014 Well – I've learned a couple of lessons here. Number one is that the Model Master rattle can (gloss black) just puts out too much paint to control. The fuselage came out ok, but the wings were another matter. I just couldn't get a smooth finish. The second lesson is that I need to clean out my spray booth periodically. Another reason for the poor finish. Once the spray booth was cleaned of paint dust and the filters were changed things were much better. I'm finished with that rattle can though I guess I could have decanted the paint from the can and used in my airbrush – but I'm fighting a cold right now and that just seemed too much. I switched to Tamiya gloss black that I could use in my airbrush. I had to sand down the wings quite a bit, then spray with the gloss black. The finish still wasn't what I wanted though. So I added a nice coat of Future Floor Polish and that worked well. The wings are now good to go. I'm currently working on the engines by Quickboost. They are great – just real jems. I added the push rods with fine wire then added the ignition wiring from the Eduard photo etch set.
 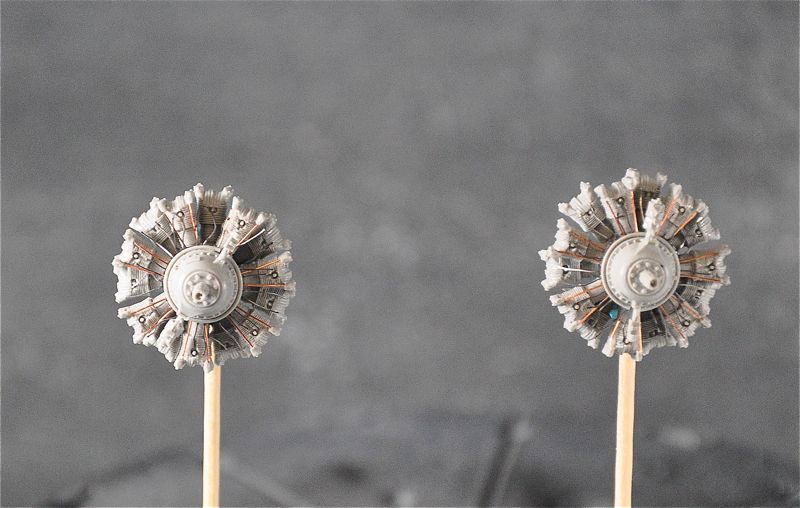 1/20/2014 I just don't like how the wings have come out. I've sanded them down and lost all of the surface detail. I've ordered another kit so I can rebuild the wings and paint them properly. The fuselage is salvageable. I've sanded it down good so it's smooth, given it a light coat of Tamiya gloss black and rescribed the panel lines. Now it's good to go. The wings are easy to build up and the replacement kit is a much easier way to go. I've also stated to spray the bits and pieces with Alclad II and those all have come out good. You just can't build a nice model when you apply paint in thick coats! 1/21/2014 Fuselage finished and masked ready for Alclad II painting, the masked areas will be painted different shades of Alclad II:
 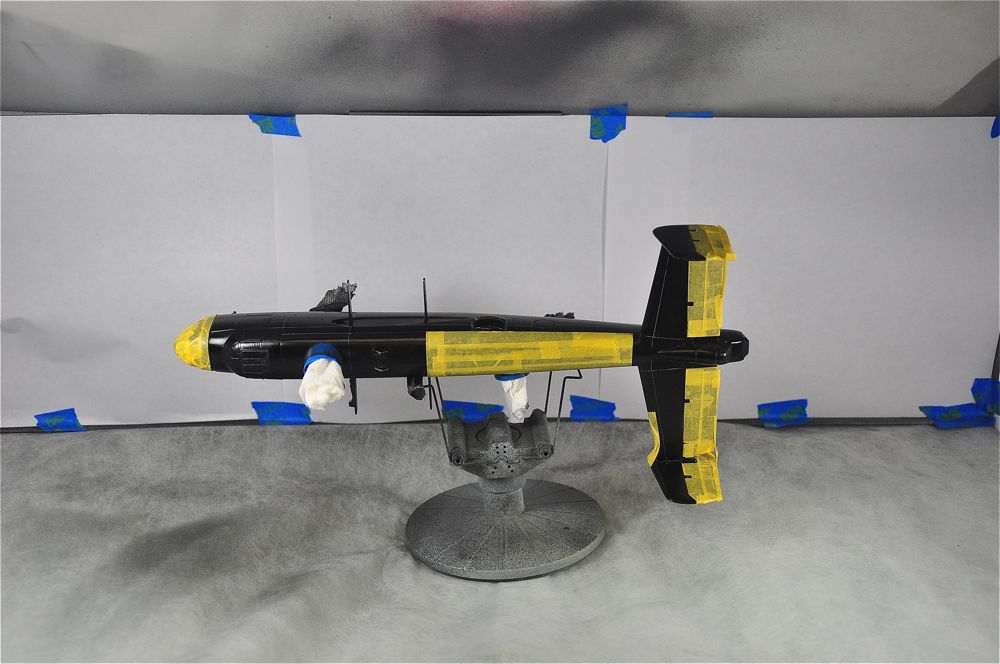 Fuselage now painted with Alclad II aircraft aluminum:
 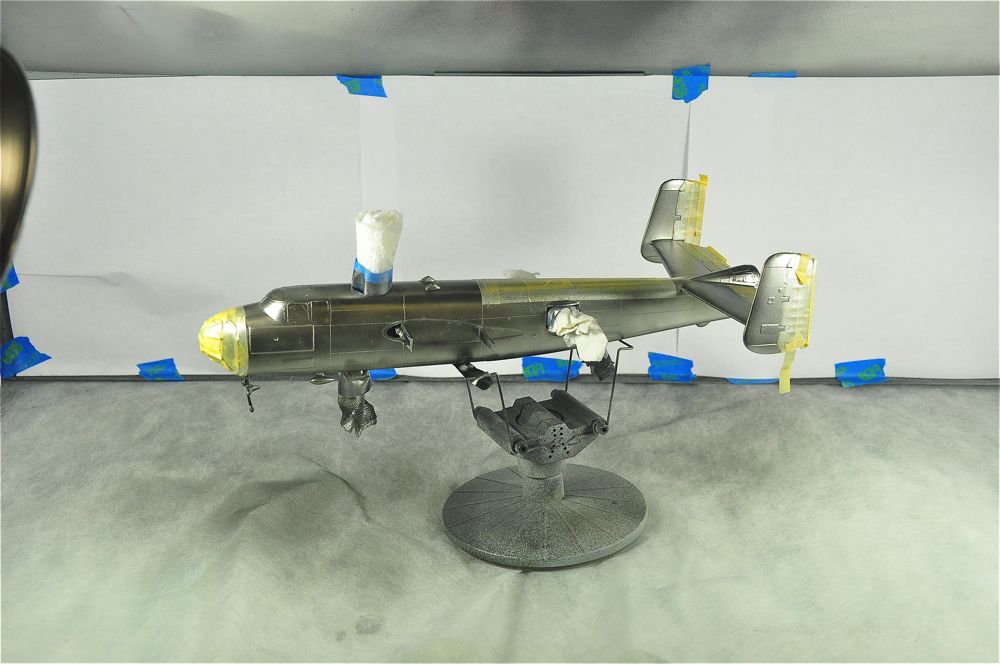 The engines painted with Alclad II aircraft aluminum:
 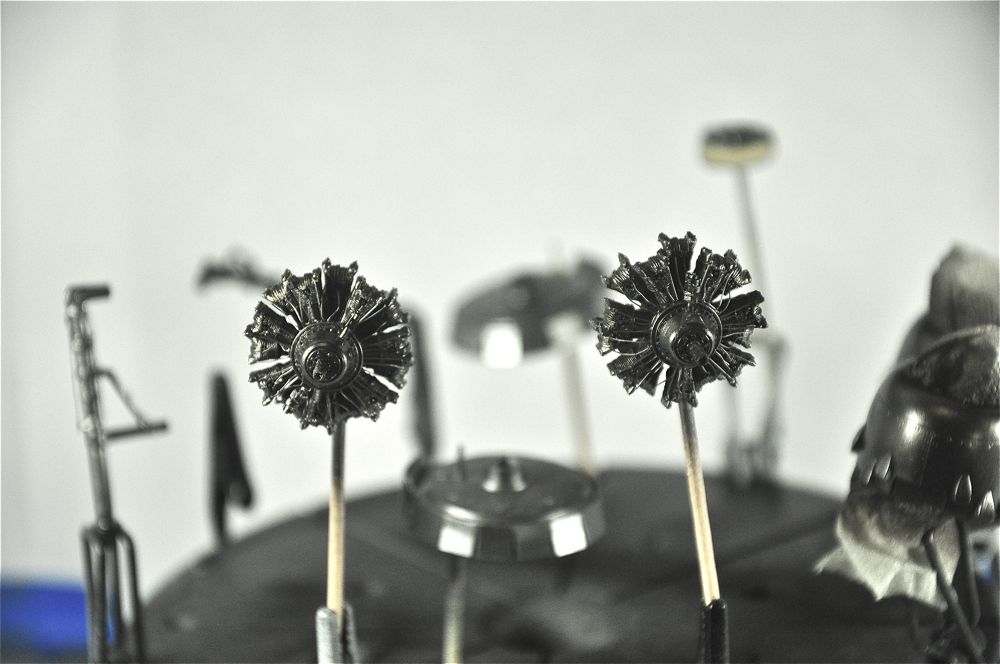 1/24/2013 The fuselage is now ready for other shades of Alclad II. Post-it notes make good masking material – very low tack.
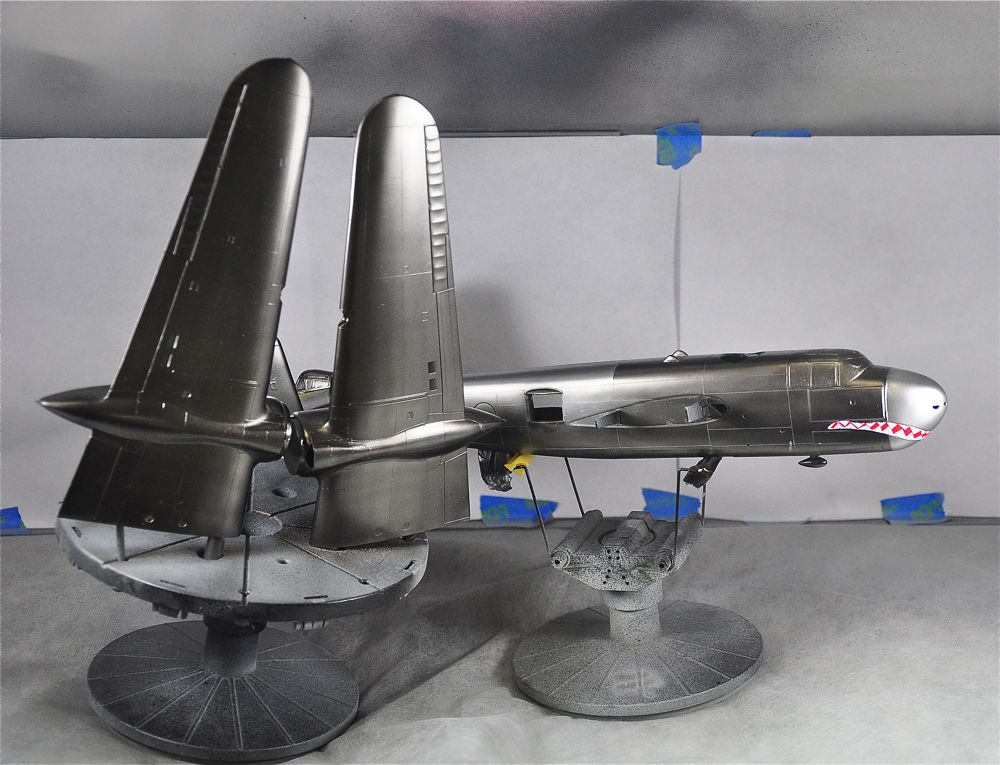
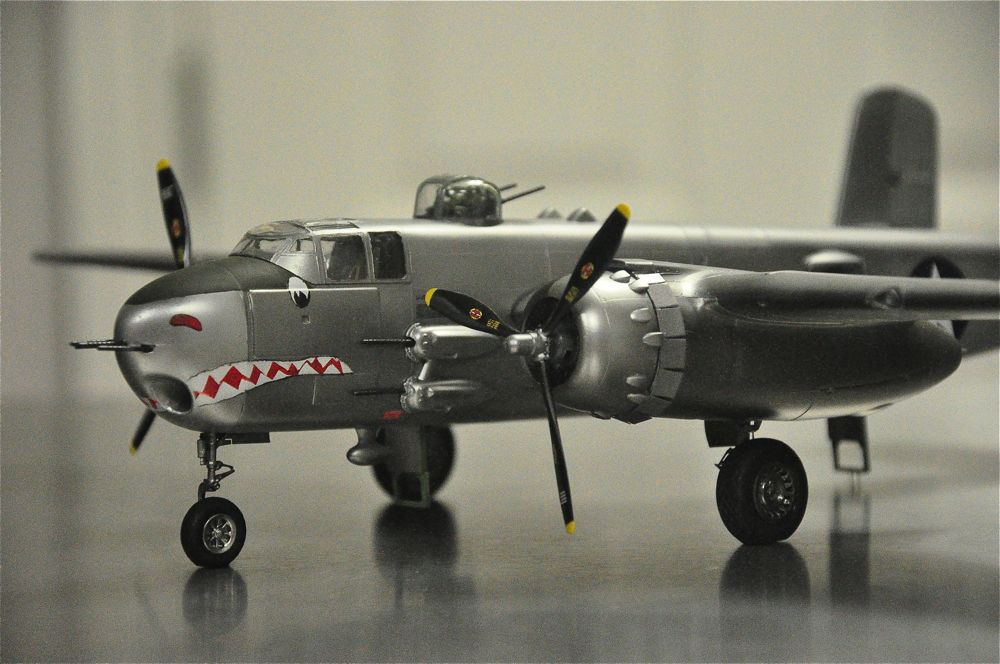
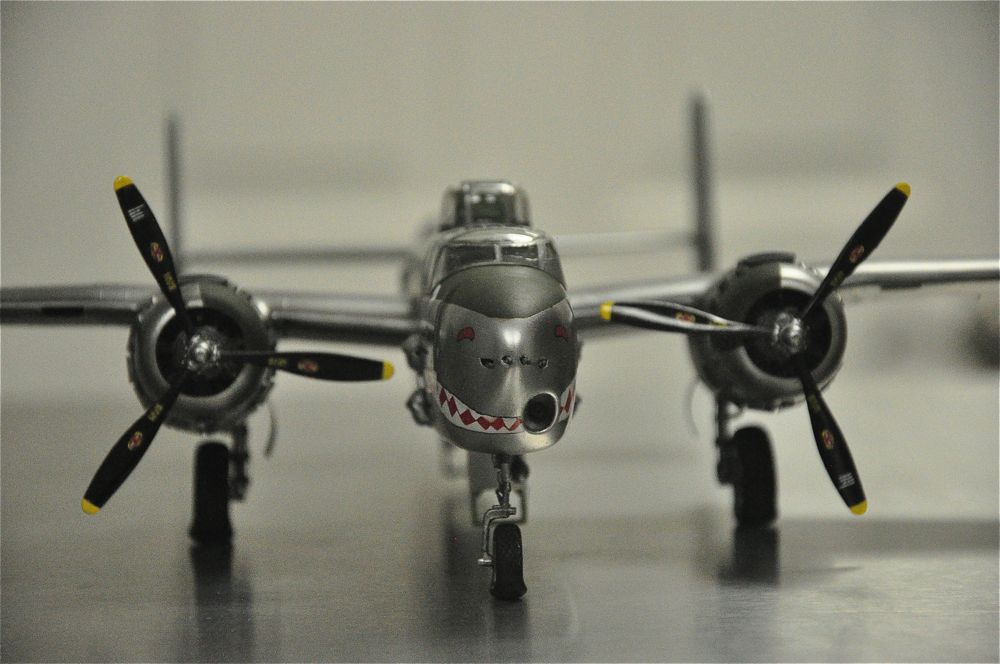
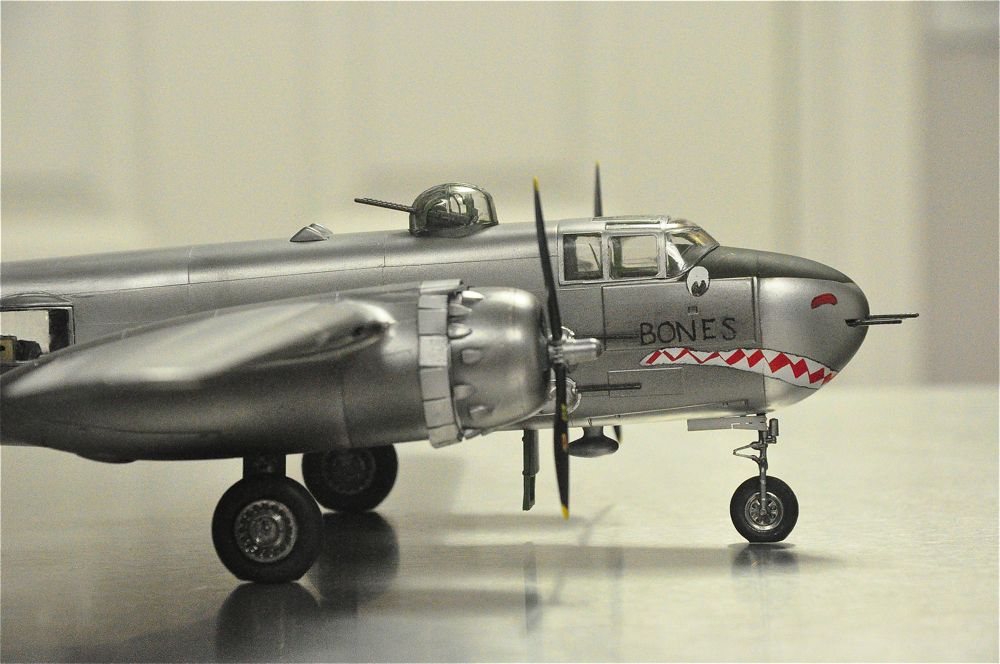
 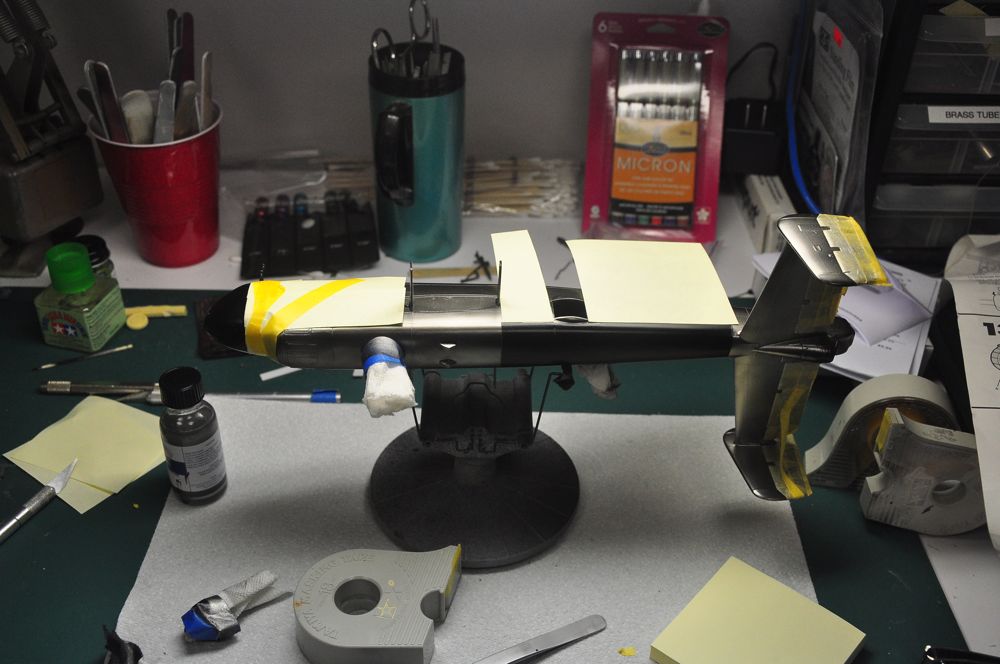 1/24/2014 The Alclad II shades are as follows: Fuselage: airframe aluminum – later resprayed with aluminum nose – white aluminum fuselage top – duraluminum 50 cal side blisters – white aluminum Engines: airframe aluminum Engine cowl flaps: dark aluminum Engine cowlings: white aluminum Wing: airframe aluminum – later resprayed with aluminum top sheet – white aluminum wing tip – duraluminum Landing Gear: aircraft aluminum Aircraft Control Surfaces: Tamiya flat aluminum XF-16 Trim Tabs: aluminum Anti-glare panels: Tamiya Olive Drab XF-62 1/27/2014 The new wings have been assembled, sanded, primed, and finally sprayed with Alclad II aircraft aluminum. I've also finished the shark teeth on the front of the fuselage. I looked at a lot of decal shark teeth and none were right. I finally did it the old fashioned way. I drew up a master mouth, cut it out on the yellow masking tape and shot the white. Then I did the same procedure adding the teeth and shot that red. Finally I outlined the mouth with a black Micron 005 pen that produces a .2 mm line. On to the pic:
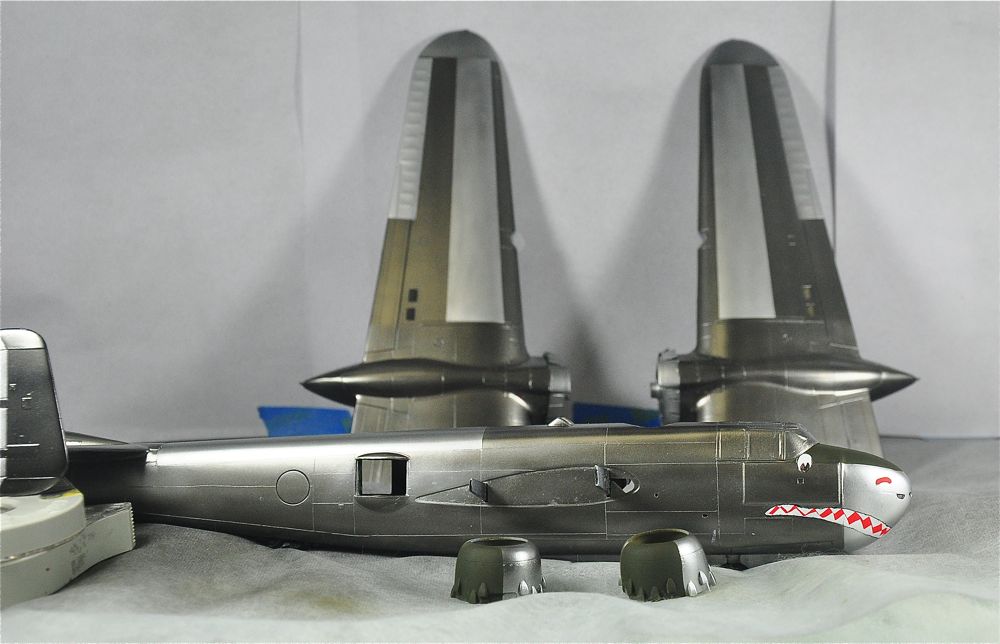
  1/28/2014 The fuselage & wings are pretty much done. I've added the eyes and nose on the fuselage as well as the other shades of Alclad II. I've also done the olive drab anti-glare panels on the nose as well as the engine nacells.
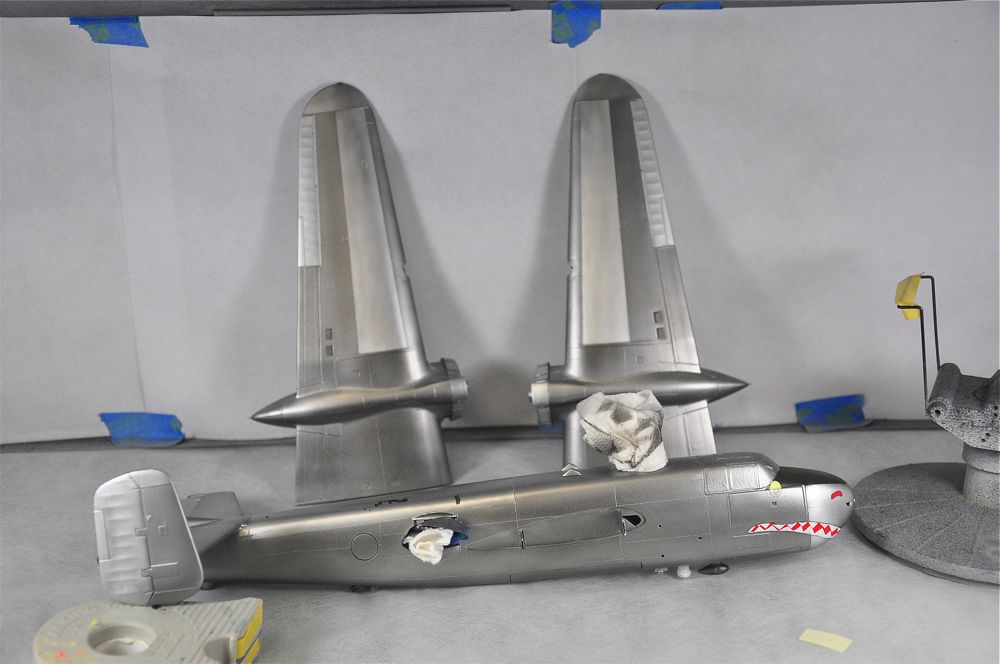
  1/29/2014 The airframe aluminum on the wings and fuselage looks good, but just too dark. Today I masked off everything and resprayed the wings and fuselage with aluminum which is lighter – it looks much better now. I still need to do some touch up here and there. I've also glued the engines in the cowlings.
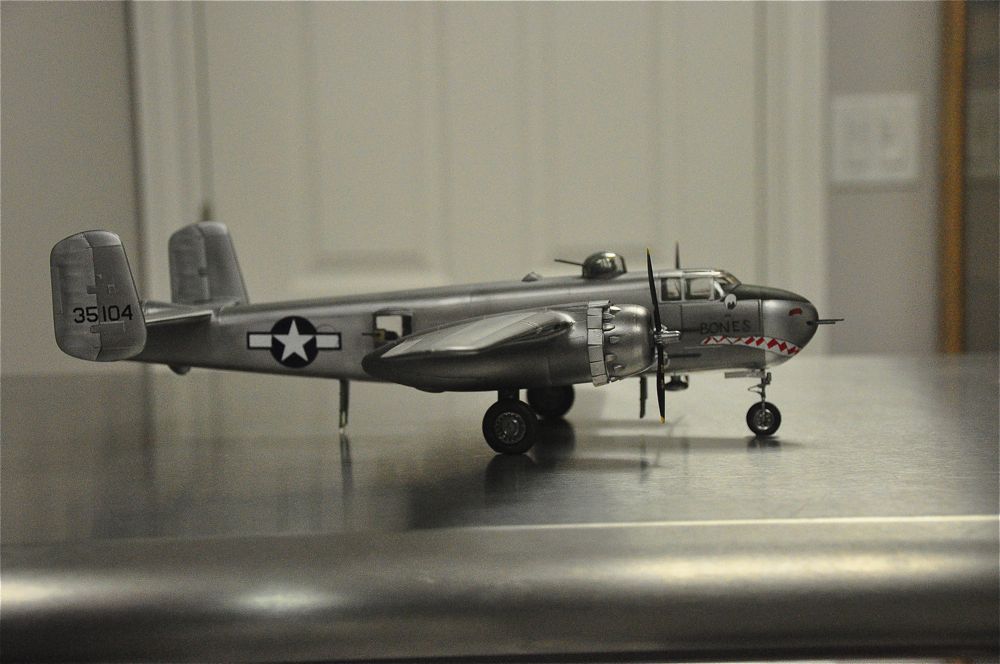
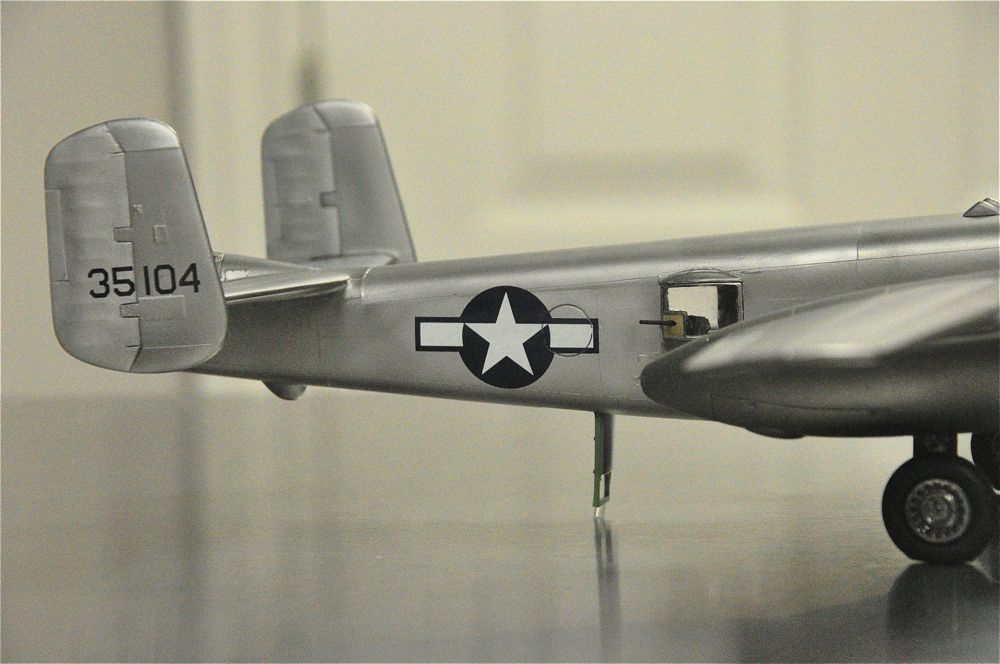
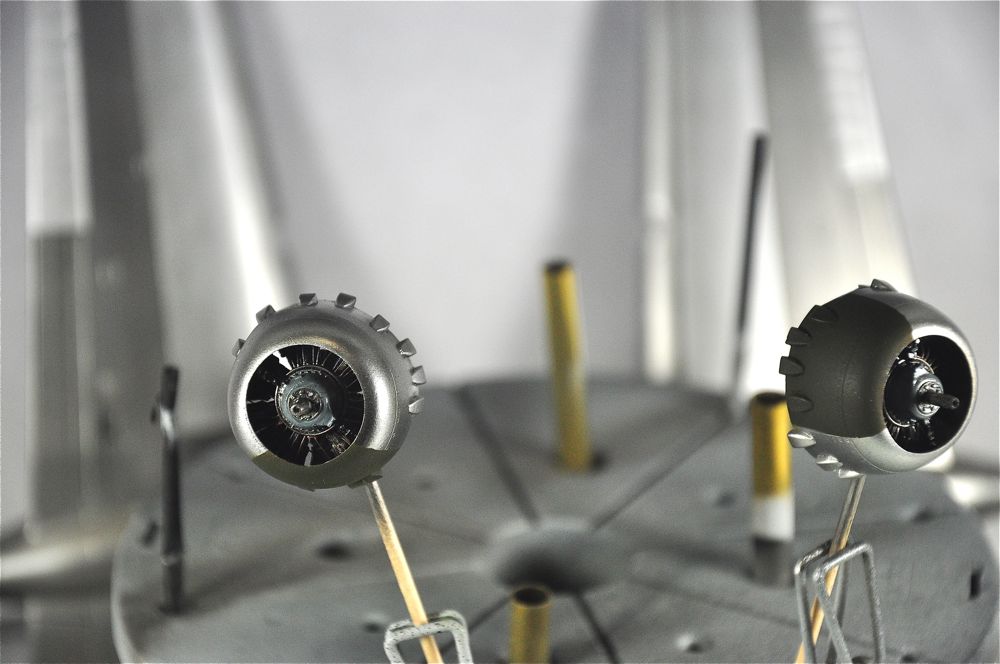 1/31/2014 The wings are on!!! As well as the landing gear and engines. I've also removed the masks from the canopy and the tail gunners spot. I've also added the decals. I used some left over Tamiya decals for the 1/32 P-51D kit. They are the right size and color and look good. I used Walthers Solvaset on the decals as Microsoft Sol just doesn't cut it with Tamiya decals – they are just a little thick. I used 5 minute epoxy to glue the wings on as well as the landing gear. I tried to use the Montex Masks but just couldn't get them to untangle and set correctly, so I went with decals. The "BONES" I ended doing freehand.
 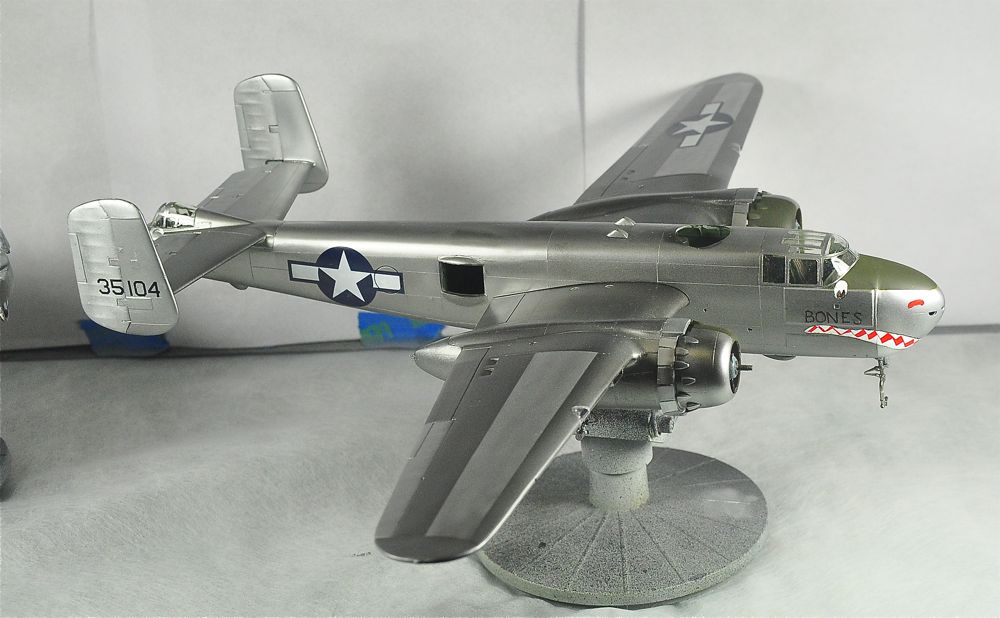 2/1/2014 More things finished. I still need to add a lot of parts, antennas etc. The landing lenses are clear Scotch Tape cut very close – and I need to re-do them as they have come loose. I still need to add the guns in the tail as well as the nose.
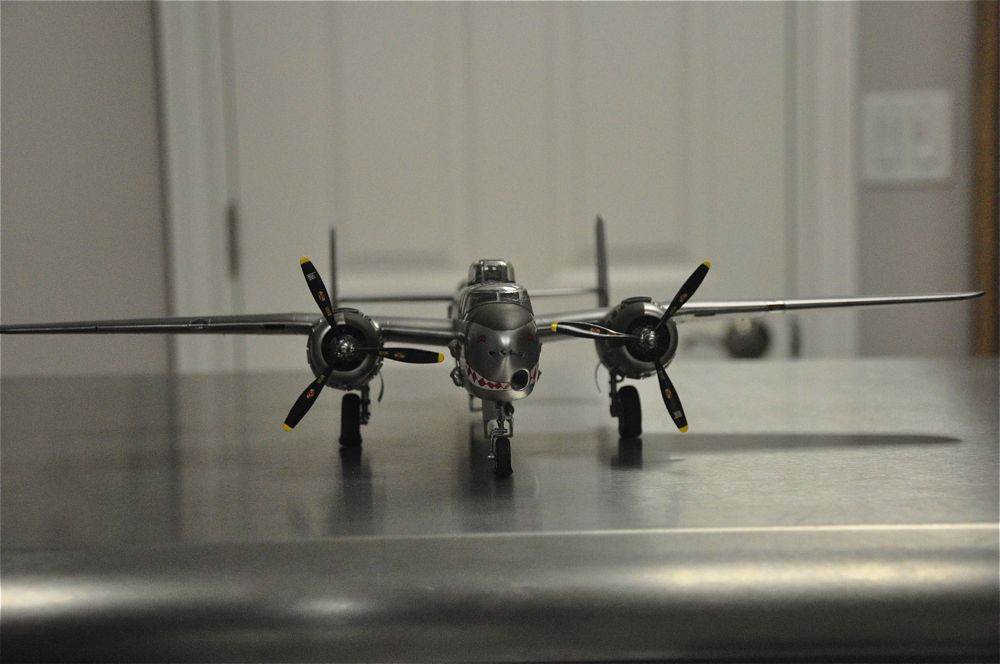
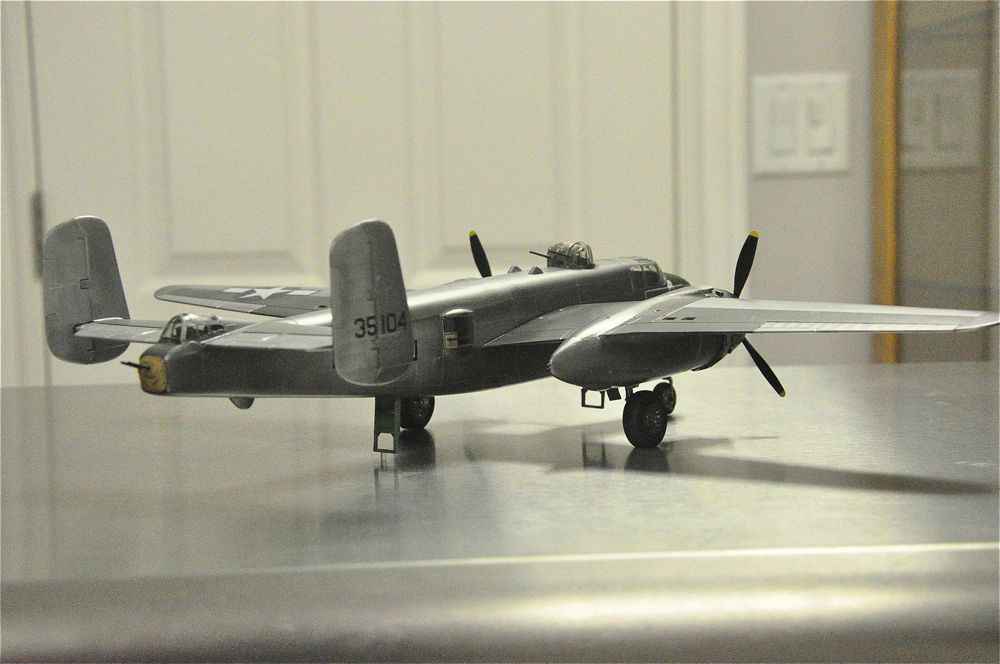
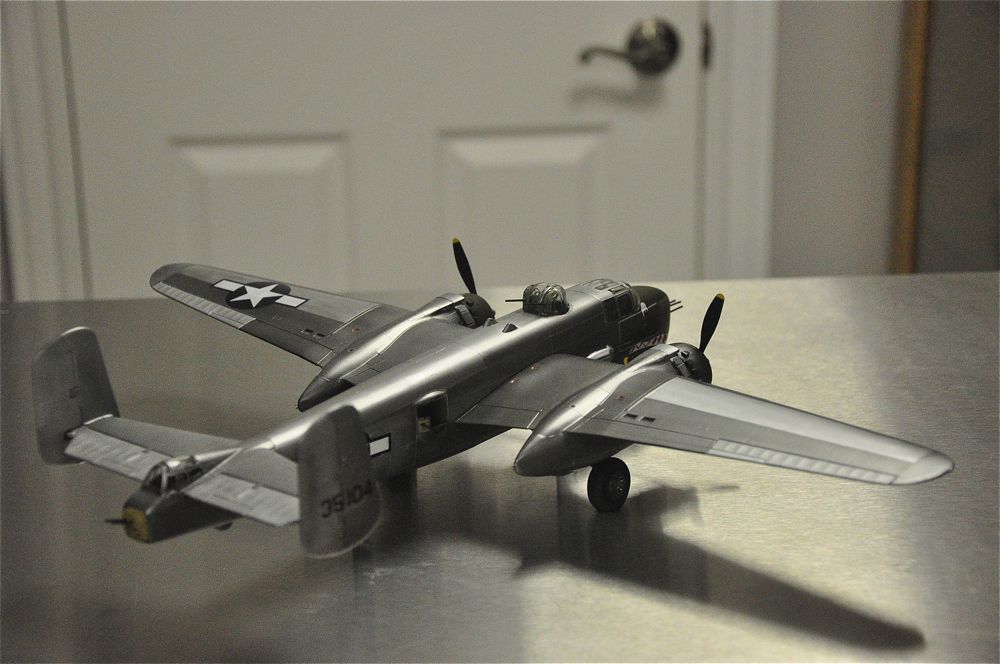
 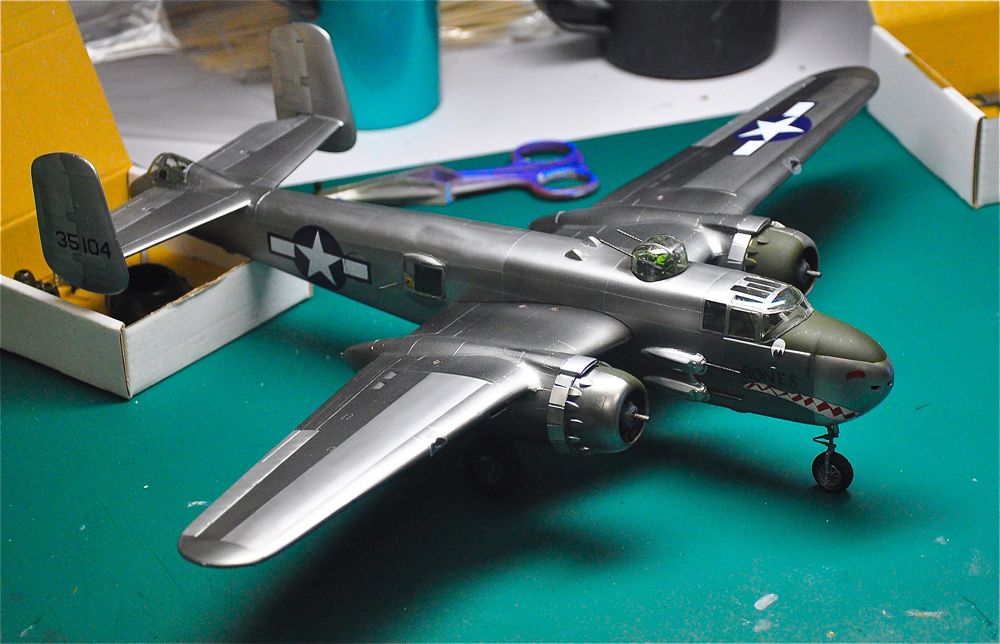 2/8/2014 It's almost done. I just have to add a few more bits and pieces.
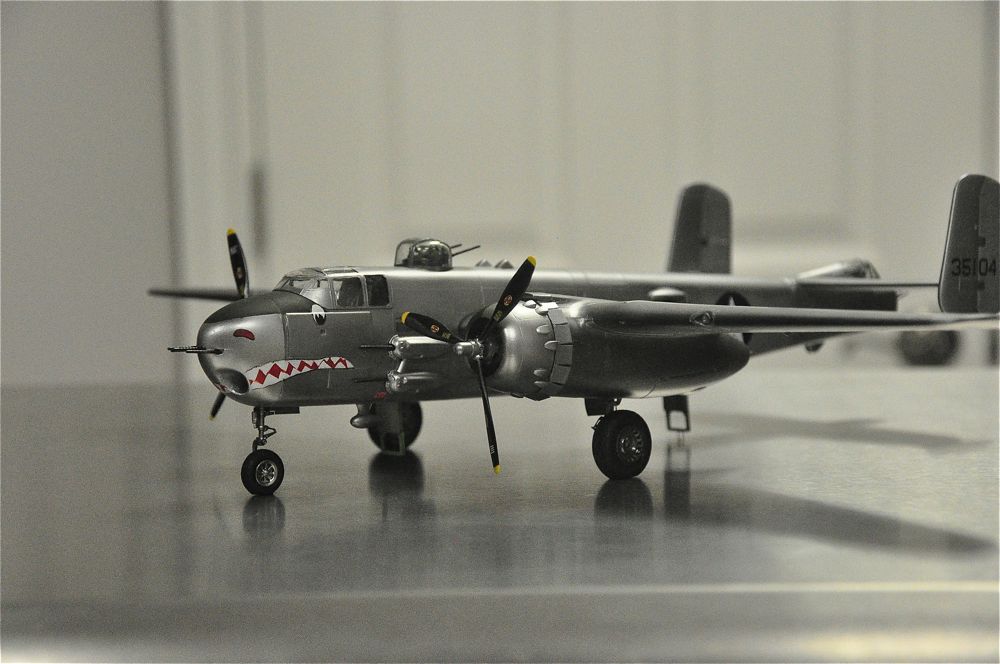
2/13/2014


