9/20/2020 I'm starting page 3 here.
If you want to go to page 4 go HERE.
If you want to go back to page 2 go HERE.
If you want to go back to page 1 go HERE.
The finished pictures are HERE.
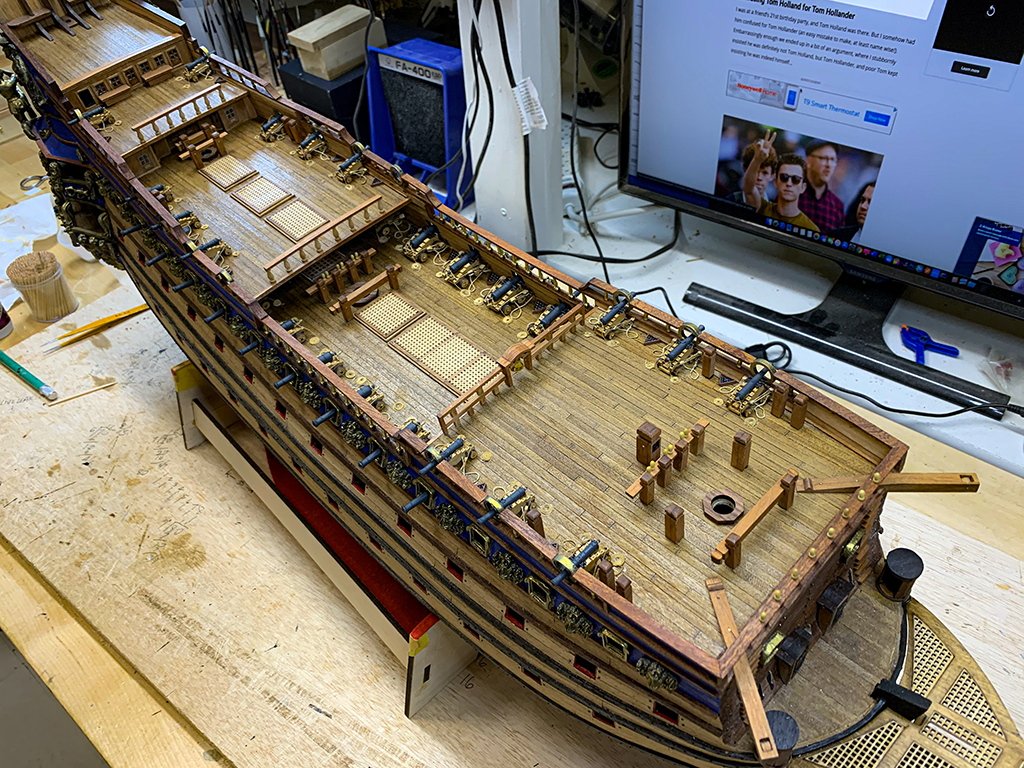
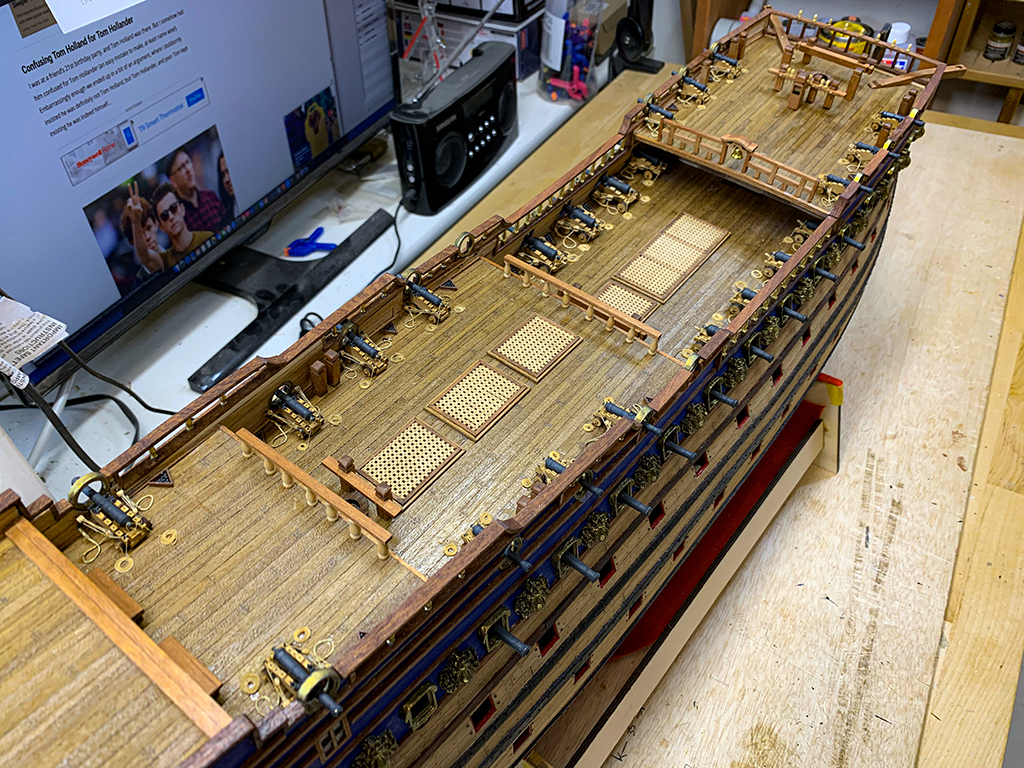
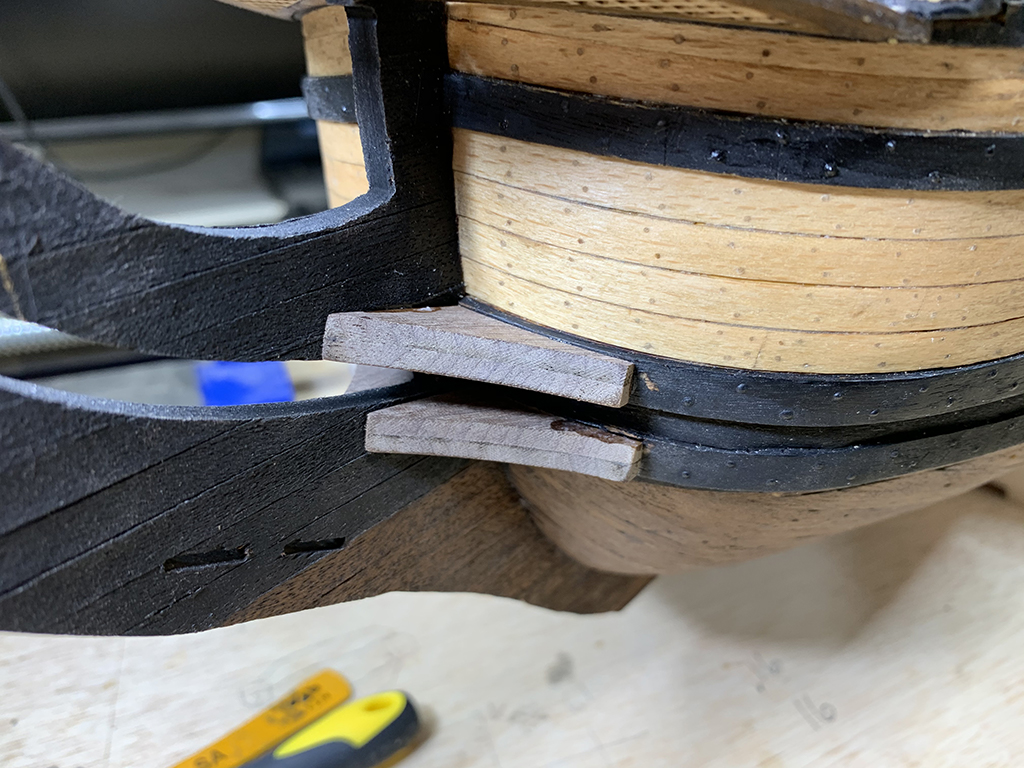
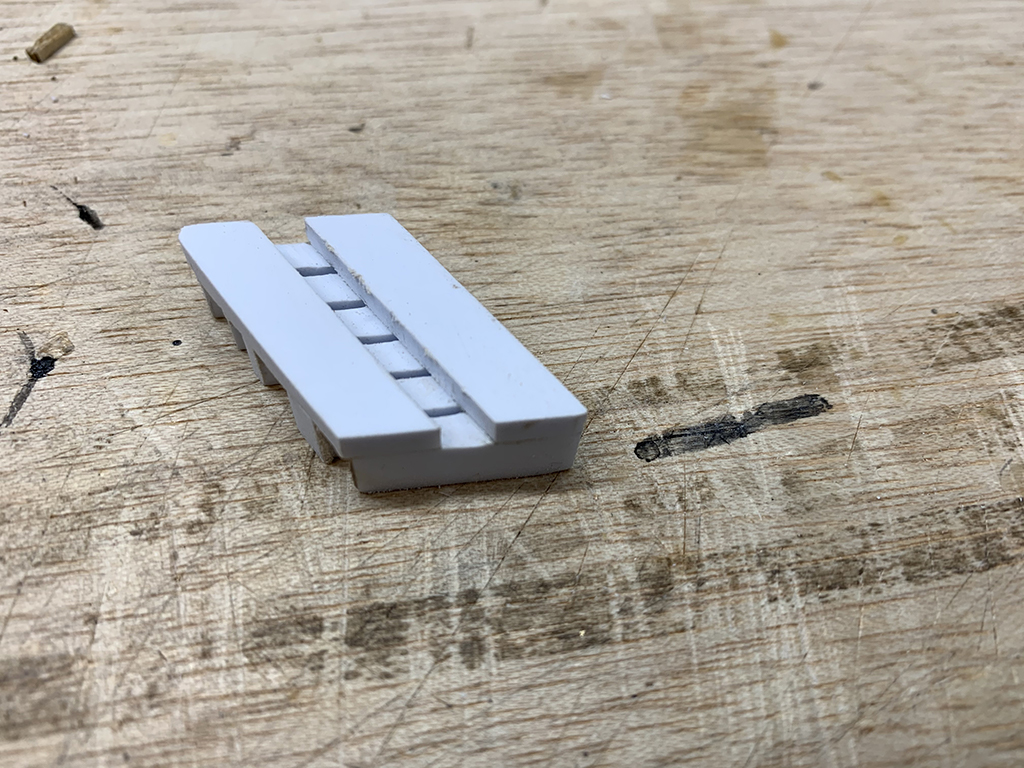
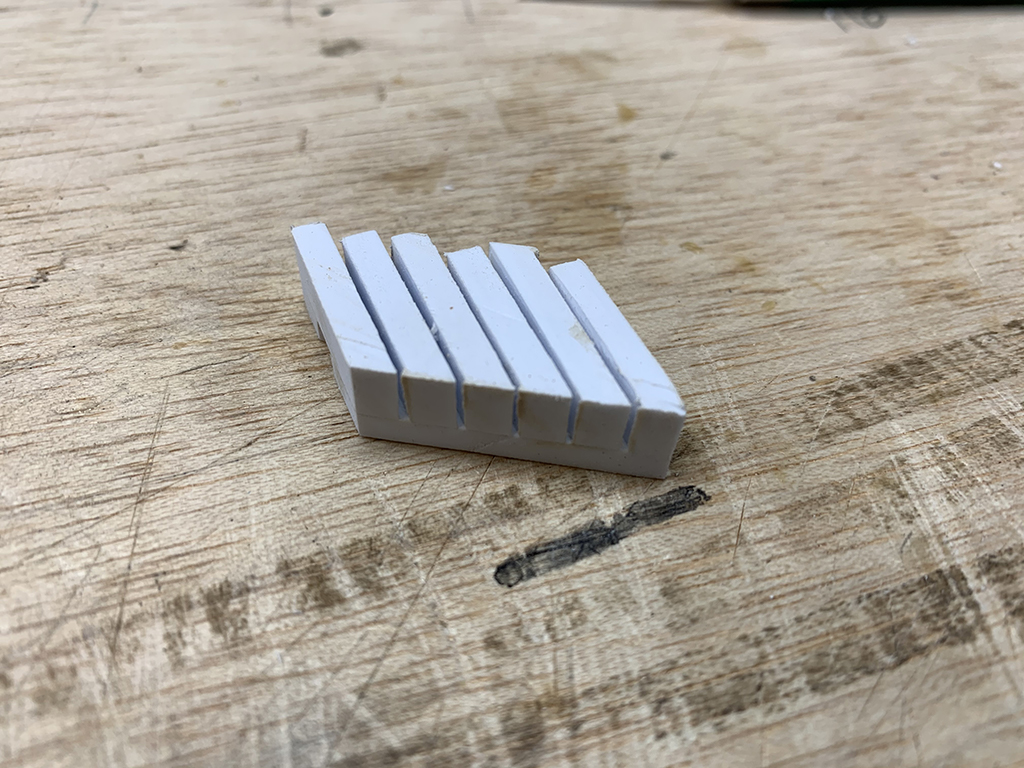
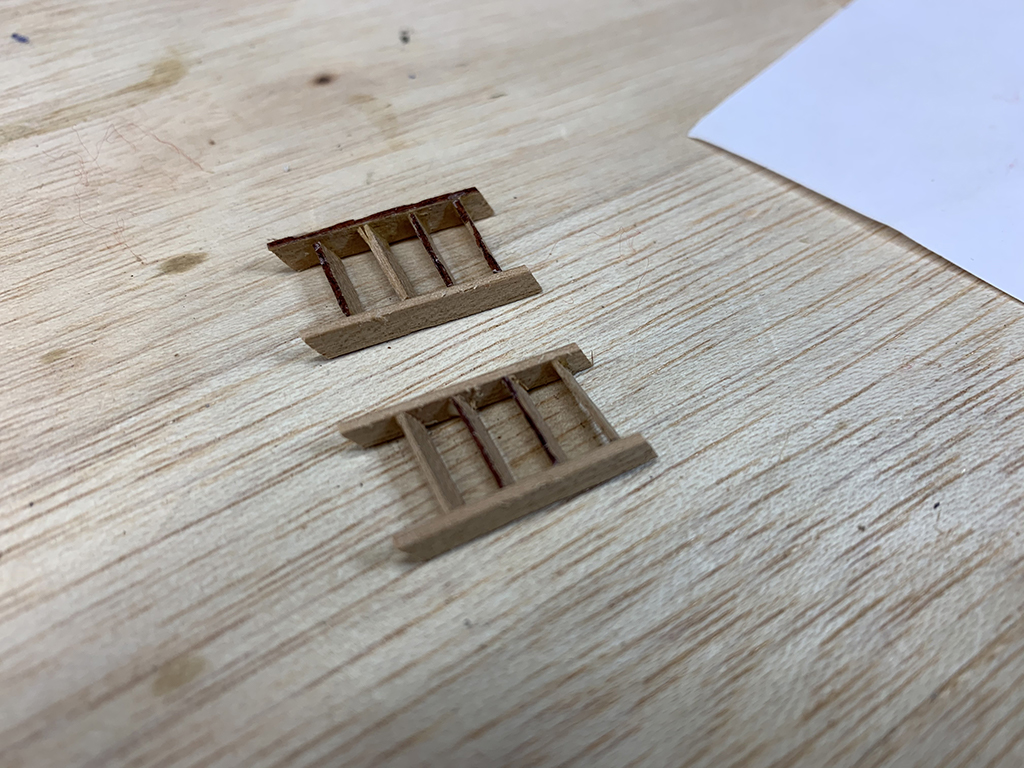
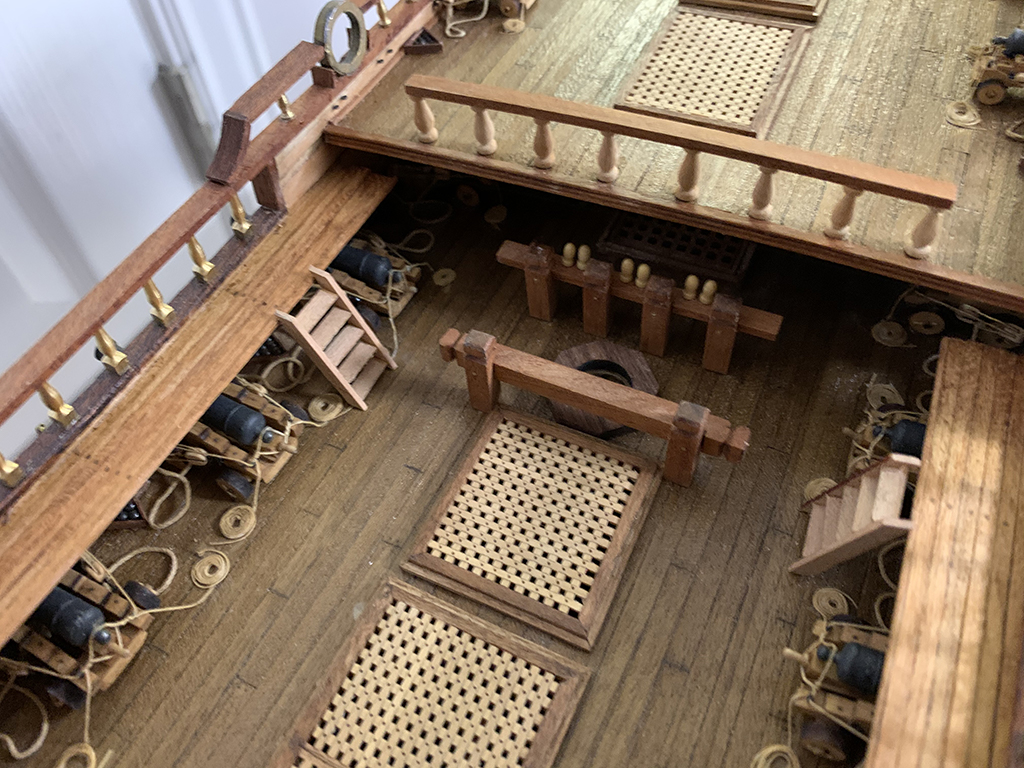
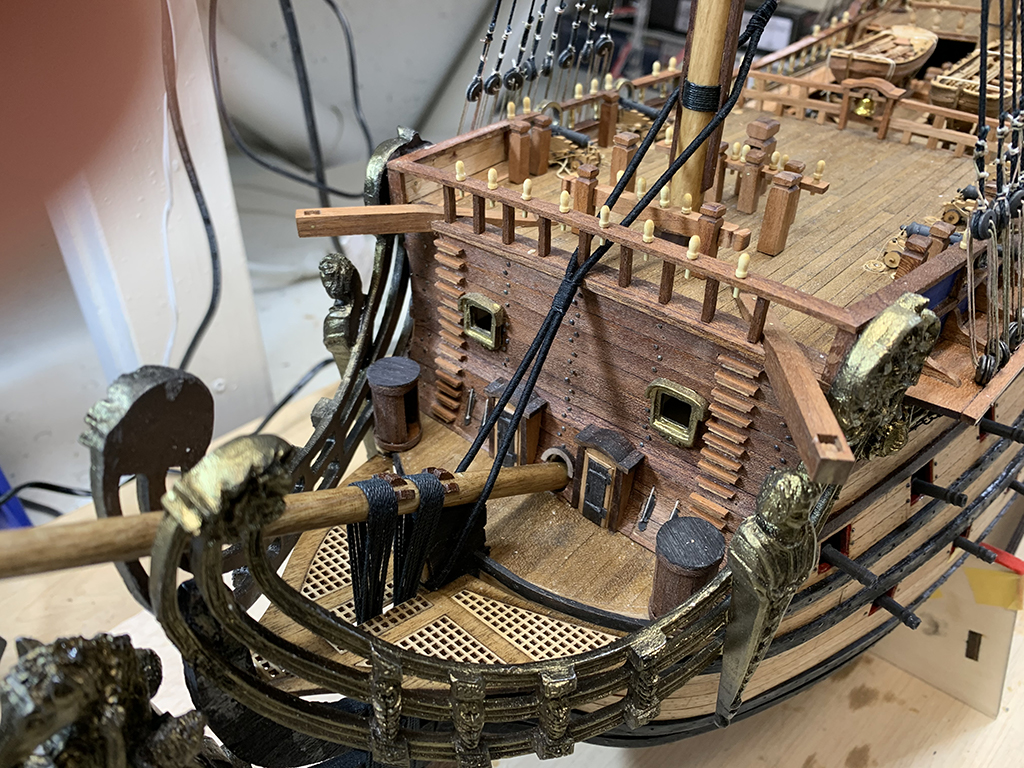
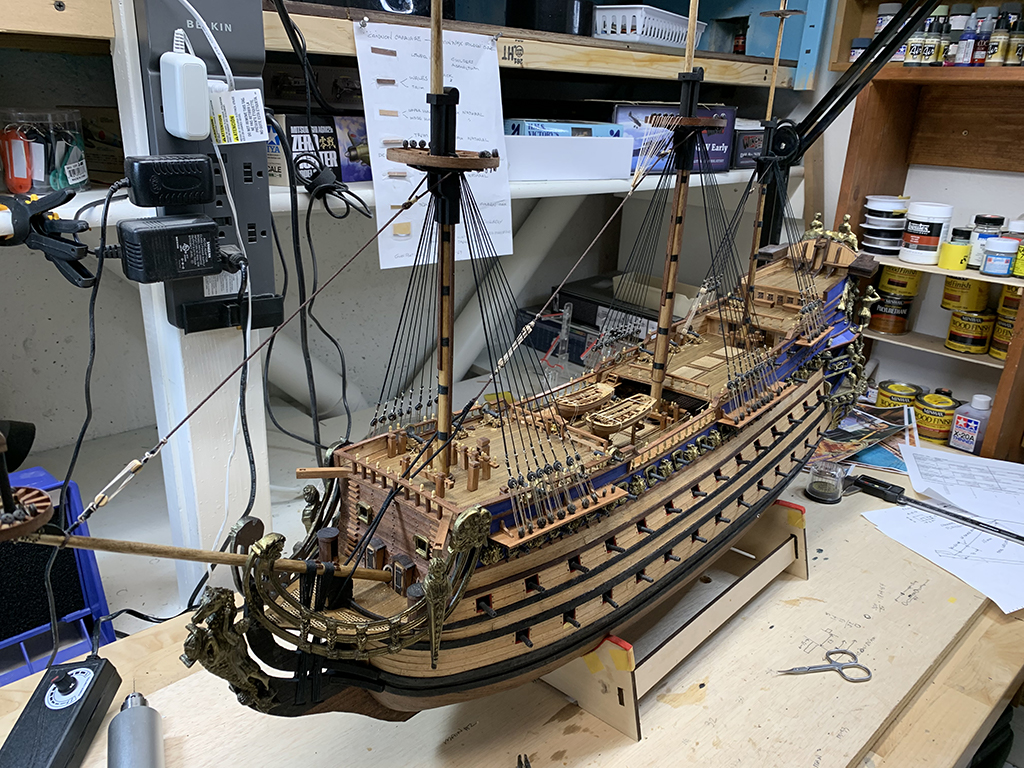
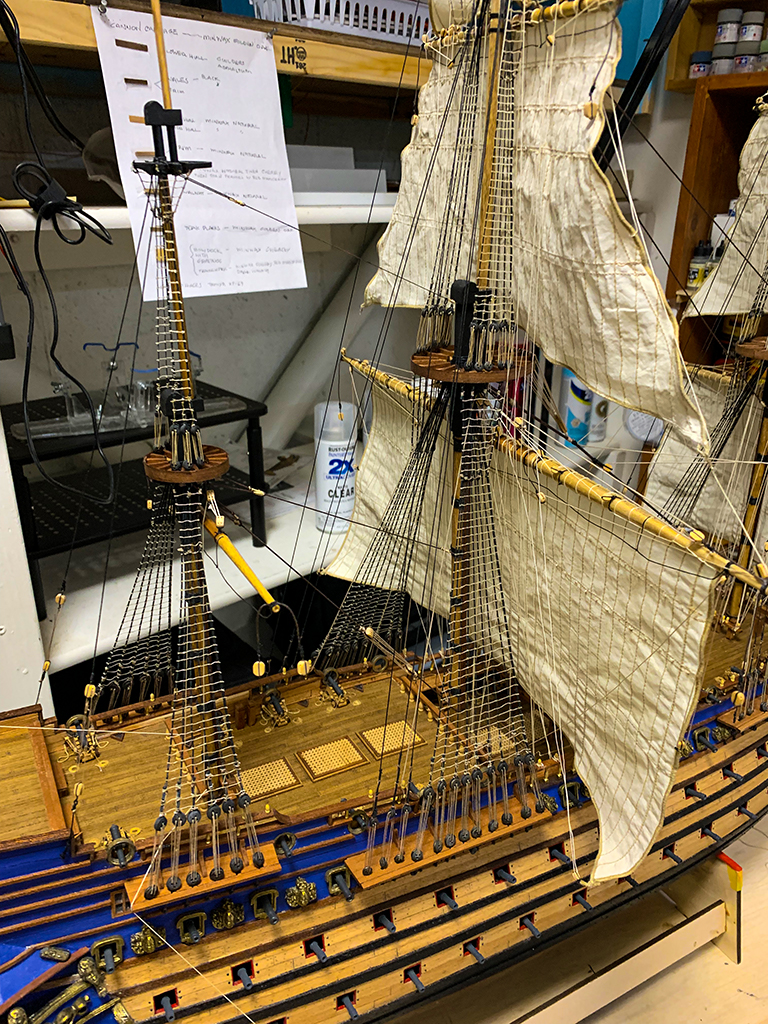
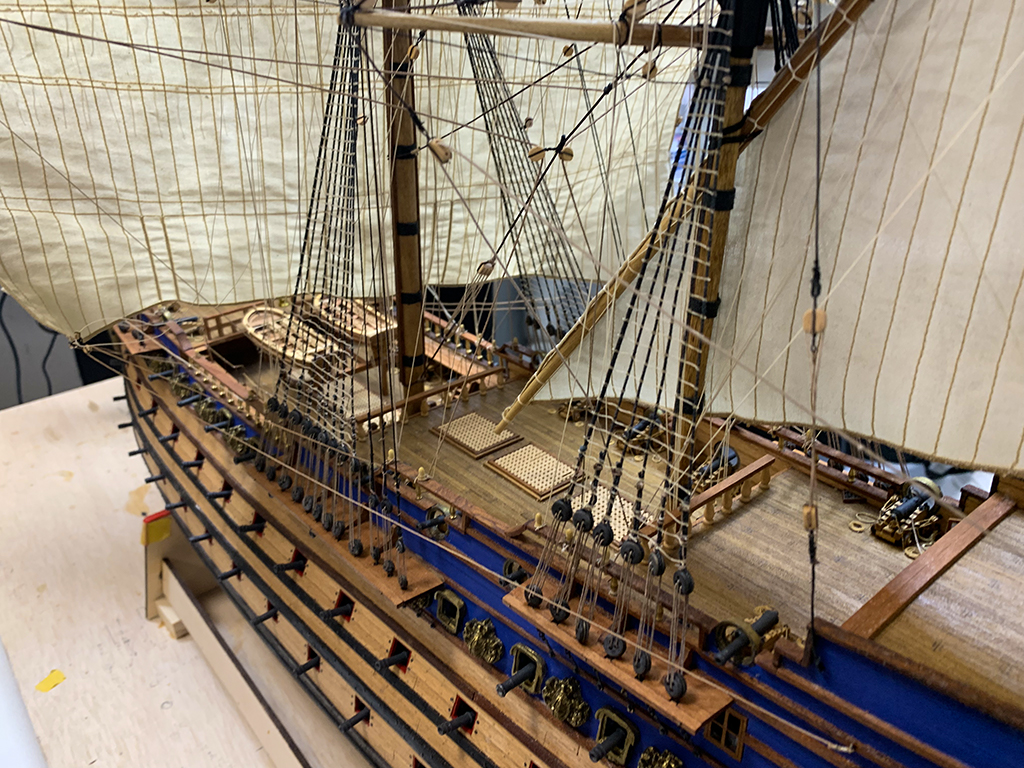
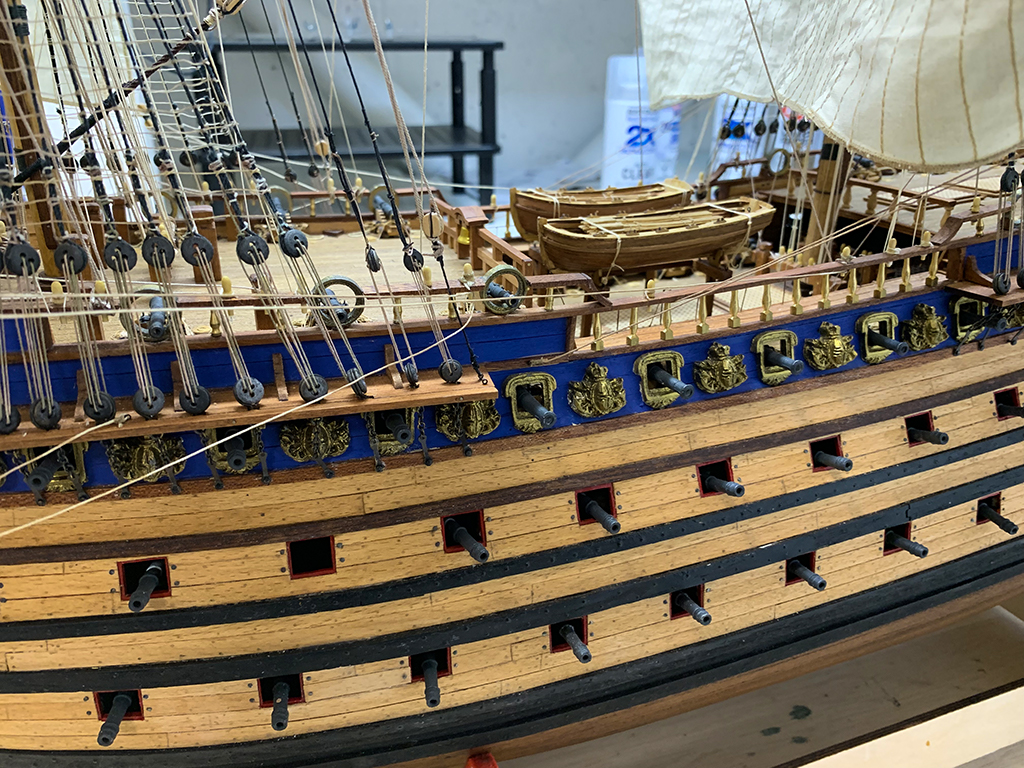
10/6/2020. A few more pictures to bring the build up to date. All of the top deck cannons have been built, installed and rigged. More parts added to the bow. The ladder material was much too thick, so I used to thin cut cherry wood pieces that I had in stock. This made the ladders look much more realistic. Notice the ladder framework I've built from white plastic. This made the ladder construction much easier and more precise.
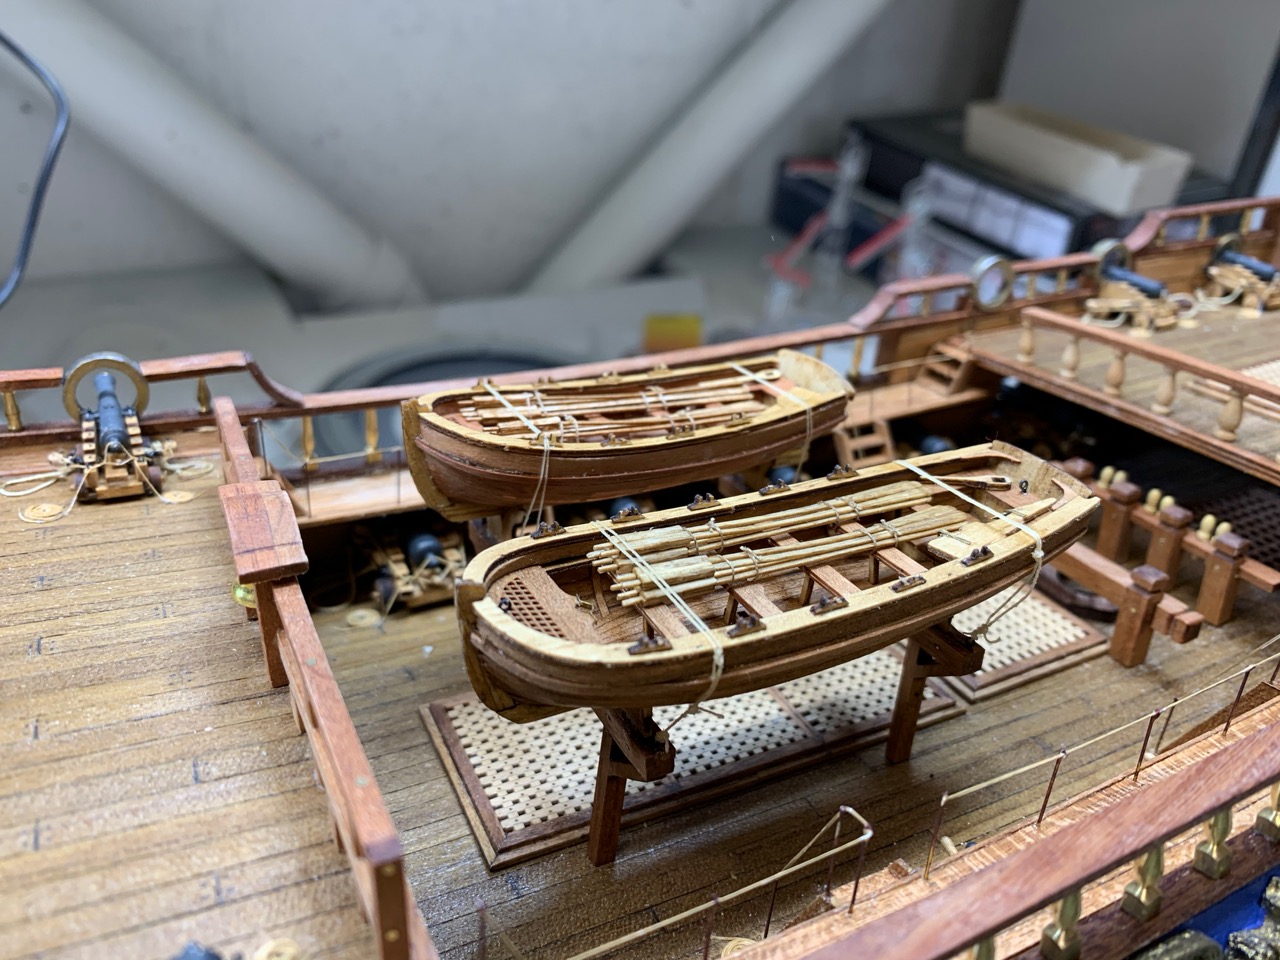
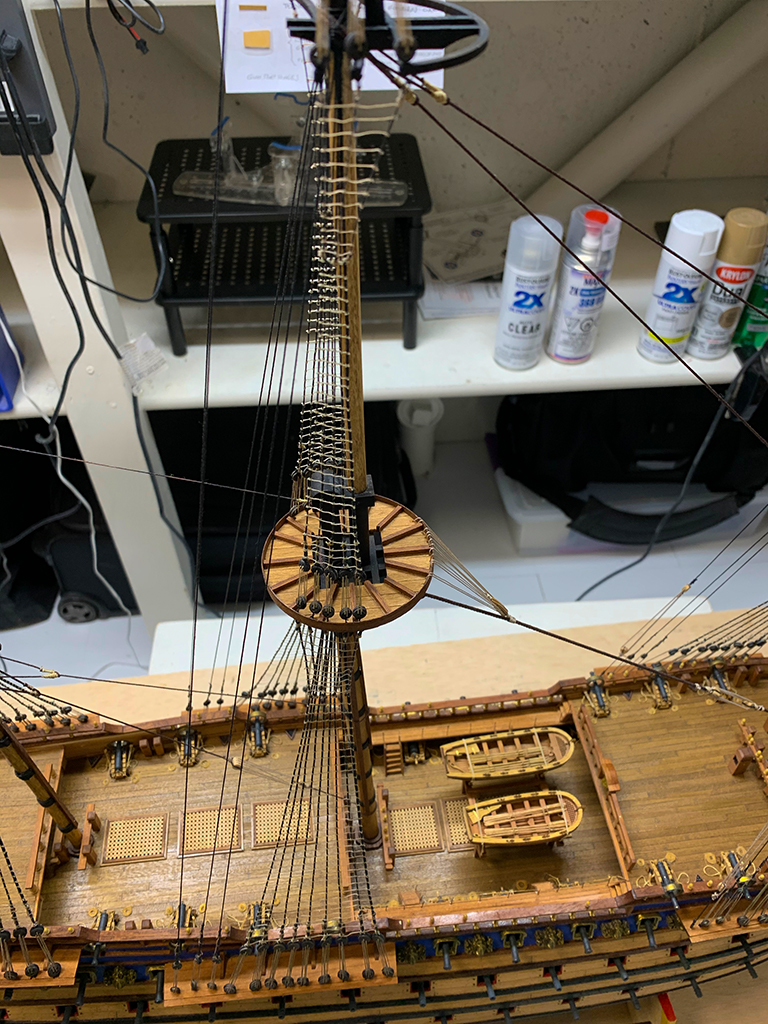
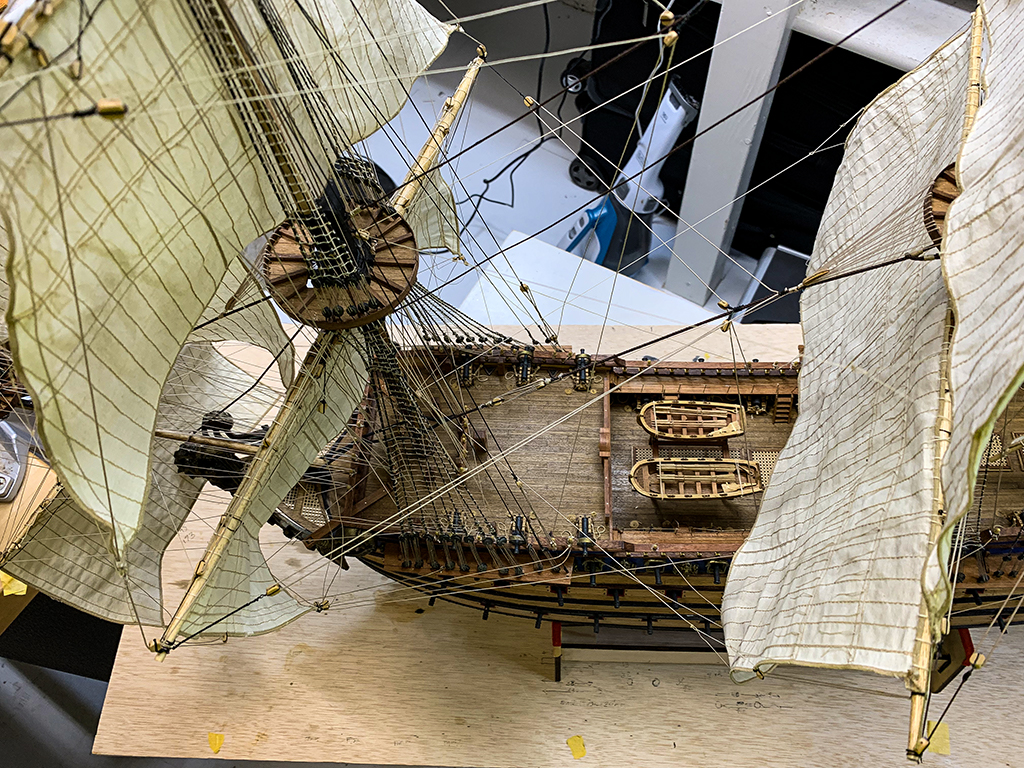
1/3/2021 I've finished, attached and lashed down the two ships boats. They are two individual kits from Master Korabel located in Russa. One is 90mm, the other is 75mm in length. These are much nicer and more detailed than what is supplied in the kit.

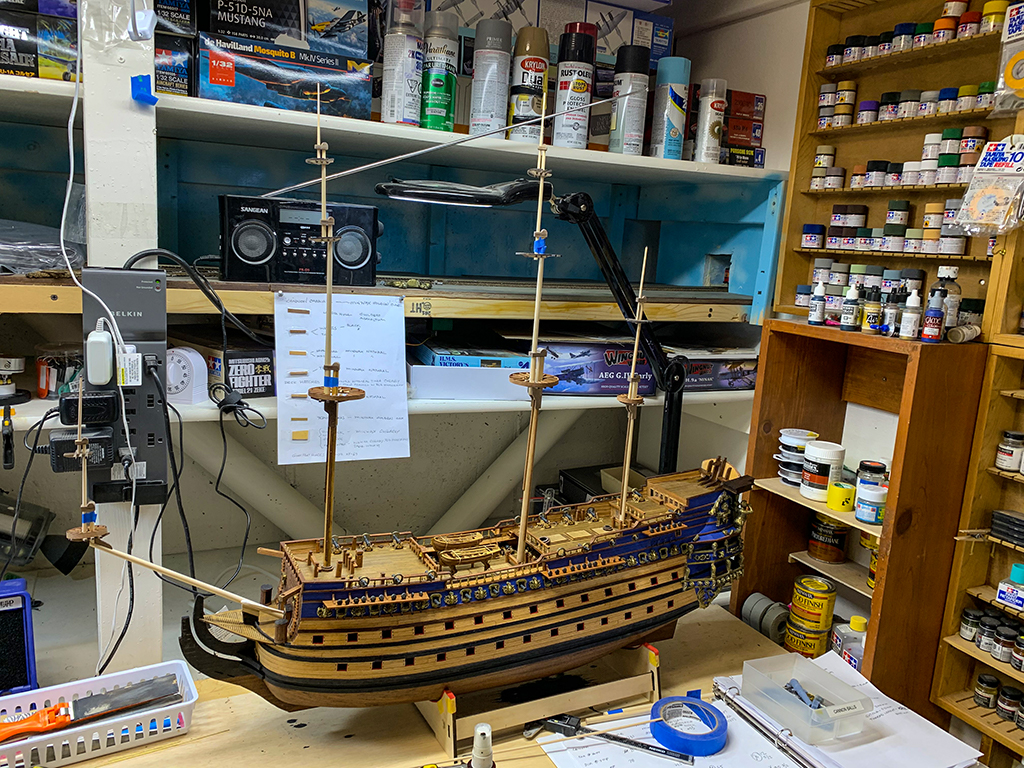
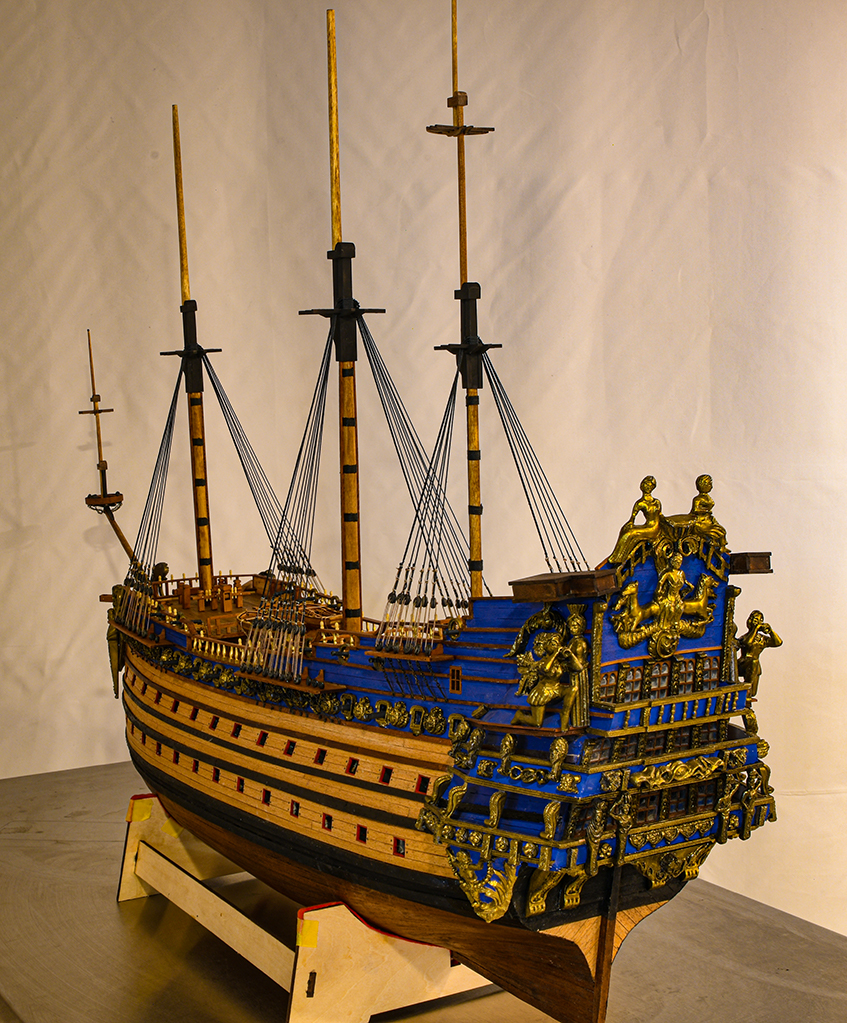
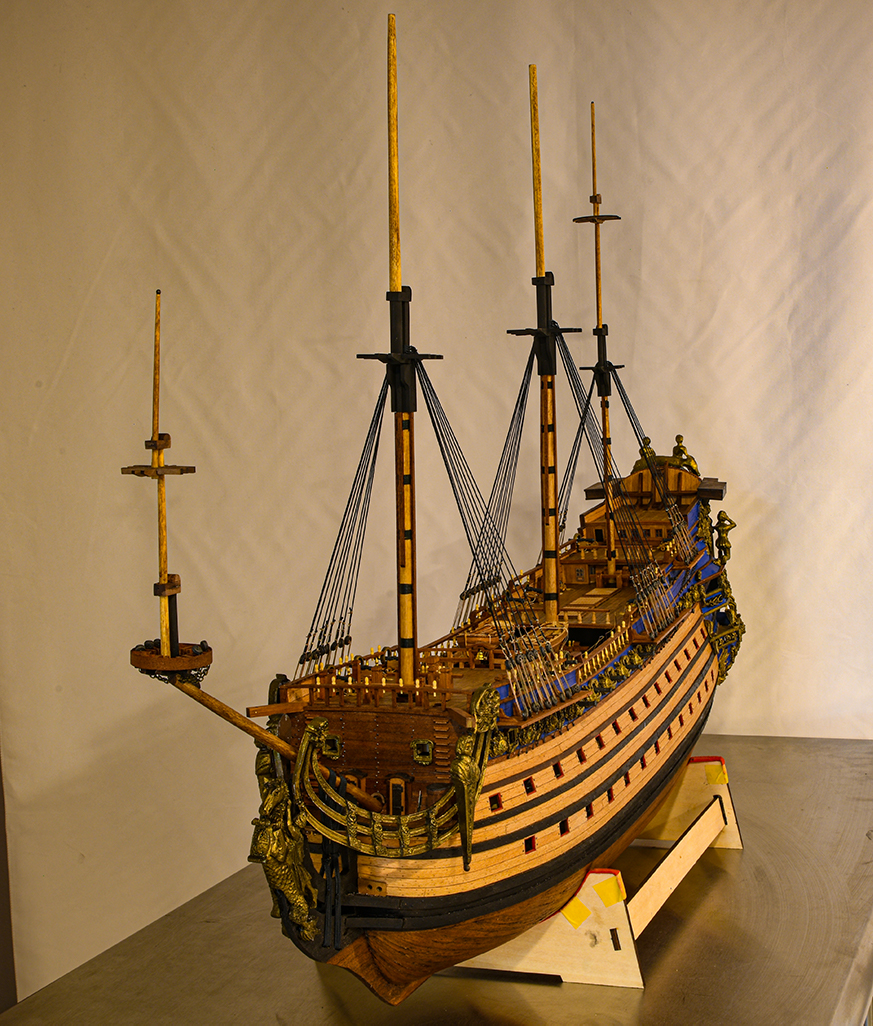
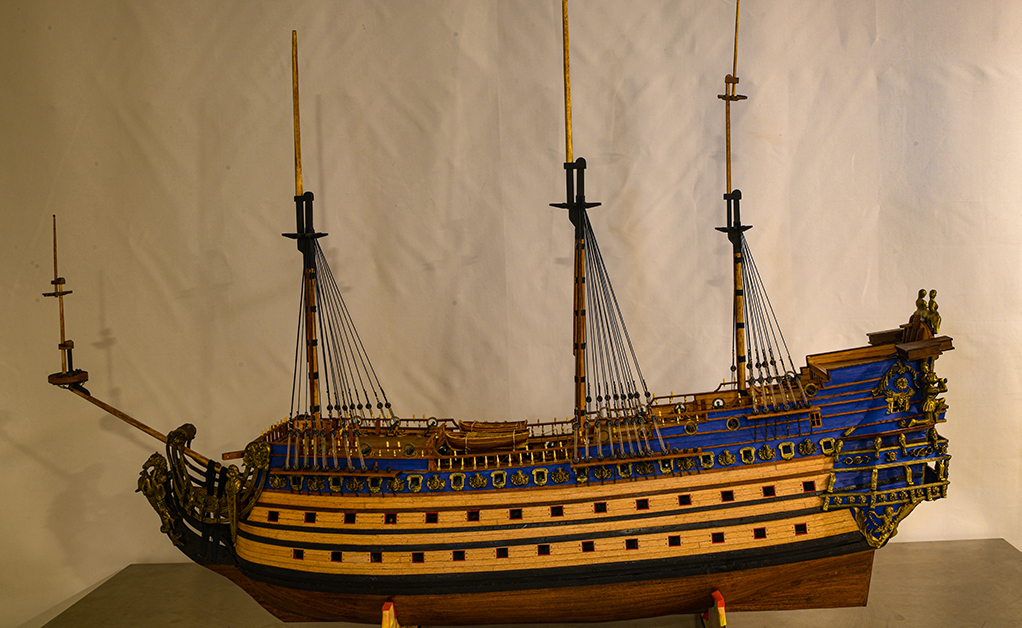
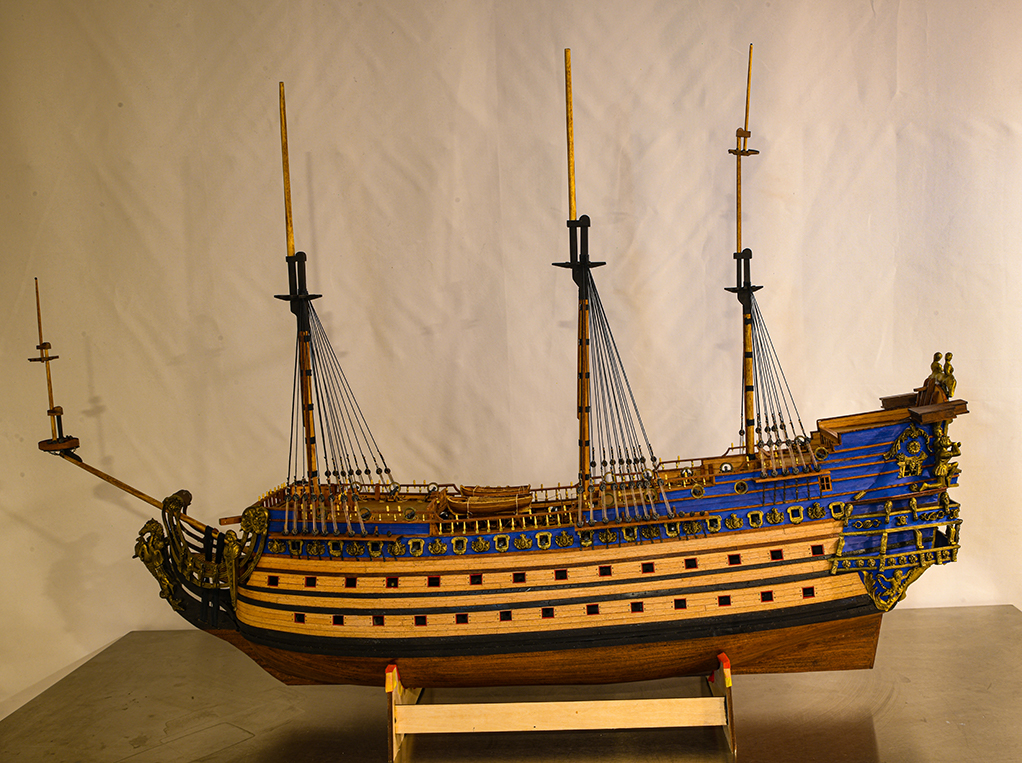
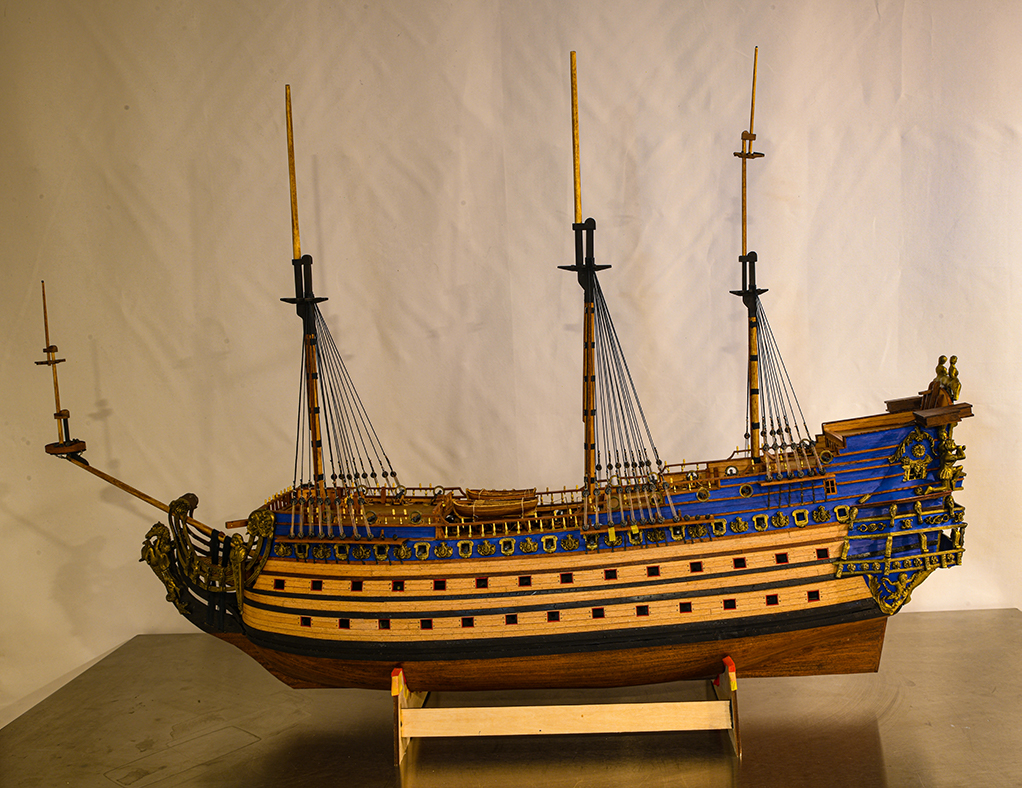
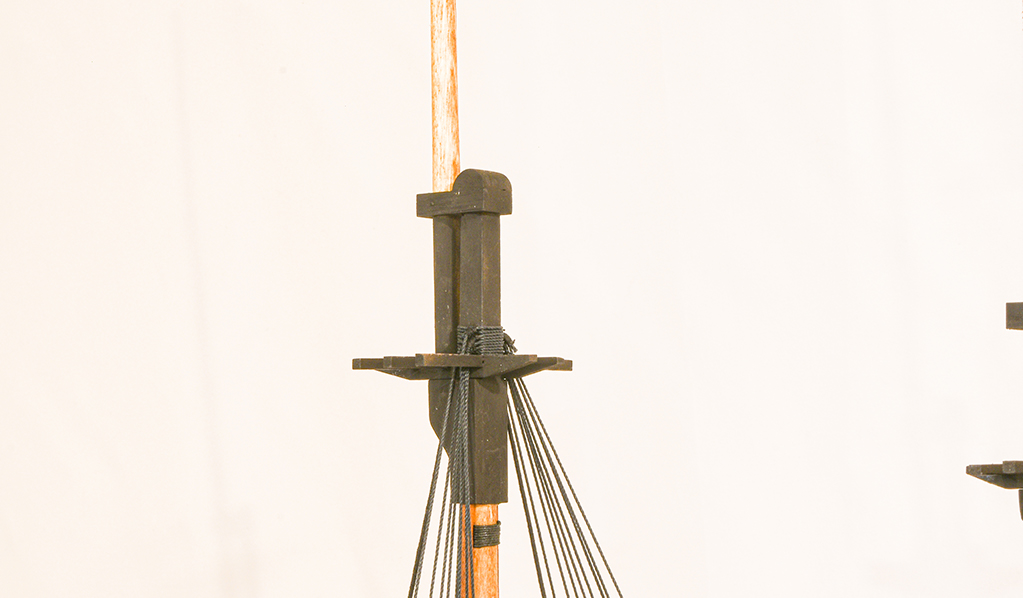
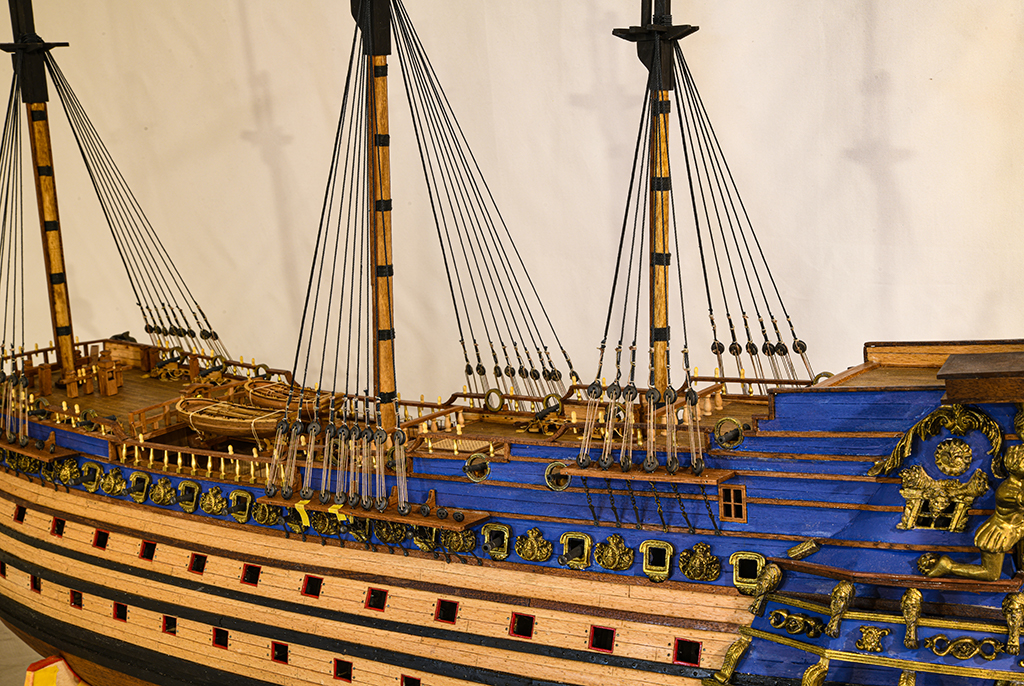
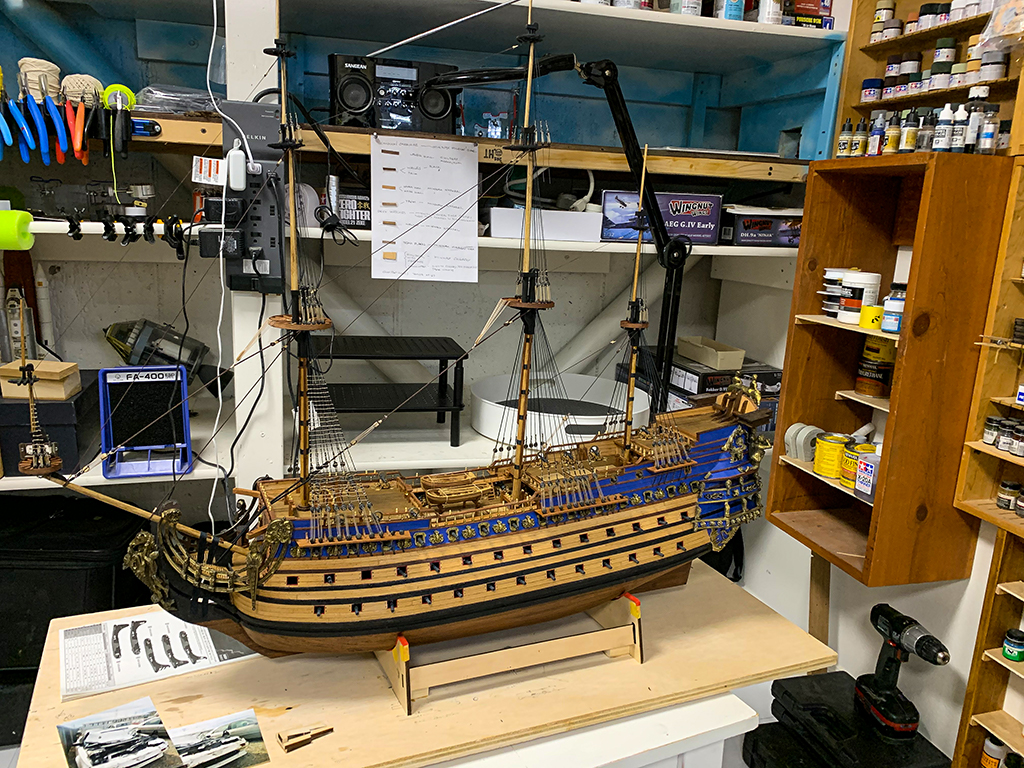
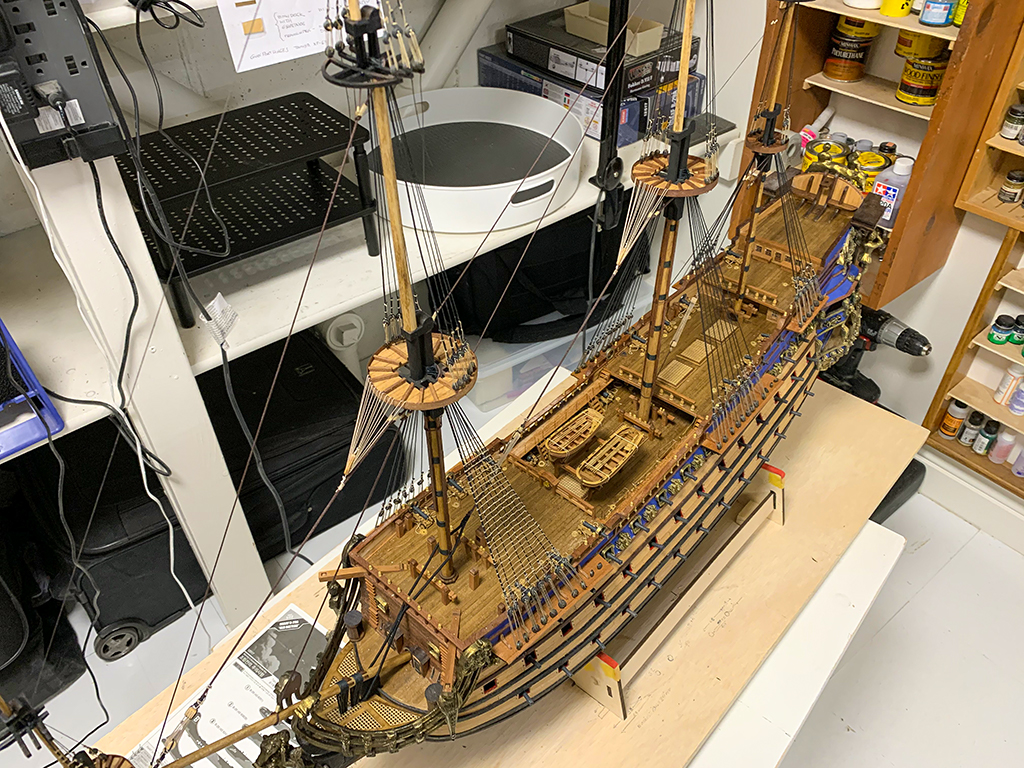
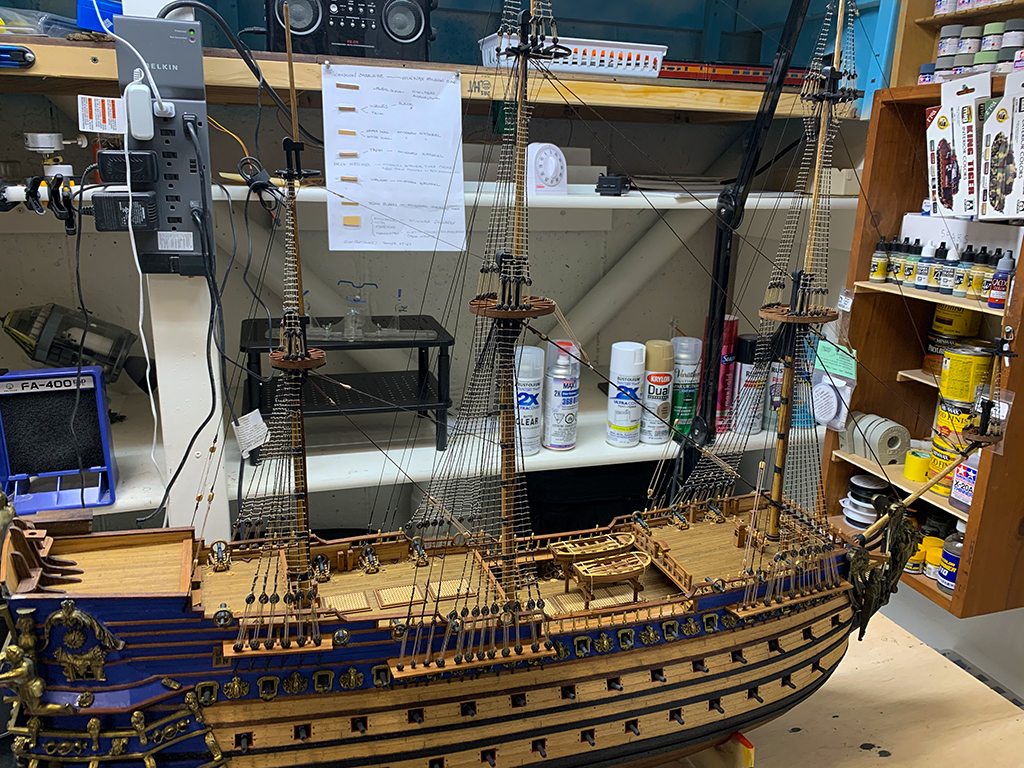
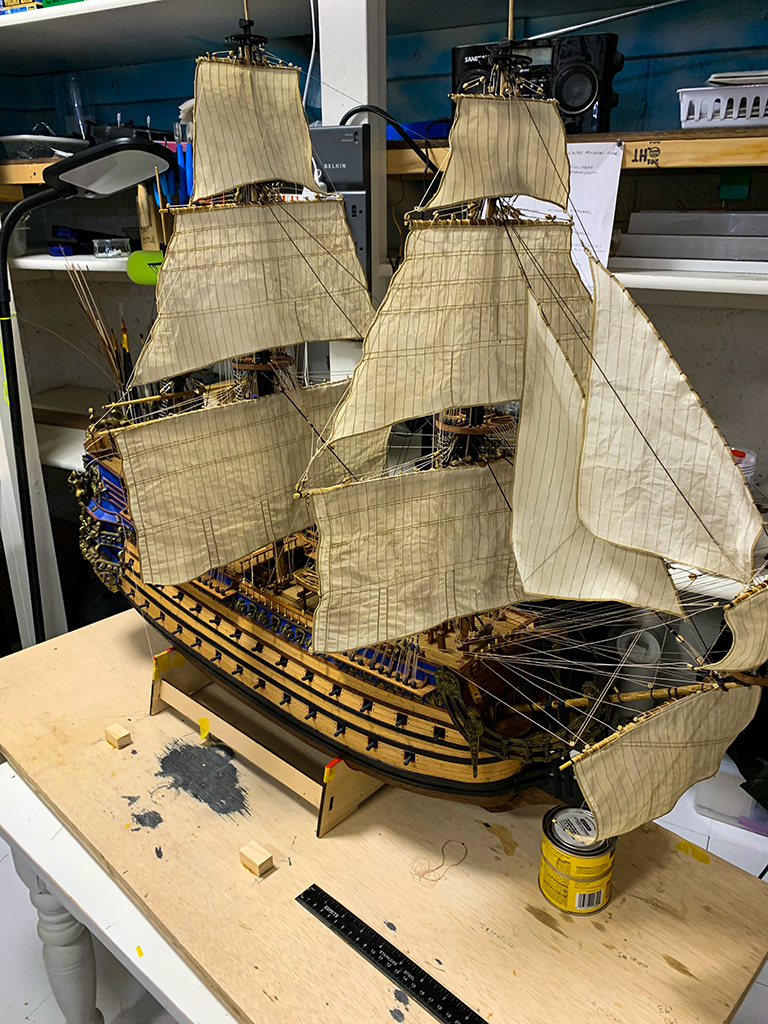
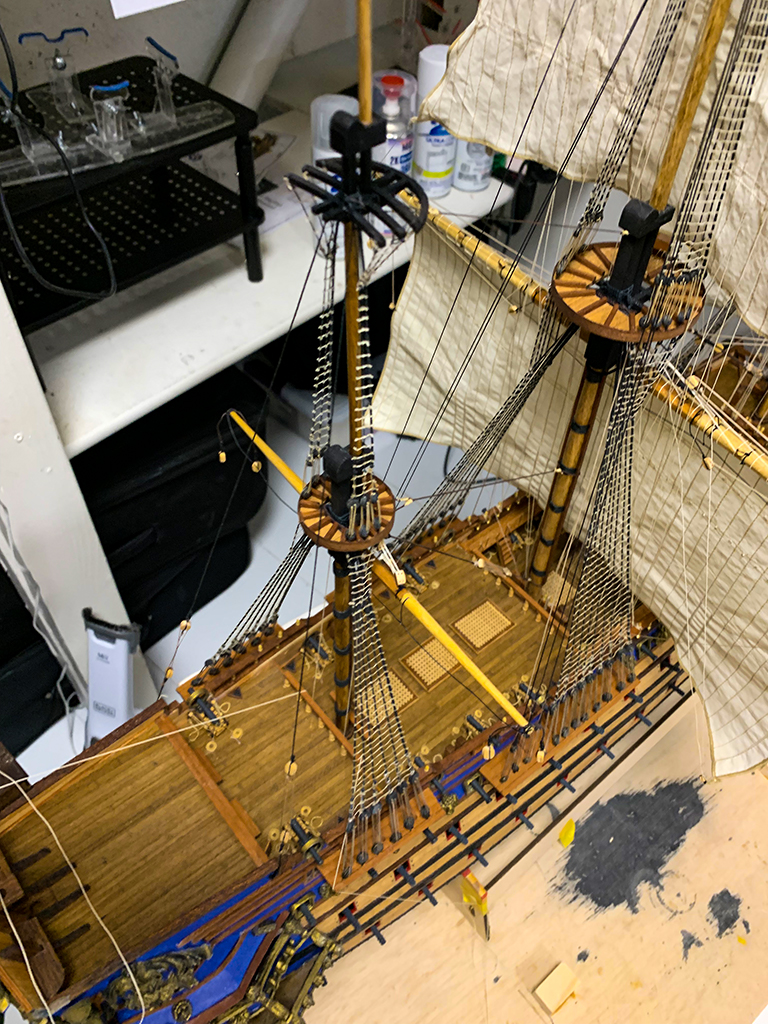
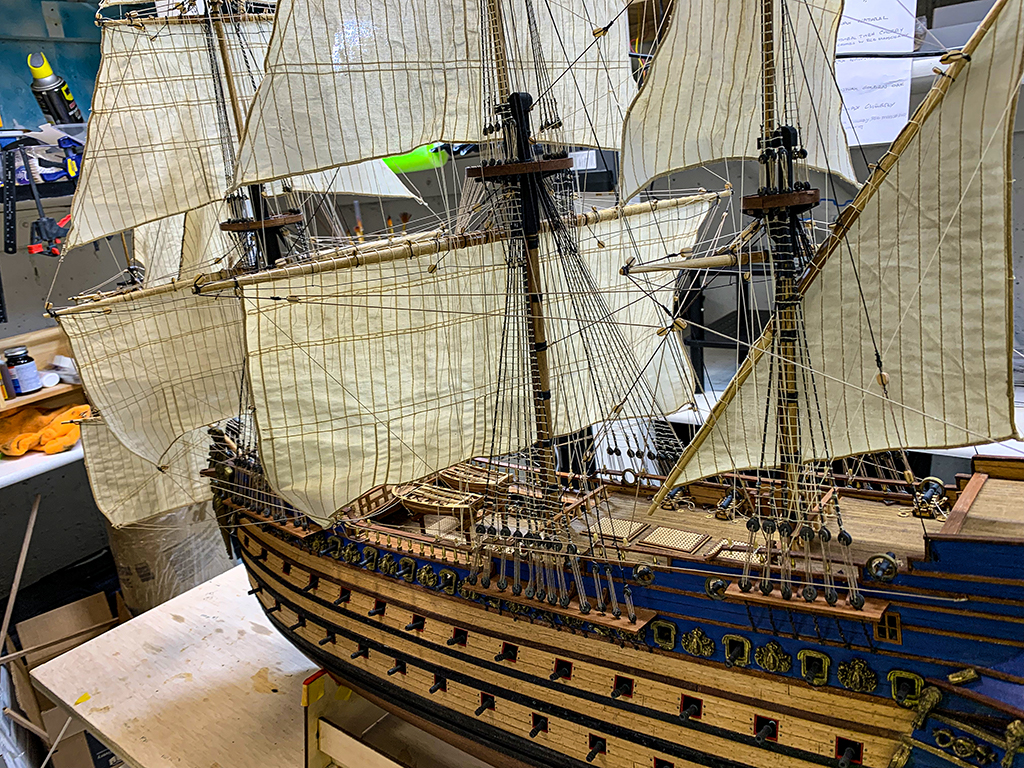
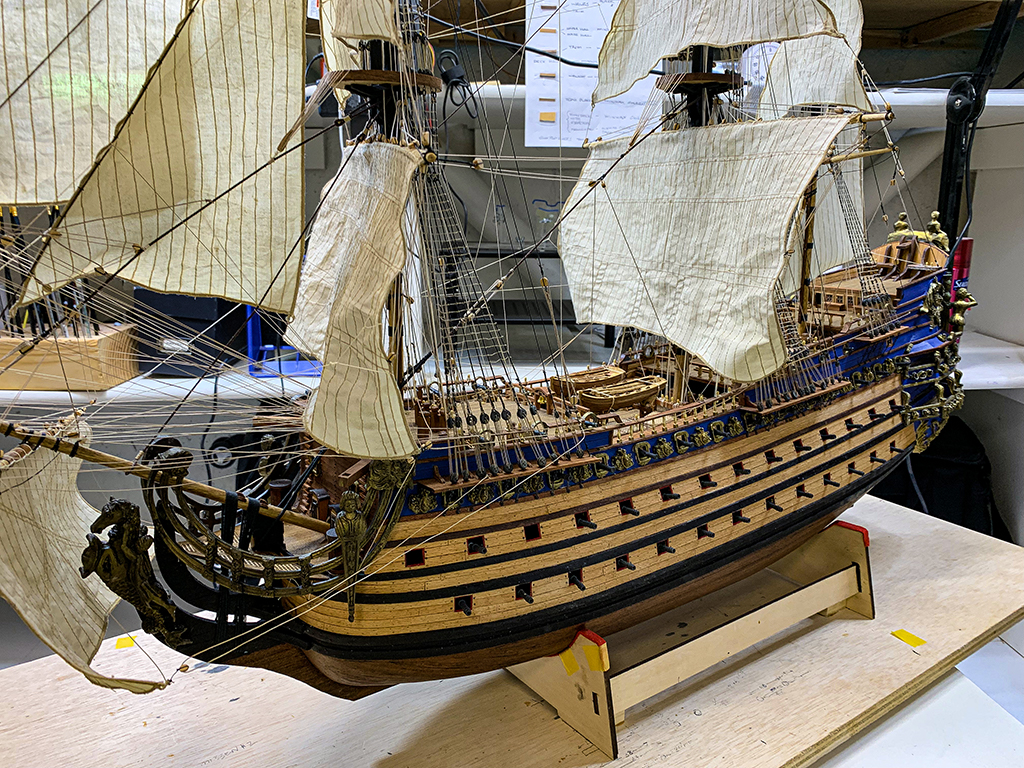
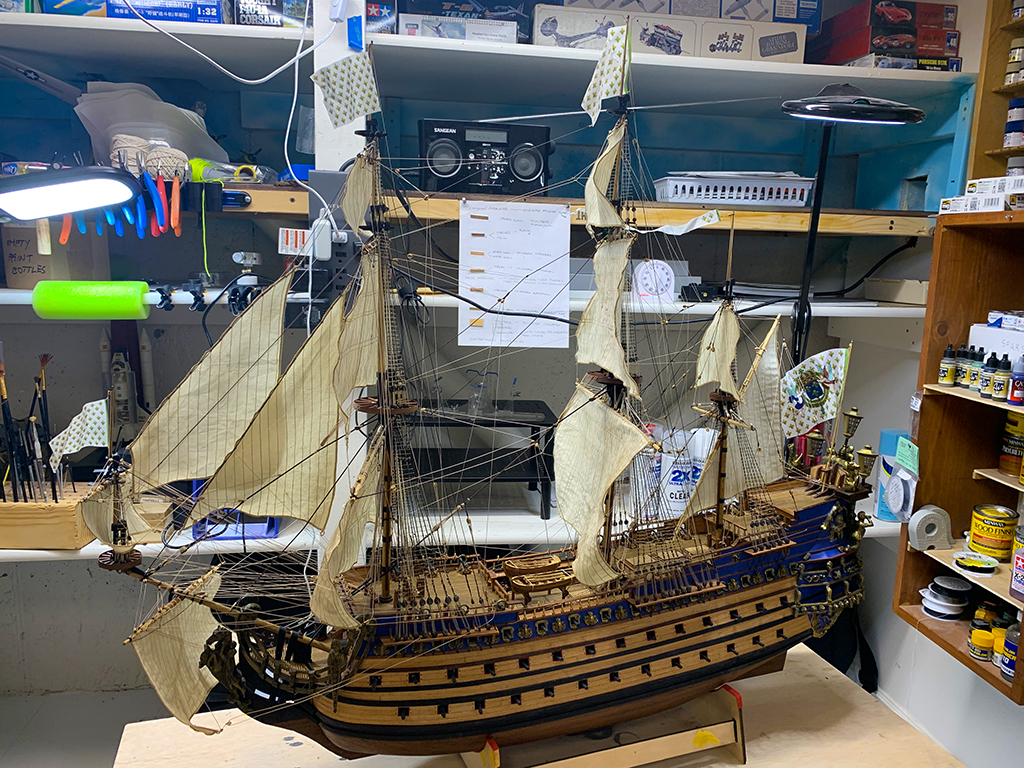
1/14/2021 I've finished the mast sections on my 1/70 scale model of the Soleil Royal from 1669. This is an all wood model. You can start to get a feel of the size of this beast.
2/9/2021 Here is another update with a few more pictures.
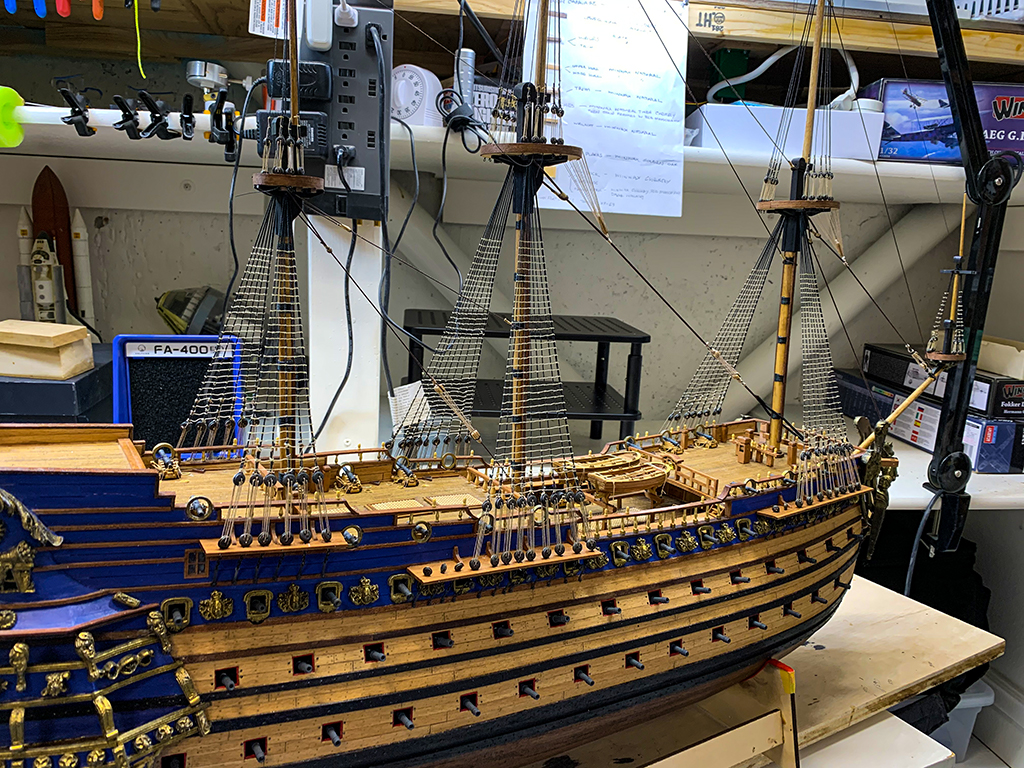
 3/22/2021 A small update. All of the shouds and done and some ratlines finished. Now on to thousands and thousands of clove hitches.
 4/6/2021 I'm still rigging the ratlines, the lower portside is finished – on to the starbord side. It seems to never end. This is NOT my favorite part of the build.

4/16/2021. It's been a long journey – but the lower ratlines are finally finished. Now on to the upper ratlilnes.
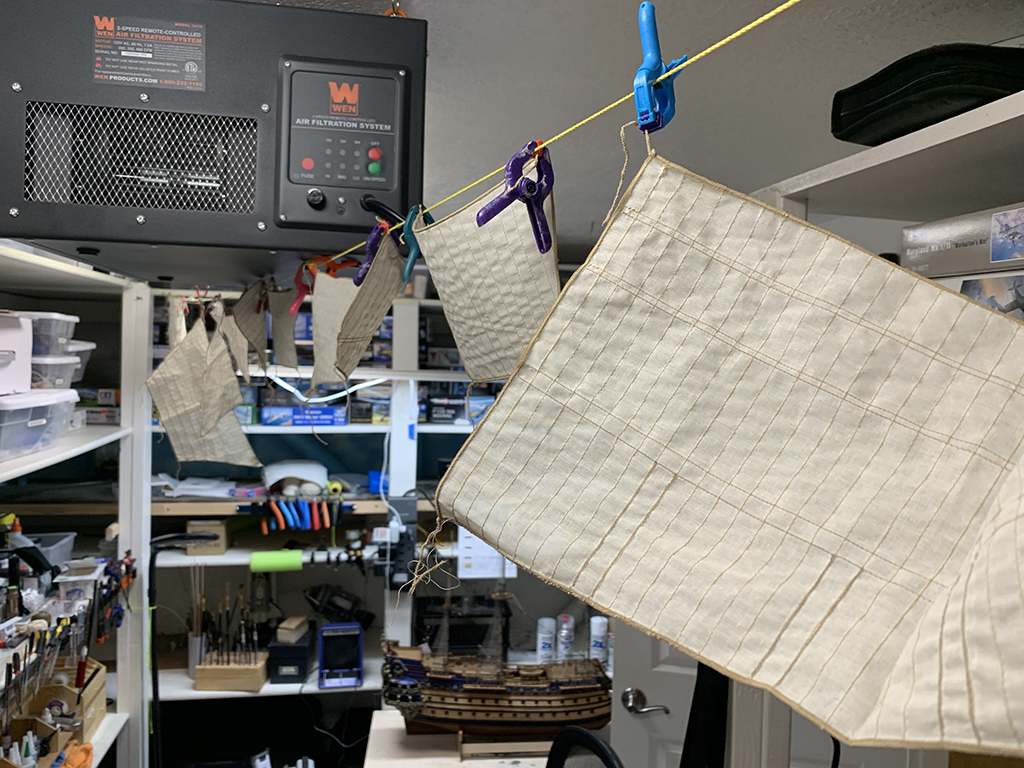
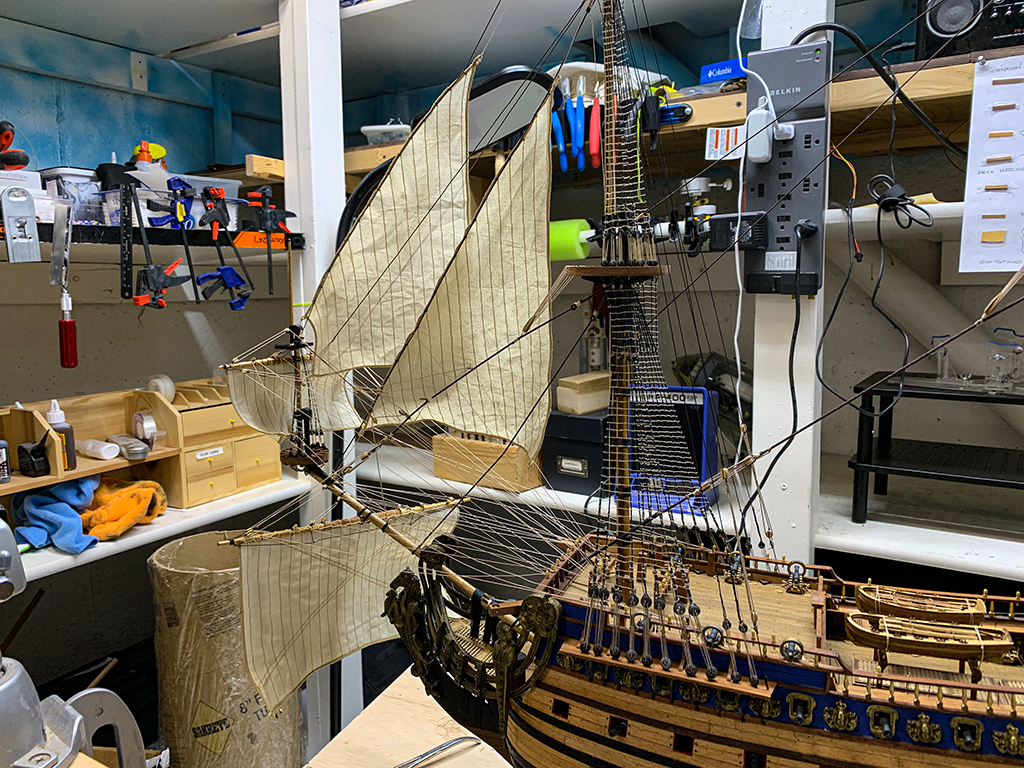
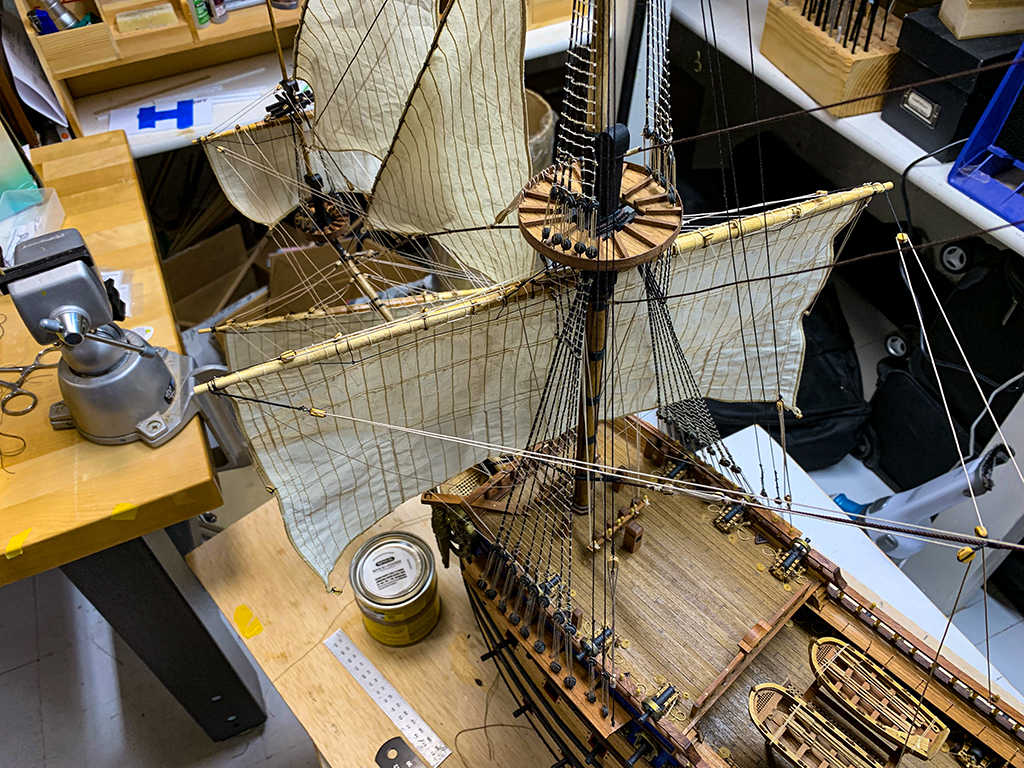
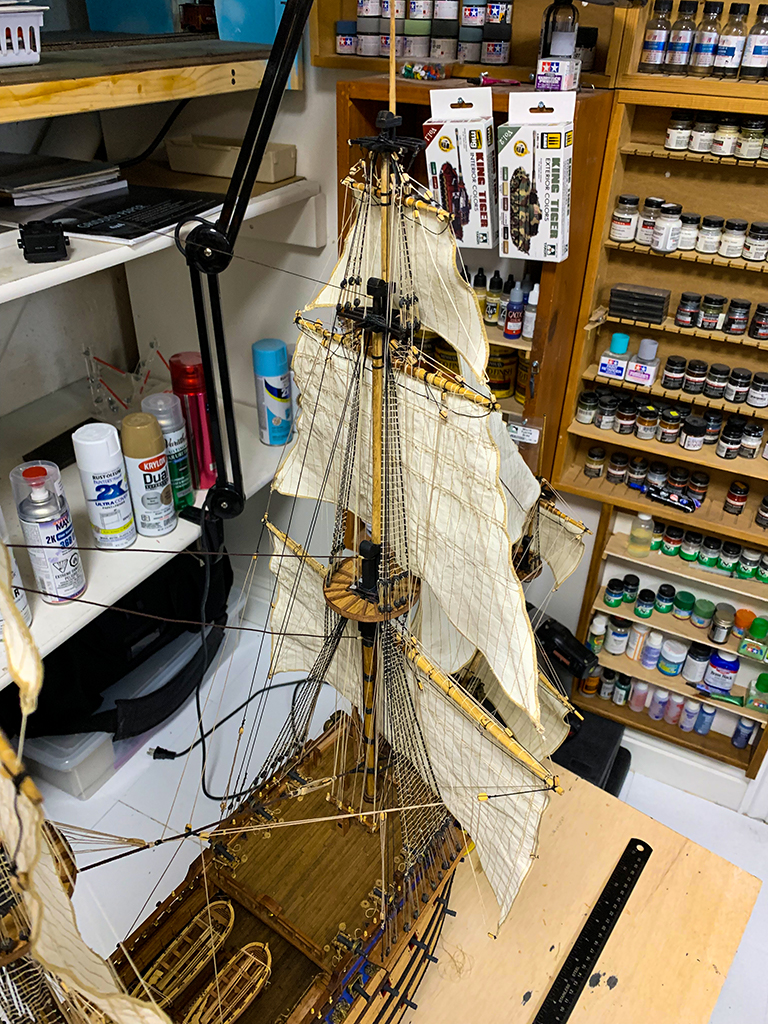
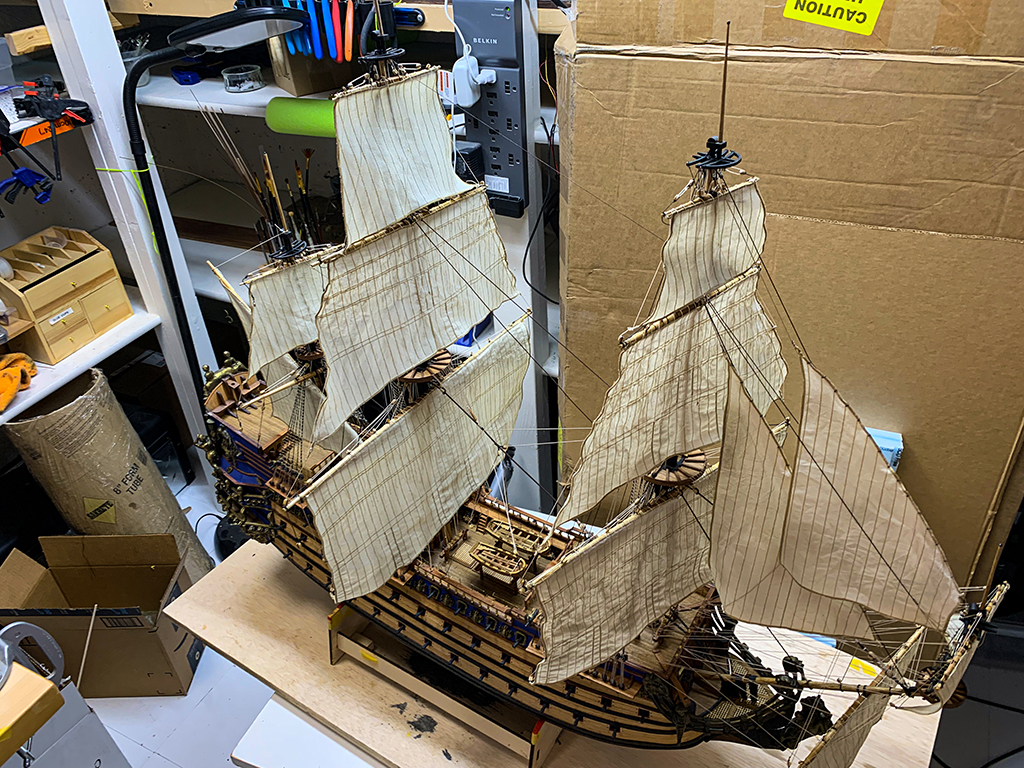
5/24/2021 It seems like it's taken forever, but all of the ratlines are finished – the end of the 1000's of clove hitchs!! Now I can move on to more interesting stuff – like the sails. The sails have been stitched with additional details representing reenforced panels and coated with Minwax Pickeled Oak stain. They are shown here drying in my workroom.
5/29/2021 I have finished sewing in some of the lashing lines and glueing them. Now I brush on a slightly diluted solution of Gac-400 textile stiffener.
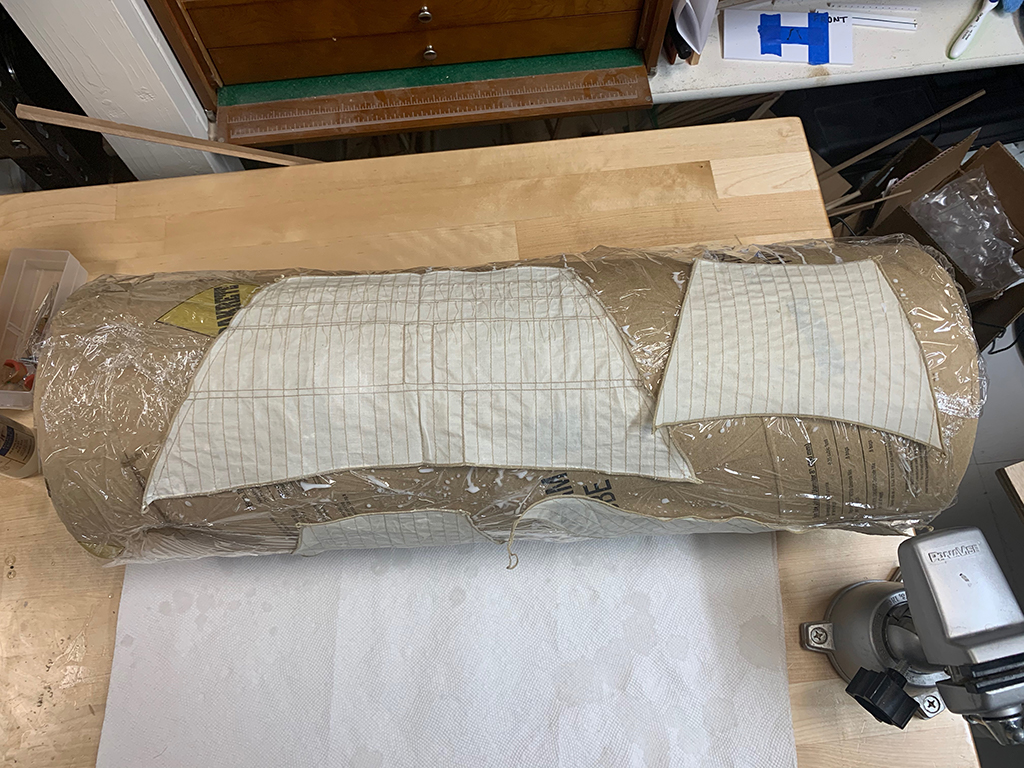
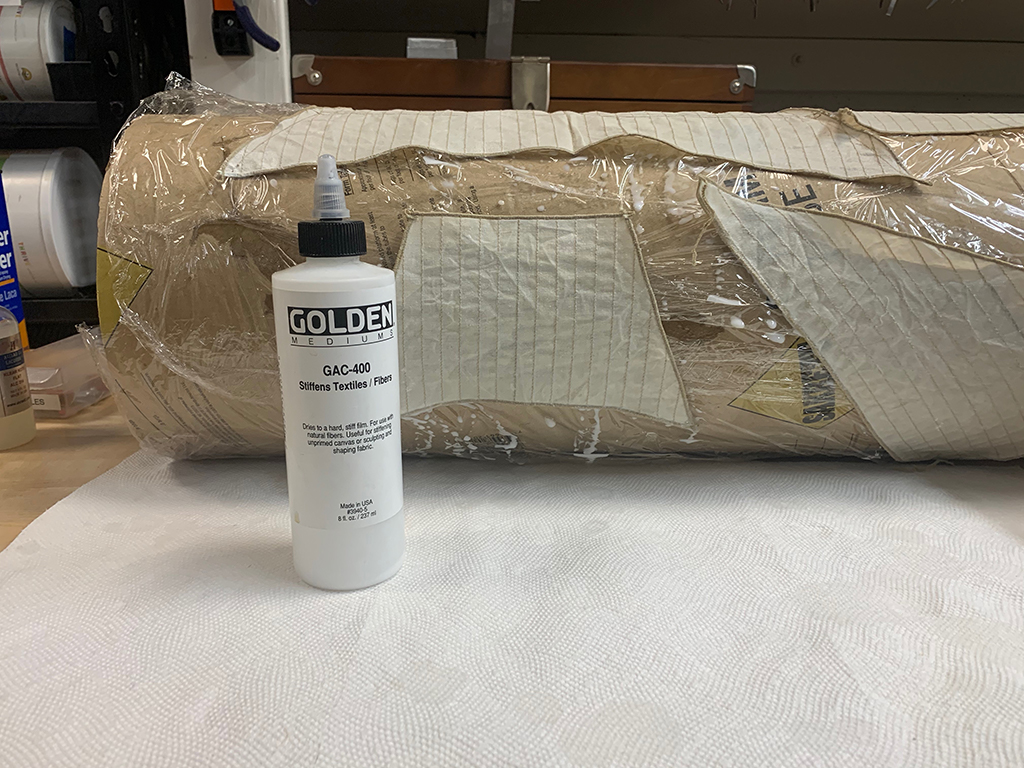
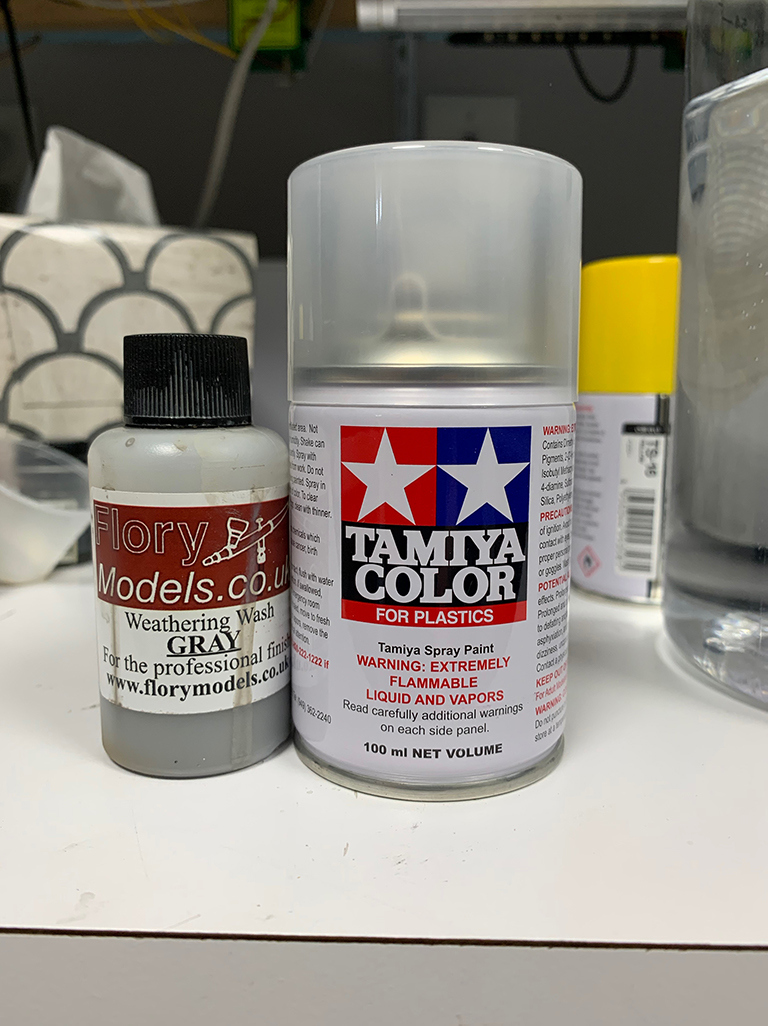
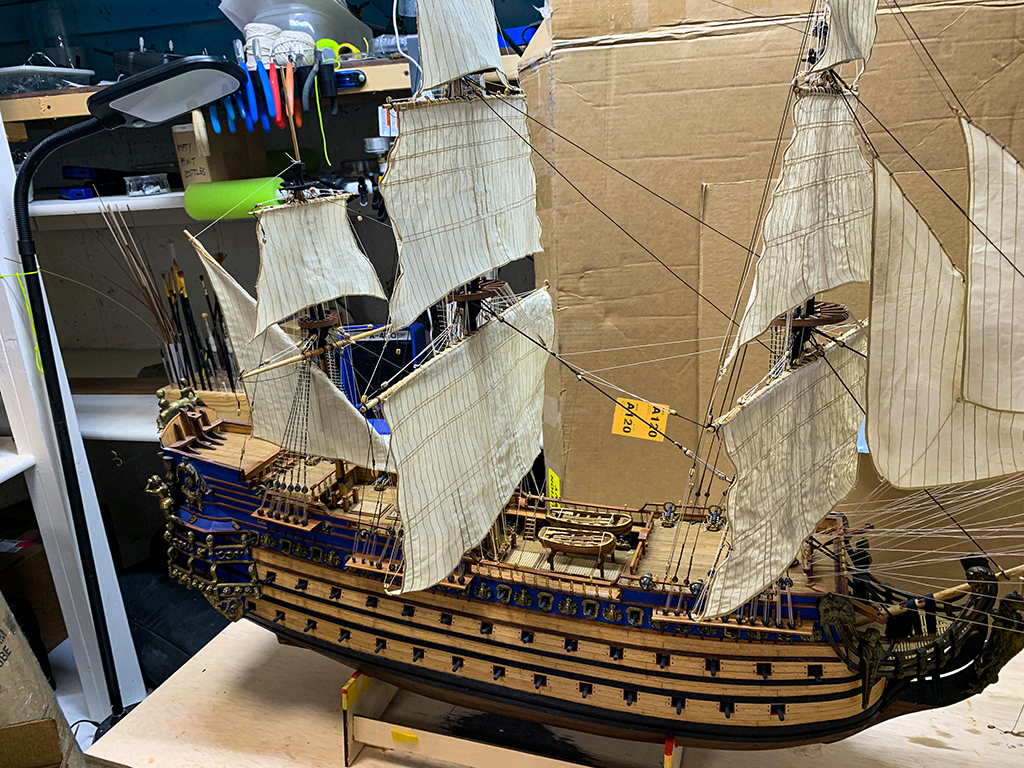
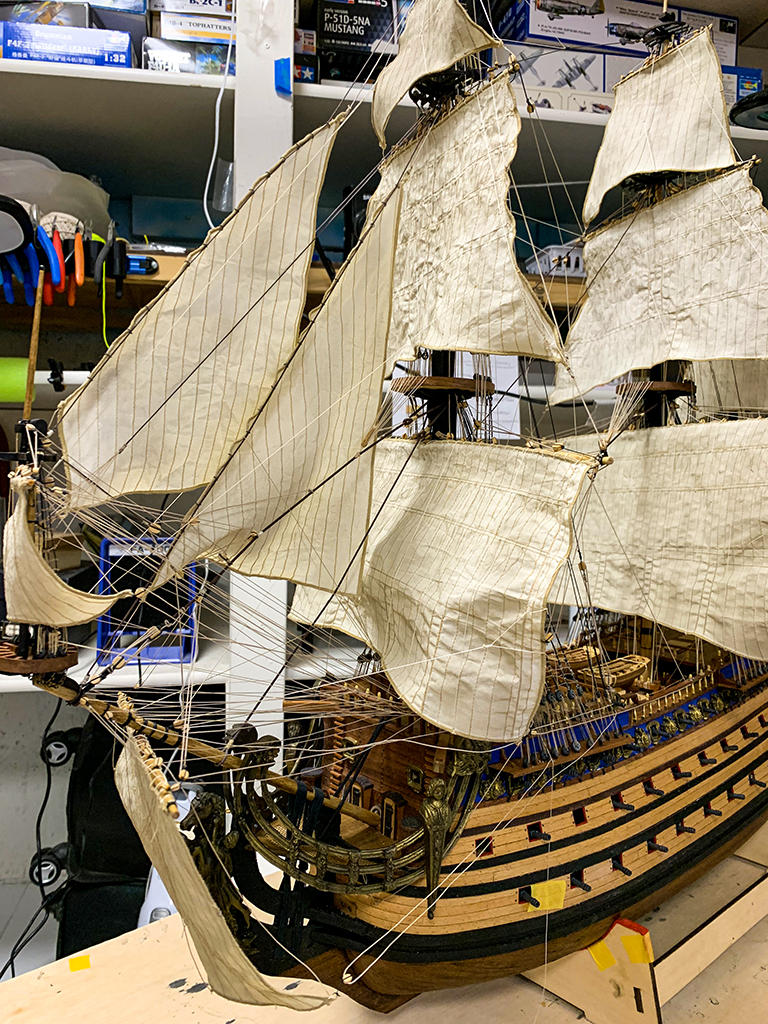
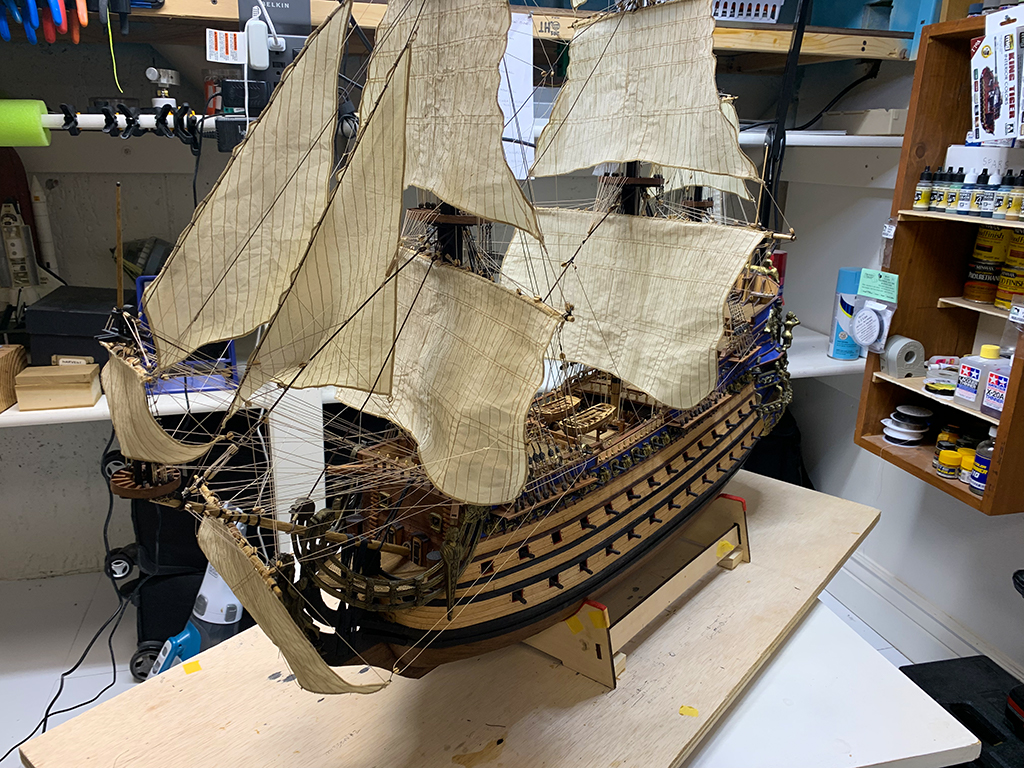
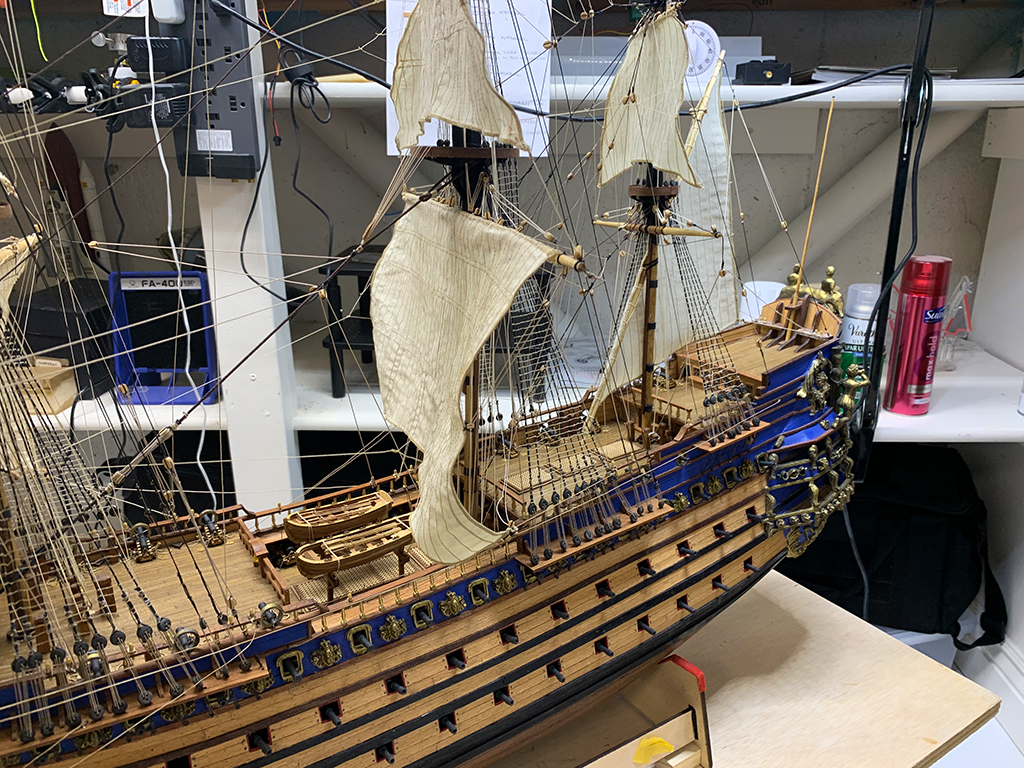
6/9/2021 I've now finished all 12 sails. The sewing of the lashings and fabric treatment is complete. In treating the fabric I first gave them a wash of slightly dilured (with water) Golden GAC-400 as described above, then I airbrushed them with Flory's weathering wash (grey) then finally sprayed them with Tamiya clear flat from the rattle can (see pic below). I've now attached and rigged the first two sails as shown here:
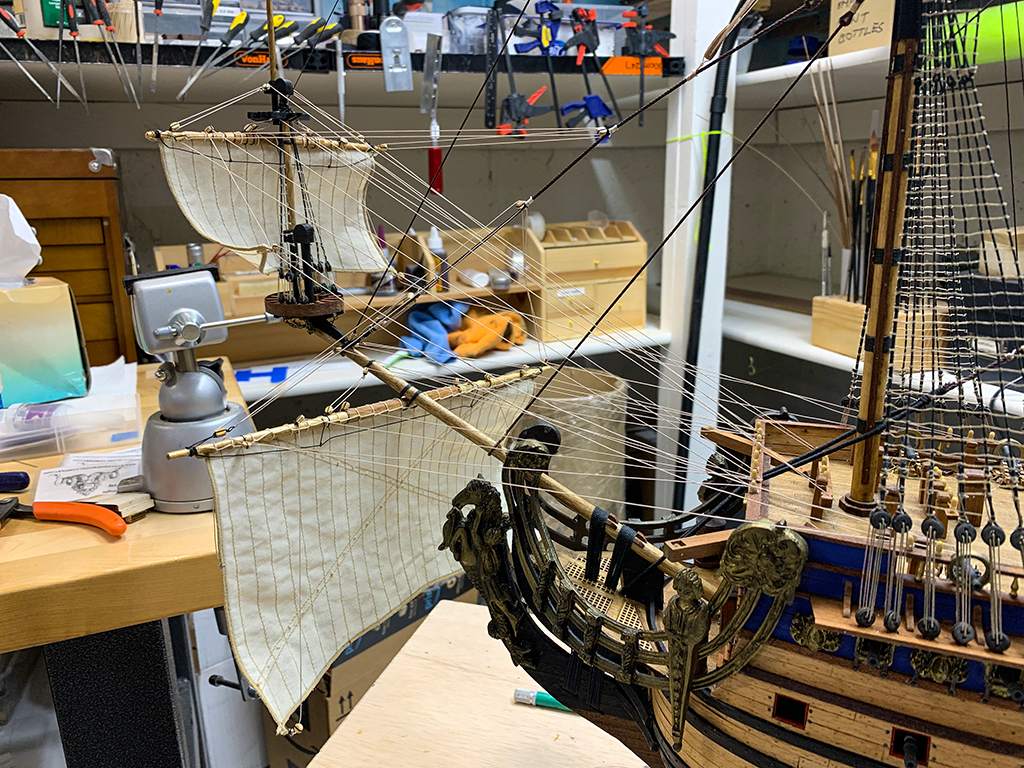
6/11/21 Then next two sails have been installed. The bow sprit rigging surrounding the sails has become quite involved.
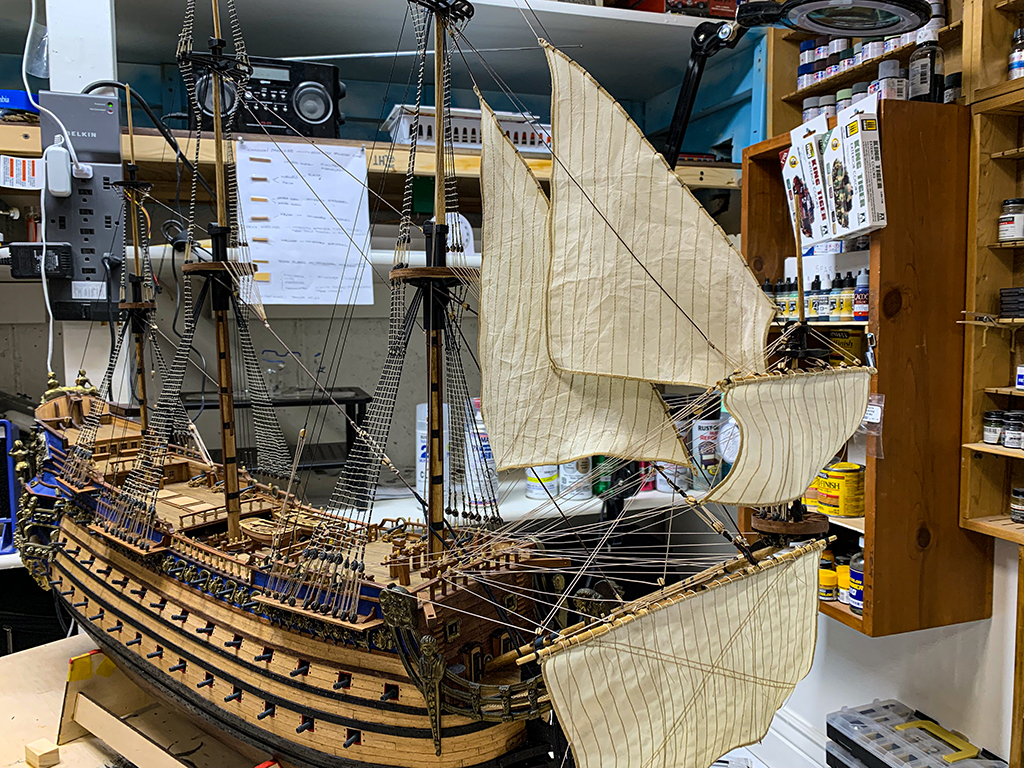
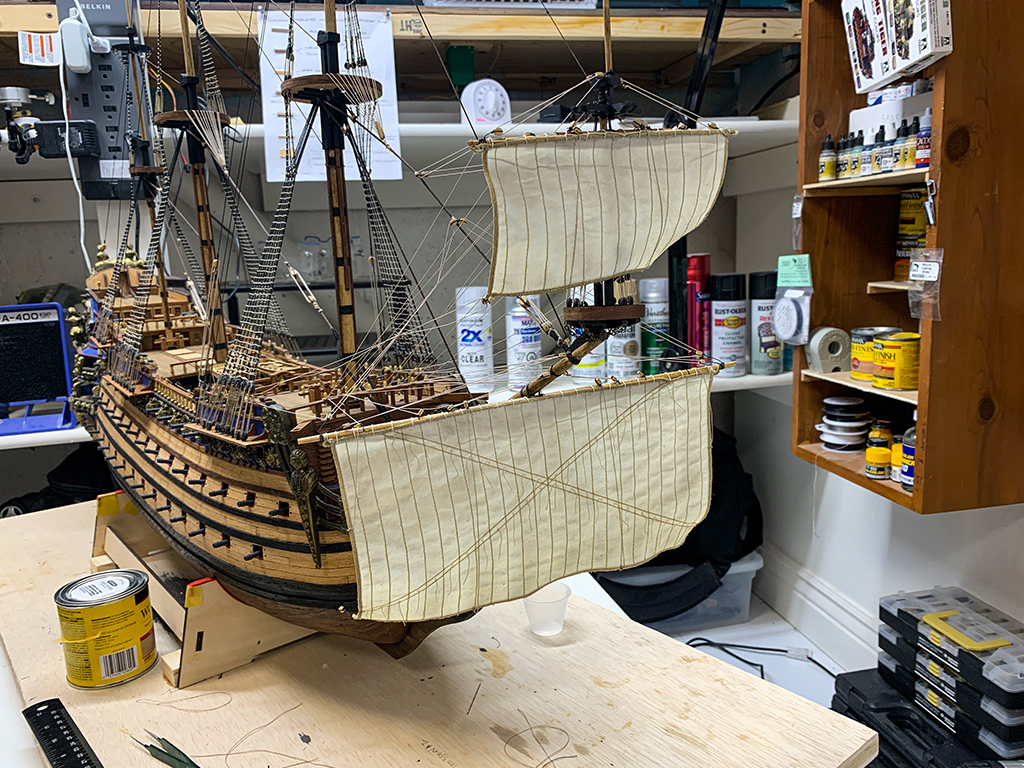
6/14/2021 The formast mainsail in now installed and rigged.
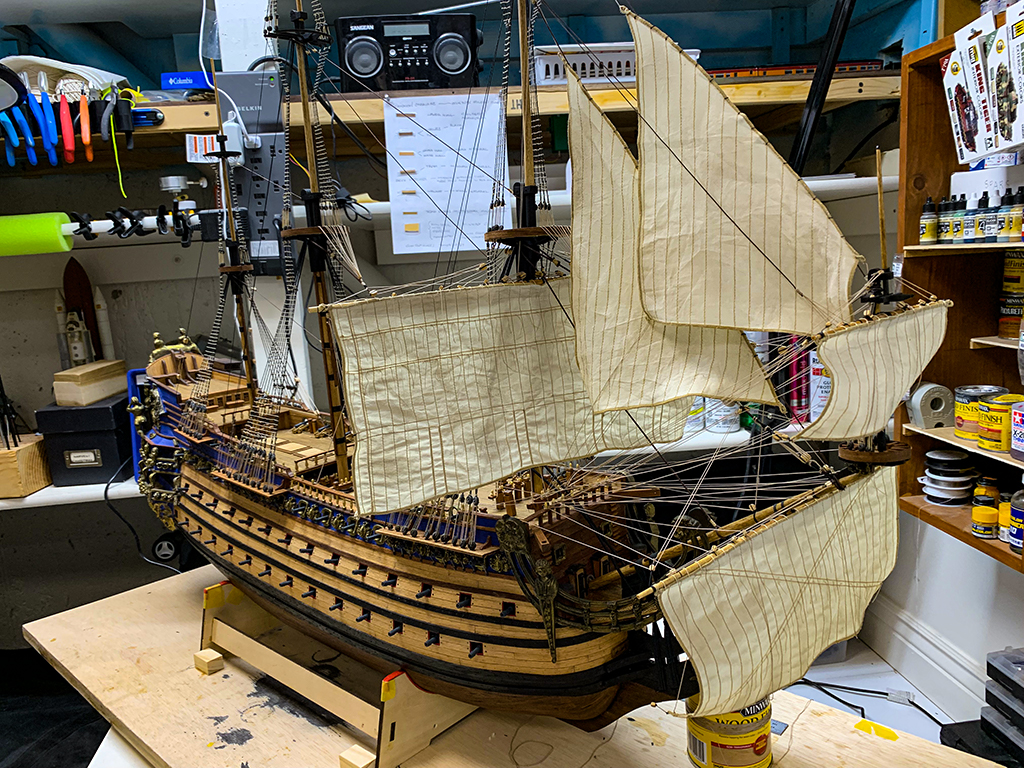
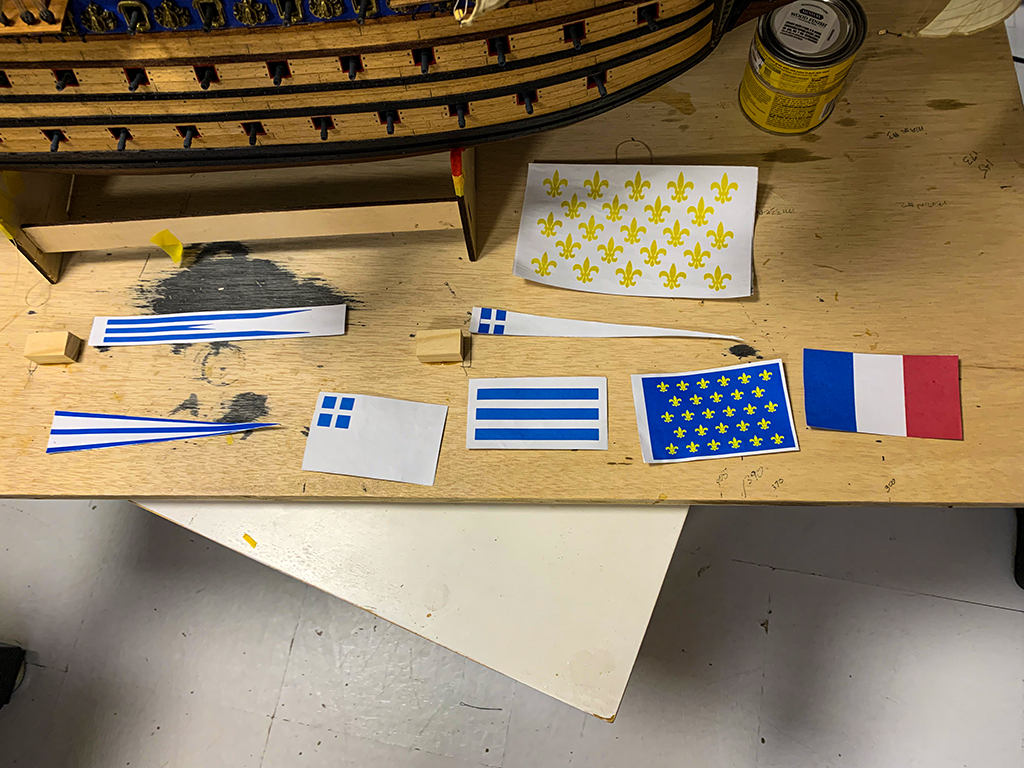
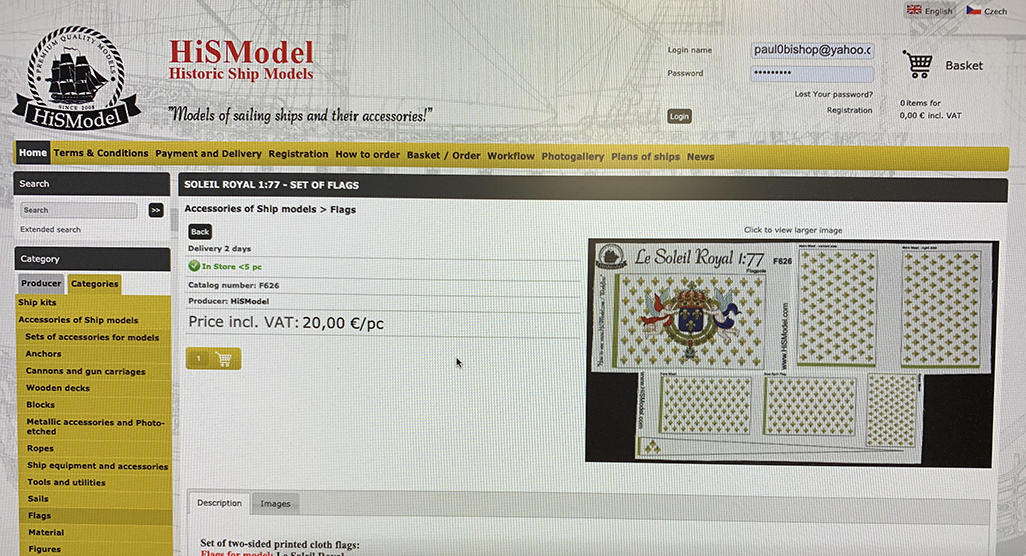
7/10/201 Here is an update – I've attached more sails and have started the flags. I copied the flags by scanning them then printing both sides. These were cut out and glued to aluminum foil using white glue.
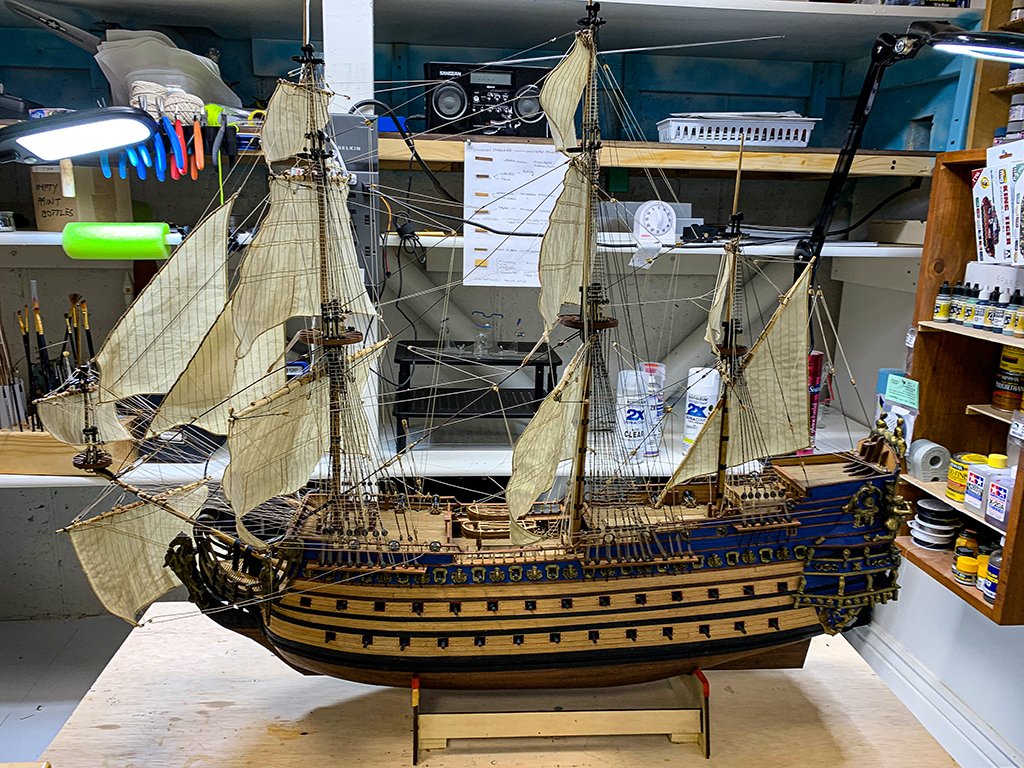
8/22/2021
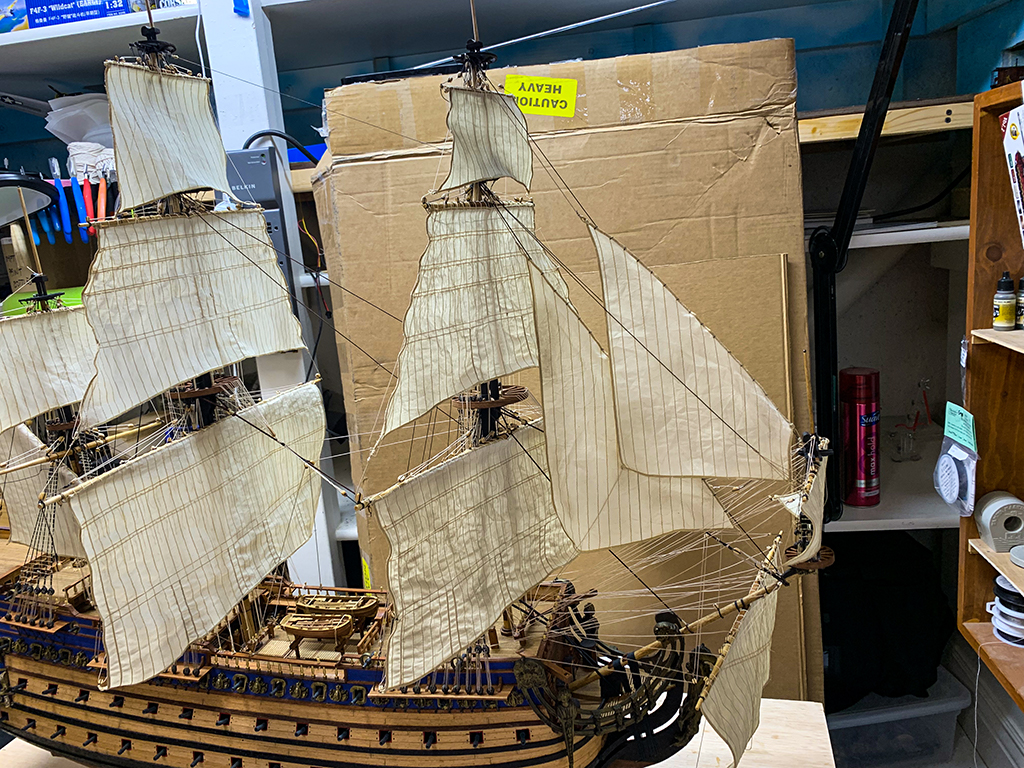
I now have all of the sails attached and most of their rigging finished. The display case has been delivered and I’ve ordered the plexiglass.

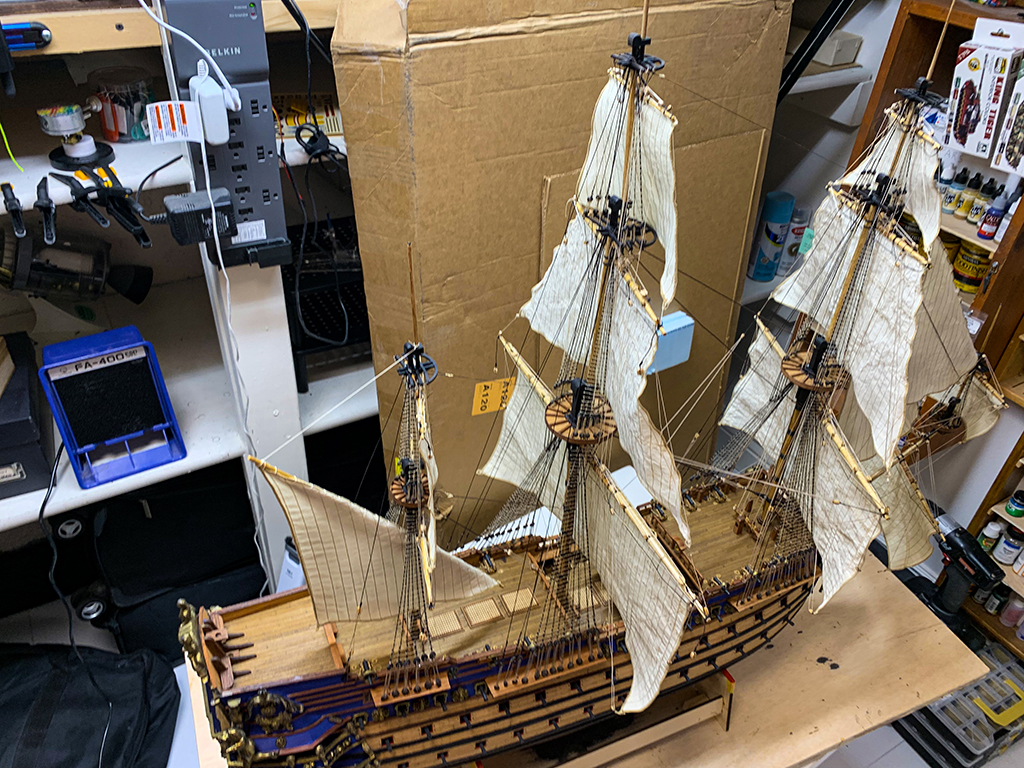
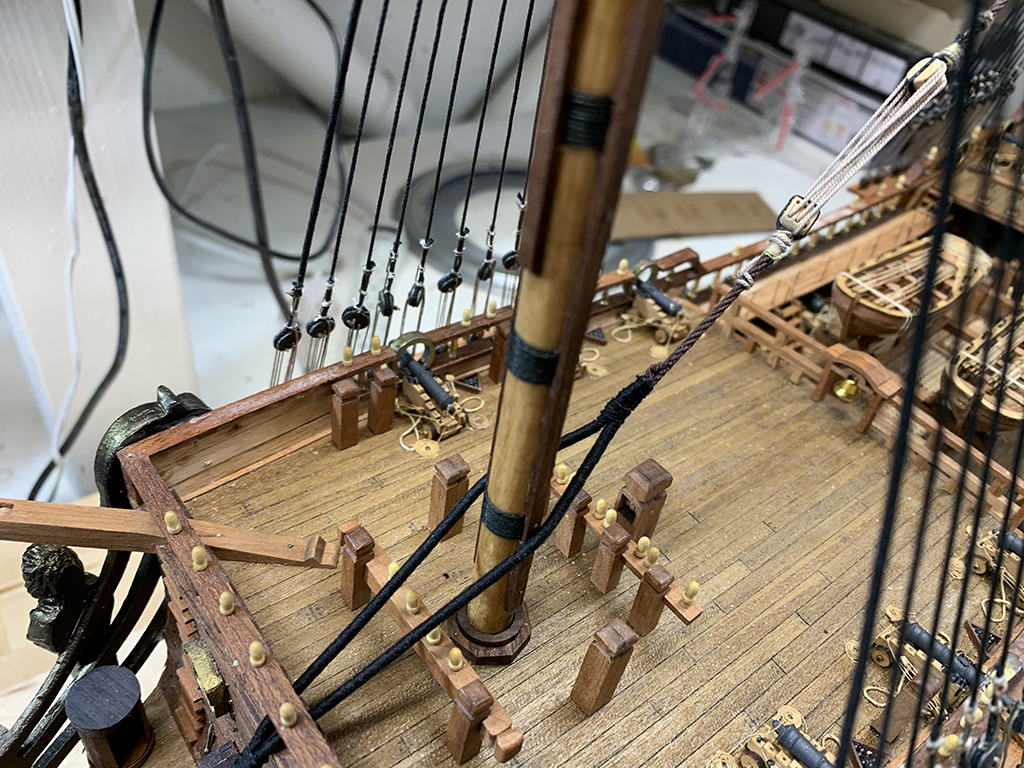
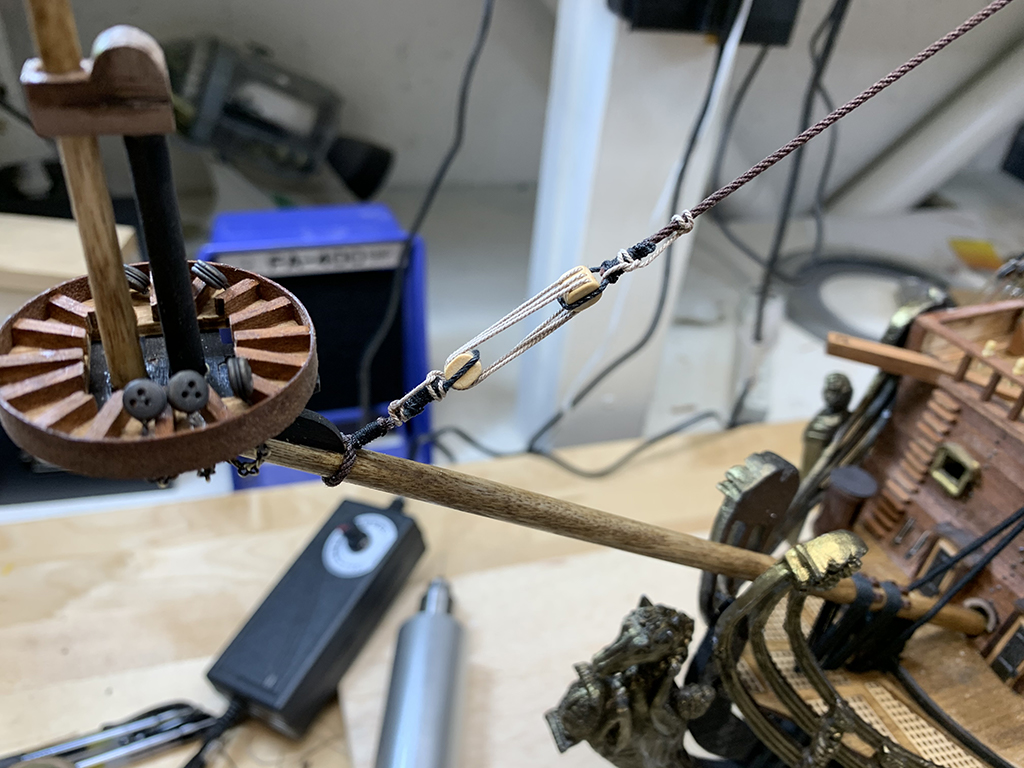
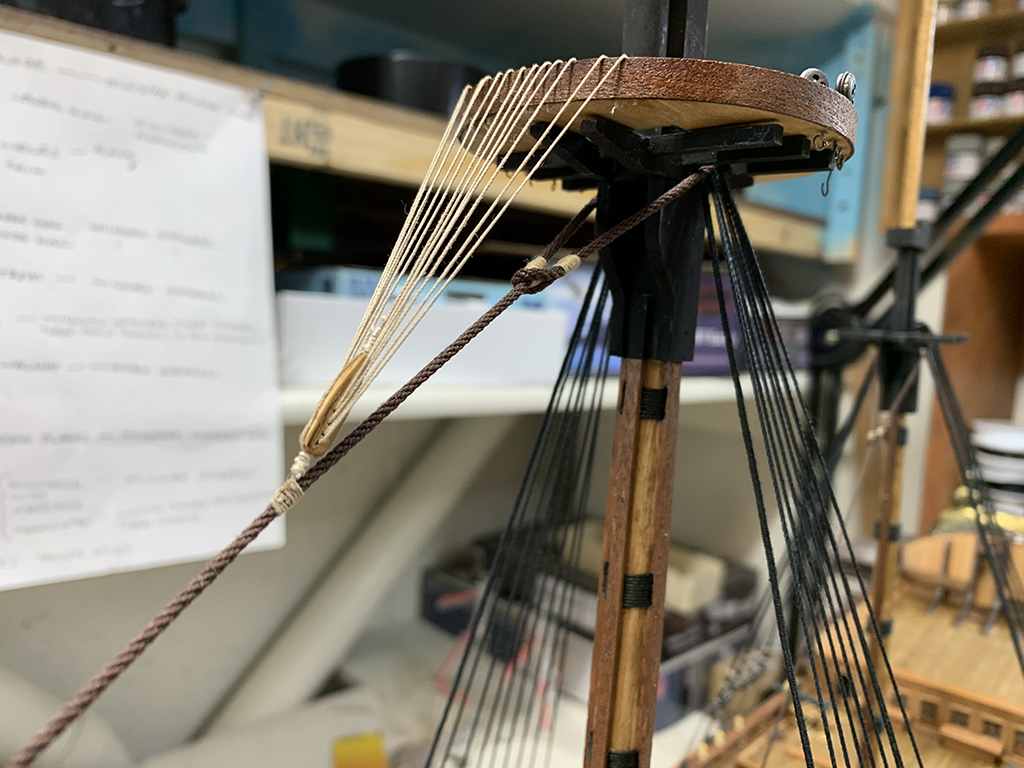
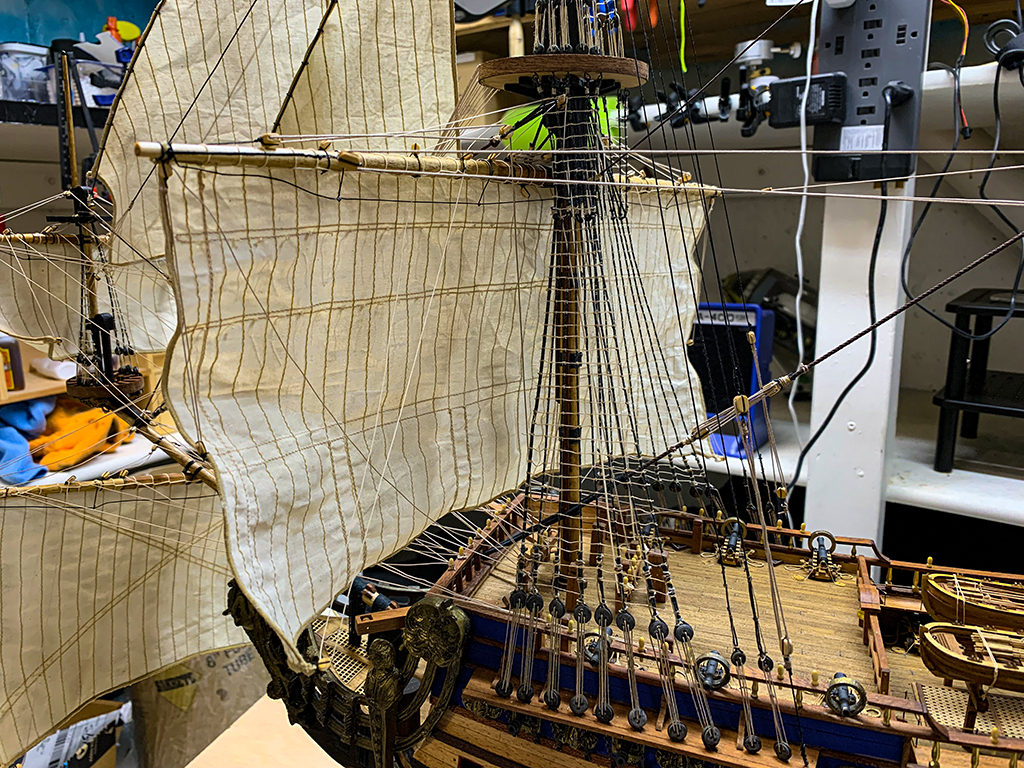
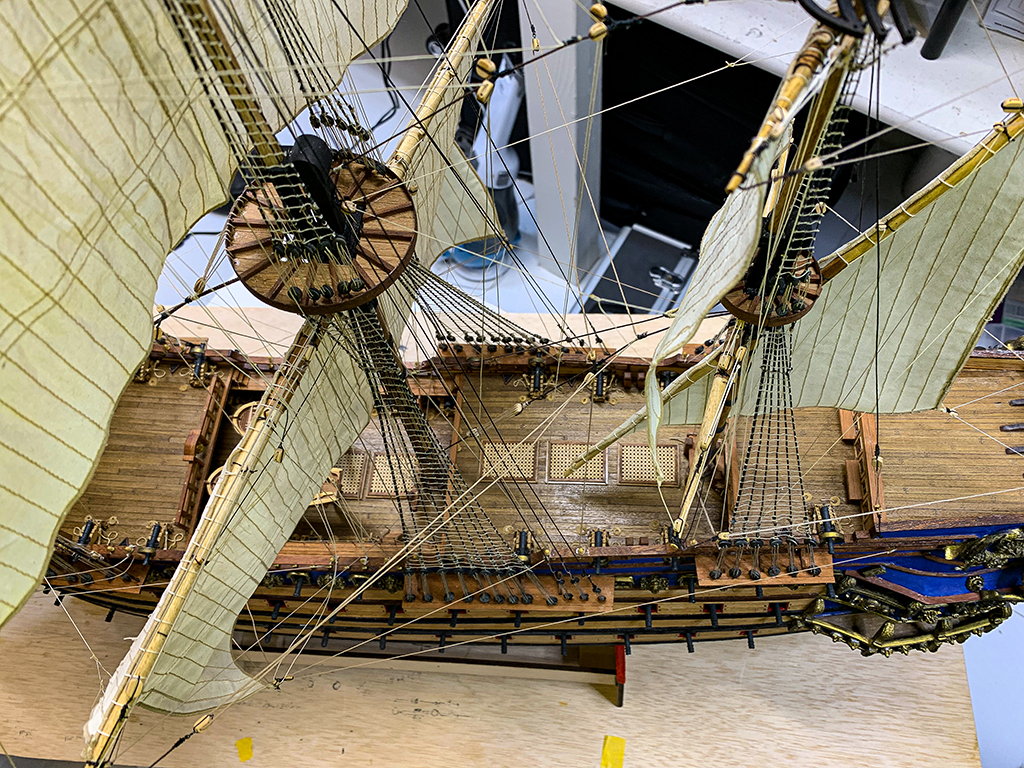
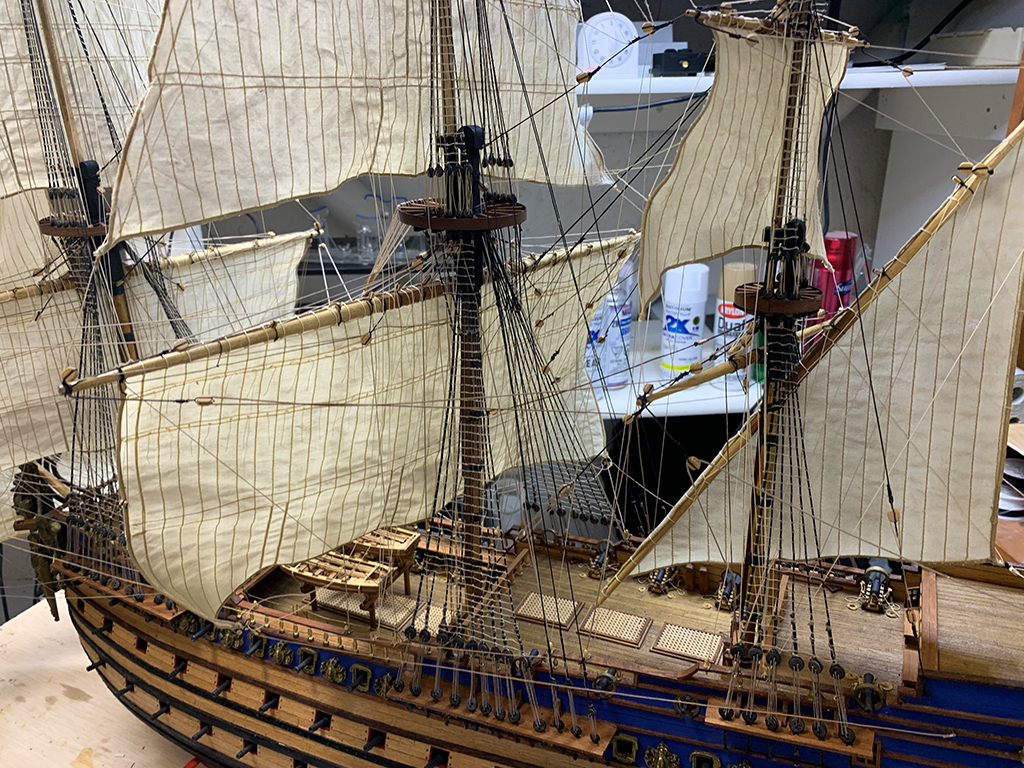
9/12/2021 A few more photos of the rigging progress.
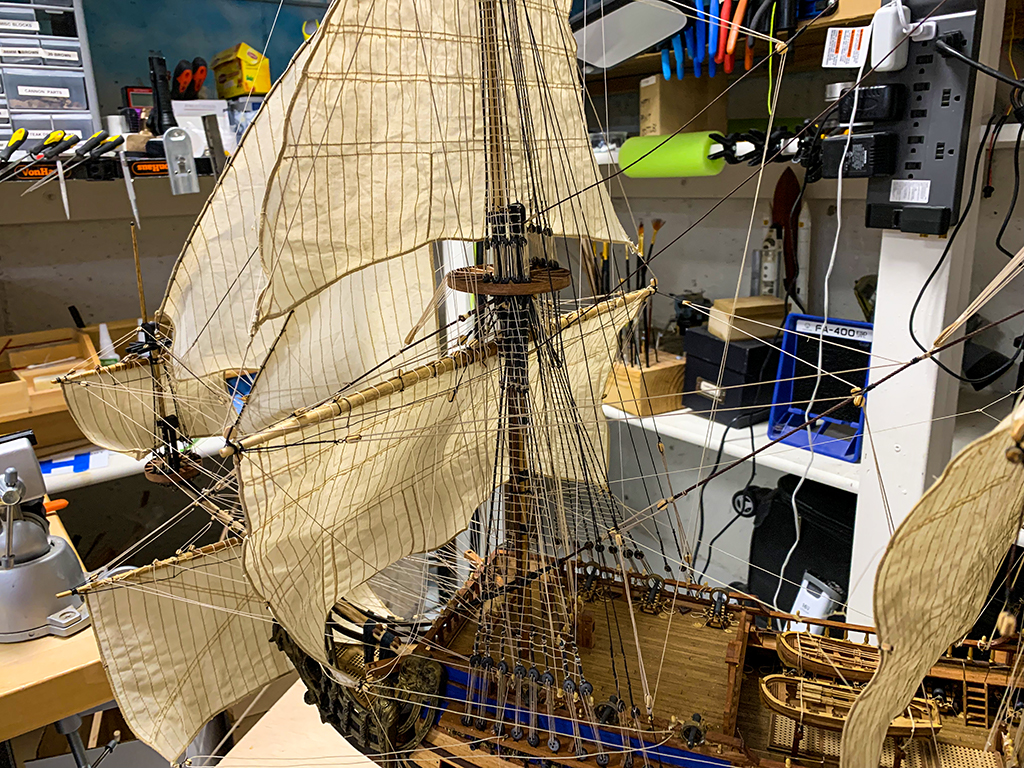
9/16/2021 The rigging is almost finished. I still have a few lines to do then the rope coils. After that the flags, ect. It will be awhile before this beast is all done.
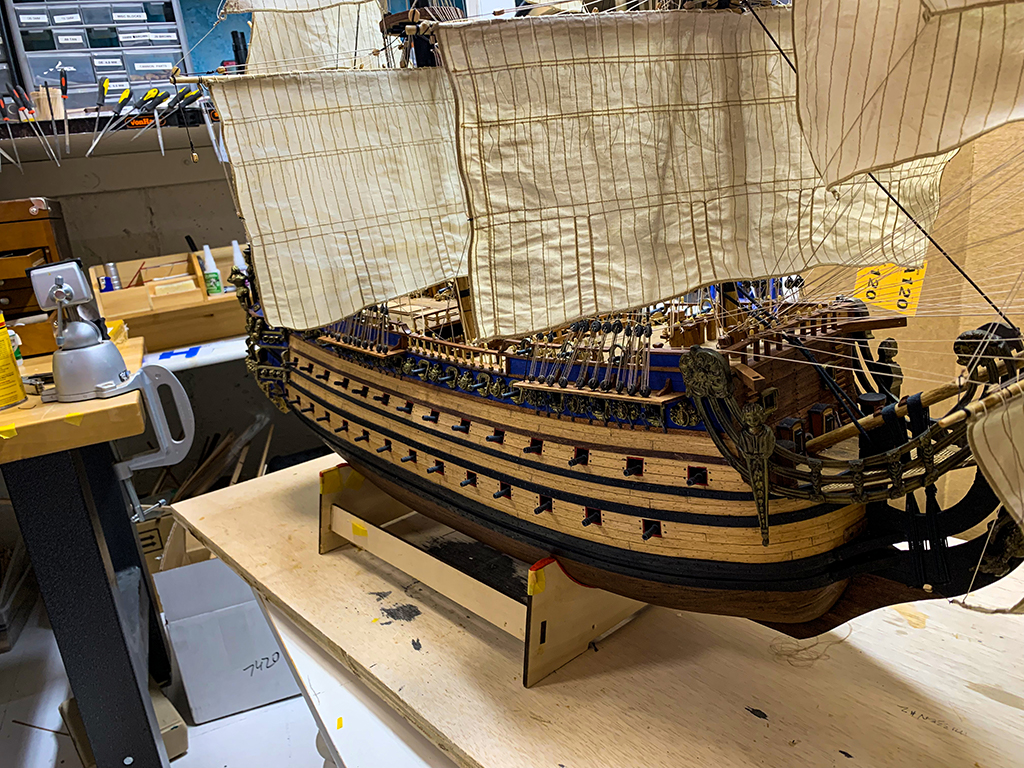
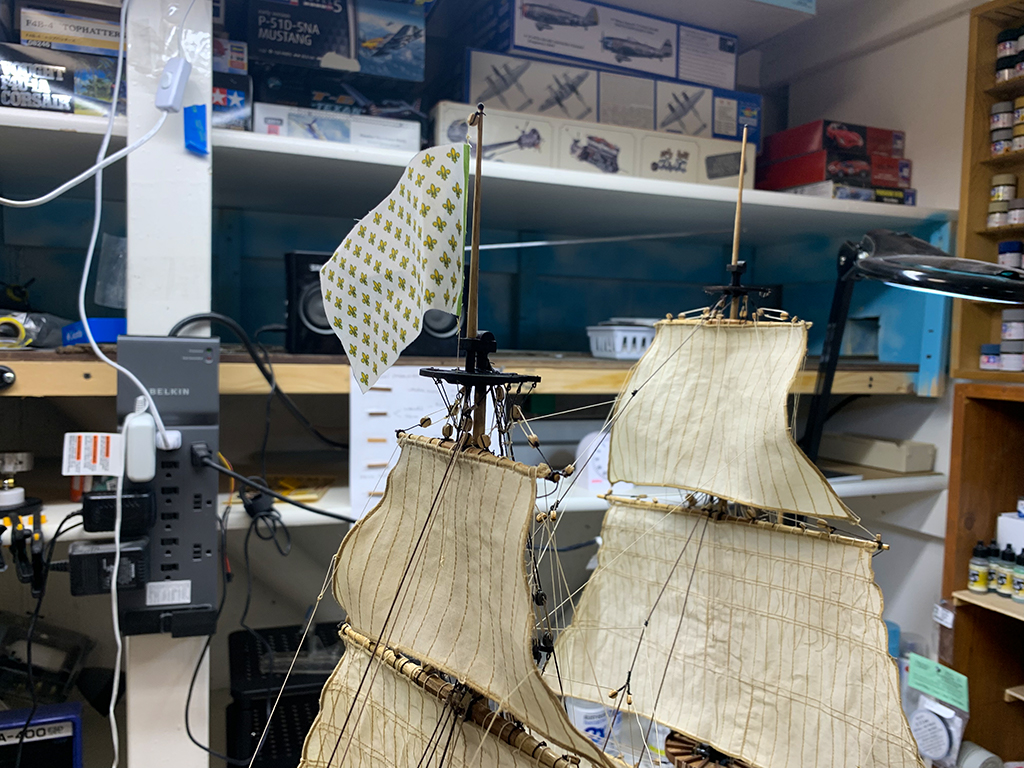
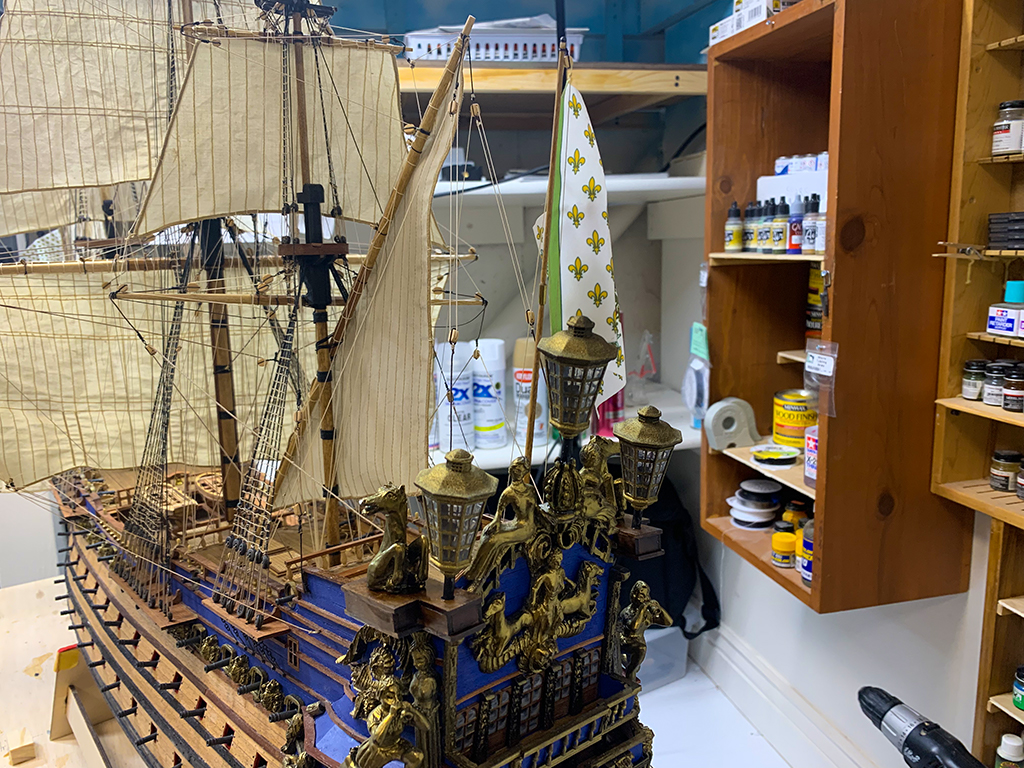
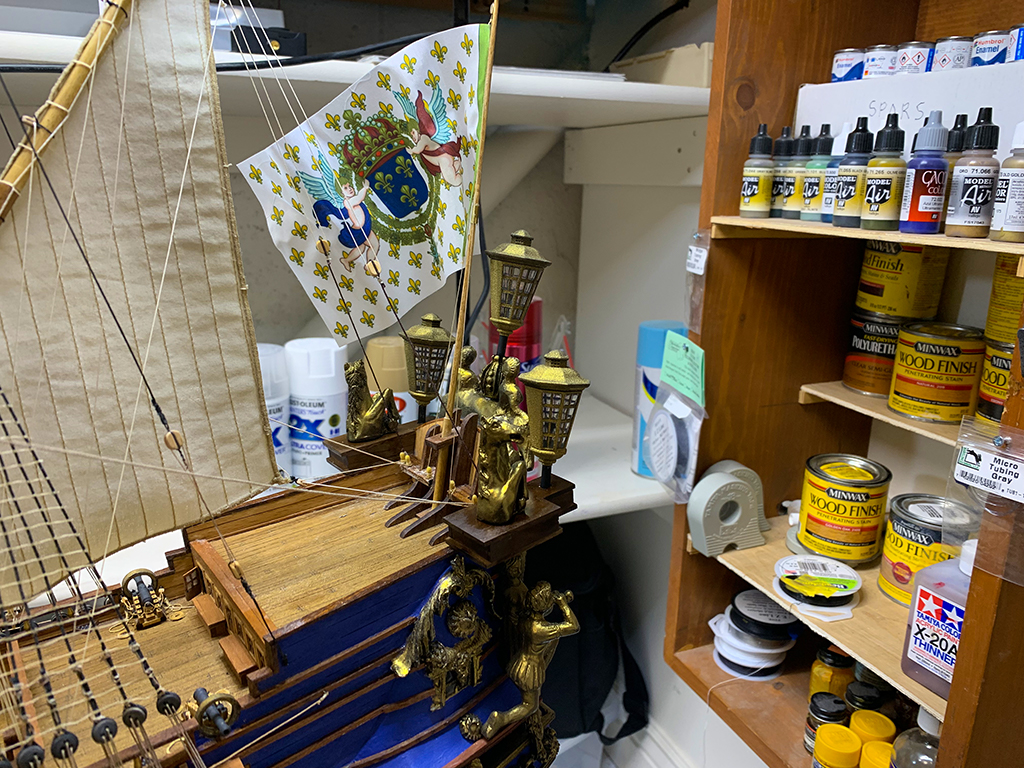
9/18/2021 The rigging is finished!! Finally! I'm now working on attaching the flags (as you can see I've attached the first one on the foremast) that I got from hismodel.com. I've purchased a lot of stuff from him – he never disappoints. On the lower picture you can see the flags that are drying after I've soaked them in GAC 400 – it stiffness natural fabrics and fibers.

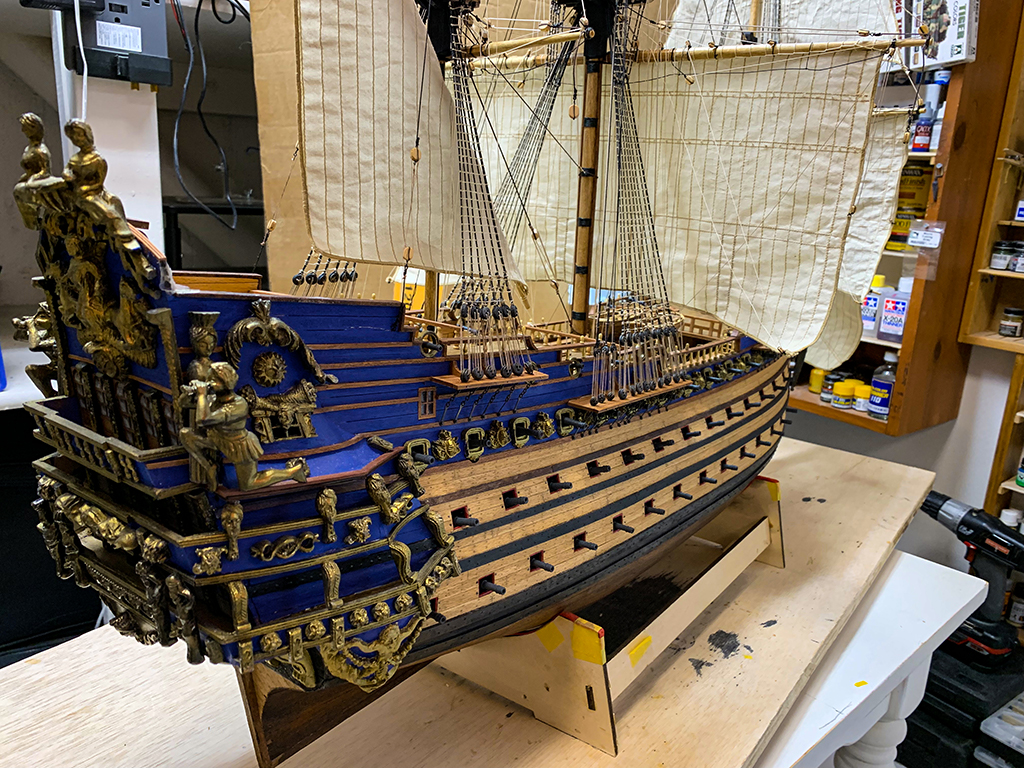
9/23/2021 All of the flags have been installed. I've also finished the stern ornaments and the stern lanterns. The lanterns are 3-D printed that I purchased somewhere on the web and look very nice – much better than the supplied one's. I simulated the glass by using Microscale Micro Kristal Klear. Next up will be the 4 anchors, then the rope coils around the belaying pins.
If you want to go to page 4 GO HERE.