10-5-07
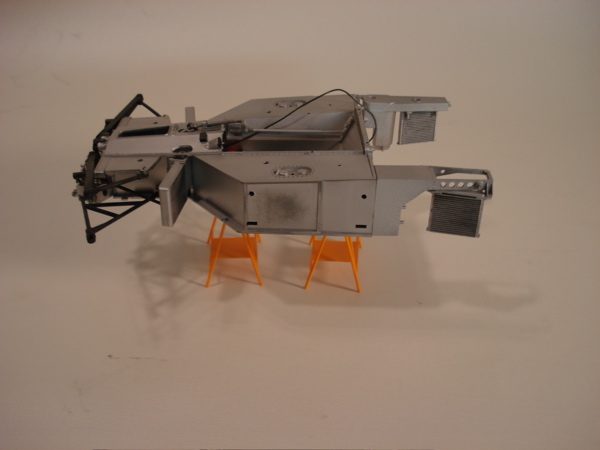
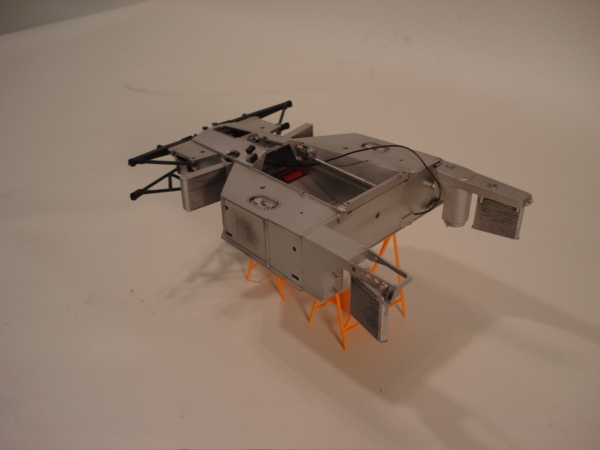
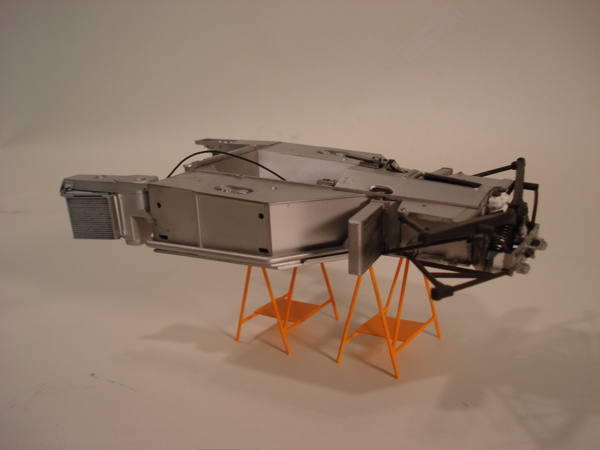
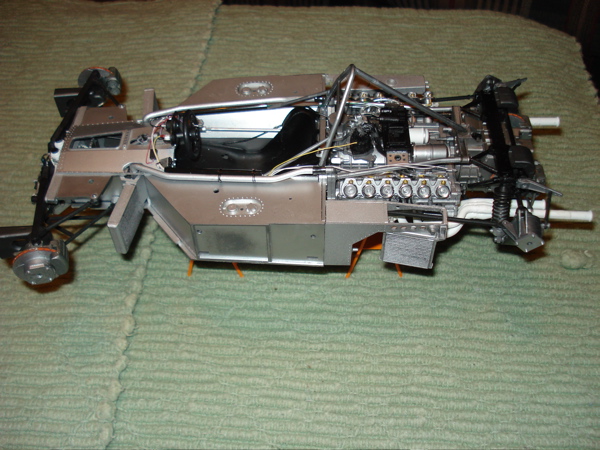
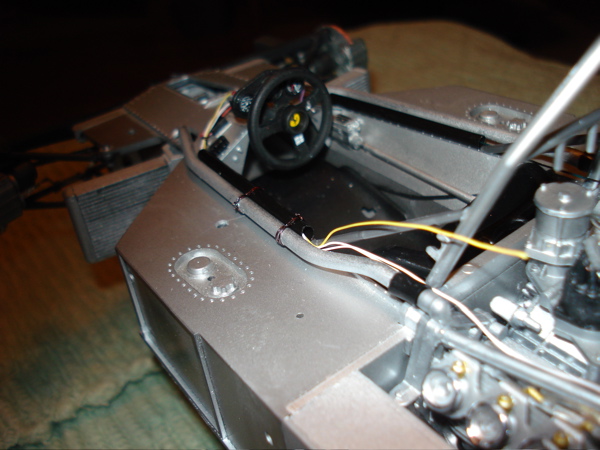
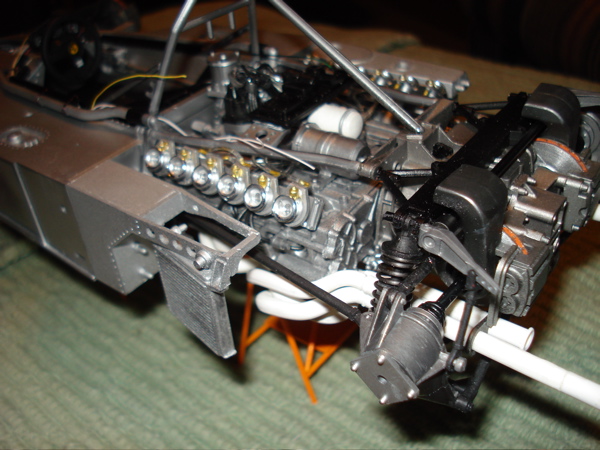
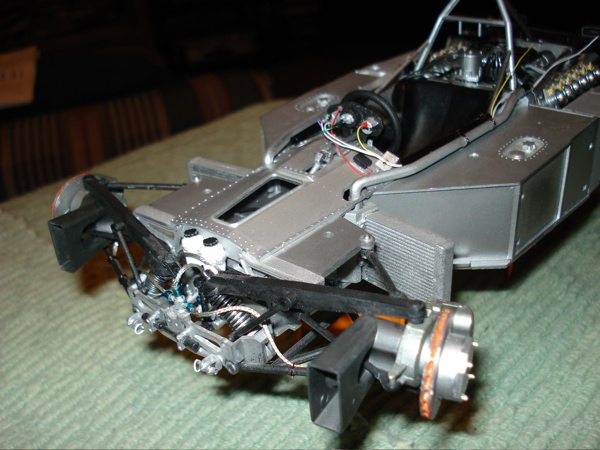
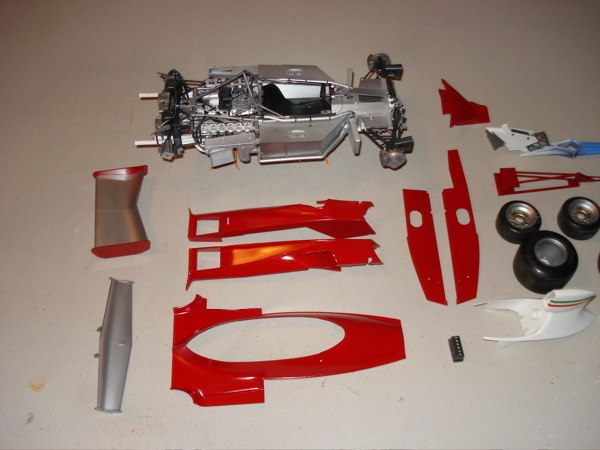
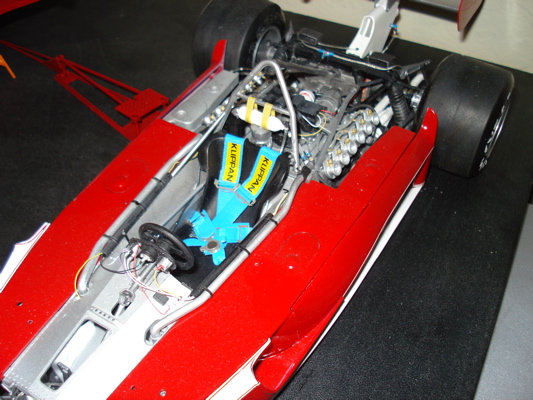
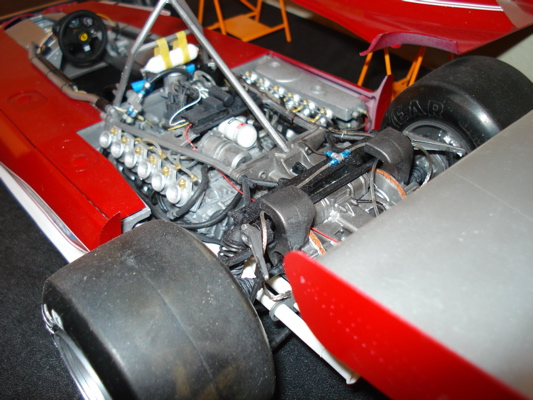
In April of 2004 I bought this on e-bay for about $50.00. It’s a really nice kit – but the decals have yellowed. I put the decals in the window and that helped some – but they are still yellow – I may have to repeat the window exercise. Here are the pics of where I’m at as of today:
10-16-07
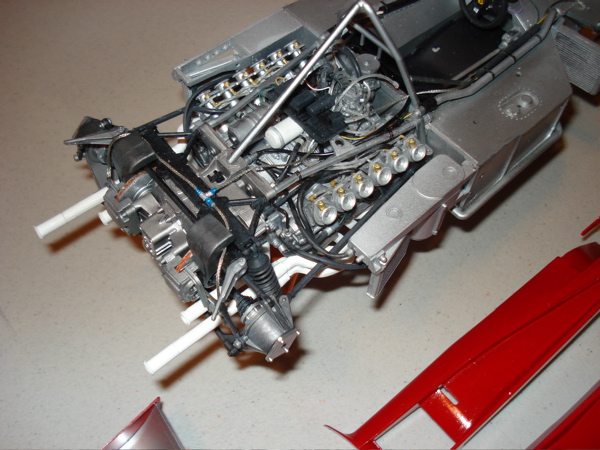
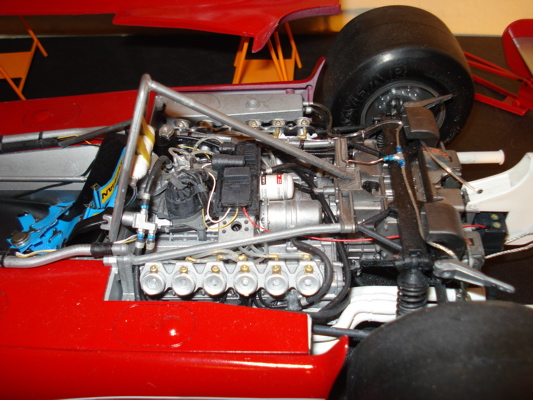
I have made some progress toward finishing this Ferrari. I have started on the engine and transmission. The included plastic tubing has become quite stiff and difficult to work with. I have improvised with other more flexible materials. The connectors for the hoses have been fabricated out of aluminum tubing and slipped over the end. I have also ordered a new set of decals from Japan – the original ones were just way too yellow and the white pinstriping decals would have been a disaster.
10-21-07
The decals arrived this last week – they are fantastic – produced by Cartograph for Tamiya this year (2007). And here are some pics of the build so far:
11-3-07
OK – I’ve done a bit more – the body has been painted Italian Red using a Tamiya rattle can, and the engine wiring is mostly finished. After painting the body parts I sprayed them with a Future Floor Polish and Windex mixture. The Windex lowers the surfacde tension so the floor polish goes down smoother. Then I brushed the parts with a 1 inch wide brush to remove bubbles and to smooth out the finish and remove any excess. Now the pics:
11-5-07
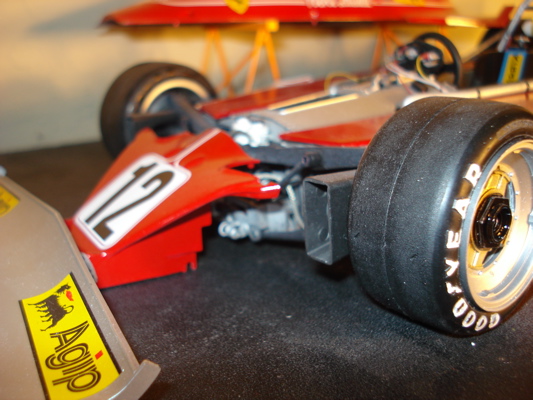
I have done a bit more on the decal application and engine wiring. The decals are very nice – the pinstriping is somewhat fiddley as you have to get it all to line up on each side and have both sides look the same. I have run out of the braided wiring so I will replace the brake line going from the back to the front with solder – that will be more accurate too. The aft wing and battery housing has been attached and the battery has been wired up as well as the hose connection to the rear radiator. I was able to get a formula 1 tool kit cheap off of e-bay and am in the process of painting that and etting it all up.
I’ve discovered one rubber tire (rear) has flats on two areas – I’m trying to figure out what to do to fix that.
2-28-08
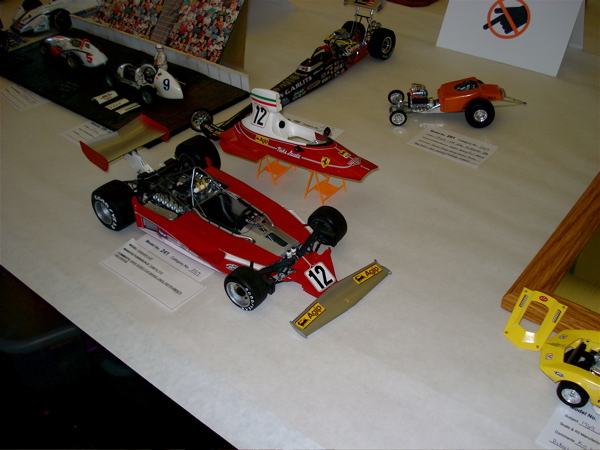
The model is finished and assembled except for the seatbelts which are on order. The tire with the flat side has smooshed out and now looks ok. I won’t attach the cockpit cover or the nose because they hide interior details. I have constructed a set of sawhorses for the cockpit cover. Here is the Ferrari at the 2008 Model Expo:
3-2-08
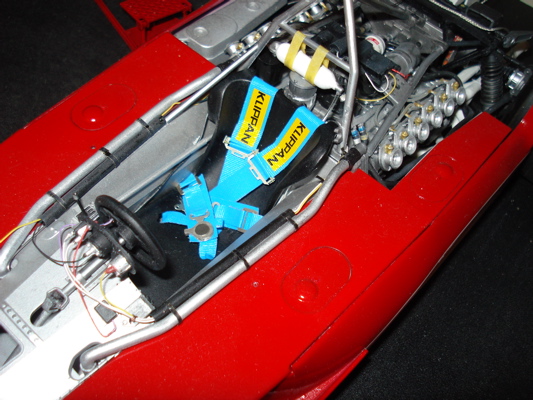
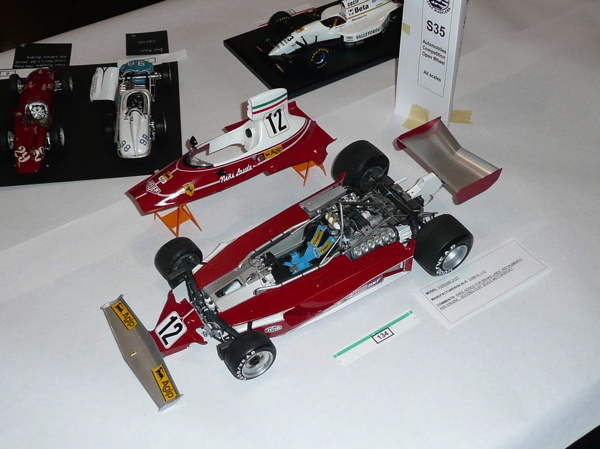
I received the seat belts made by Scale Motorsport and sold through MSHOBBIES.COM in Union City California. The seat belts are fantastic and really build up nice. I added decals to the seat belts as directed by the 2007 instructions. Here are pics of the final model:
5-15-08
Here’s is a picture from the 2008 SVSM Kickoff Classic held at the Santa Clara Convention Center:
