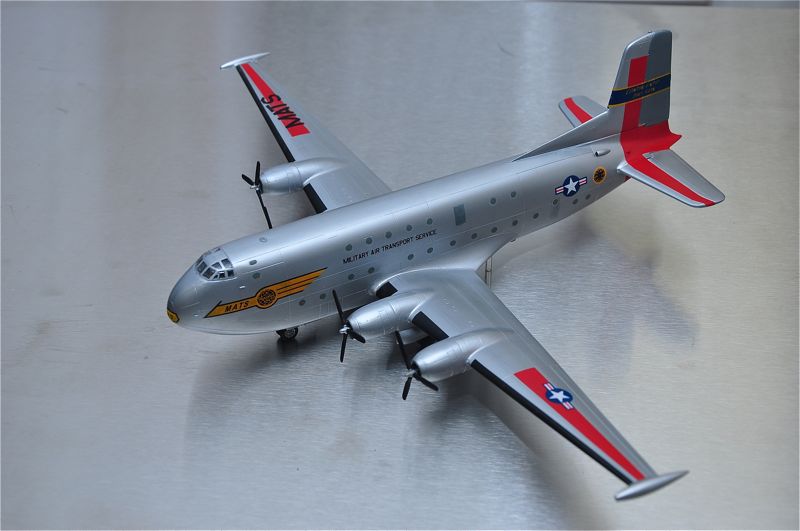
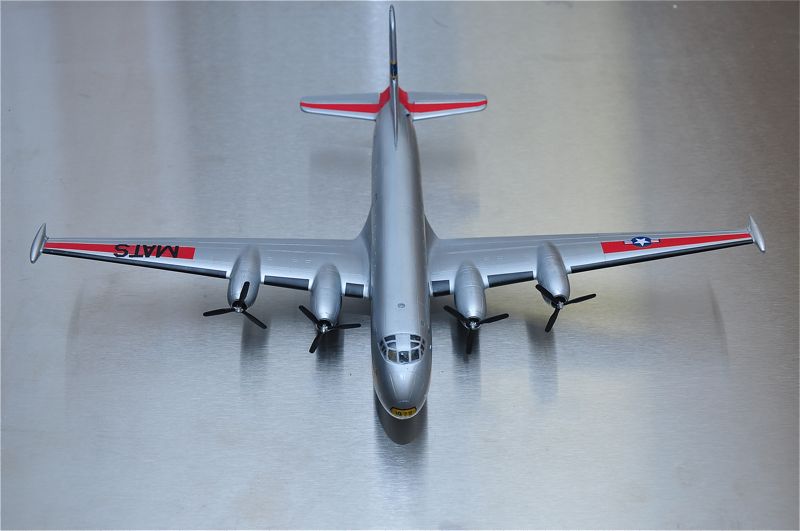
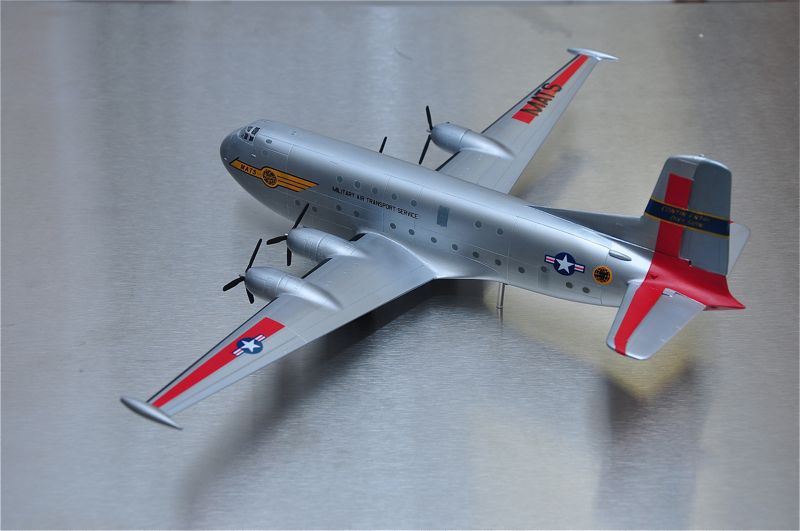
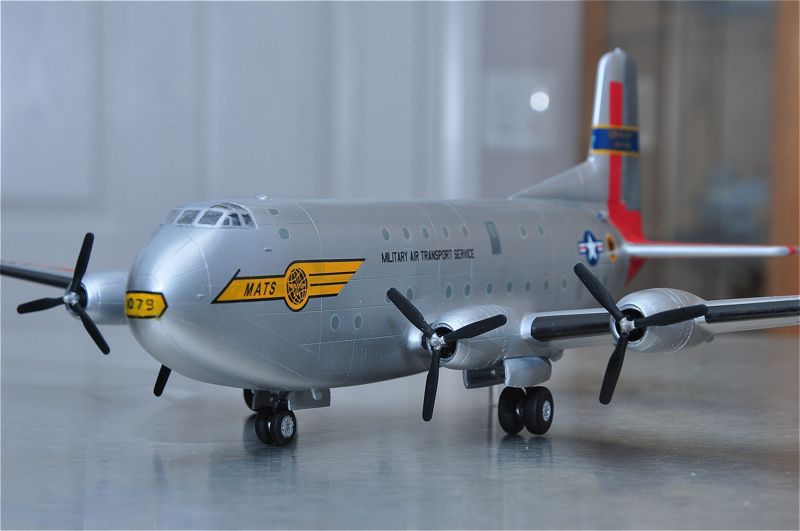
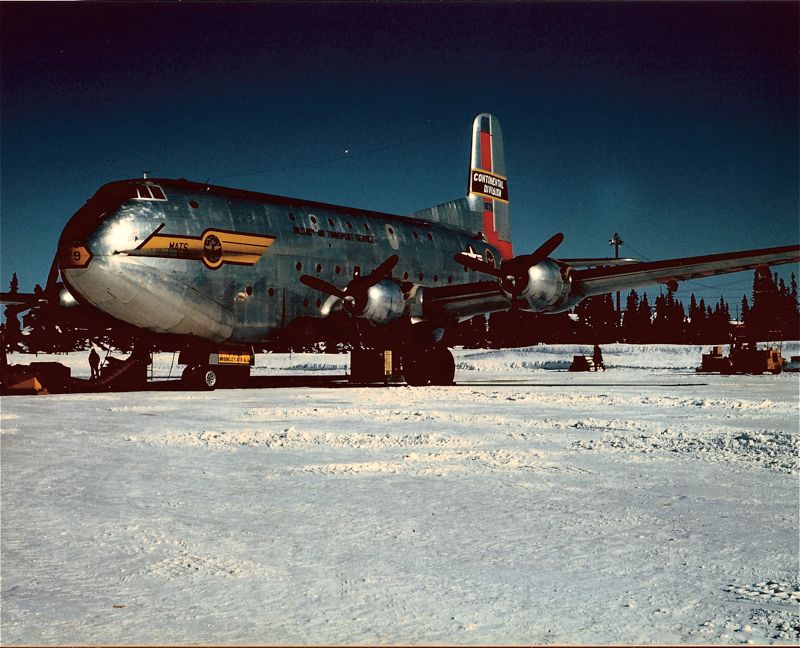
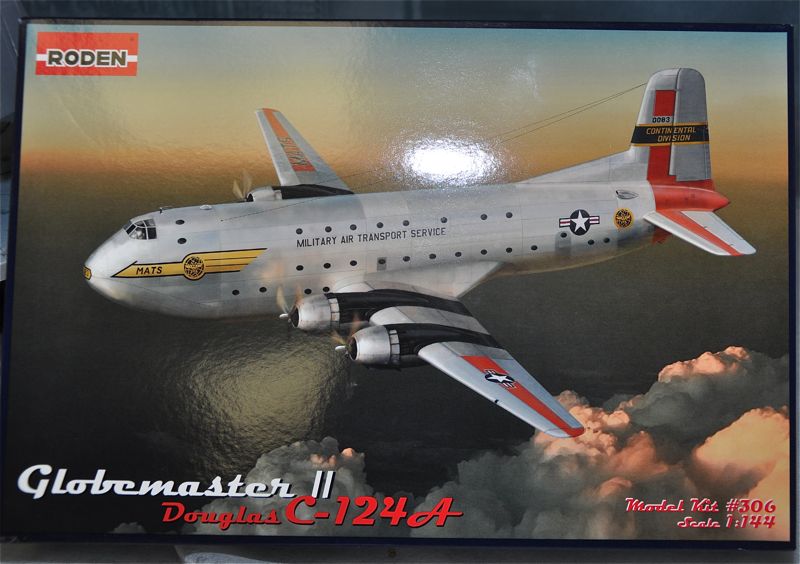
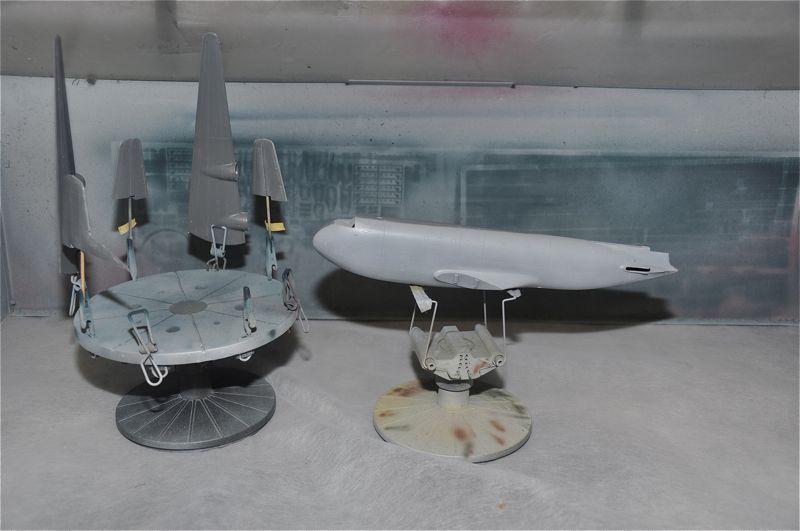
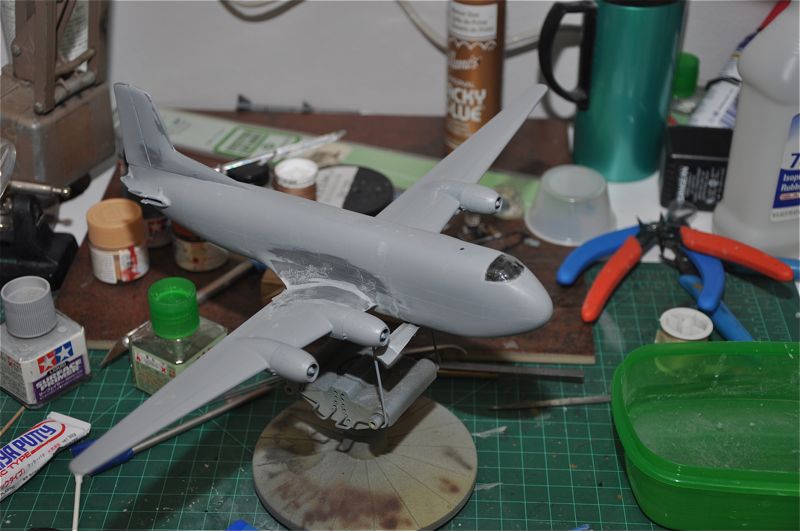
1/22/2013 Ok – I've started a model that's very close to my heart. My dad flew the C-124 in the 50's out of Greenland for a few years. When I saw that Roden had this kit out I snapped it up. 1/144 is a nice scale for "Old Shakey" as they were called. This is a big airplane and in this scale it is just the right size. This is my first kit by Rodan and I'm impress with the nice recessed panel lines but that's all. You really need to treat this kit as a limited run as all of the parts need sanding and shaping to get them to fit nicely. After gluing the fuselage together and clamping it overnight I filled the seams with Tamiya putty then sanded that down and sprayed it with Mr Surfacer 1000. Then sanded and puttied it where necessary and will respray soon. The same exercise must be repeated with all of the major assemblies. This won't be a quick build like I thought! The trailing edges of the lifting surfaces are huge too. I plane on finishing it with Alclad II lacquer which should be really nice when done. I've added a couple of pics to show you where I'm at:
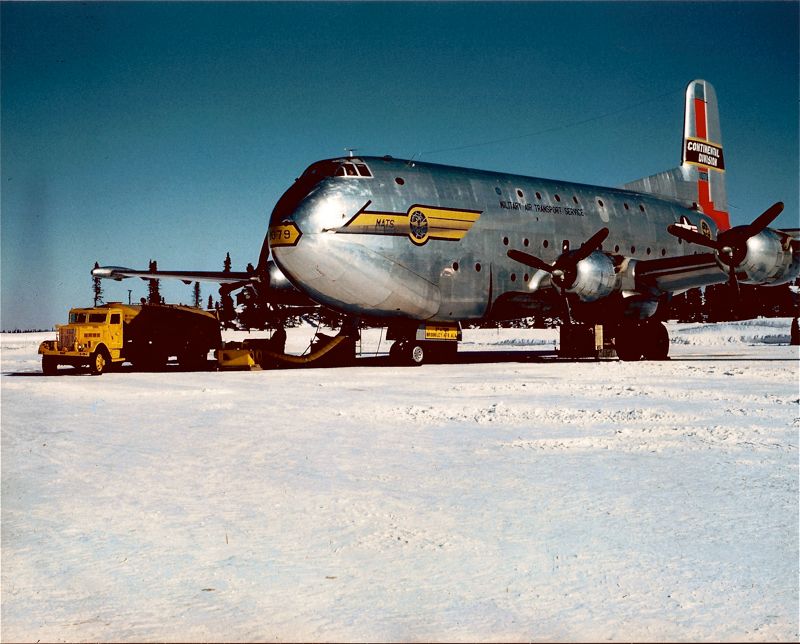
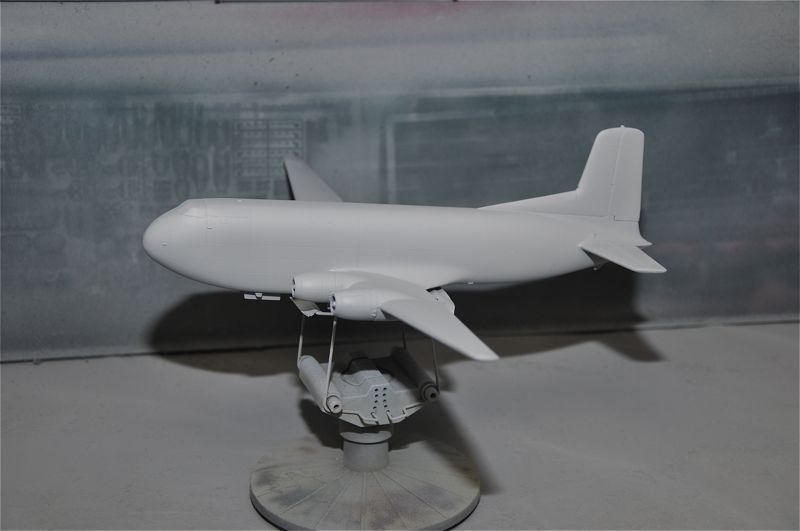
2/1/2013 I've now finished the priming and sanding and also most of the painting. I used Alclad II aluminum and not really happy with it. This stuff will give you a great finish but the surface has to be just perfectly smooth. Mine isn't and it shows in several areas. I have two pics of this a/c sitting on the runway in Labrador Greenland (this is the one that my dad flew) and I've painted it the same way. My dad's a/c had deicing boots on the week and the kit doesn't show that in the painting diagram. I have added the boots and they turned out nice. I painted over the glass in the canopy with Microscale Micro Mask – I'm anxious to see how that turns out! I will probably next spray it with Future diluted with Windex to get it to flow really smoothly and that hopefully will improve the paint appearance. I have to use Future because I have to add decals over the flat red areas. I will do a final overspray with Future and then brush paint Microscale Micro Flat over the red areas. Here are the pictures:
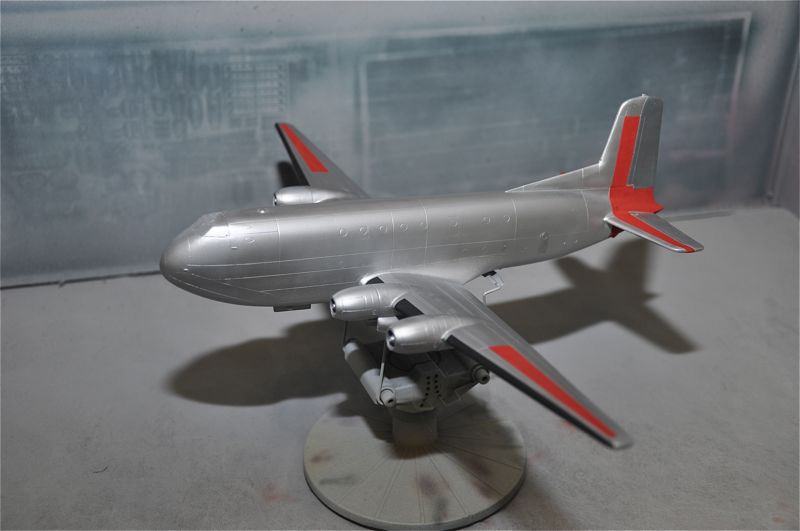
2/11/2013 Ok – here is the model pretty much finished. I still have to add the exhaust stains on the upper wing surfaces. I've finished adding the decals which are terrible. They didn't respond at all to any type of setting solution. They are really brittle. I've ordered another set from Ebay which should arrive soon. I will be able to put these over some of the decals which will not show through the undersurface, plus these new decals are better defined. I added a small clear sprue piece instead of adding weight to get it to set properly on the wheels. The main gear aren't all setting on the ground at the same time – I may address this – or I might just leave it be. I've also added two pictures of my dads plane as it sat on the runway in Greenland.

