9/11/2023
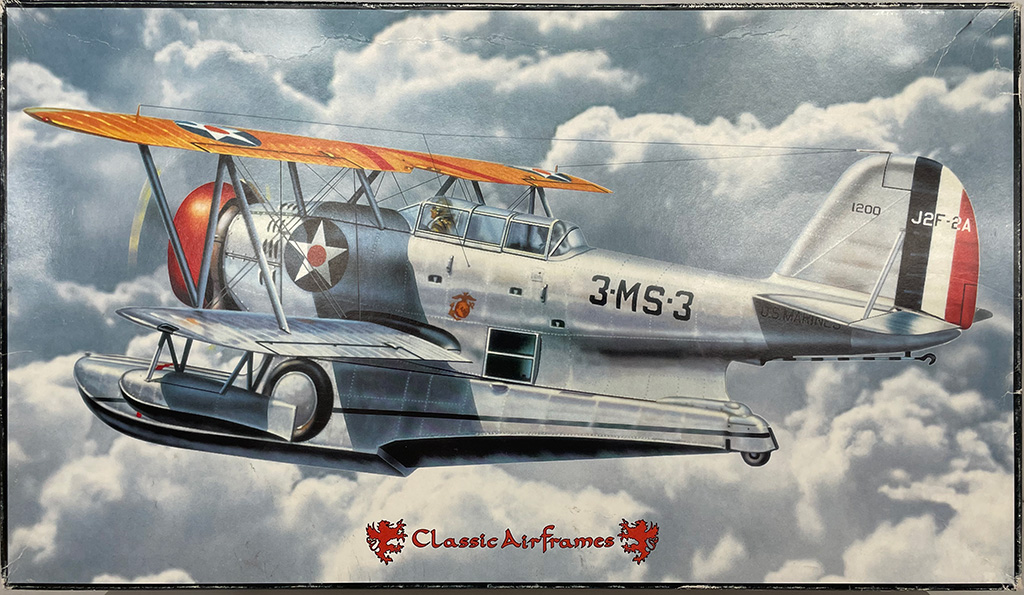
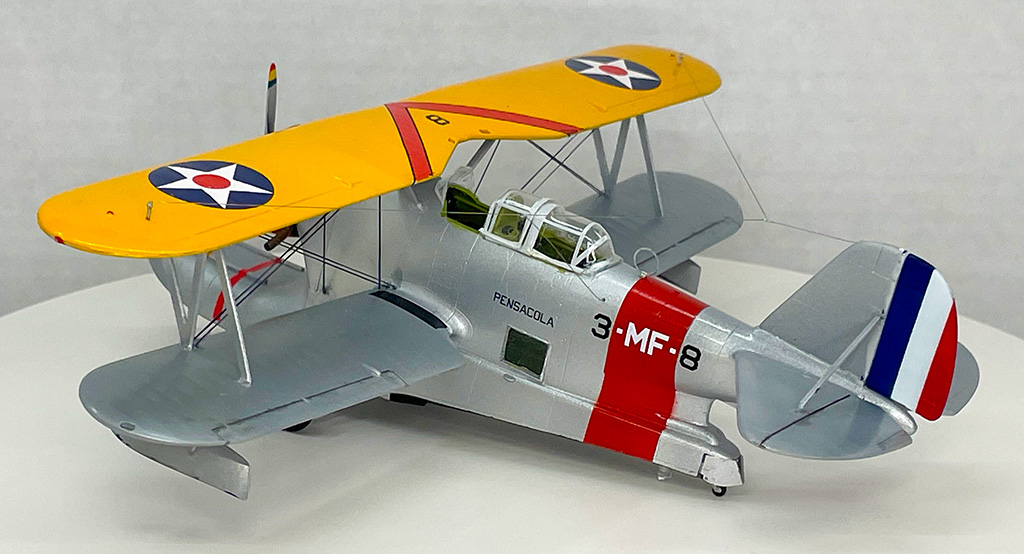
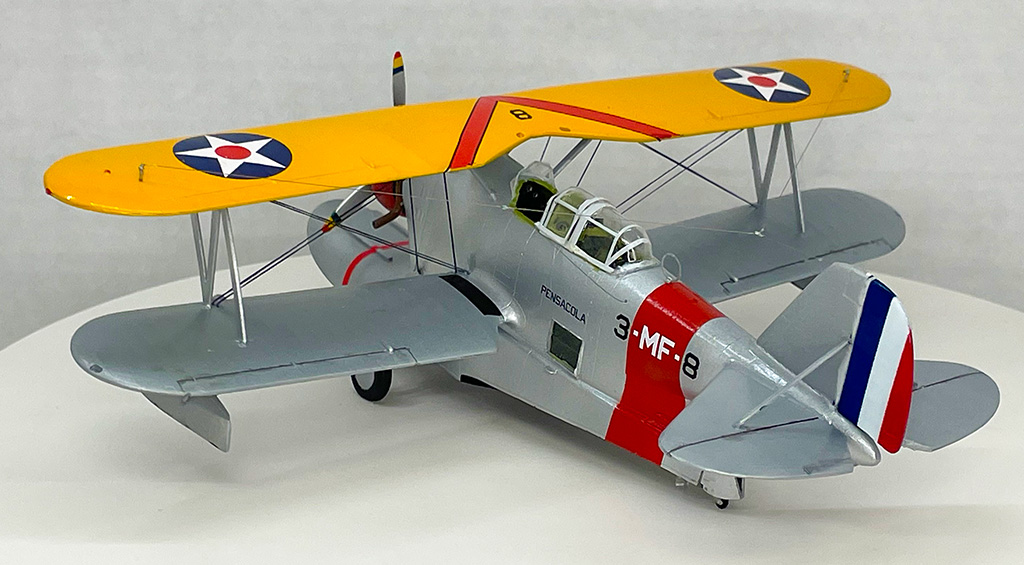
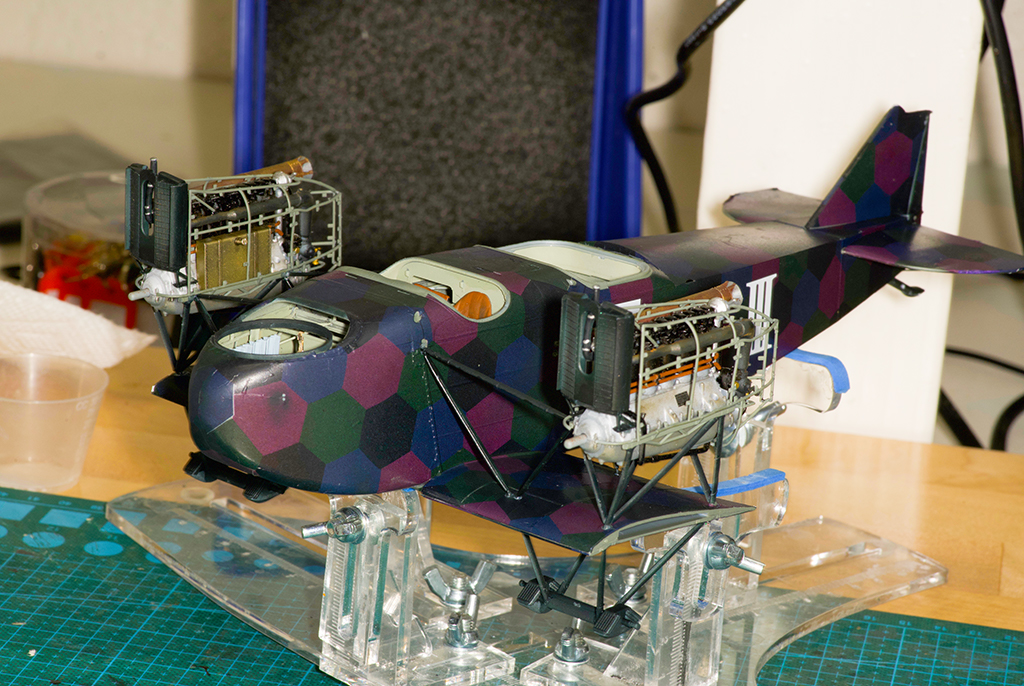
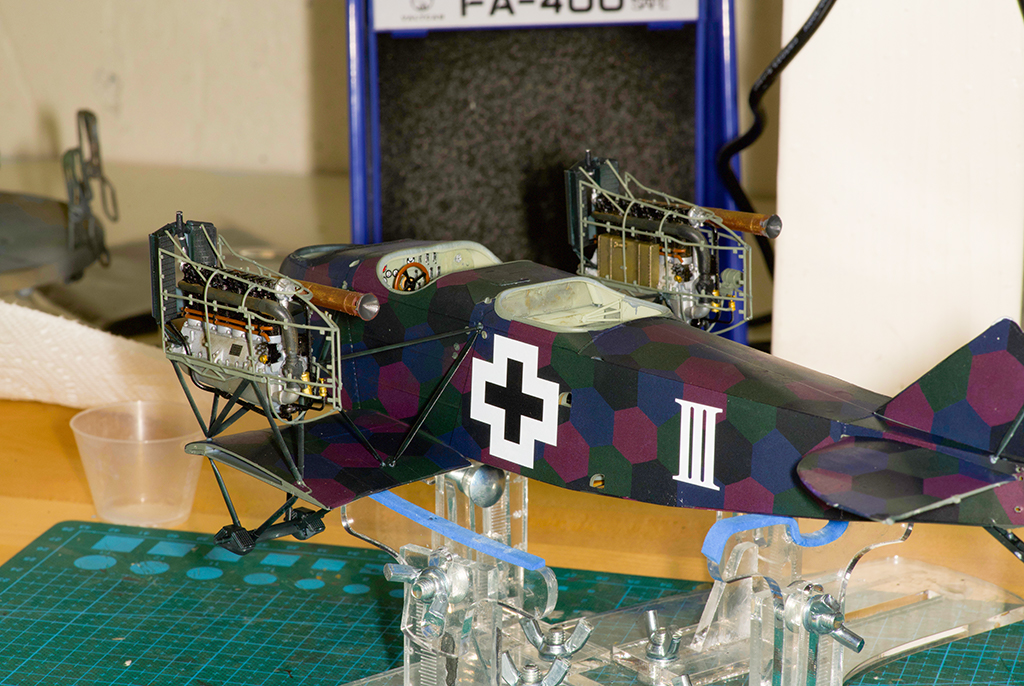
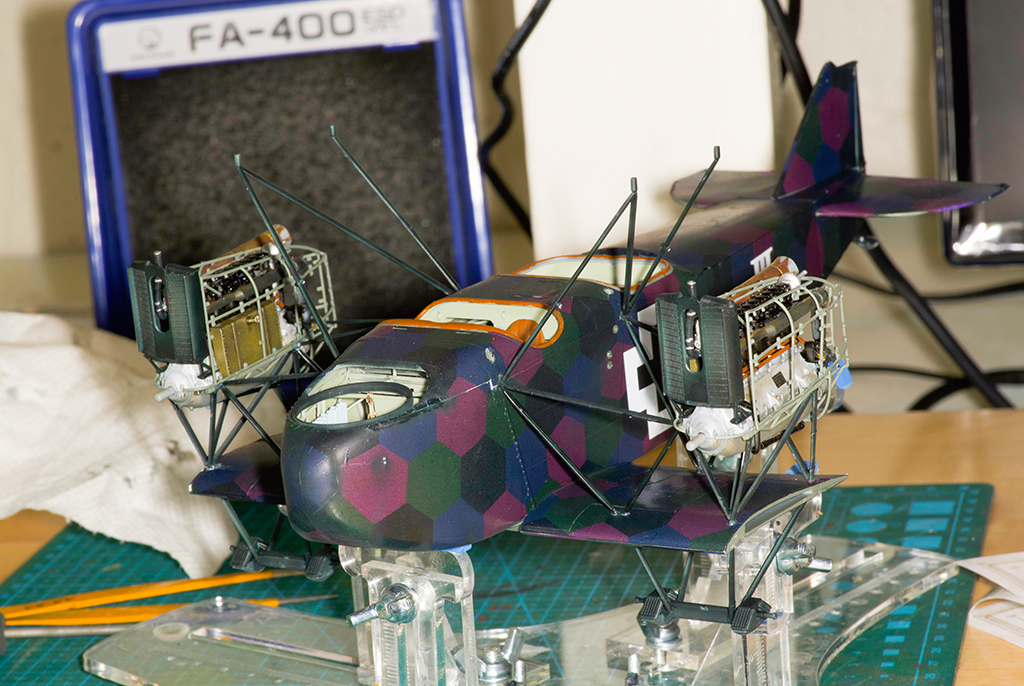
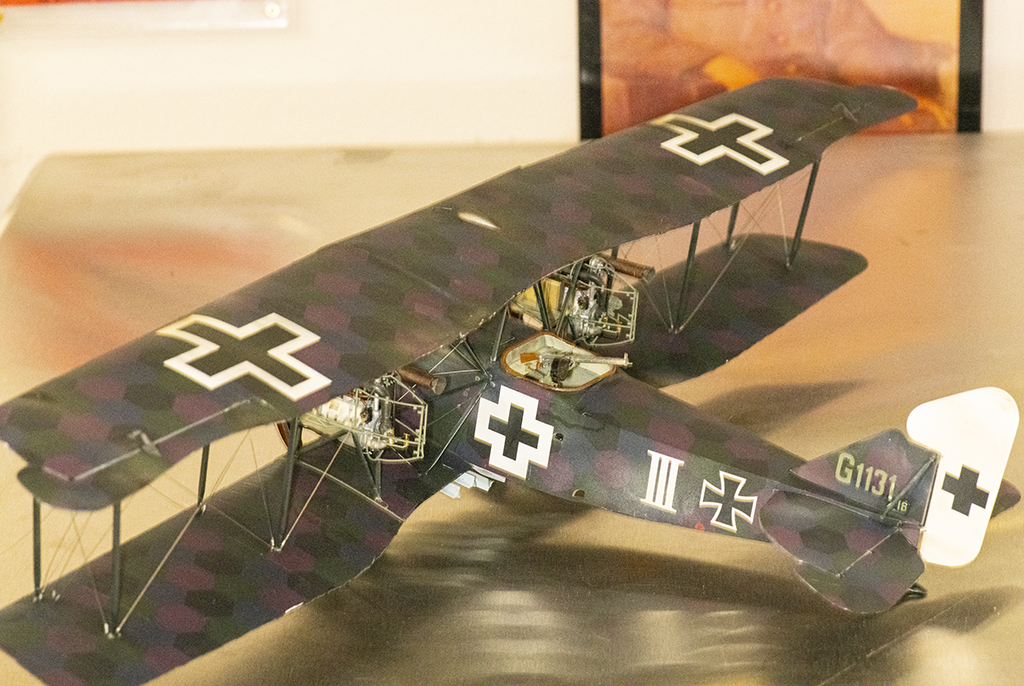
1/48 SCALE J2F-1 DUCK BY CLASSIC AIRFRAMES
Today is Monday, September 11 our second day of infamy – today is the 22nd anniversary of that.
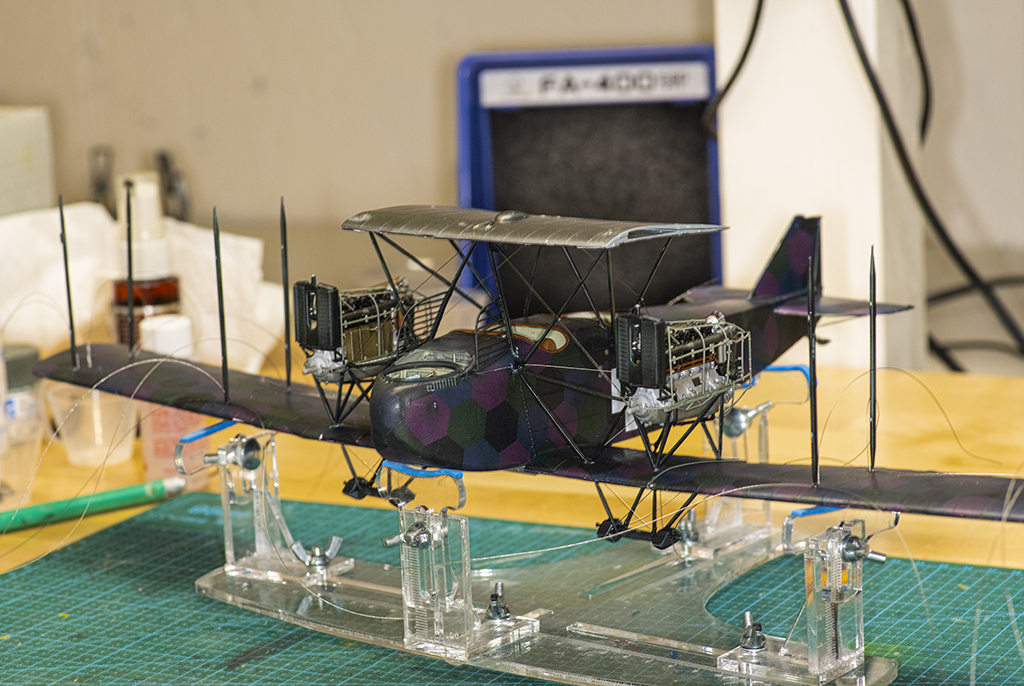
In this article a present to my 148 scale model of the J2F-1 by Classic Airframes. I've never built anything I believe by Classic Airframes before and being a short run kit hi it has it's a pluses and minuses. On the plus side the wings are fantastic. The fuselage however it has little surface detail, also the meeting surfaces for the wings and the horizontal and vertical stabilizer are just flat, so you have to make allowances for that. The landing gear is a very fragile can and I ended up drilling out the joint sections using my small-scale drill press and putting in small brass rod to strengthen the whole thing. This made it very robust. The other parts the landing gear are supplied as small plastic rods which add nothing to the strength of the landing gear. I replaced them with brass rods. All of this was glued together with CA and it ended up working really well. When attaching the wings, I drilled and added 2 brass rods to the wing attachment side. Corresponding holes were drilled in the fuselage. I attached the lower wing using CA and that worked out great. For the horizontal and vertical stabilizers, I sanded the mating surfaces and used CA to attach them. I didn’t have any problems with them coming loose.
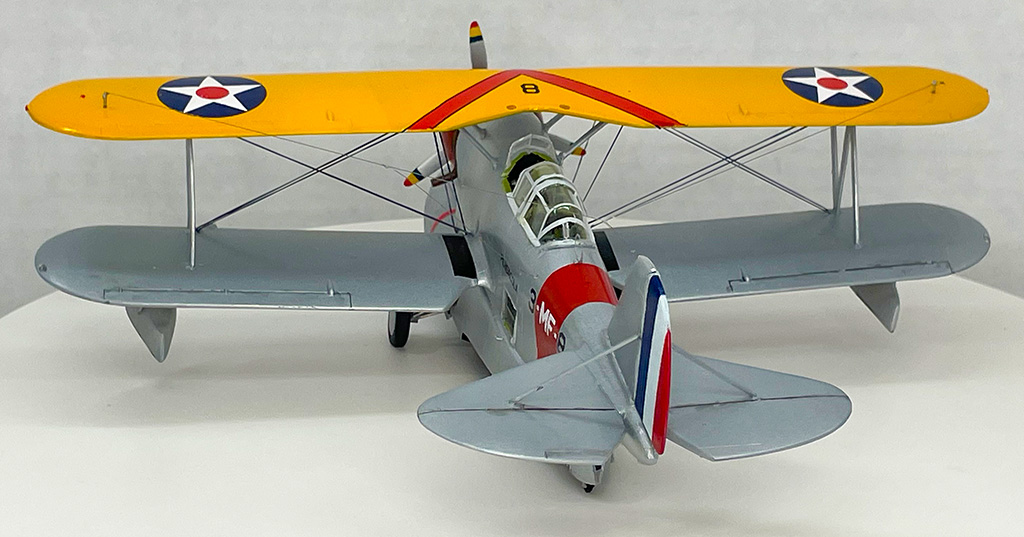
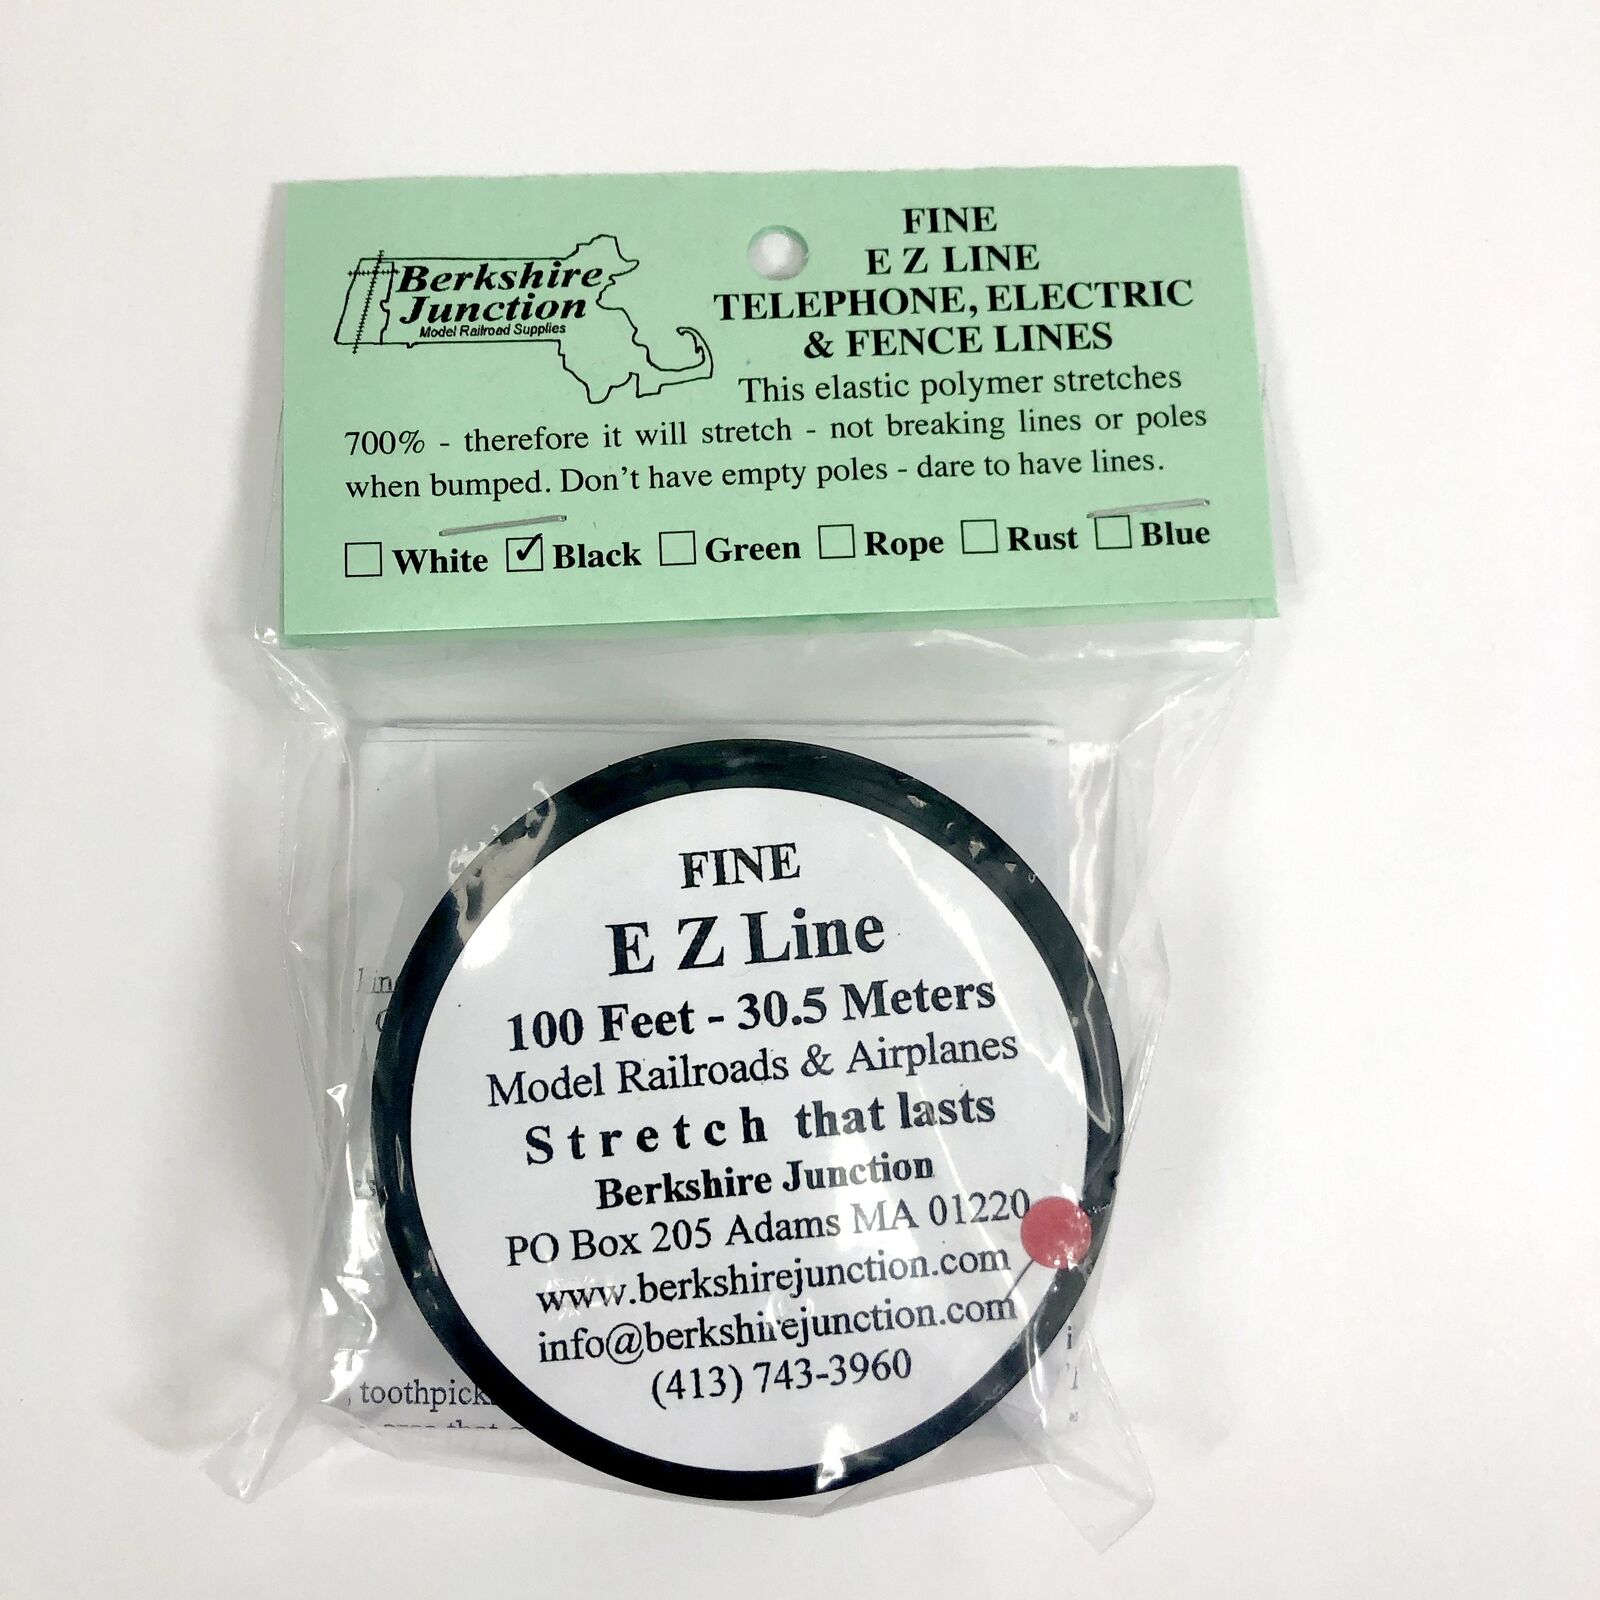
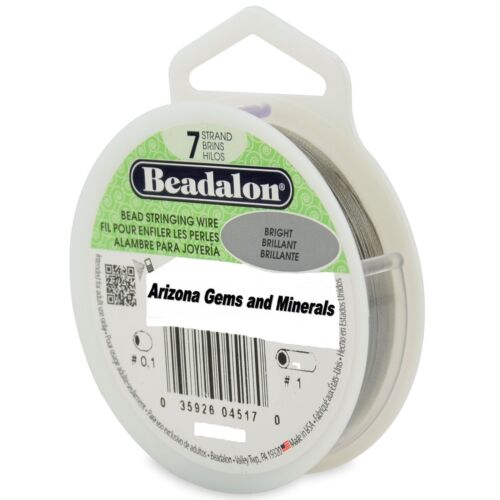
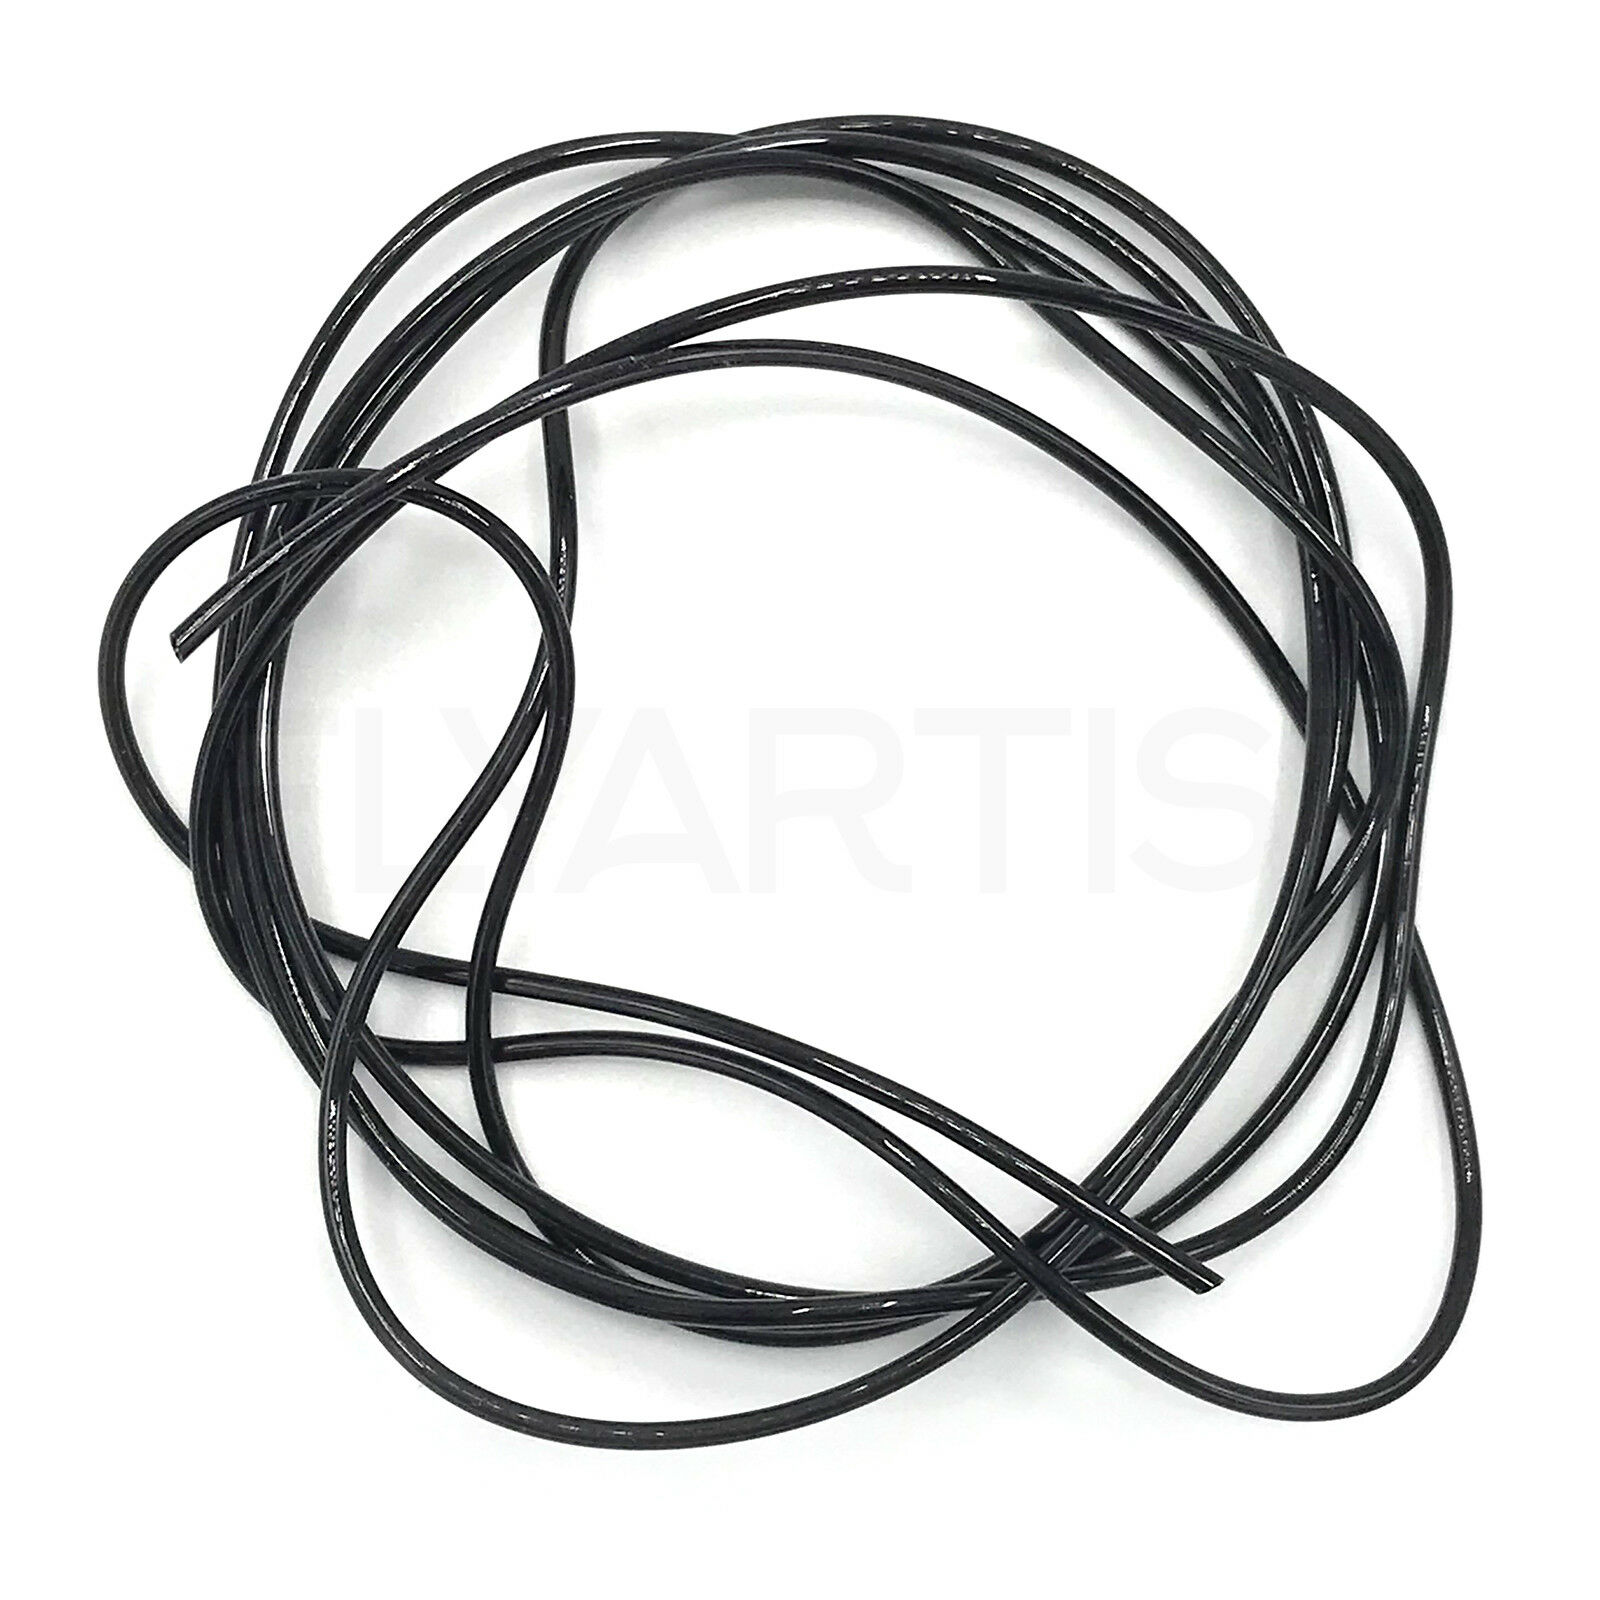
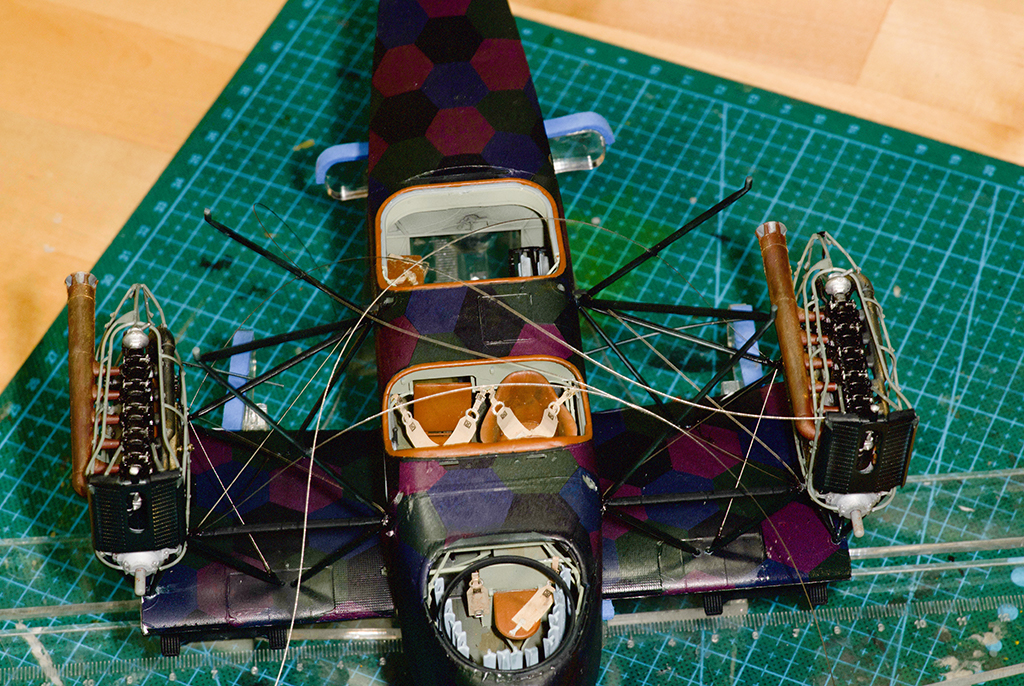
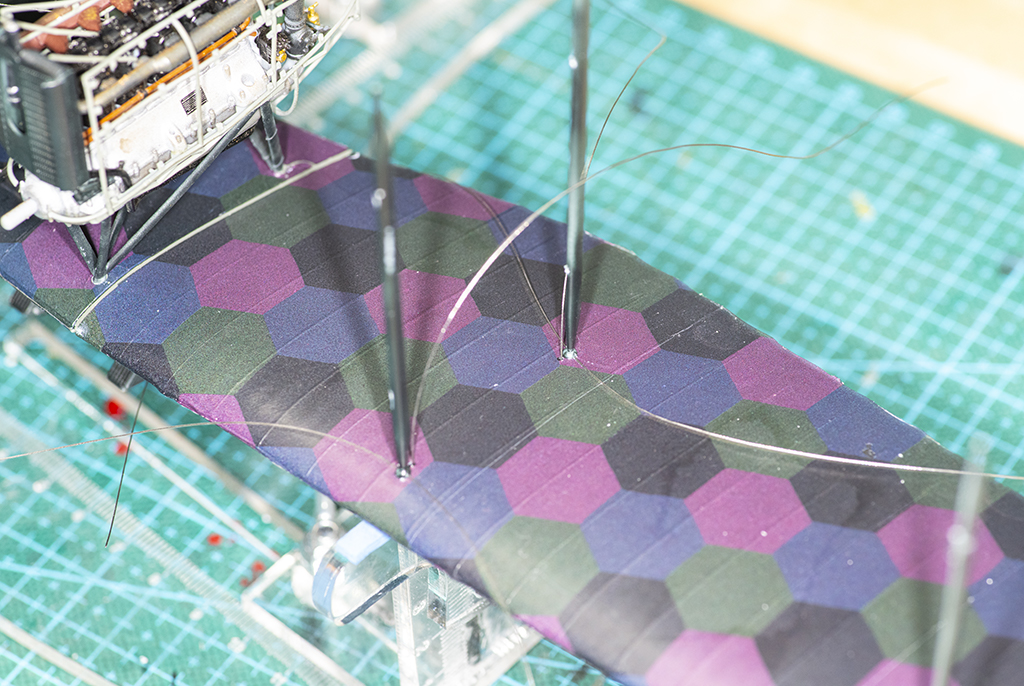
For the rigging I had some .25 mm dia wire from Beadalon in silver which seemed to be just right. I drilled the attachment holes through the wings and attached the wire. Excess was trimmed off and sanded smooth. It looked pretty good. However, as I went along with the build kept knocking them loose. I tried to reattach them, but it was not working out well. I ended tearing out the wire and replaced the rigging with EZline which was easier to attach and have it look tight.
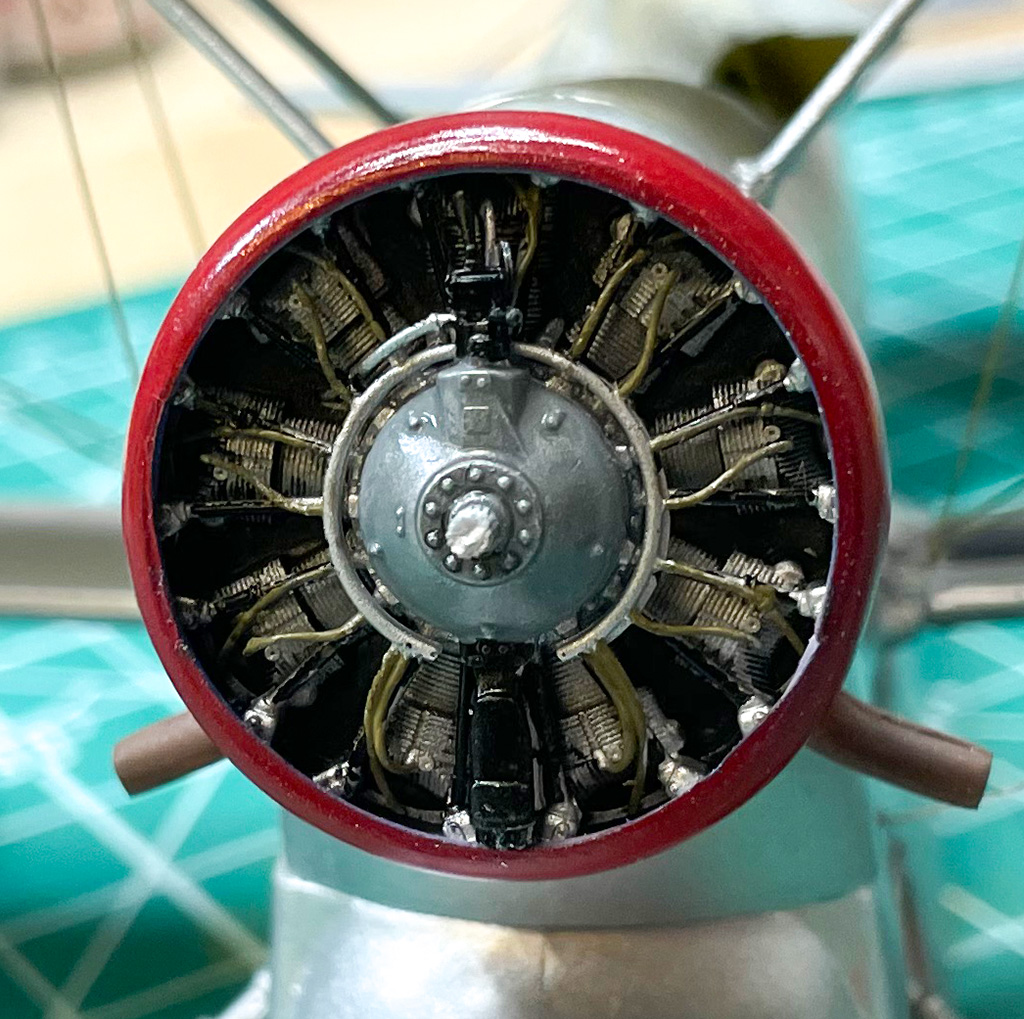
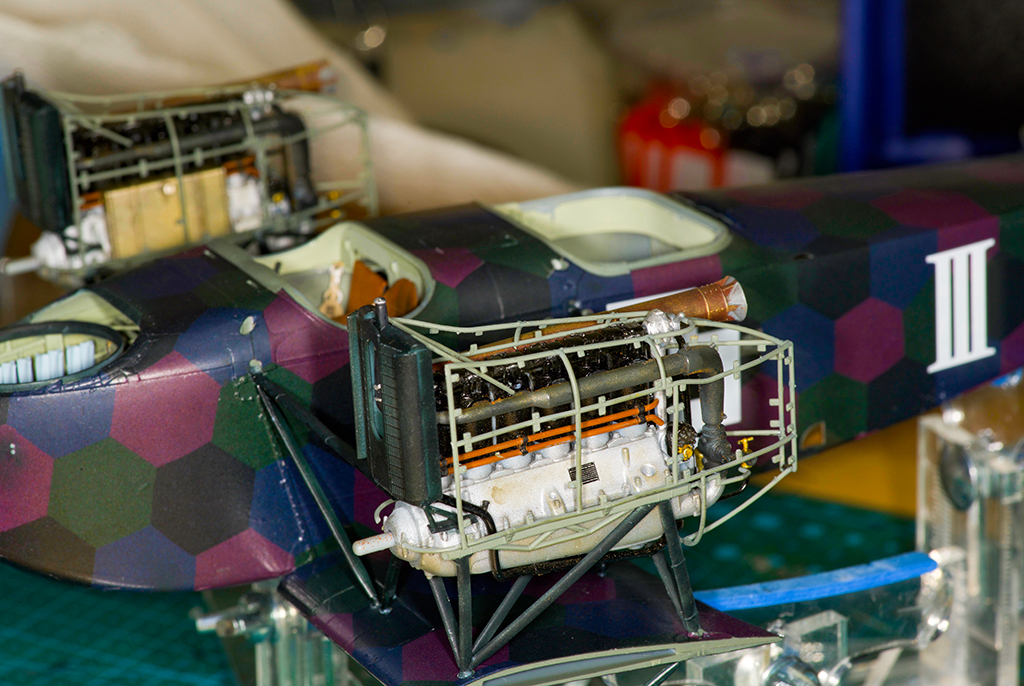
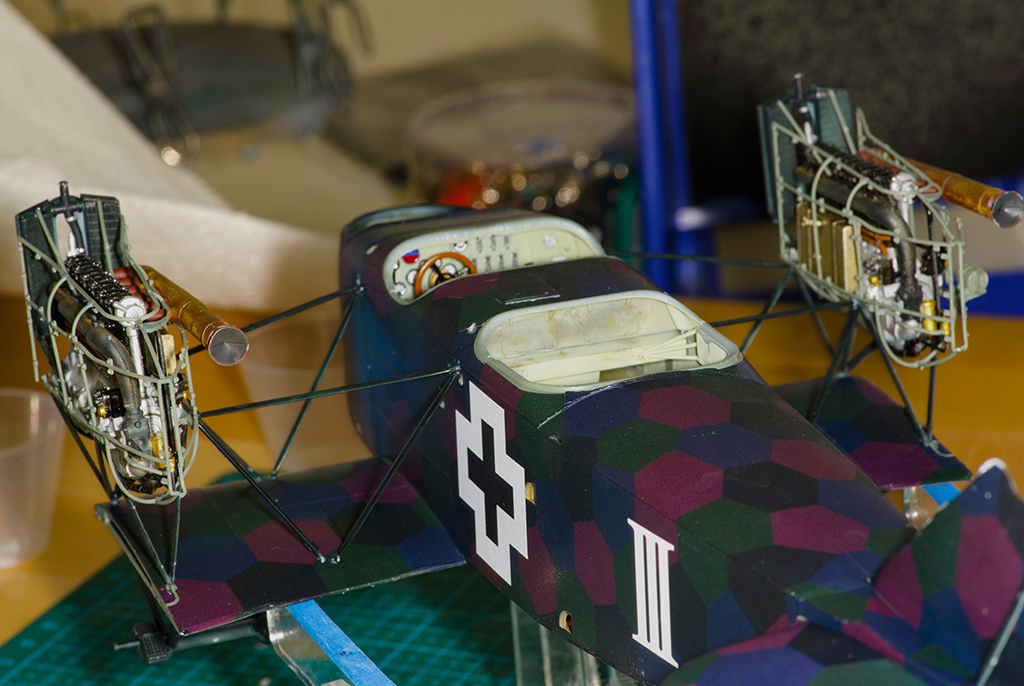
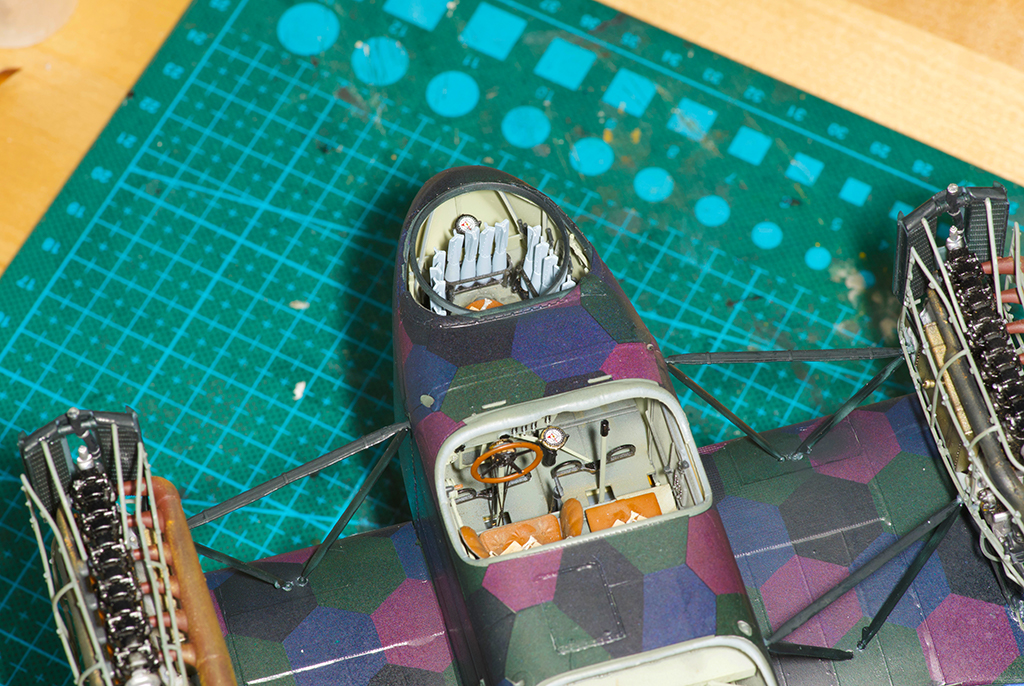
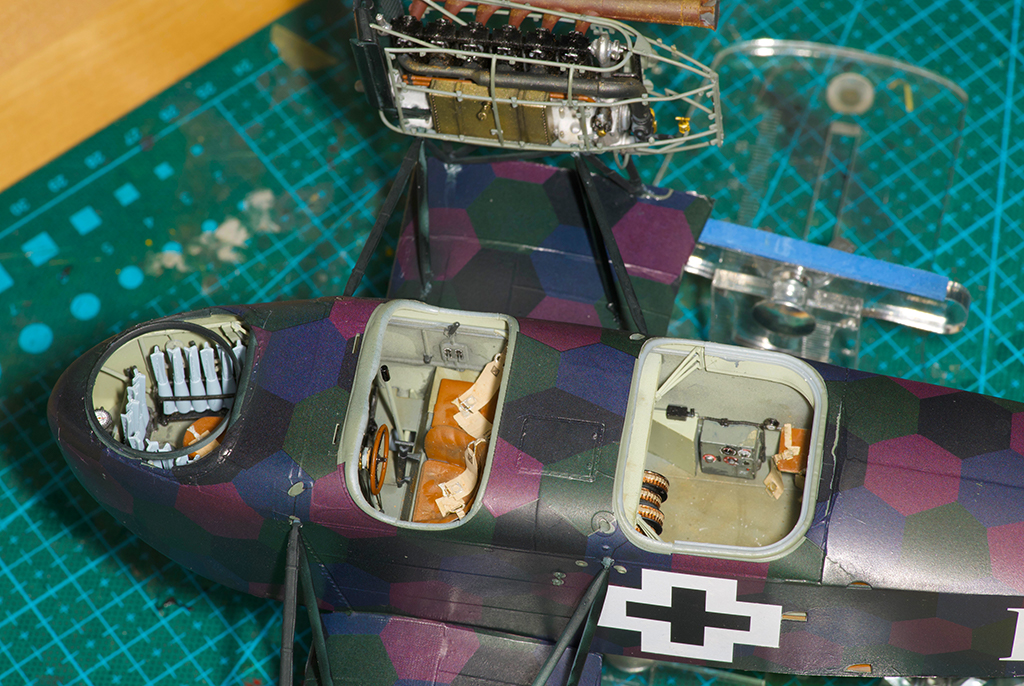
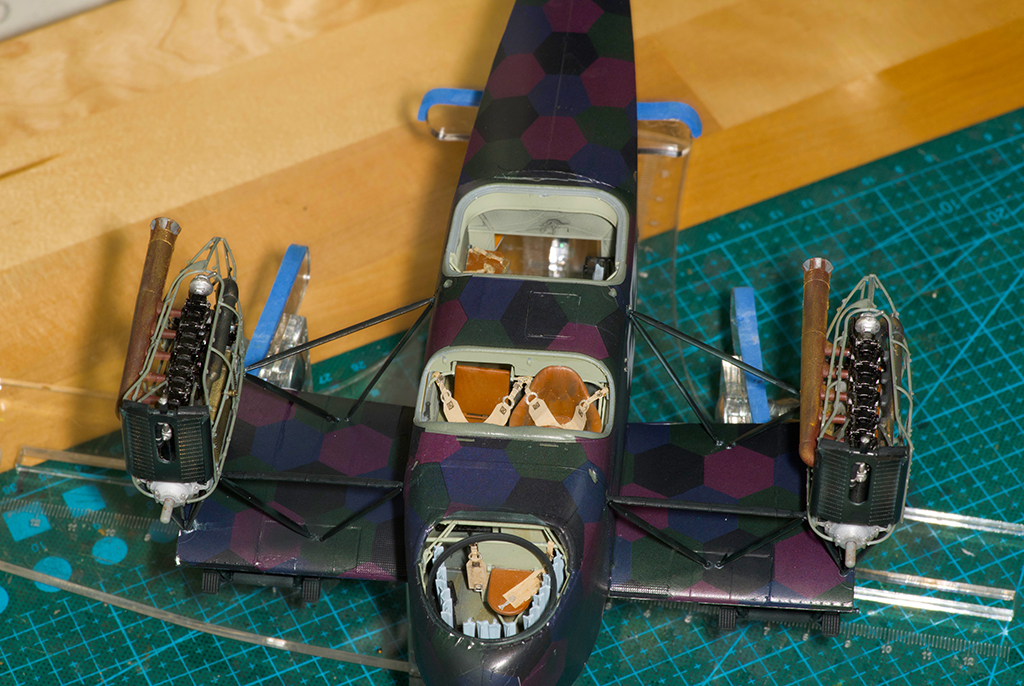
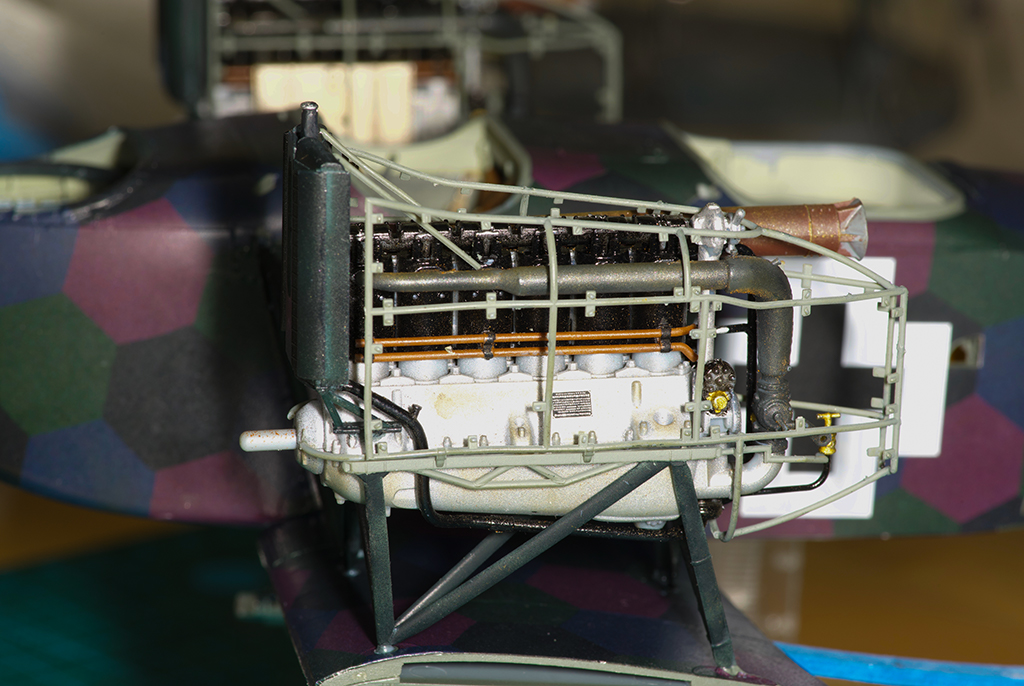
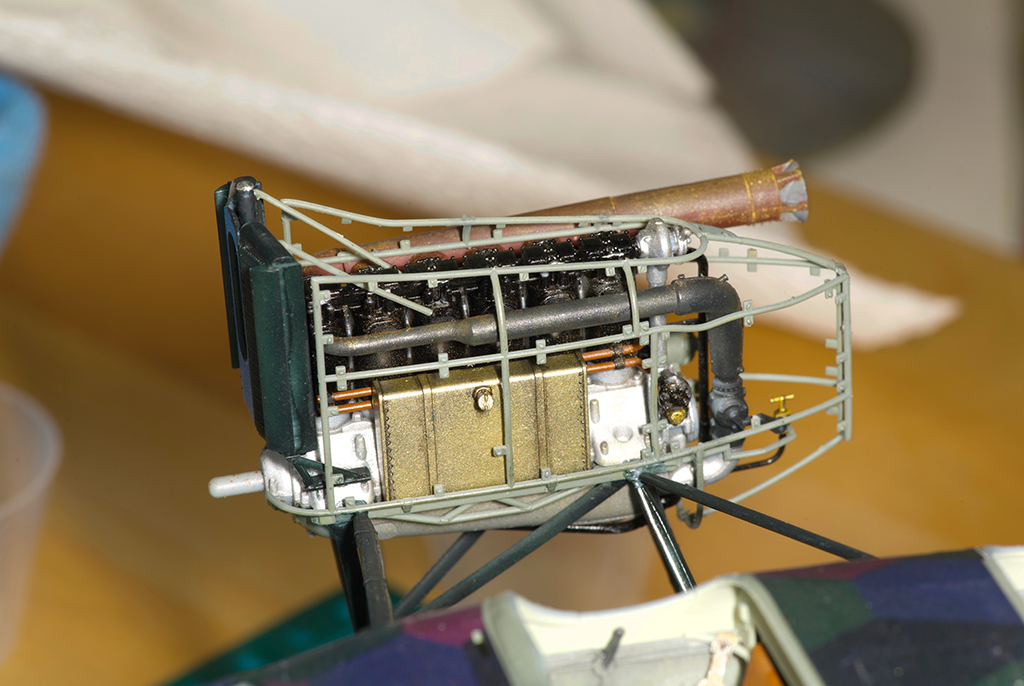
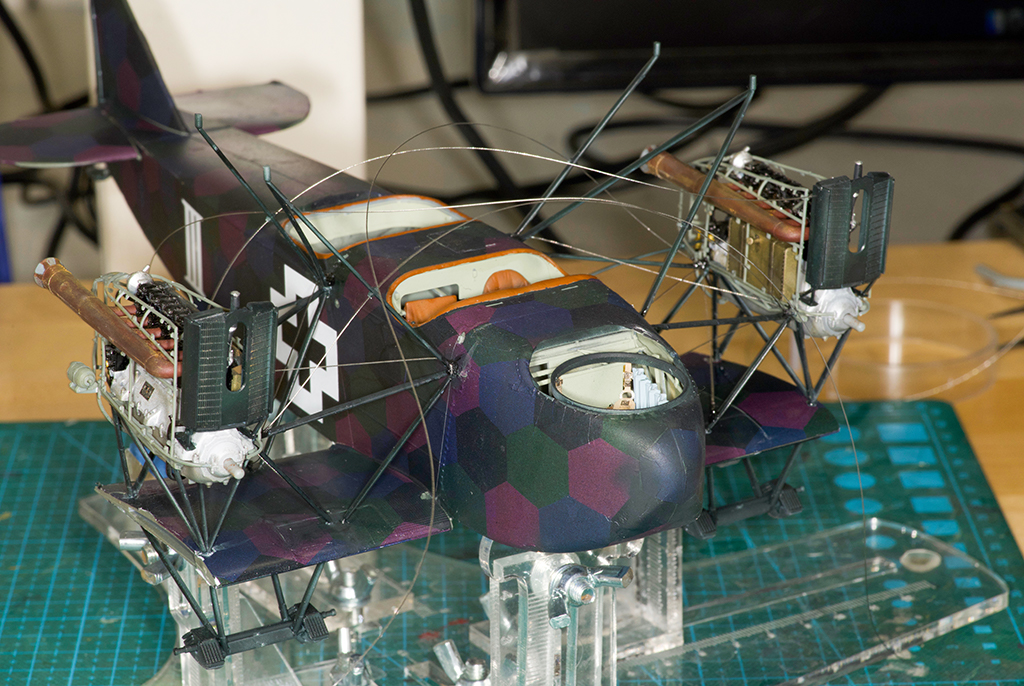
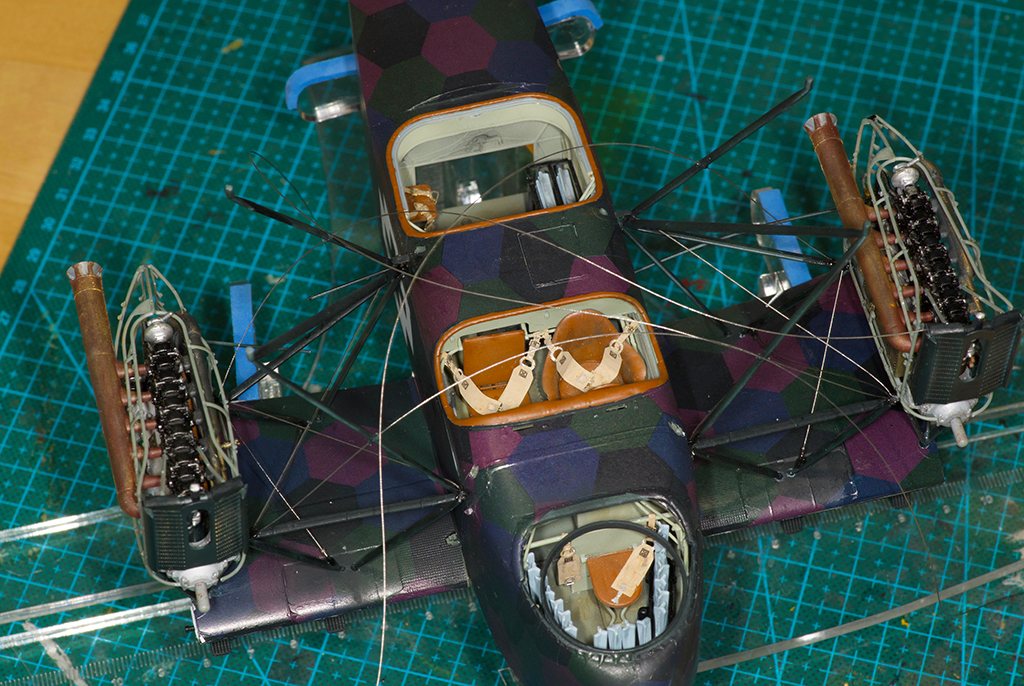
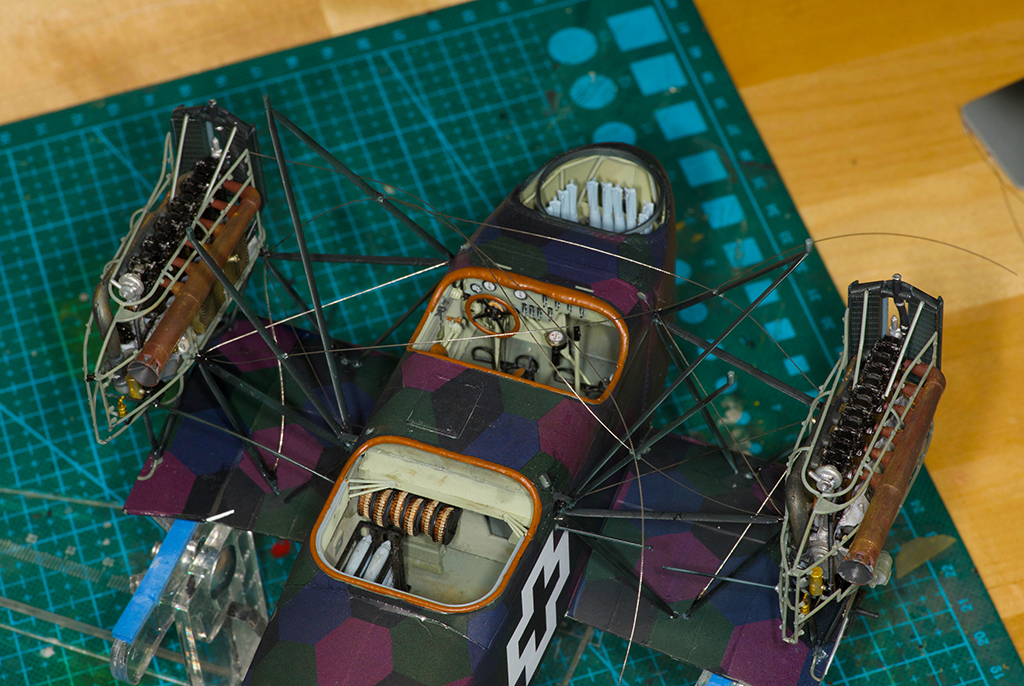
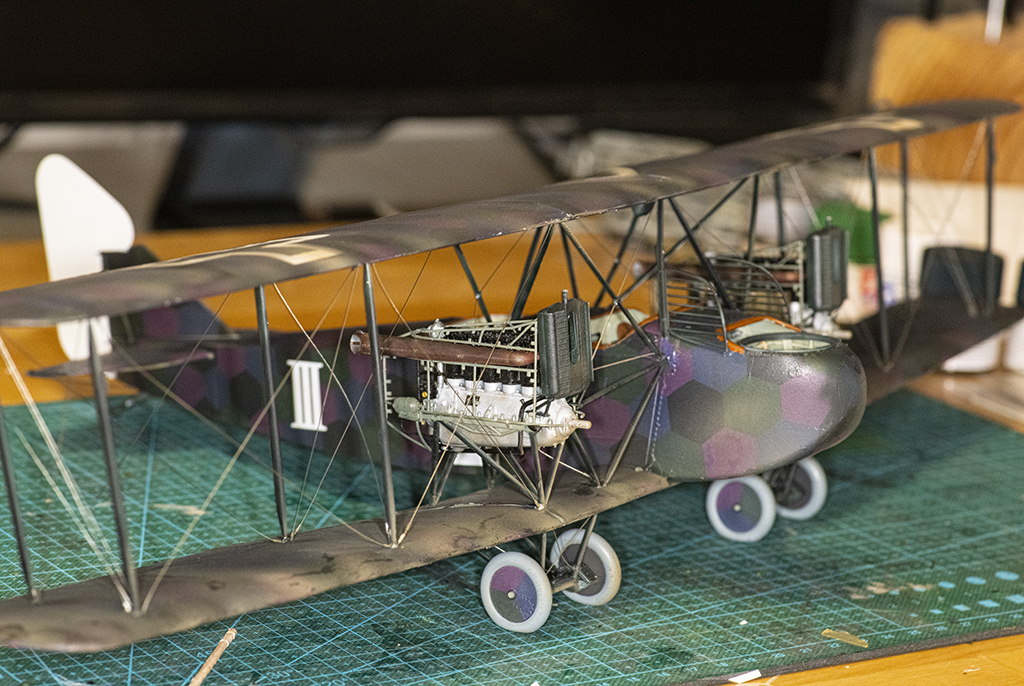
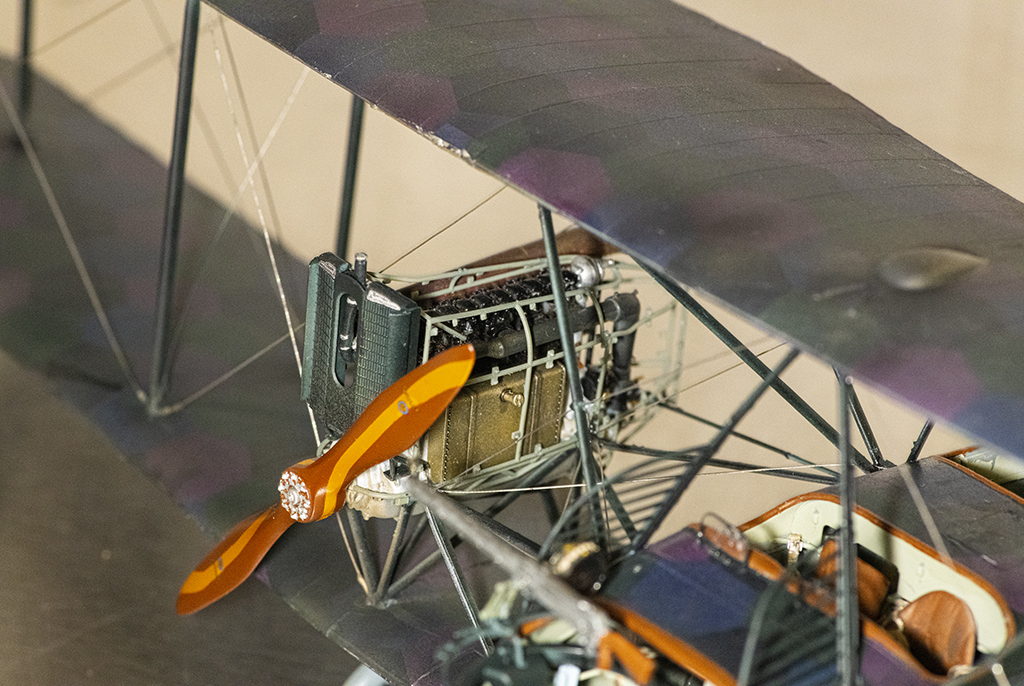
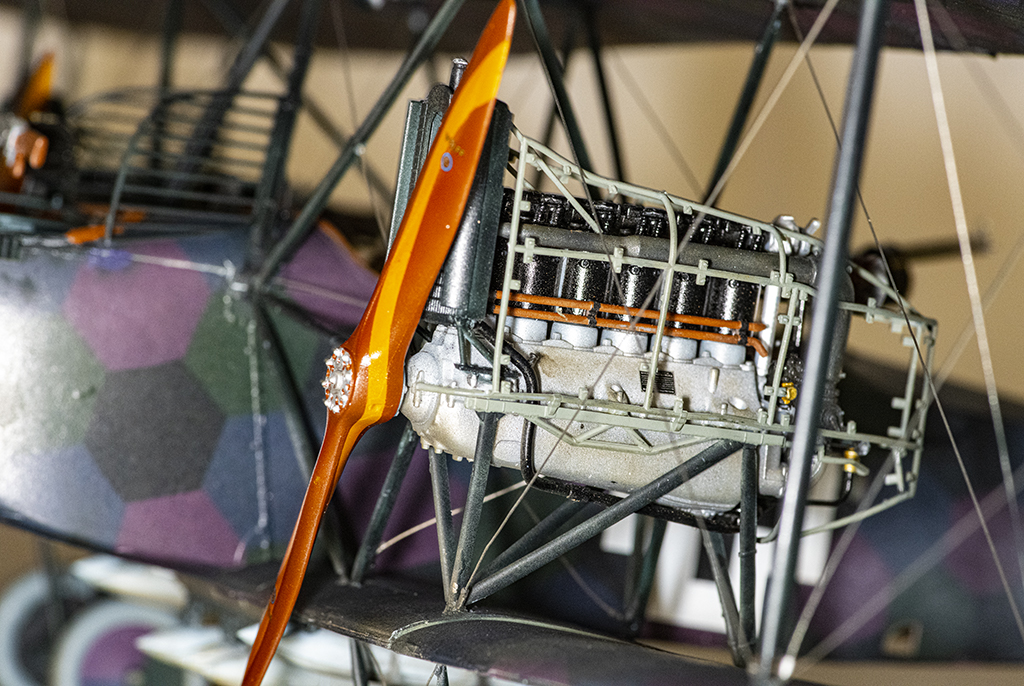
About the engine – the kit engine is resin and just isn't up to snuff. I ordered a Pratt & Whitney R1820 from Resin2Detail (see pic) and their's is a vast improvement.
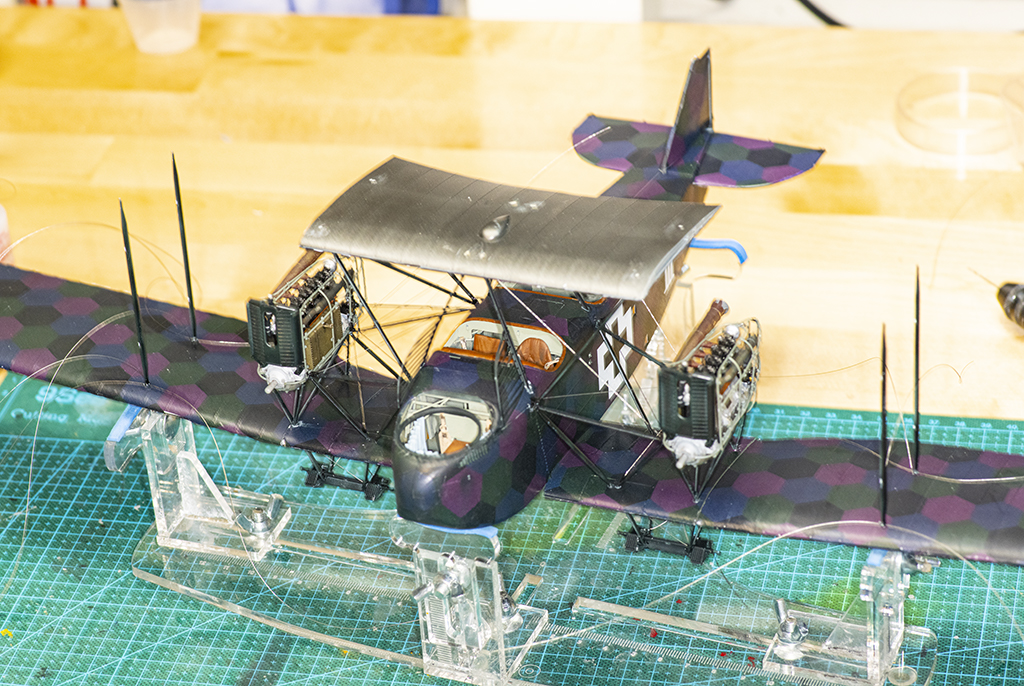
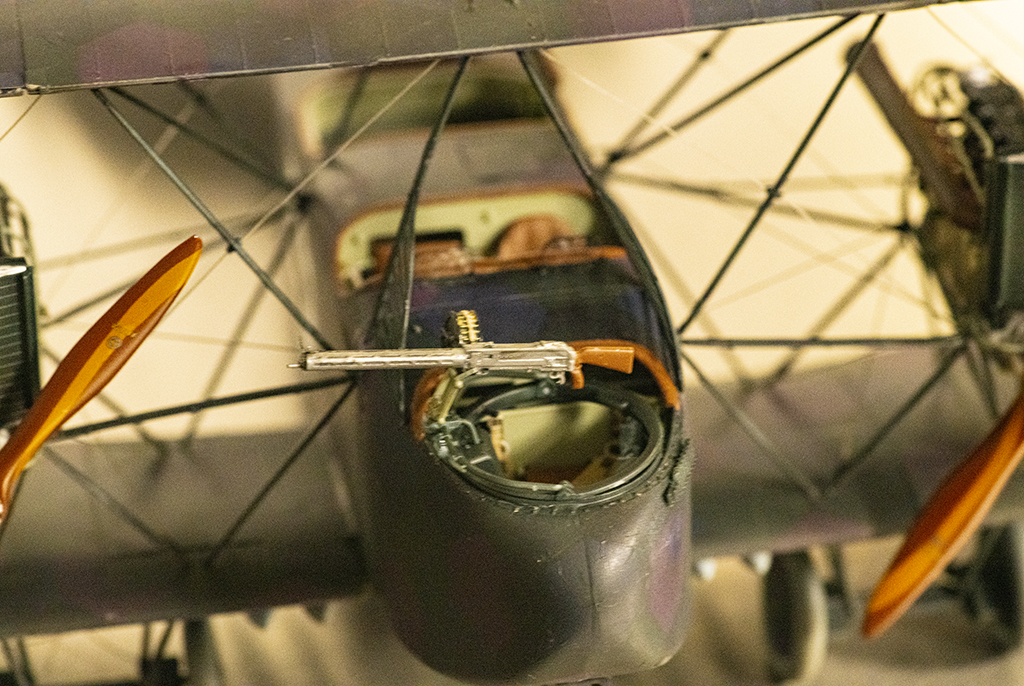
The supplied canopy is ok, but there is really no option to have any part of it open. I wanted to show the canopy open, so I used a vacuform one I had ordered from Squadron. You have to be careful trimming these out. For the canopy I used some silver decals I sourced from my decal box. The canopy was attached with ZAP Canopy Glue – it looks like white glue to me.
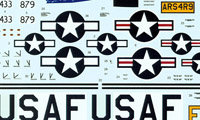
At this point I added the decals. Those supplied in the kit were very fragile and I ended up having some breaking which I repaired as best as I could. At this time everything was painted so I gave the complete model a coat of Mr. Super Clear.
There is one saga which I will address now. That is the rudder. There is a kit supplied decal for each side of the rudder. No problem I’ve done this many times. This time I noticed that after they dried, they were not lined up one side to another. I thought I would just leave it. That idea didn’t last long. Why not just cut off the rudder and paint the colors with my airbrush. I did that and everything looked great until I gave it a coat of Mr. Super Clear. Well, if you do that and the paint underneath isn’t completely dry things start to look like a Jackson Pollock painting. That wasn’t the effect I was looking for.
Now I had a mess – what to do. I decided to use some Tamiya Lacquer Thinner brushed on carefully. That did the trick. After some work with this I rinsed the offending part in hot soapy water to clean off any residue. I proceeded to airbrush the red, white, and blue colors making sure the paint was dry before going on to the next color. This ended looking presentable. I attached the rudder the same way I did with the wings – with small brass rods. This time I didn’t add any Mr. Super Clear just to be safe.
I rigged the antennas with very thin invisible thread.
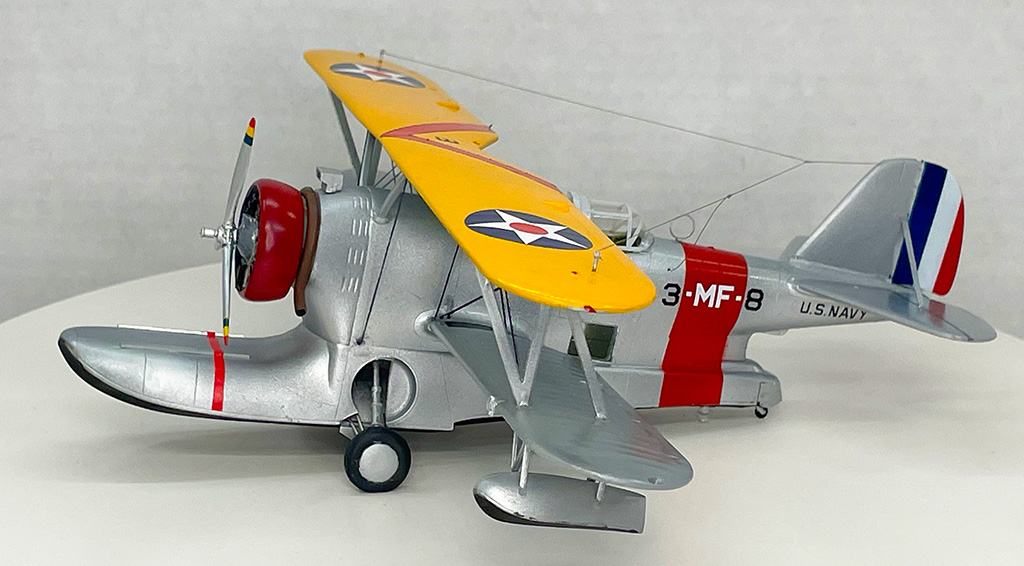
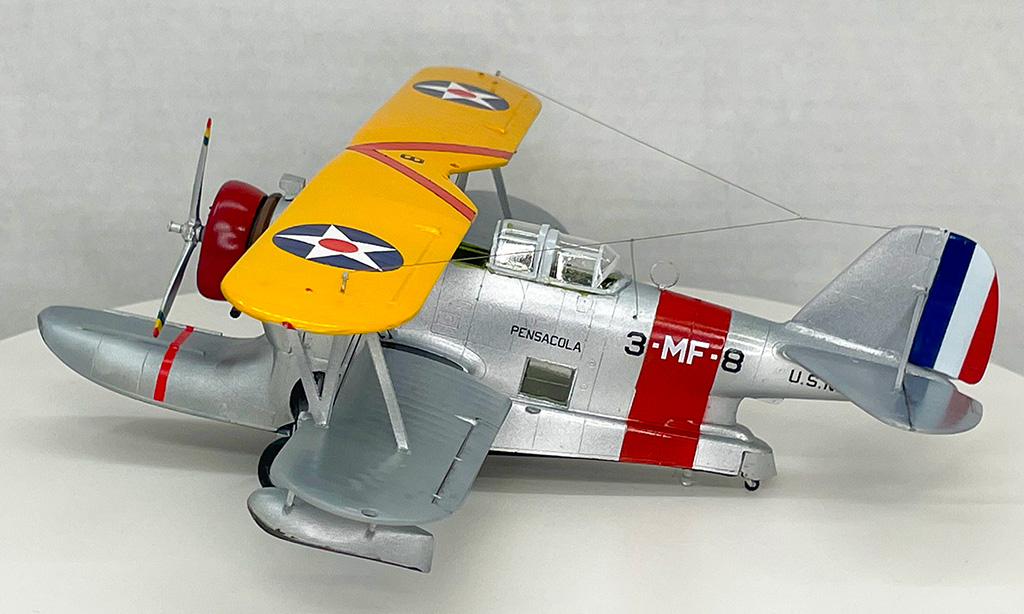
That’s it. There are many flaws with the build reflecting the failure of your's truly in assembley and painting etc. but result looks like the J2F and I’m happy.
To see a video of the model on my turntable – click HERE.