BUILDING THE TAMIYA 1/35 FAMO TANK TRANSPORTER
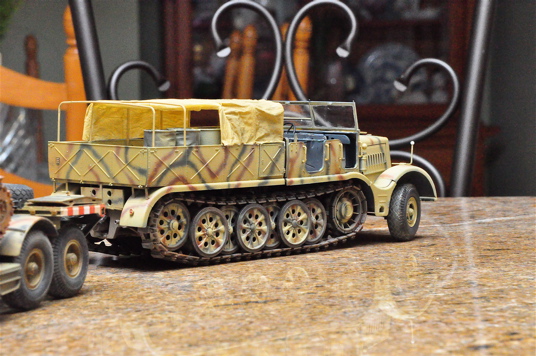
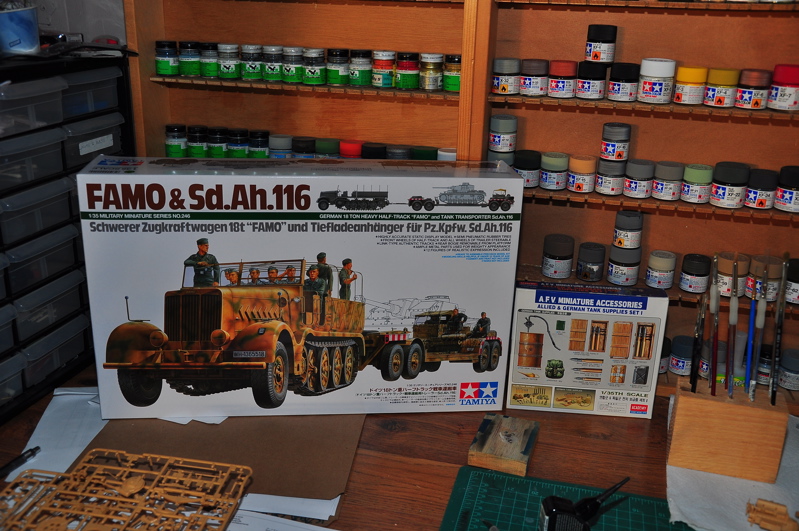
As World War II progressed, the vehicles used on the battlefields became larger and larger. When these mammoth machines broke down or became damaged, the task of bringing them back from the front lines was not an easy one. This need was especially felt by the German Wehrmacht, who were fighting on a wide range of battlegrounds: from the scorching desert of N. Africa to the railroad lacking plains of Russia. Bringing damaged vehicles back from these difficult conditions was indispensable to replenishing fighting strength to the army. The German 18 Ton Heavy Half-Track "FAMO" and Tank Transporter Sd.Ah.116 was one of the vehicles that contributed to this task. Including all variations, over 2500 18ton half-tracks were produced by the end of the WWII. One of the major types was the tank recovery half-track, which was a mighty towing vehicle equipped with two rows of seats and a flatbed in back for the storage of equipment such as a draw-bar and spare wire rope. Tool storage compartments were found on each of the outer sides of the flatbed. In addition, the underside of a vehicle was equipped with a winch. Its powerplant was a Maybach HL 108 12-cylinder engine, which put out 270hp. Tank transporting was conducted by either direct towing with a draw bar, or by loading the tank atop a massive trailer. Officially known as "Sd.Ah.116", the Type 116 Trailer connected with the 18ton heavy half track, which allowed for the transportation of 22-23 ton class tanks such as the Pz.Kpfw.III, Pz.Kpfw.IV and other heavy artillery.
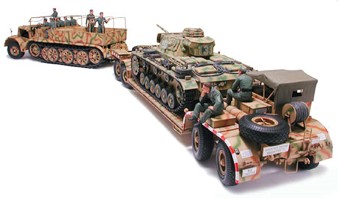
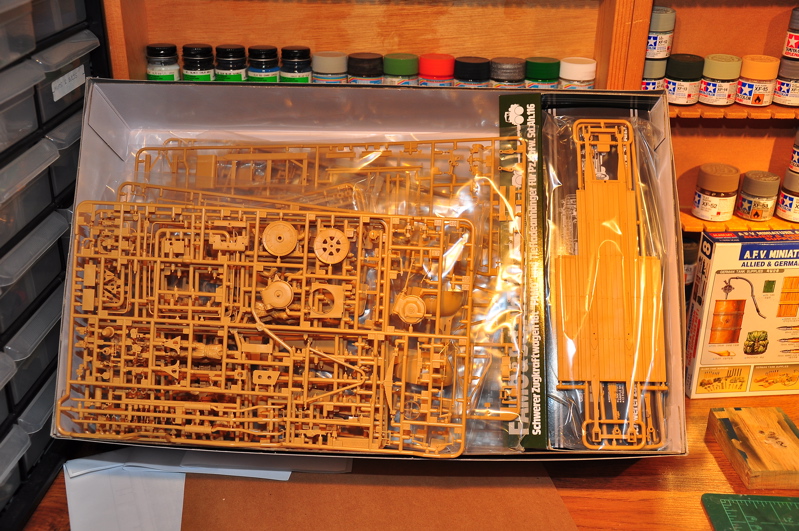
On Feb. 19, 2011 I won this model at the Model Expo in Petaluma at their wonderful raffle.This is really an awesome model that I just had to start.When finished it will be over two feet long – actually it comes out to 640 mm or 25.17 inches.I will be posting pictures and comments as time goes on.

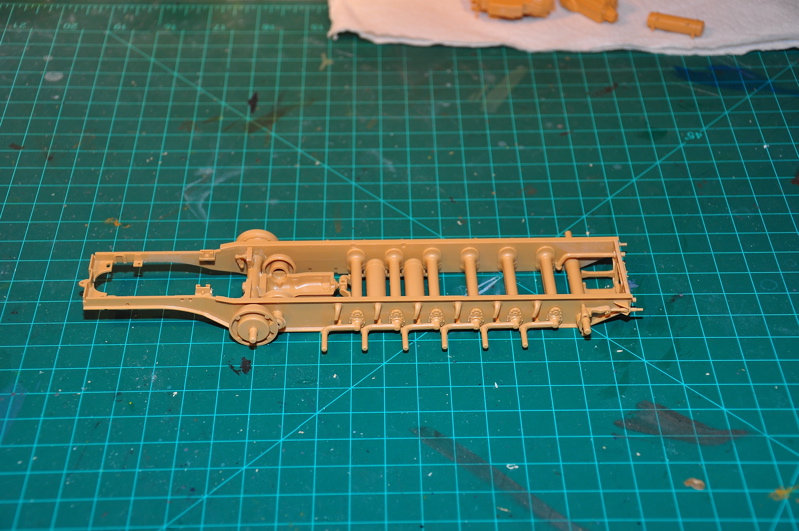
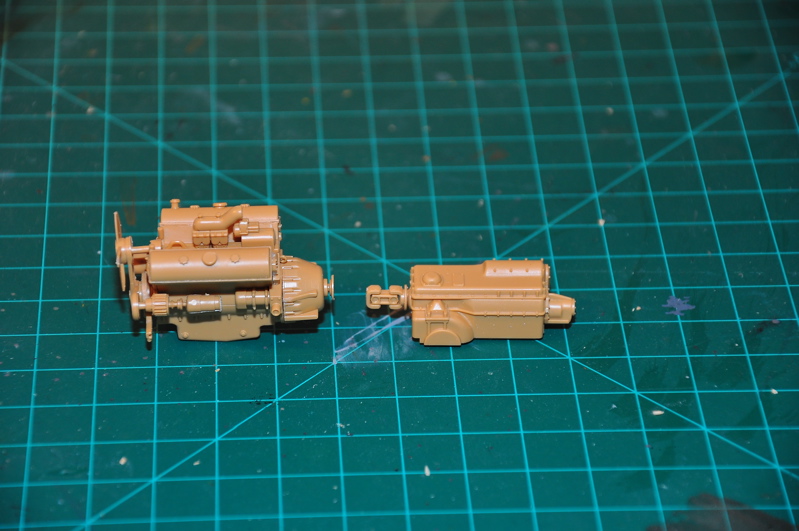
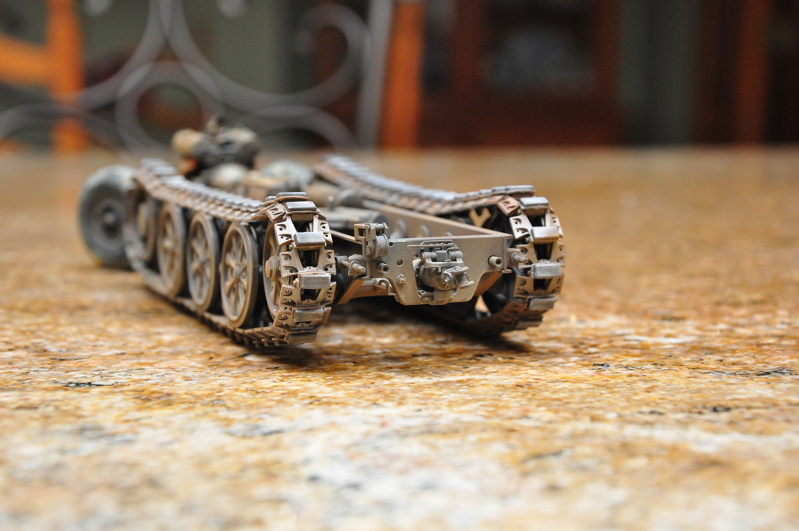
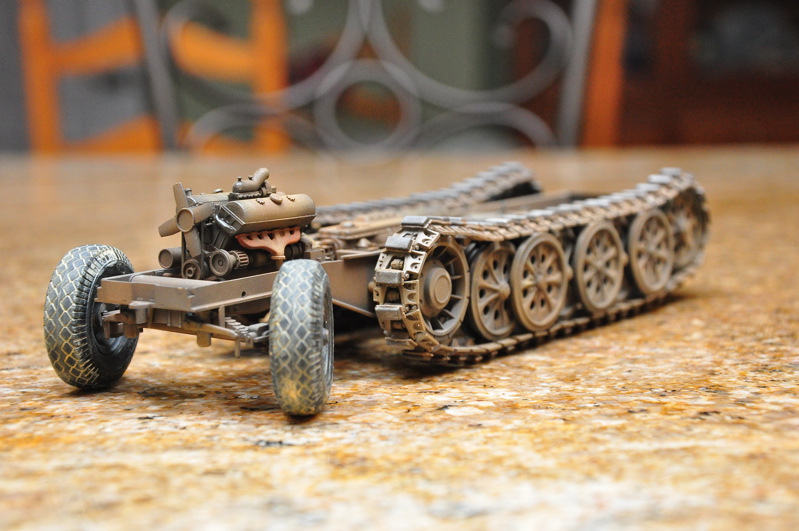
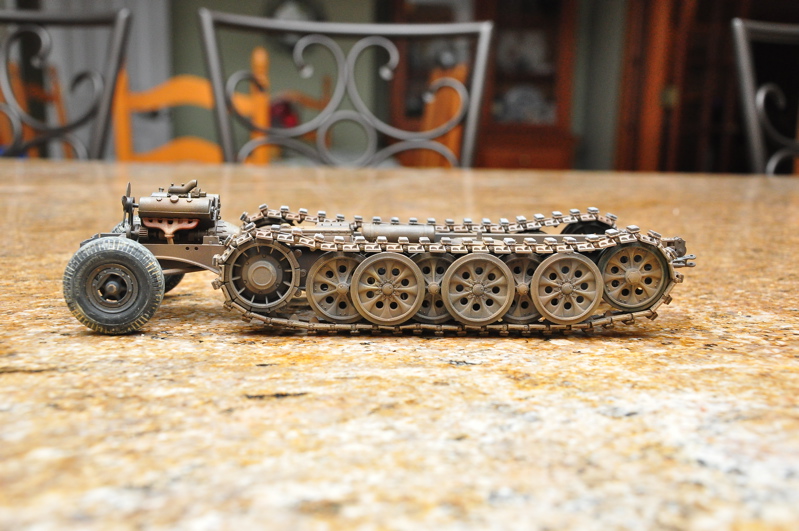
2/27/2011 I've done a lot of work on the FAMO itself. Here you see the basic running gear. There is still a lot of paint touch up and weathering to do:


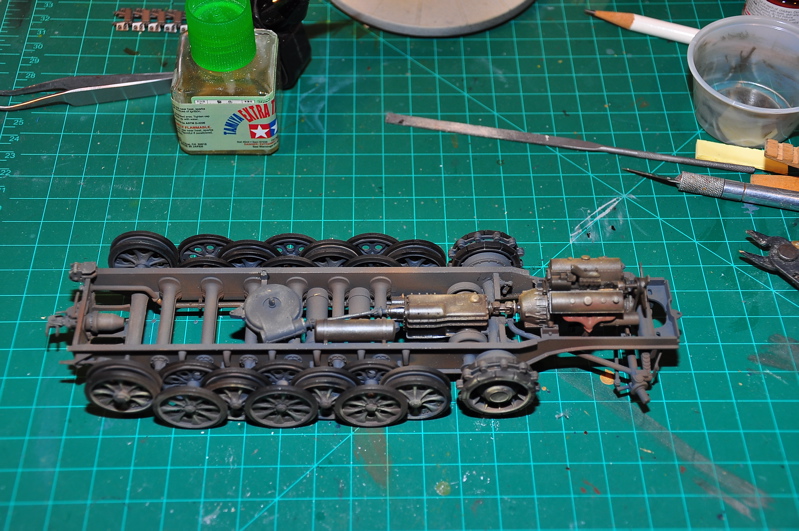
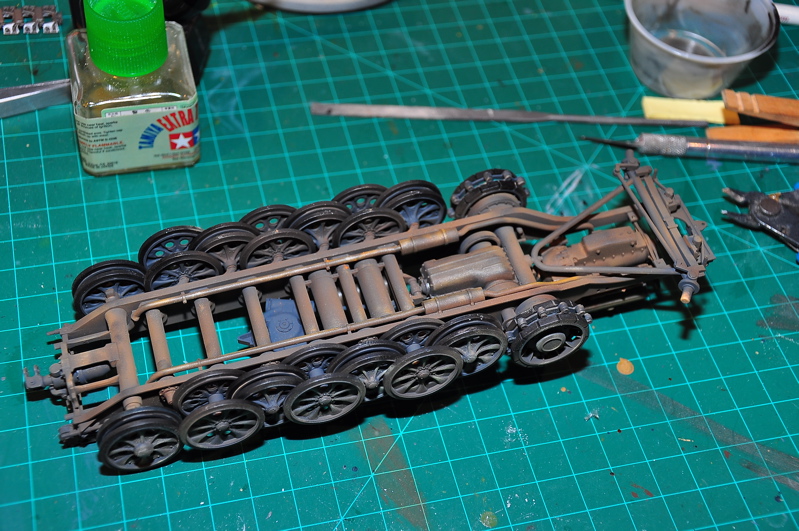
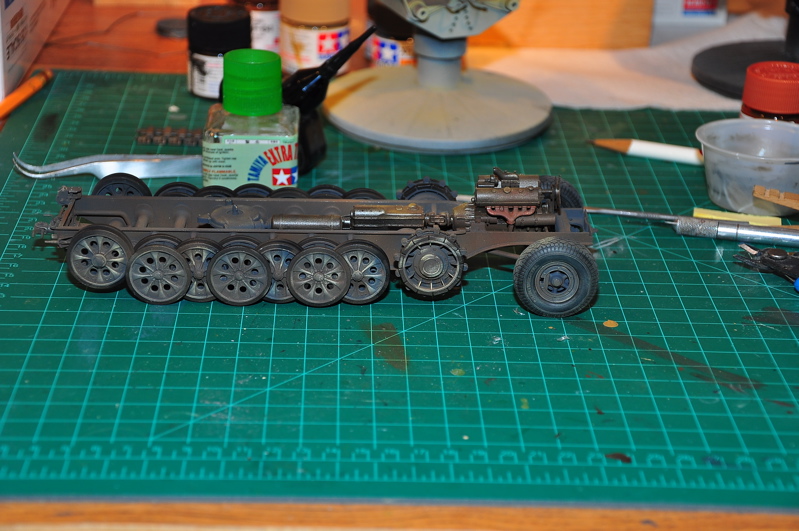
3/20/2011 I've finished the tracks and installed them. I dusted them with Tamiya brown and then desert sand then used Tamiya weathering powders to add white to the rubber pads. The front tires had the seam sanded off then the treads were filled with Tamiya thickened primer. Then I used q-tips dipped in Tamiya thinner to wipe off the excess primer. This was followed with a liberal dusting with Tamiya weathering sand powder. I wiped that off with the dampened q-tips also. The last pics have some of the upper body works placed on the frame. I have yet to paint and weather these parts.
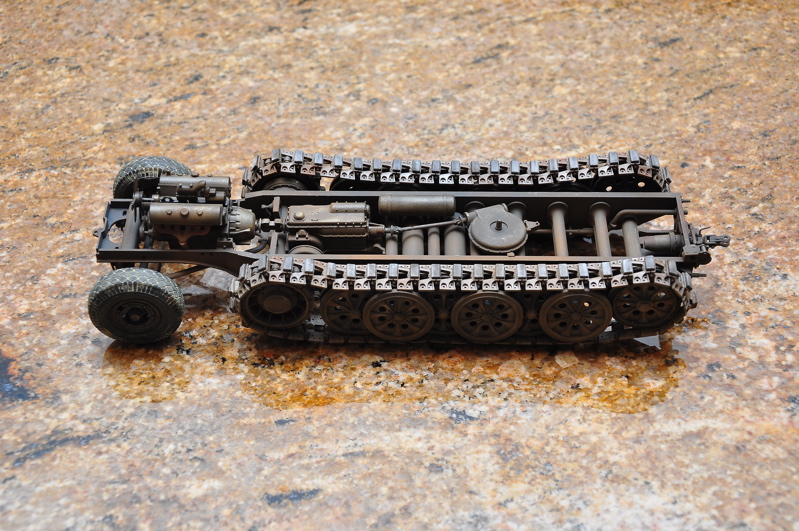
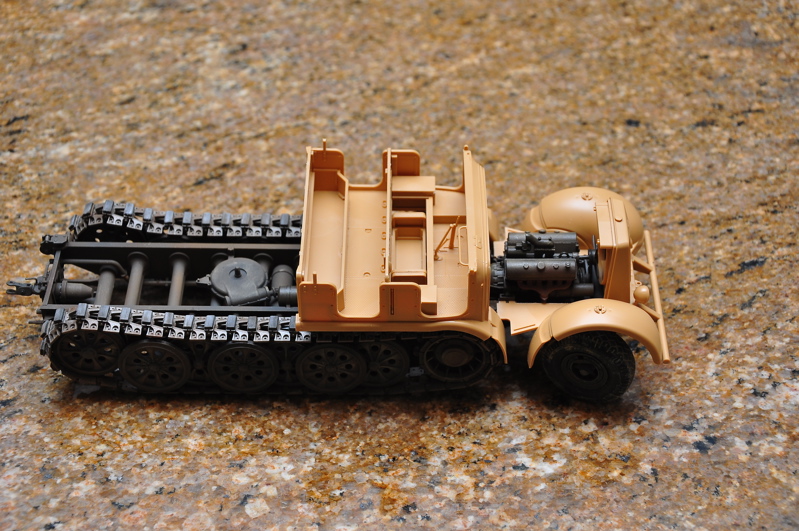
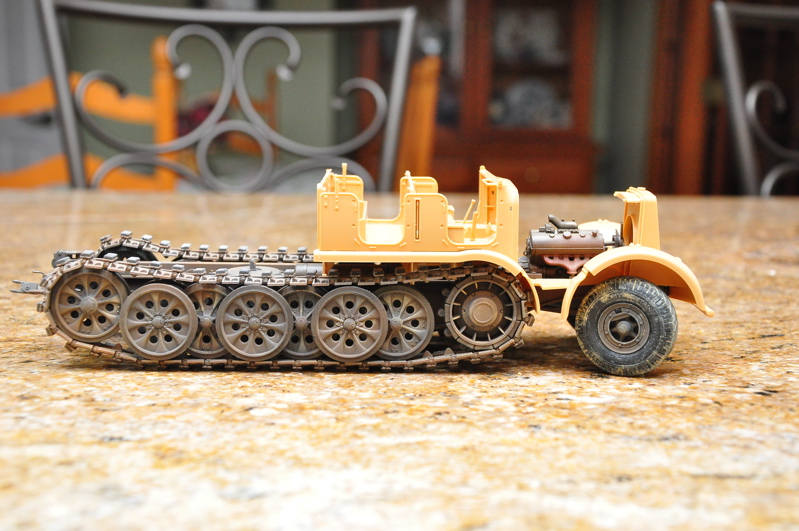
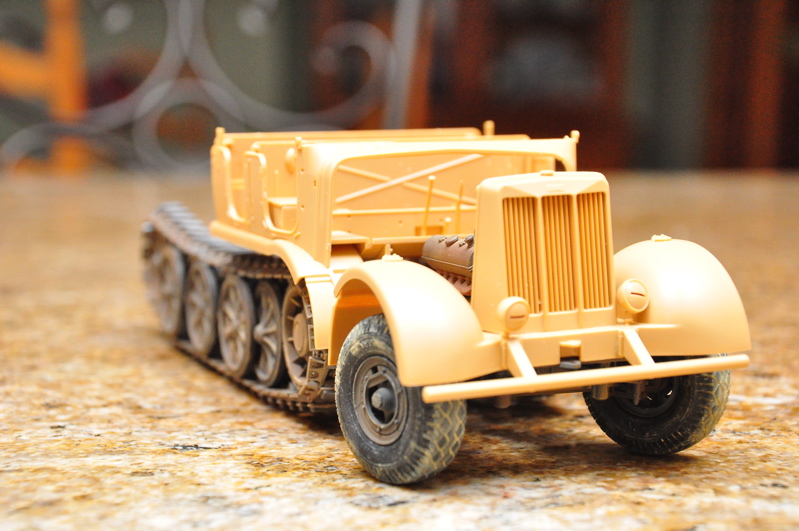
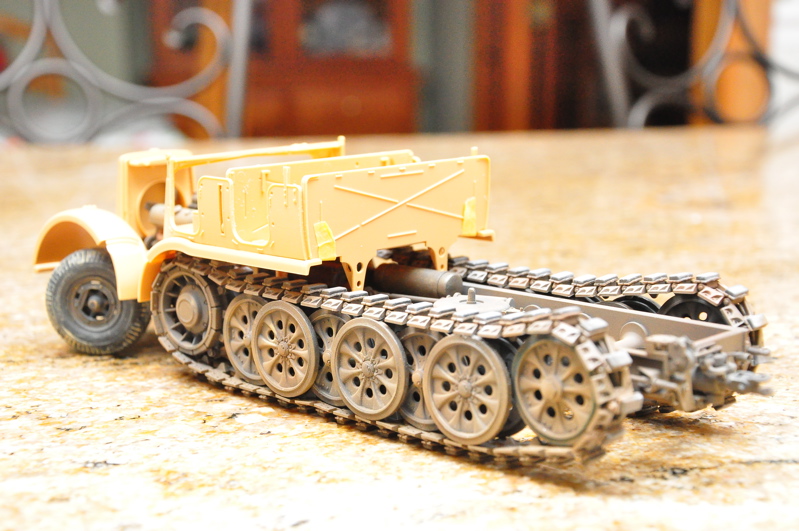
3/21/2011 I've painted the upper body works…

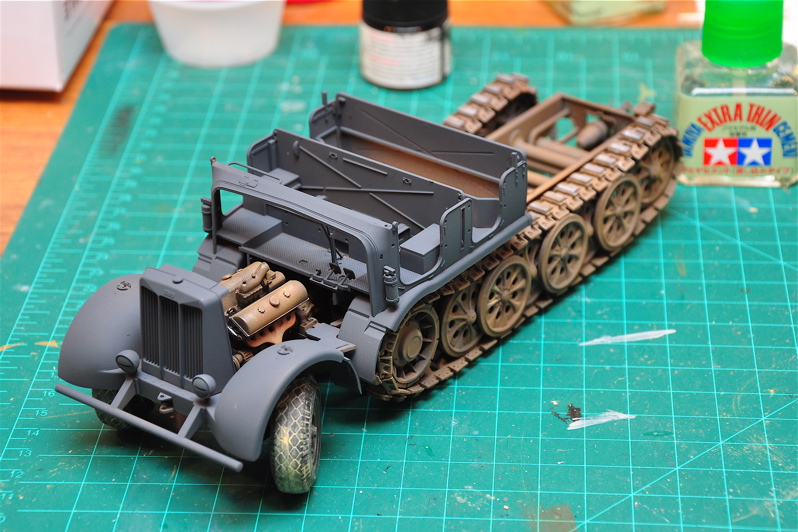
3/29/2011 I have decided to change the overall color of the body from German Grey to the camo tri color of sand, green and brown. I have found that the German grey is really dark and the details of the model are harder to see. Plus that fact that the camo version was a lot more prevalent I believe. I am painting the tank transporter as if it had an in-field camo job done with spray guns, and the FAMO crew compartment was left in the German gray color as it would have been just too time consuming to mask off and paint in the field. I also am not repainting the underside as they would have been left as the factory color. This color scheme will lend itself to more weathering possibilities too.

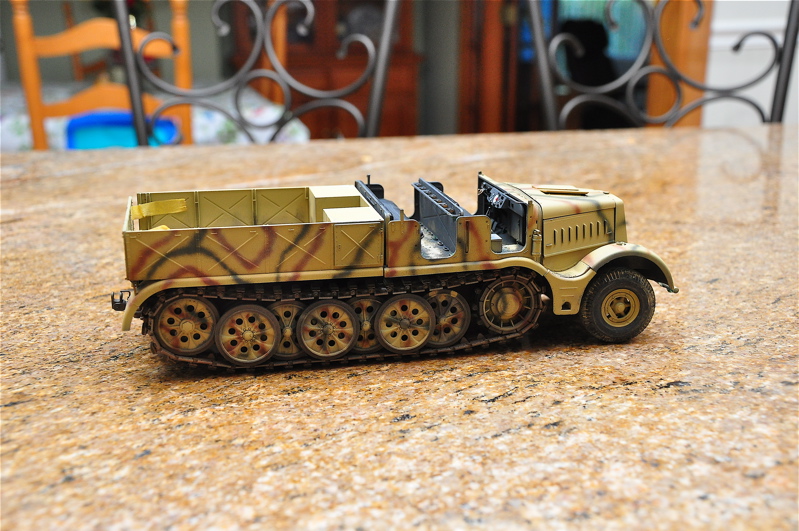
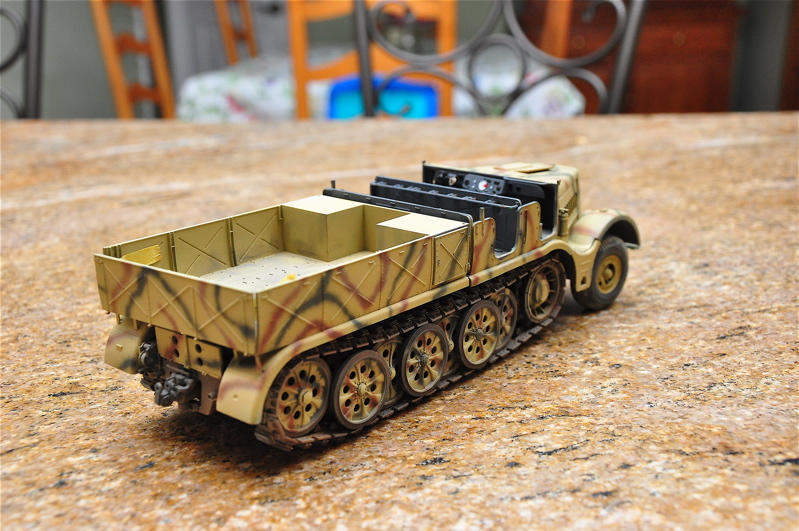
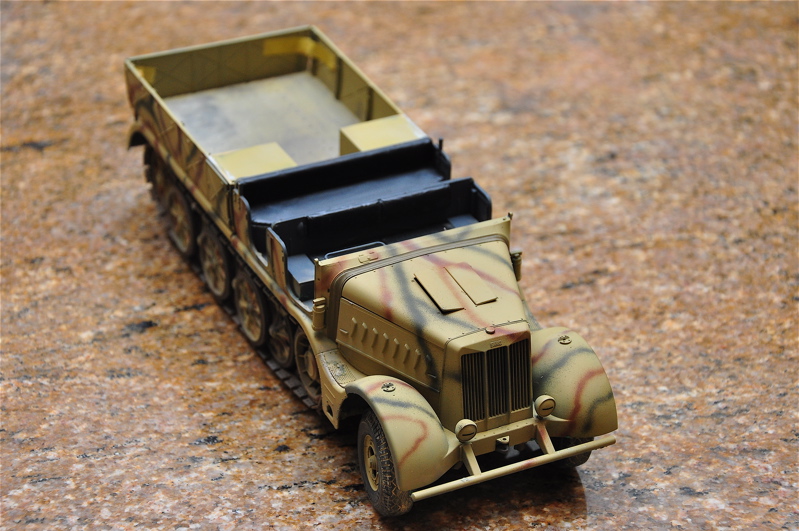
3/31/2011 I've done a little more – all that's really left on the FAMO itself now is adding misc parts and loads….

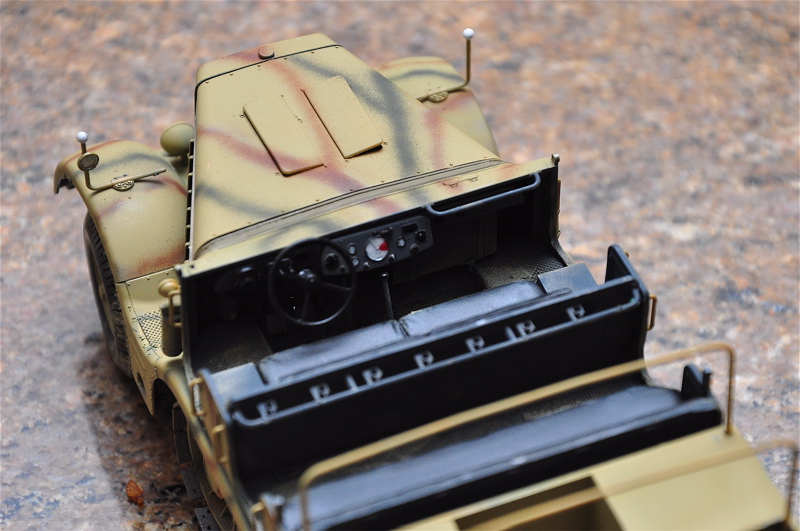
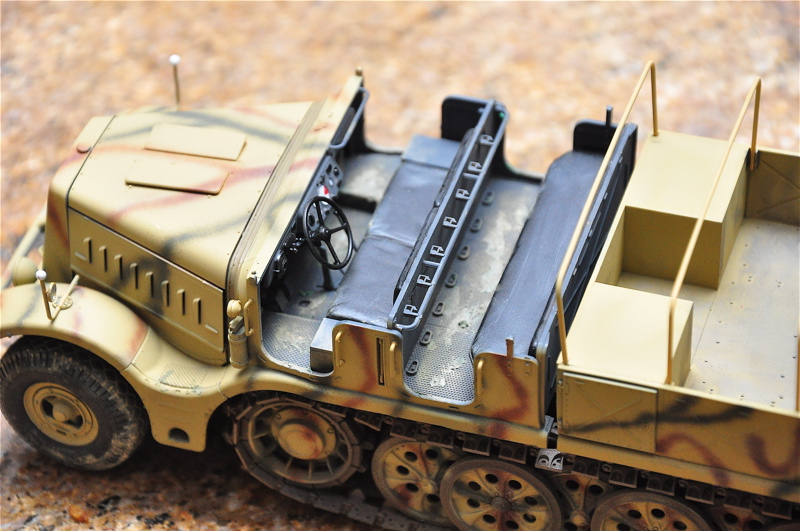
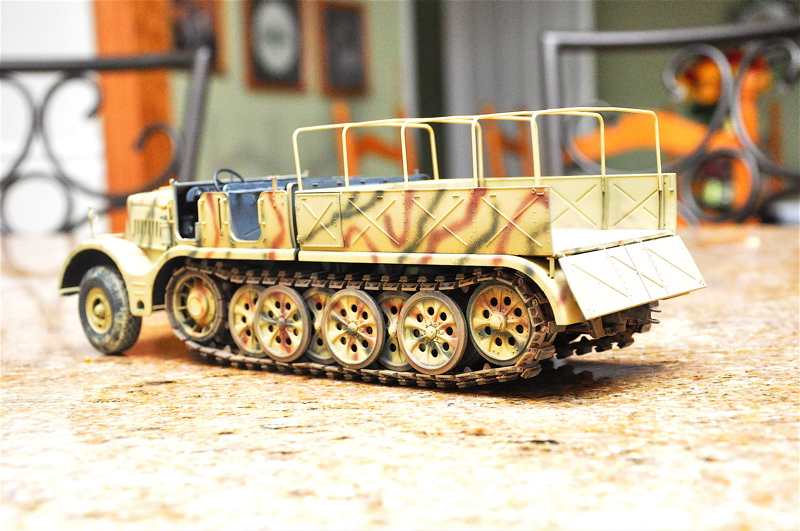
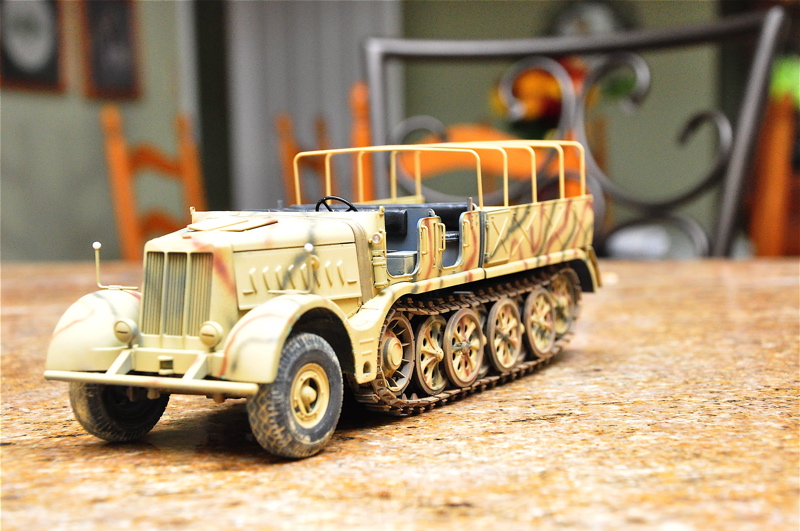
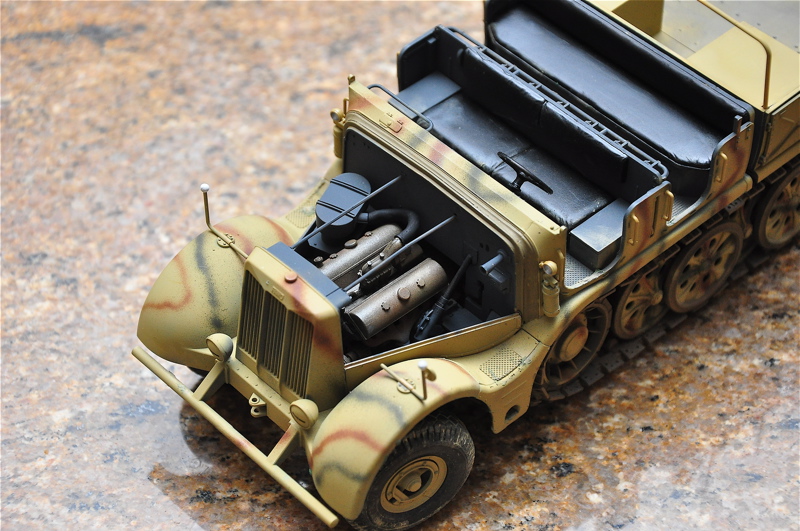
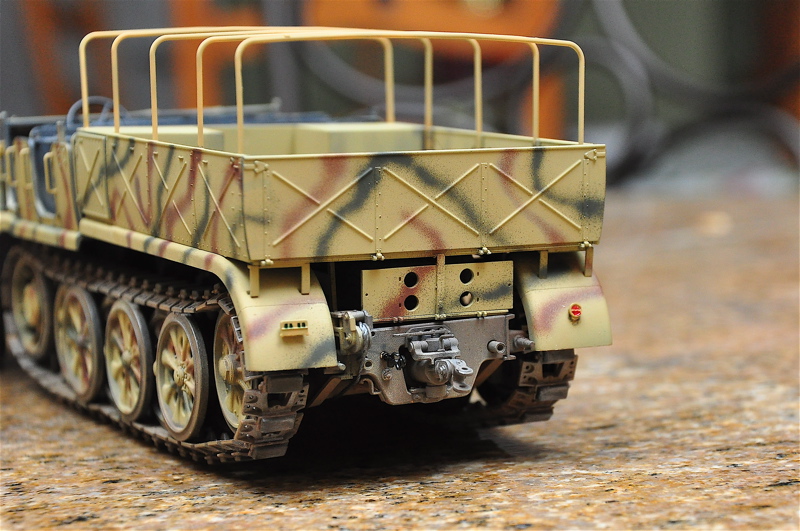
5/1/2011 I've done a lot on the fore and aft trucks and have just started the trailer framework. Below are some pictures of all of the parts posed as they would be as finished:

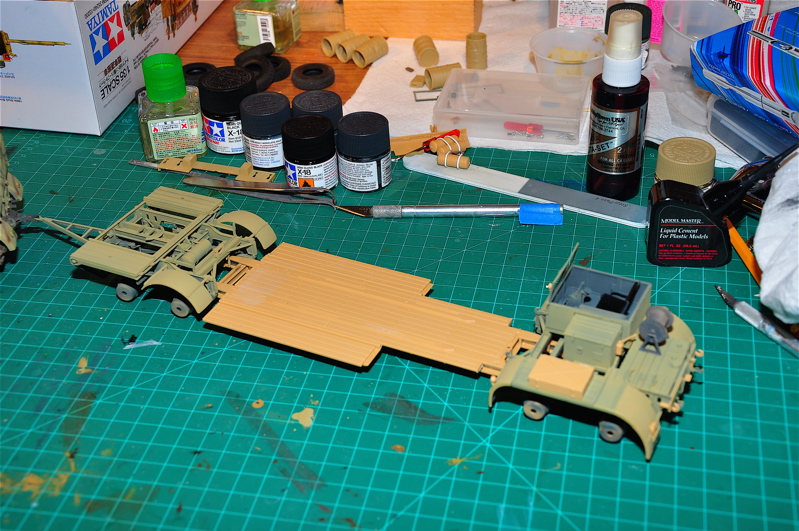
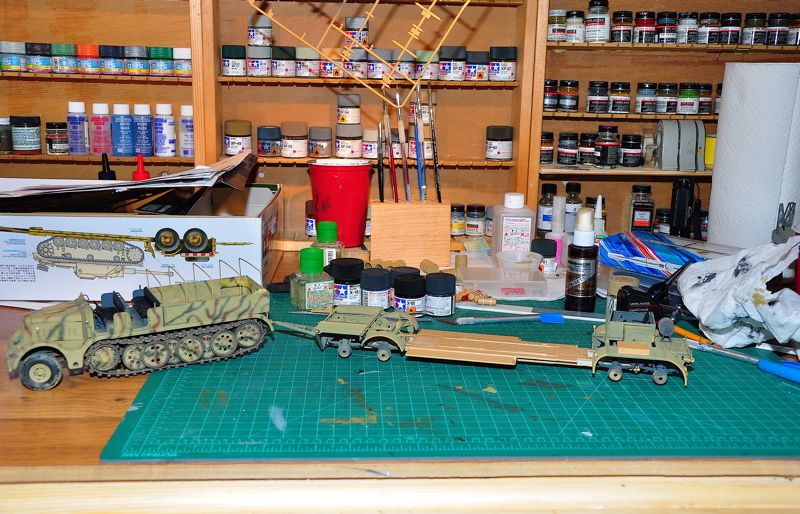
5/22/2011
I've finished off the trailer and painted the parts of it. I still have to attach the rubber tires and do the weathering.


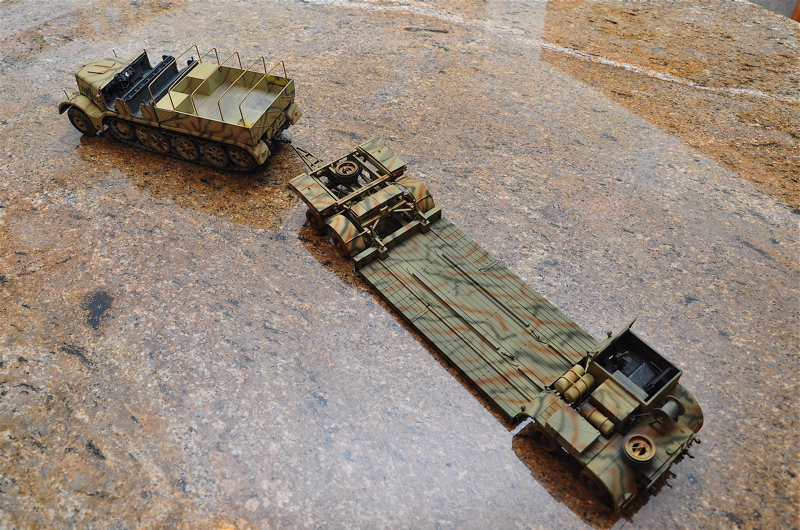
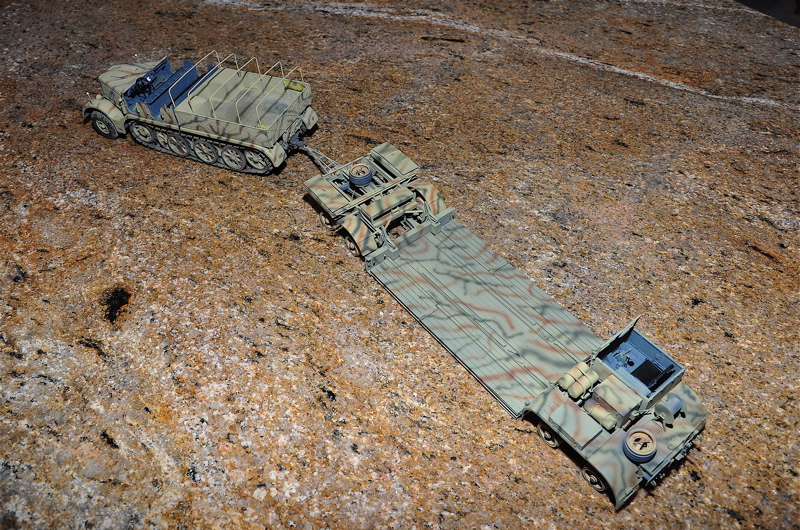
6/6/2011
I'm almost done – ha ha. The tires are now on and I've just added a canvas cover made from tissue dipped in white glue diluted with water. I've also added some cargo for the famo in the form of 5 fuel drums and a few jerry cans. The boxes are actually tank ammo boxes but I think they look good in there. I've also added the decals and given the whole thing a light dusting of sand. Now to the pics…


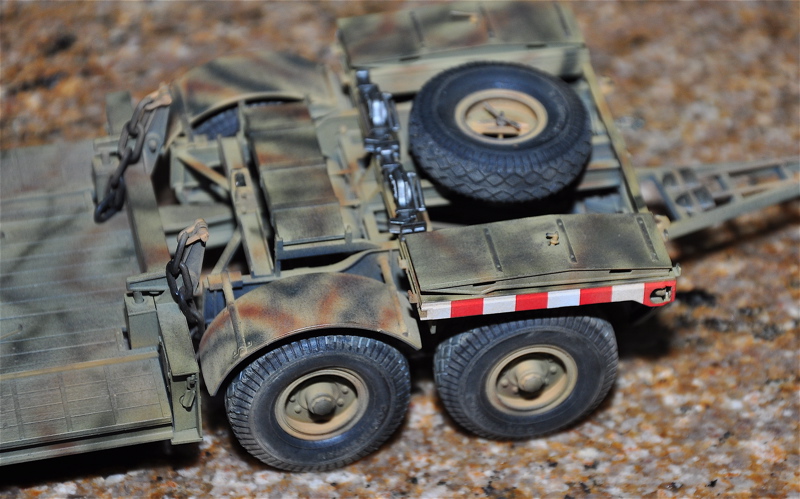
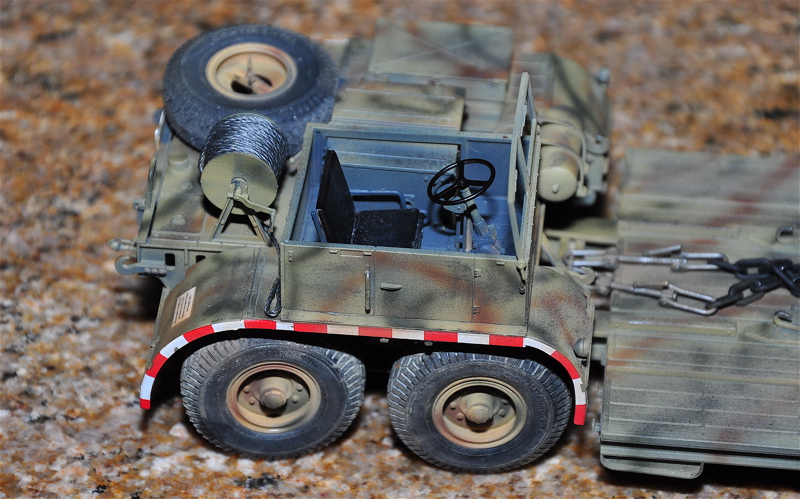
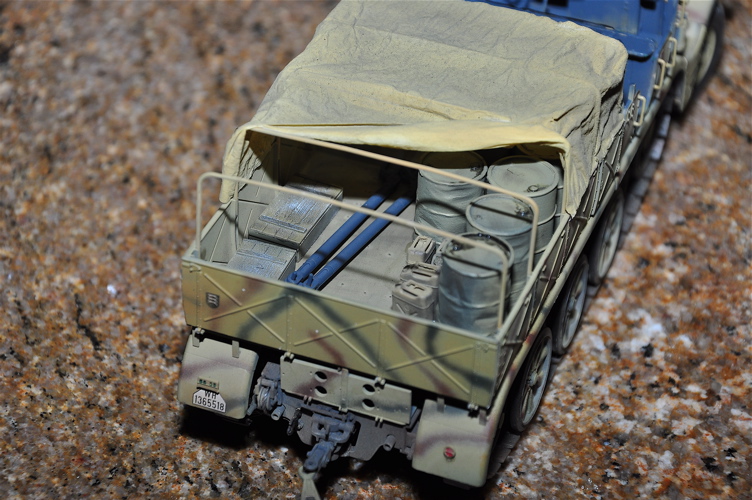
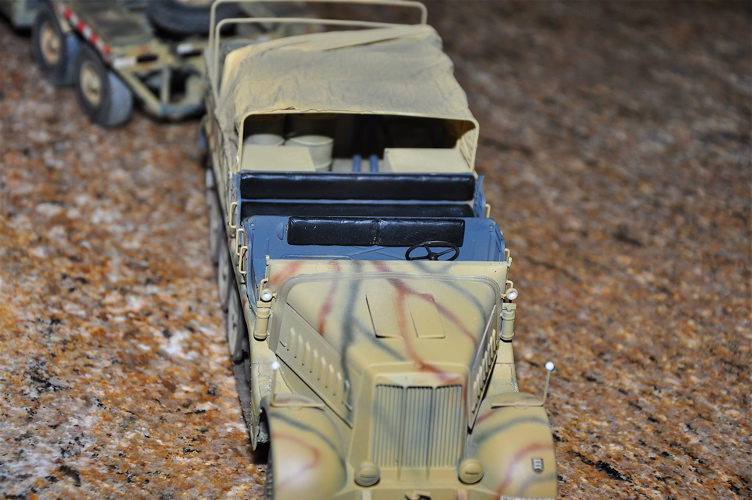
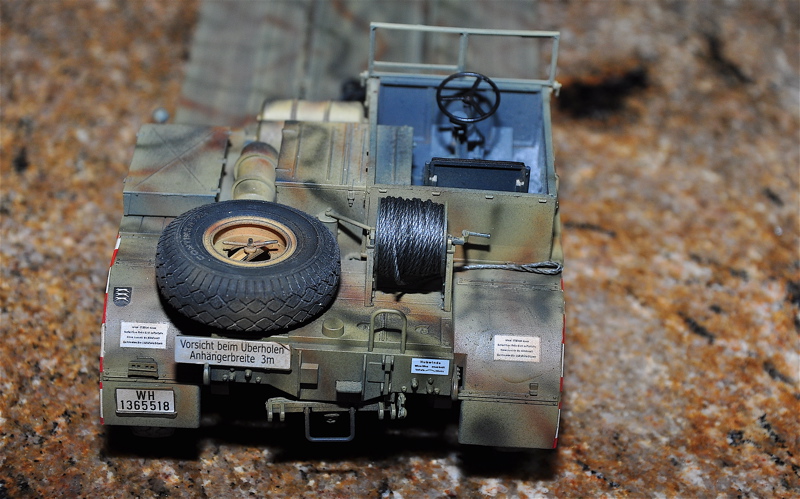
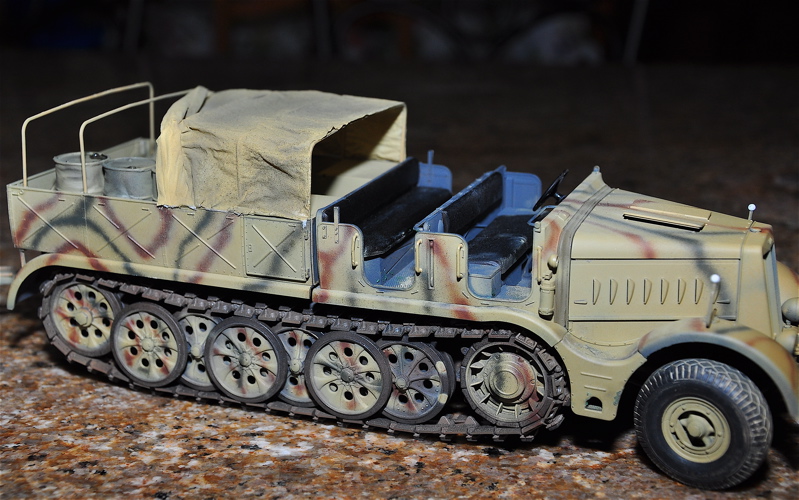
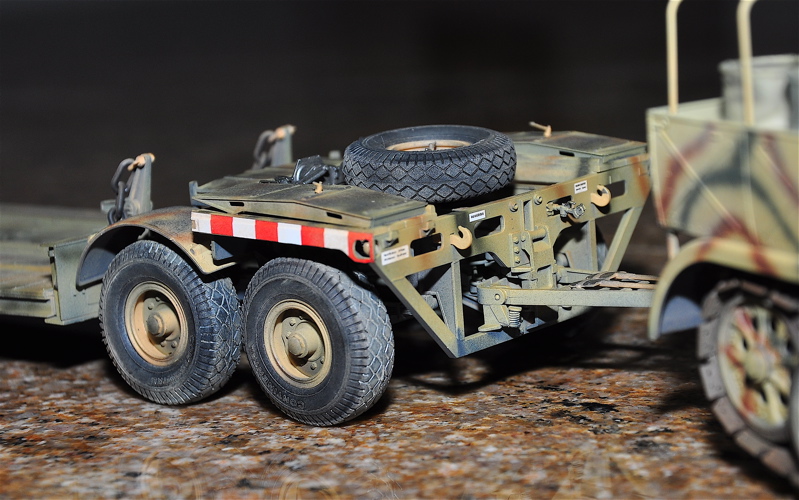
6/12/2011
After almost four months the FAMO tank transporter is finished! Here we have the transporter with a captured American Sherman tank. I still have a few items to add – a bucket and hitch pin along with a few items for the storage drawers in the FAMO. Please excuse the background items. I no longer have my photo booth. Someday I'll have a much better setup for photos – until then….


