My son Jared started this model. He glued it together and started painting it and then asked me to finish it. He had already masked off the cockpit and painted the top and bottom and added the camouflage on the top, but wasn’t satisfied with it. I repainted the top in the grey then replicated the green pattern from the kit instructions freehand with a brush. I then went over the pattern with an airbrush to smooth things out. I had to scratch build one gear door that I found to be missing. The canopy rear view mirror was catapulted into the ether from my tweezers – I hate it when that happens. I built another one from a small piece of brass wire for the post and a small piece of steel photoetch for the mirror.
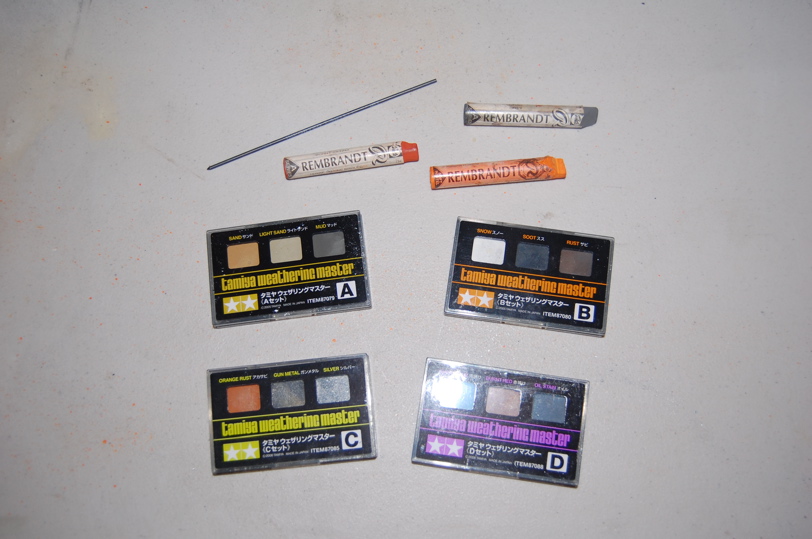
Everything was looking good until it came to the decals. I had given the model a light coat of Future Floor Wax to prepare the surface. All of them went down without problems – I needed Microscale Set and Sol to get the decals to soften and lay down right. The probems were with the wing roundals on the top. They wouldn’t conform to the wing and then they wouldn’t smooth out from repeated applications of Microscale Sol. They were wrinkled. I recall that I sprayed the model with a topcoat of Future then I took the plane to the May club meeting and recieved some comments. One person said that I should apply glue used for abs type plastic. I thought I had some but when I looked I couldn’t find any. I did however have Tamiya thin liquid cement. How much different can this cement be from abs cement I thought? I decided to find out . I know – I’m a little crazy – but sometimes you just have to try stuff. I carefully spread the Tamiys thin liquid cement on the roundels and then blotted with a paper towel. It seemed to help some. I let that dry then sprayed the rounels with Model Master flat lacquer from a rattle can. The decals seemed to react to that and I again gently pressed them down with a paper towel. That seemed to do the trick. I then gave the model a few more light coats of clear flat to finish it off. The roundels now looked fantastic. I wouldn’t recommend this as a solution to decal problems tho. It could have just as easily ended in disaster. I took the model back the following month to the club meeting and explained what I had done. I noticed several heads shaking in disbelief – they were too polite to say what they really thought. I heard one comment that he thought I was pretty lucky. I must agree.
Overall the model truned out very nice. Next time I’ll follow another suggestion re the decals that I have found to work well. Place the decals in really hot water – it only takes a second or two – and that will soften the decals. Carefully place the decal on the model then blot it with a paper towel dipped in the hot water.
I tried that and it actually works great.