I won this kit at a model show raffle in October of 2008. Just last month I also purchased the 1/4 scale Eduard Bf110 Instrument Panel kit. These will make a great next project. I also have on order the Eduard canopy masks for this model. This project is WHAT'S NEXT.
3/21/2013 I've been working on this model for about a week now. The addition of the Eduard Bf 110 C interior photo-etch really adds a lot. Here are some pictures showing where I'm at now:


3/26/2013 I've added the canopy parts and masked them off with Eduard's Bf 110c flexible masks – well worth the cost. They fit great and make this difficult task soooo much easier. I've also finished the two engines and the landing gear assemblies as well as the wing landing gear structure. The engines and landing gear assemblies have been painted flat black and will soon be given a few coats of Model Master RLM02 enamel. The landing gear will be given a heavier layer and the engines just a light mist to bring out their features. Here are some pics:


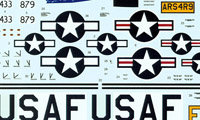
8-14-2013 Well the wings and tail are on and painting is finished. I'm most of the way through the decaling now. I have put on one of the nose decals and I'm not happy with the outcome. I will require some touch-up painting – but what else is new. This model has been a slow build as my time has been spent with family and astronomy.

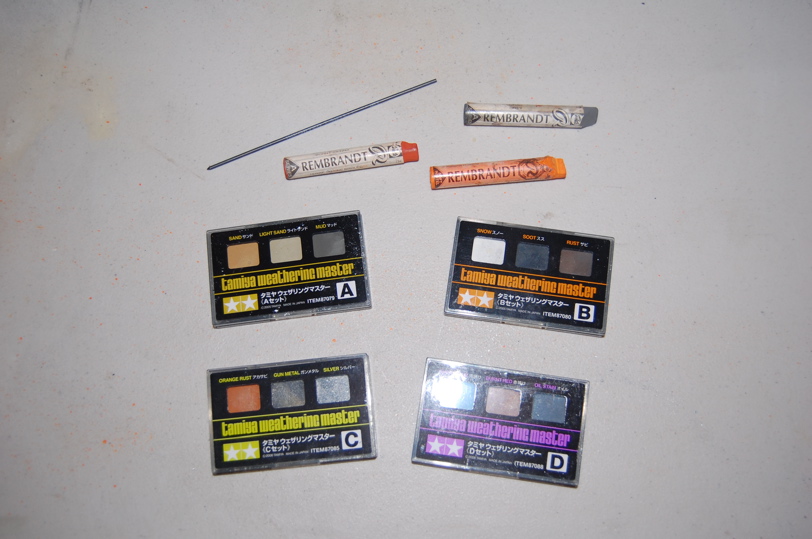
9/5/2013 The model is finally finished. The decals are terrible – don't use them. I added weathering using the very nice Tamiya Weathering Master sets. All in all a very nice model – except for the decals.