CONFESSIONS OF A YAMATOHOLIC
If you want to see lots and lots of pictures of the Yamato – go HERE.
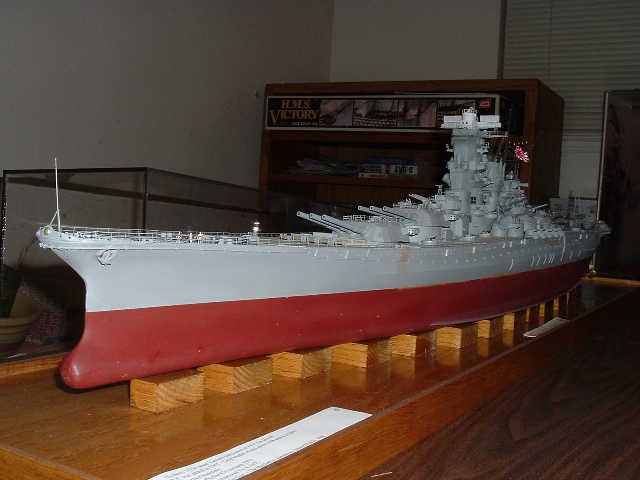
There are many things I love:my family, reading, traveling, playing board games, and building models. Regarding building models – I’ve always agreed with Tim the Toolman Taylor (He starred in the US TV sitcom called Tooltime that was broadcast from 1991 to 1999) – bigger is always better. So when I laid eyes on this huge battleship in the display window of San Antonio Hobbies – I just had to have it! The year was 1973 and the ship was the 1/200 scale model of the Yamato by Nichimo. I had just graduated from college and started working, but I still lived at home. I figured that after I finished it I could always find a place to keep it. So the next day I went over at lunch and bought the thing. I can still remember the look on my dad’s face when he came home from work that night. I was sitting on the couch with the hull on my lap. I love my dad, but he could never understand that bigger is always better. Like Lucy to Ricky Ricardo – I had some splainen to do. And big it is my little grasshopper (as Mr. Myagi might say to Daniel in the Karate Kid). Measuring in at about 54 inches it dwarfed all of my other models. The price of $60 dwarfed my other model prices too – remember this was about 34 years ago. It had a one piece hull and a huge motor and a gearpiece thingie that connected the motor to the 4 props and turned them in the opposite directions. It was a piece of junk. It also had another motor/gearbox assembly that enabled the 3 turrets and the radar screen to turn through the use of lever arms. That was junk too – I kept the motor though. Are you getting the idea that all was not coming up roses with this model? Well there is more to come – the hull was misshapen in the stern, the turrets were too small, the superstructure was wrong, the tripod mast was backwards, and the deck was just bad bad bad. The good stuff was that the gun barrels looked great, the AA guns and their turrets were nicely done, and the secondary turrets looked nice too. In fact at first blush everything looked first rate. The off-putting stuff didn’t come till later – after I had done some research. When I got the model the only information I had about it was the instruction sheet – and that was in Japanese. One good thing was that there was no flash at all on the parts. That’s not true now as the molds are a lot older – and the price is a lot higher. So I put it together – or started to – straight out of the box. I soon found out that the plastic was ABS and normal glue didn’t stick very well. I ended up using – well it’s so long ago now that I don’t remember what I used. Nothing worked really well though. I know that I didn’t use super glue back then. As time went on I would pick up books and magazines that had articles concerning this behemoth. I purchased the Anatomy of the Ship series on the Yamato (great reference by the way). And also two paperback Japanese books published by Gakken. They had really fabulous photos on 1/100 and 1/10 scale models. Well now I gotta tell ya – that inspired me. I removed the deck and replaced it with grooved basswood. Then I cut thin wire and drilled holes and built deck edge railings with thread. The next step was to radio control it. That was funded by the recent sale of my Smith and Wesson 9mm automatic. I purchased a 4 channel Futaba setup and went to work. I drilled a hole in the stern on the centerline and installed a stuffing box/drive shaft by Midwest Products. I used a cheap Tamiya speed controller that I got for about $14. With a 6 volt gell cell installed I was in business. I put it all together and weighted it down with lead sheeting. After several trips to the bath tub (it would barely fit) I got the waterline correct. I took it to a local lake to try it out. The Yamato’s max speed was 28 knots. I used Froude scaling to determine the scale speed – that meant that the scale speed was equal to the full scale speed times the square root of 1 over the scale factor (200). This yielded a scale full speed of 3.35 ft/sec or about 1 ship length in 1 second for 28 knots. One its first trial it could do 60 knots easy. I mean it could pull water-skiers! I shaved down the prop and that fixed the speed problem. Next was the turrets – you know ya have to have turrets that rotate. I first tried wood thread bobbins – that was just a bad bad idea. I finally built a gearbox setup with evergreen parts and a converted servo with micro switches that would reverse the polarity at the end of the turret rotation. It worked cool. I got the scale turret speed down too. Next was the cannon boom. You gotta have cannon noise. I remembered that I had purchased a plastic toy from Radio Shack that looked like a big fire cracker and would make a big bang noise – it was powered by a 9v battery – perfect. I opened it up and pried out the little circuit board and wired it in. Now when I move one joystick down it would make a very nice boom sound. I’m sure it wasn’t even close to the real sound – but it was pretty cool. Later while working on the wiring I fried that circuit board and all of the servos. Always always shut down the power when you are working on stuff. That works good for changing bad plug sockets too I later found out – but that’s another story. So now it has no boom. Whatta ya goin to do? Next I got the fabulous Gold Medal Model photo etch set for my birthday. It cost $80 but it’s worth every cent. Gone were the crummy a/c crane and catapults to be replaced with photo etched versions that are real jewels. I was able finally to add railing – everywhere. I was in railing heaven. Now my Yamato was really starting to look like something. I needed to replace the basswood deck. It had looked nice but had warped over time as it came into contact with water on the lake. The deck was replaced with clear plastic that was topped with evergreen grooved plastic. The deck was now held down by adhesive magnetic strips from Tap Plastics. I decided that I wanted to depict the ship on its last sortie to Okinawa – the suicide mission that it never came back from. That meant I need more deck edge AA turrets. I had also lost some parts along the way – this was about 2003. I discovered a modeling company in Japan called Konishi Metallic Model Collection. I ordered some castings from them – they were pricy but the AA guns are very nice – I also got some very nice decals that included the emblem on the stack and the Japanese flag. Both were used. At my wife’s suggestion I built a case using ¼ inch stuff from Tap Plastics. They milled the edges and I glued it together using IPS Weld On. The base was constructed from ¾ plywood with oak finish ply glued to the top and wood edging. The support blocks were cut from an oak piece I had laying around. I rigged the ship using smoke colored invisible thread and white glue for insulators. I added a barge on the stern deck using an old Revell Ironsides boat. I sanded off the wood hull detail, added a deck and deckhouse, anchor, mast and other details. Most of the single AA guns were removed and triple AA guns were added according to my references. Now I needed to cast some more parts so I visited Tap Plastics. For a few bucks (ok really more than a few) I got stuff to make molds and casting resin. Now I gotta tell you – this is really cool. I was able to reproduce the turrets and some boat davits that were lost over the years – it all came out really nice. As I recall I was doing a lot of the casting stuff the night before the Hornet model show in Newark in 2003. I had also ordered 200 little Z-scale (1/220) people from Preiser (Item# PR-88500). These are really cool cast people – men, women, kids, dogs, goats and cows. I was able to modify and use most of the people – I still not sure where to put the livestock. Over time I discovered that I could work for hours and hours on an area of the ship and when I stood back to admire my work – the model would just swallow the detail up. That’s the downside of big stuff – it takes a lotta everything – time, money, parts, paint, and space. But big stuff is good! Right? For a history of the Yamato go HERE. For youtube video go HERE. For lots of pictures go HERE.

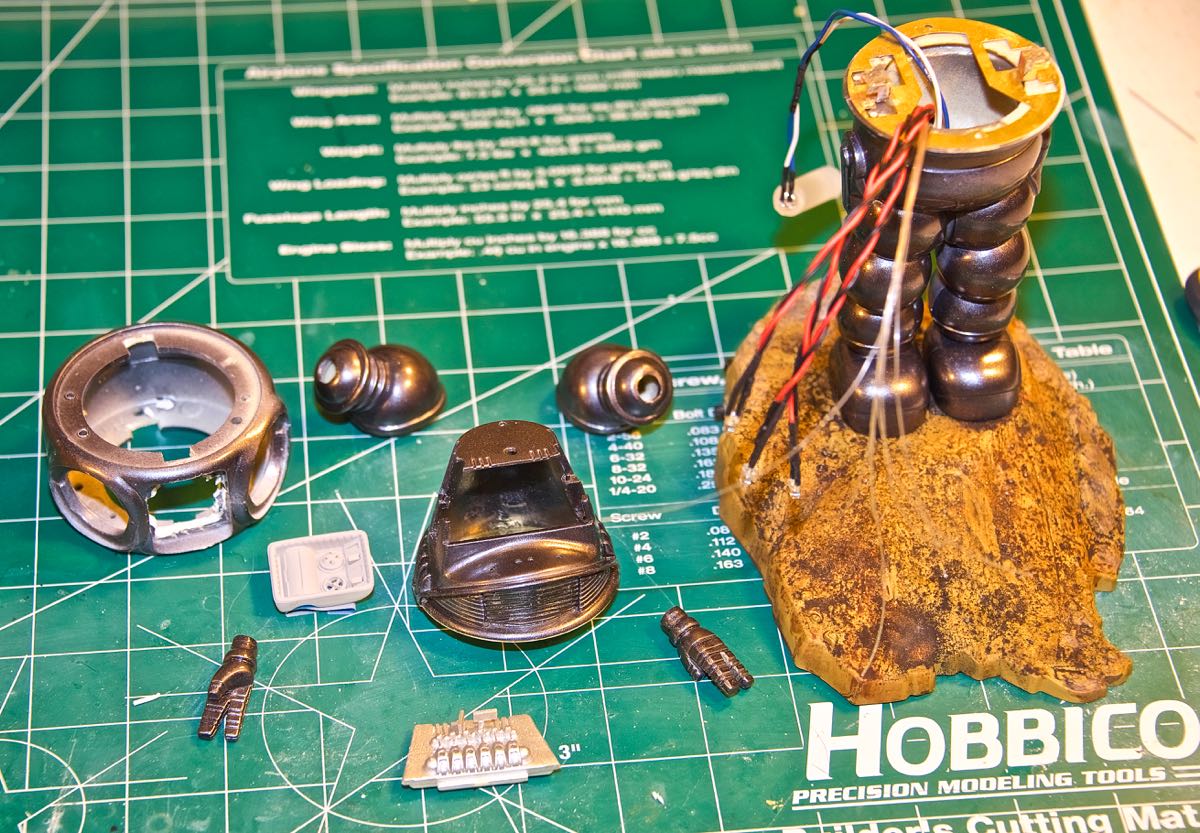
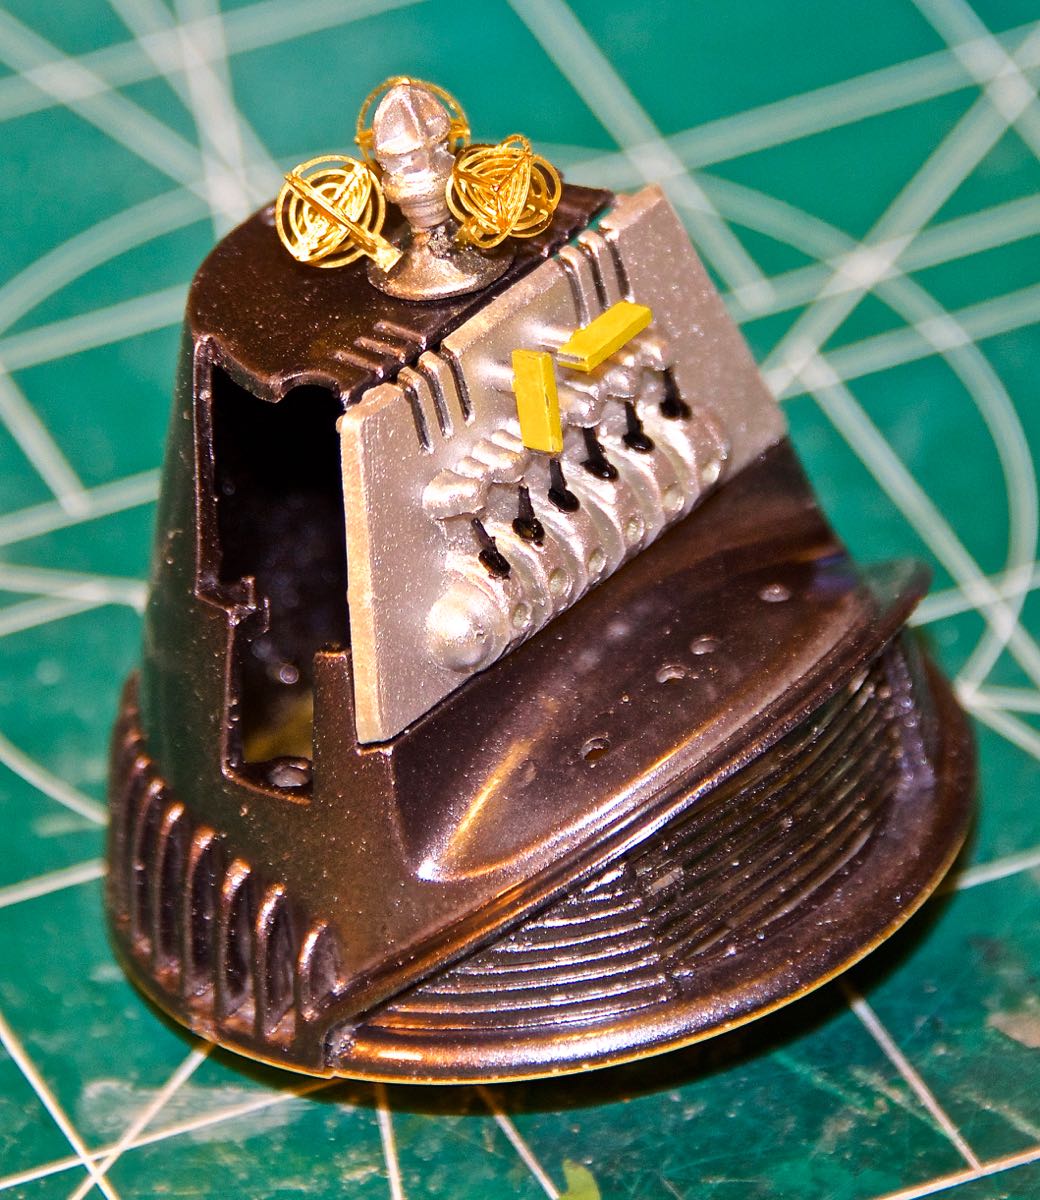
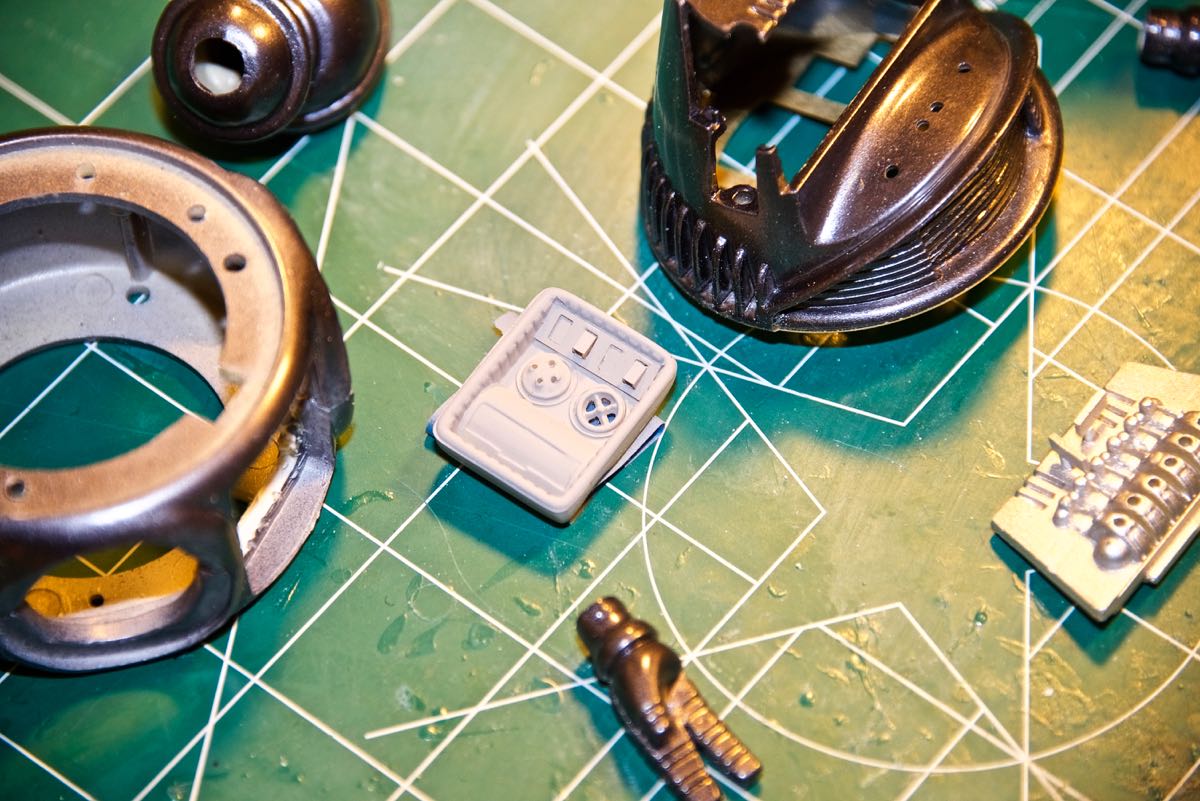
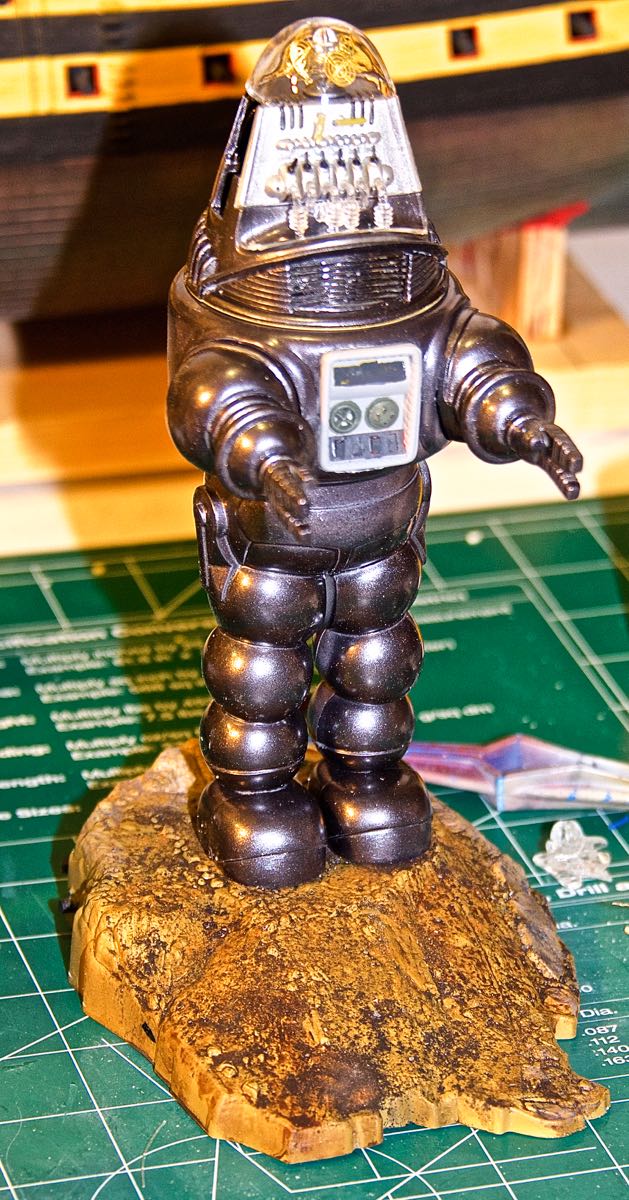
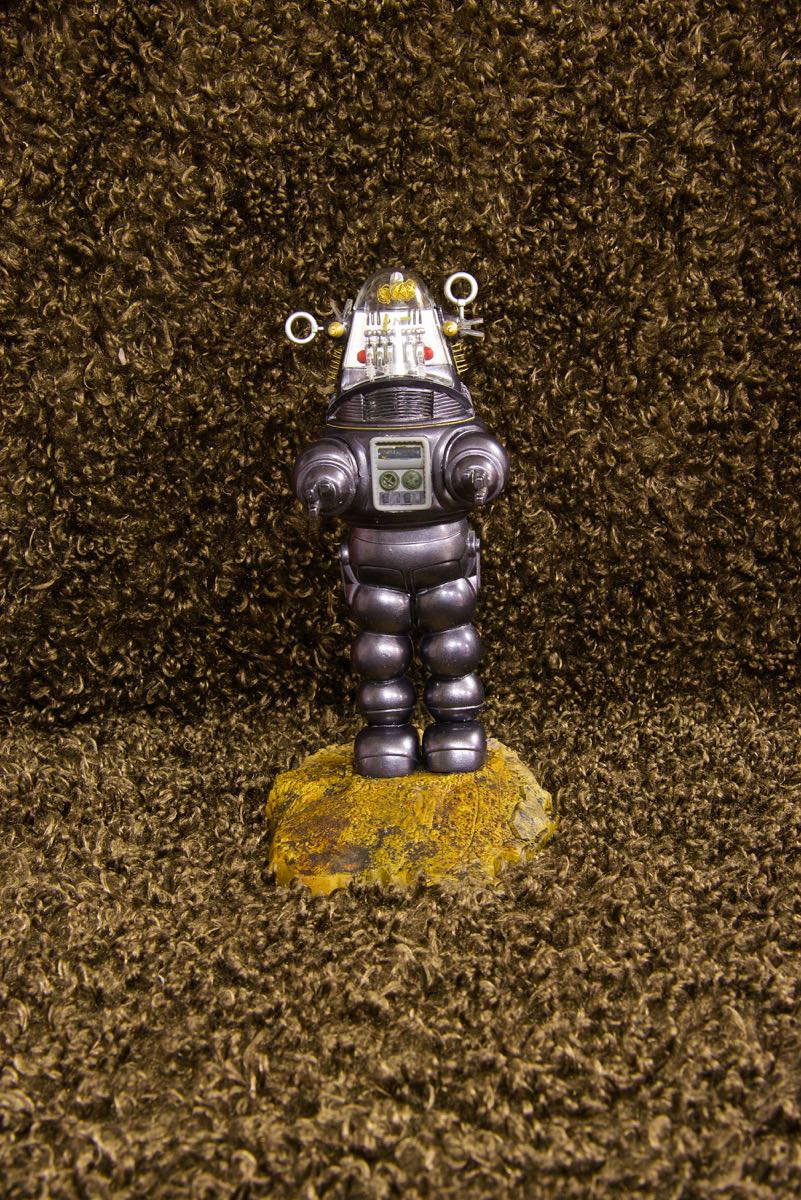
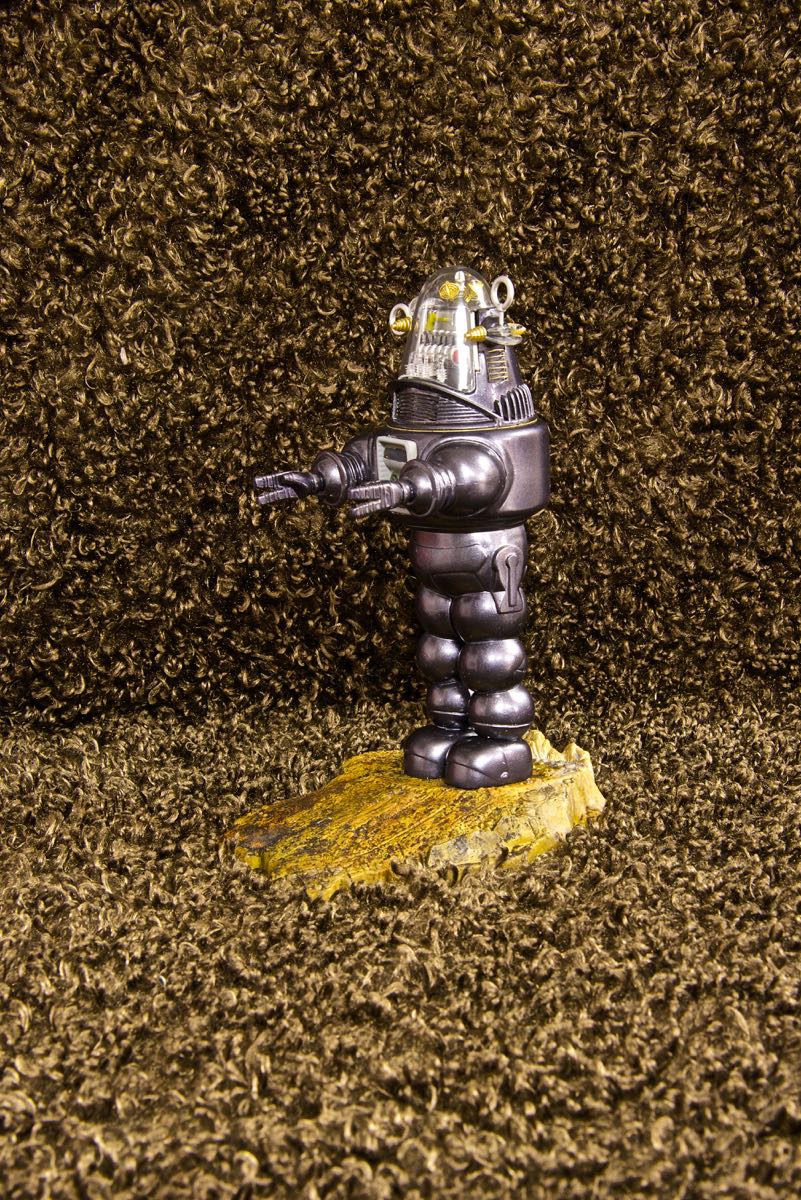
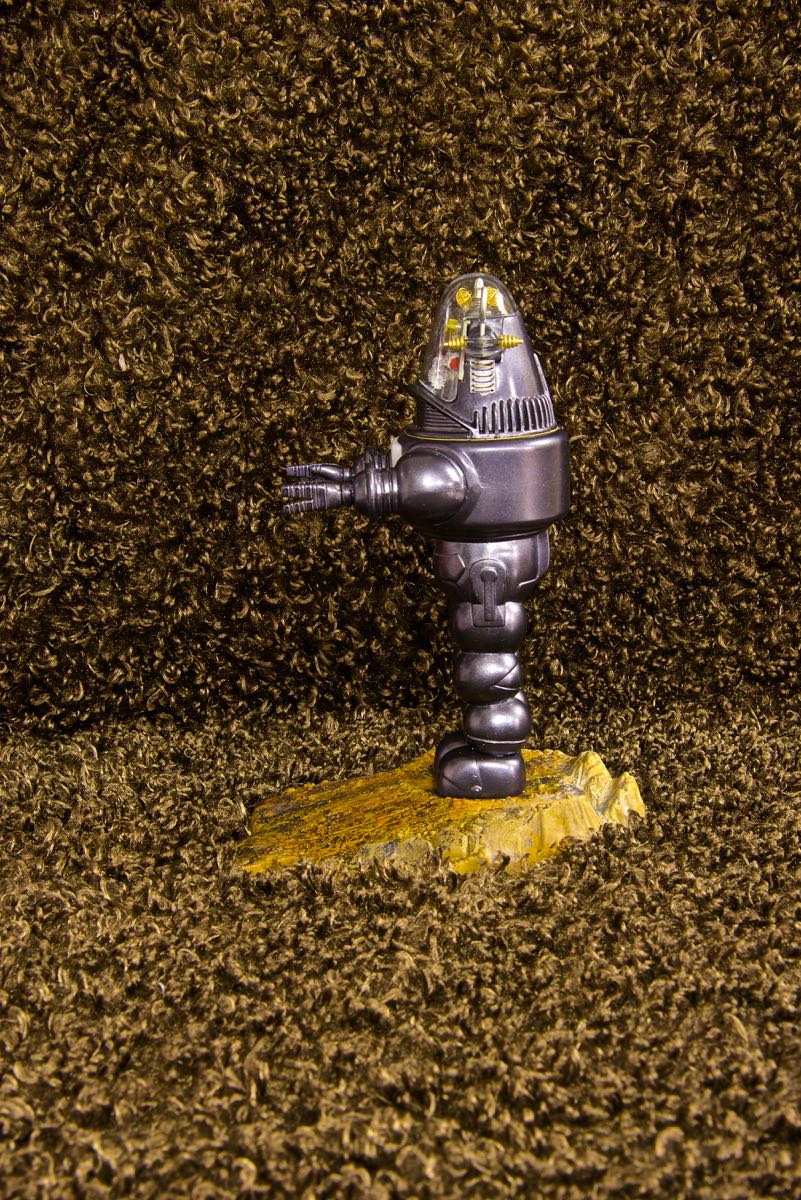
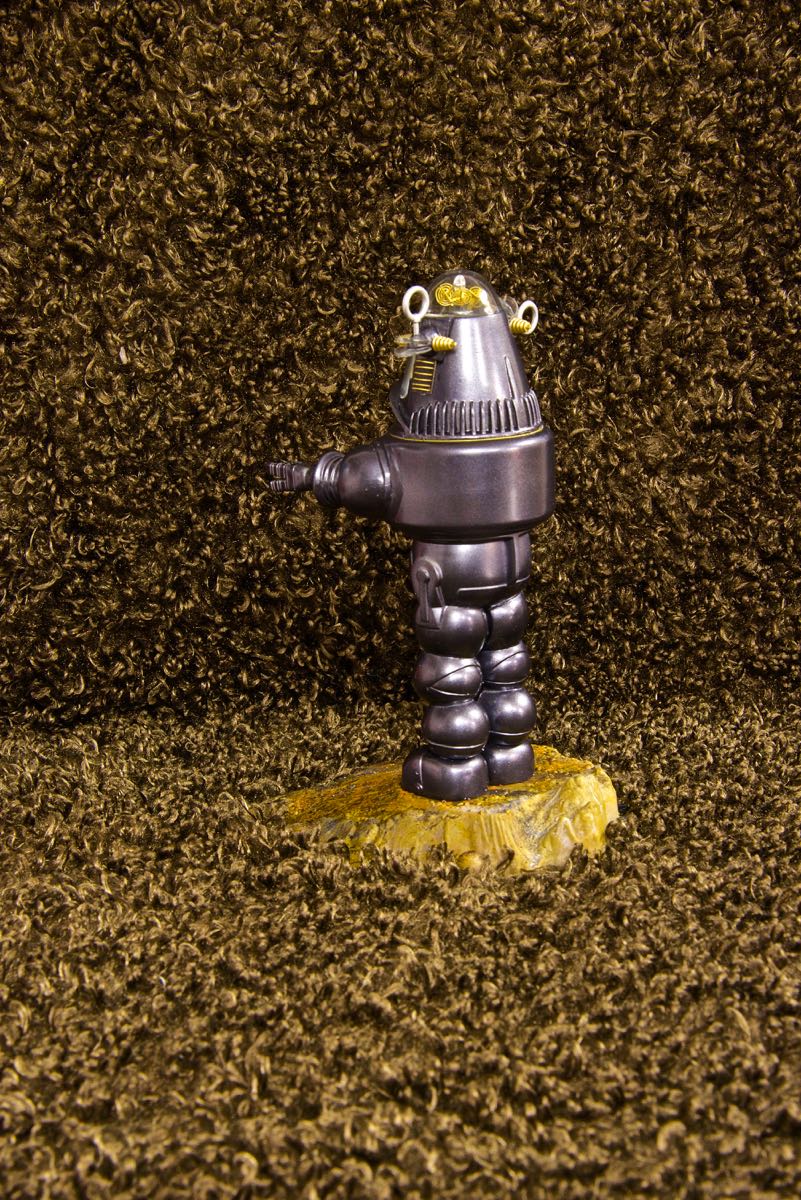
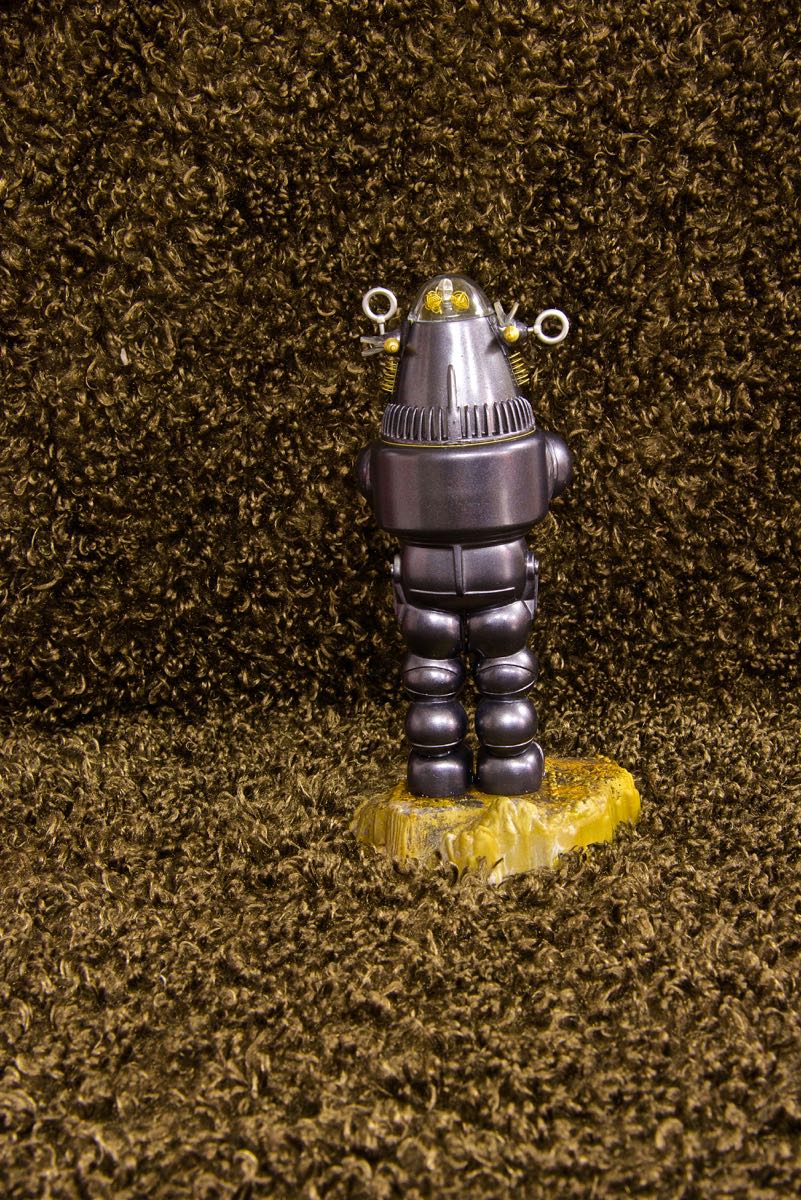
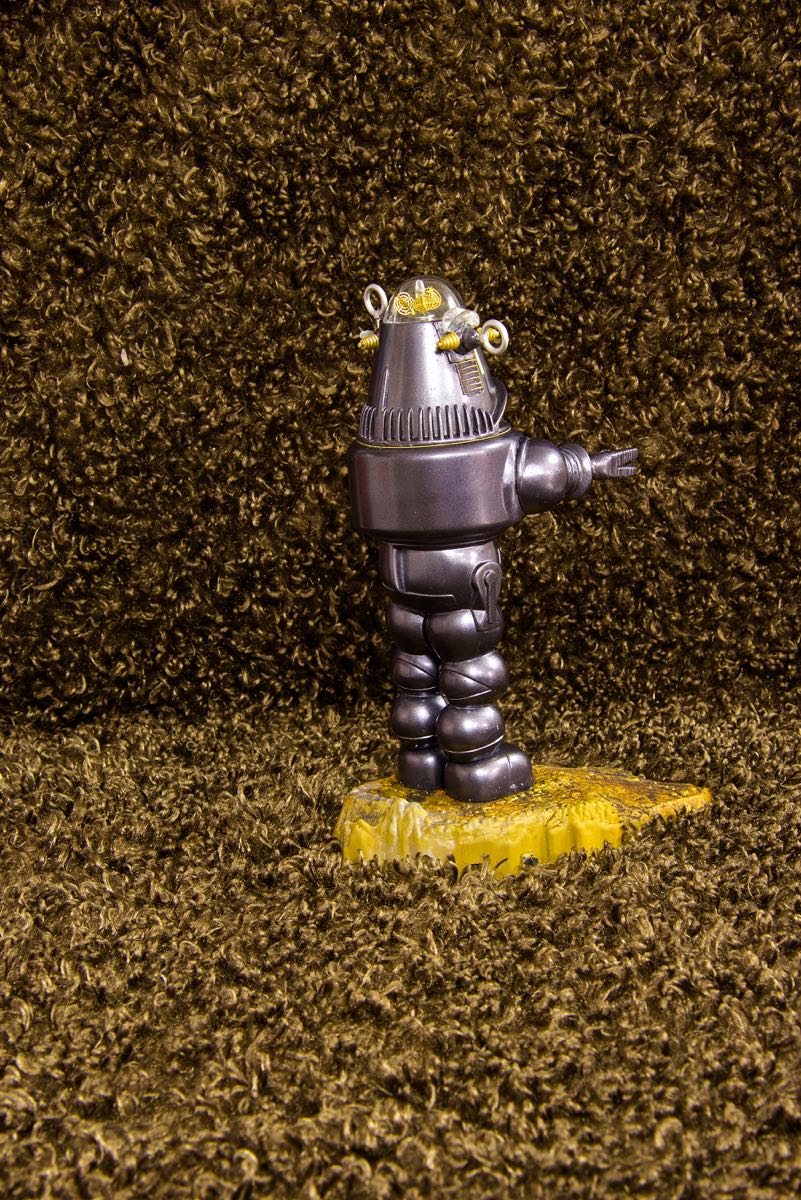
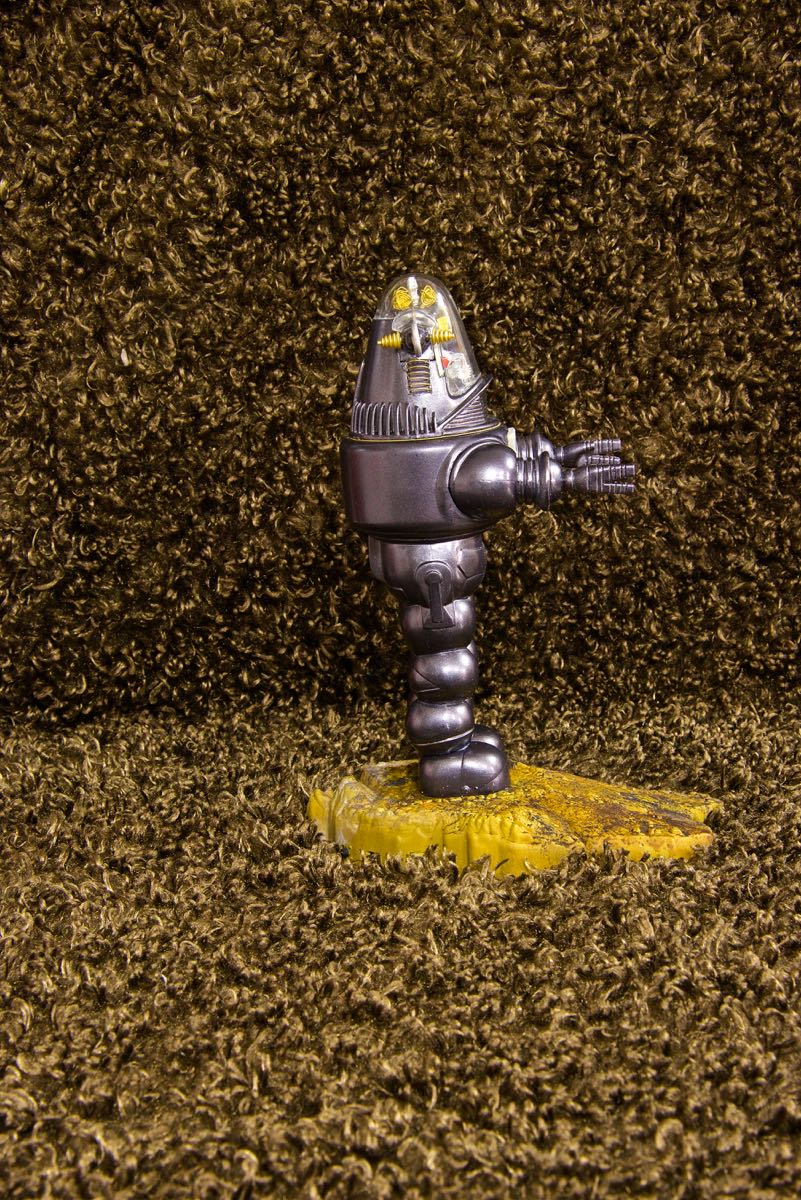
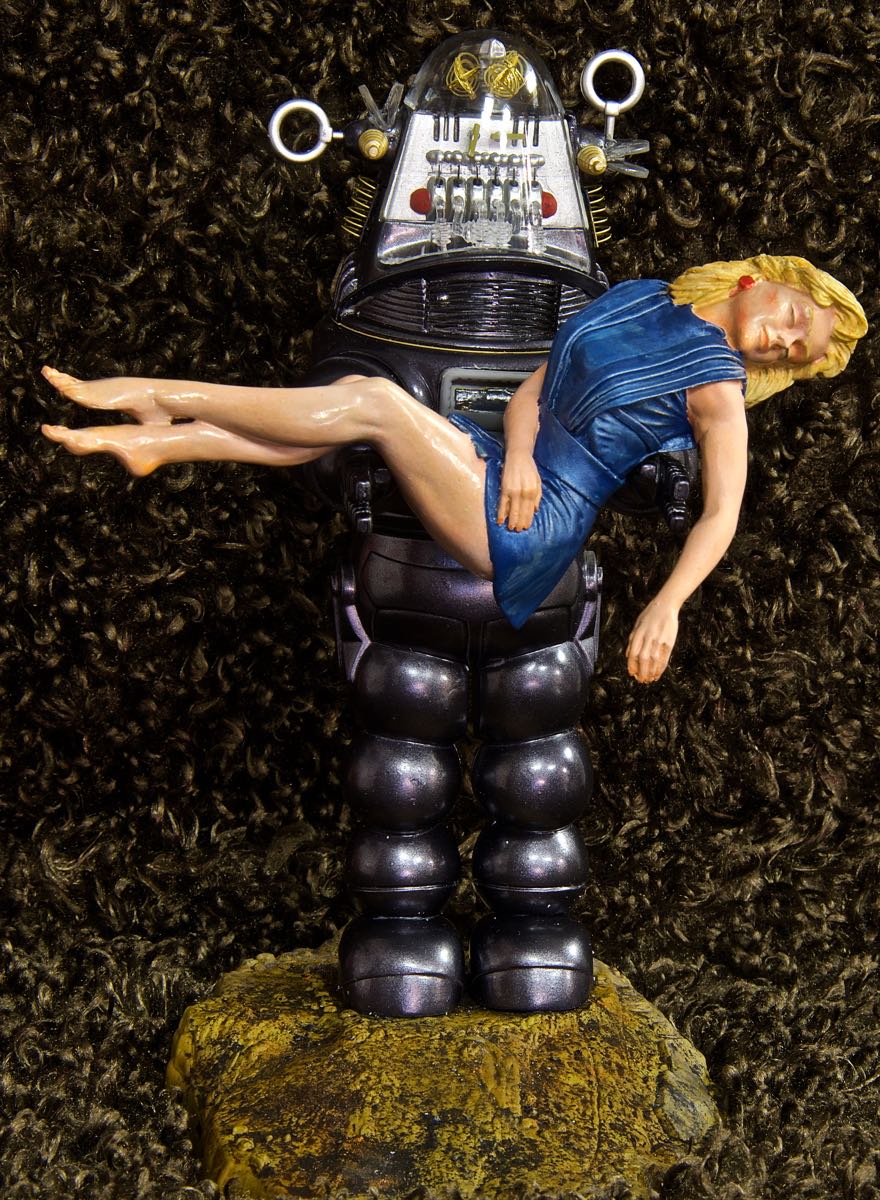
 4/4/2017 Here is Robbie rescuing Altaria.