Ahh – photo etch – the stuff that makes models look great. What detail – what realism – also extra $$ and how the heck do you get the stuff to glue to anything except your fingers!
Photo Etch has it’s pluses and minuses for sure. Some of the photo etch is so small that it almost defies reason to expect to be able to bend it to the correct shape and can easily be launched into the nether regions of your work room or into another dimension in your carpet – never to be found again – unless you walk over that spot in your bare feet.
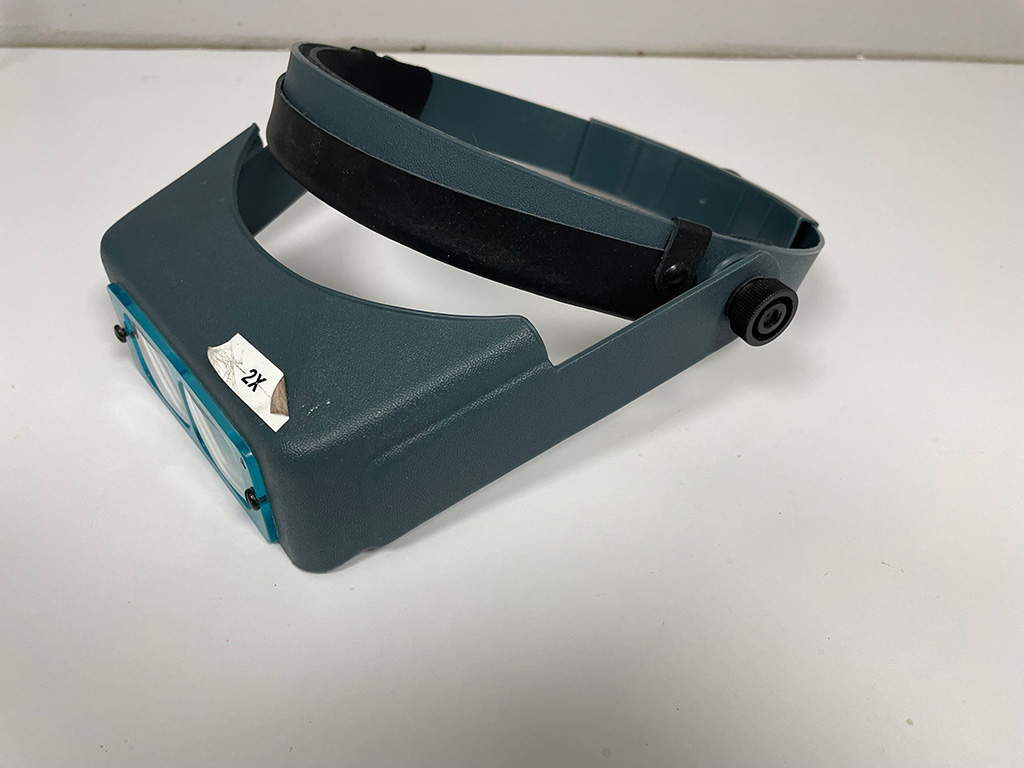
When working with such small parts magnification is a real must.
I use the Mission Models Etch Mate 3C to bend my photo etch.
While it’s pricy it does the job well enough for me. I can also frequently get away with using a set of smooth jaw pliers to do the trick. Also shown are two twezers and a file and X-acto knife as well as a block of hardwood to cut on – all useful in the photo etch area.
As to gluing the stuff – one word – cleanliness. You have to get the metal surface clean (and also the plastic surface) and then use a really suprisingly small amount of super glue to do the trick. I also use white glue to attach the etch part then come back with a toothpick with a drop of cyano on it. Photo etch can really get fiddly beyond all reason and you must determine where your sanity level ends so you don’t go all bonkers. This is a hobby after all and it’s supposed to provide enjoyment and relaxation.
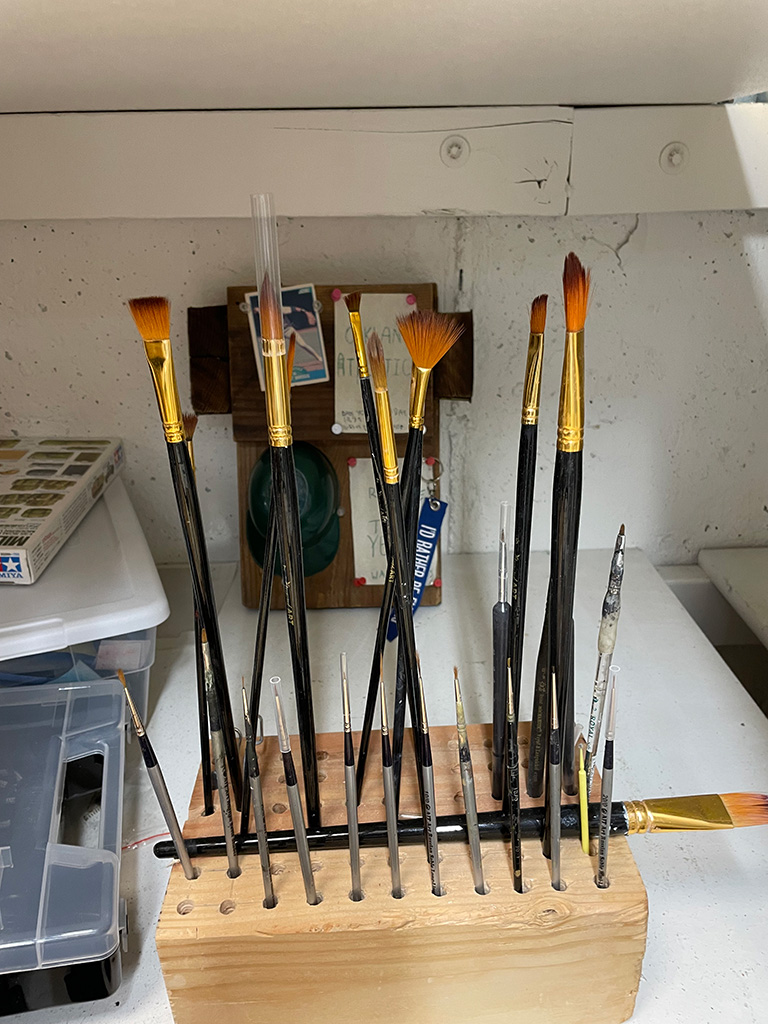
I have had really good luck with Gold Metal Models line of products for ships and also Eduards provides a huge array of products for armor and a/c.
Here are two pictures of photo etch:
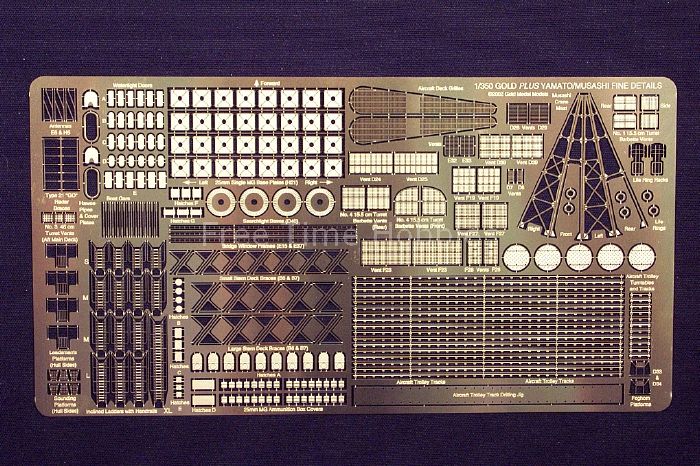
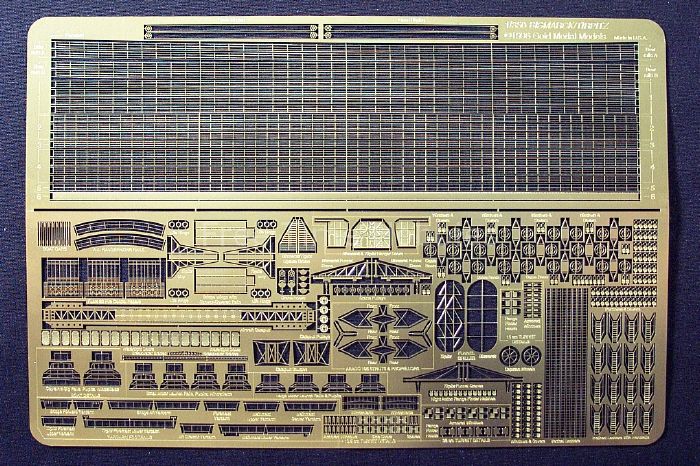
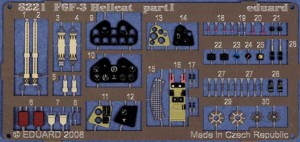
Here is a pic of the photo etch for the Eduard 1/48 F6F-3, this is a really nice model that I have in my stash:
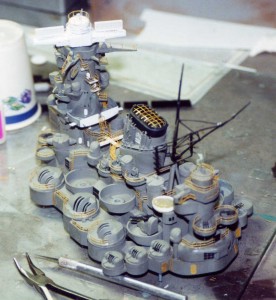
Here is an old pic of my Yamato during the process of adding GMM photo etch:
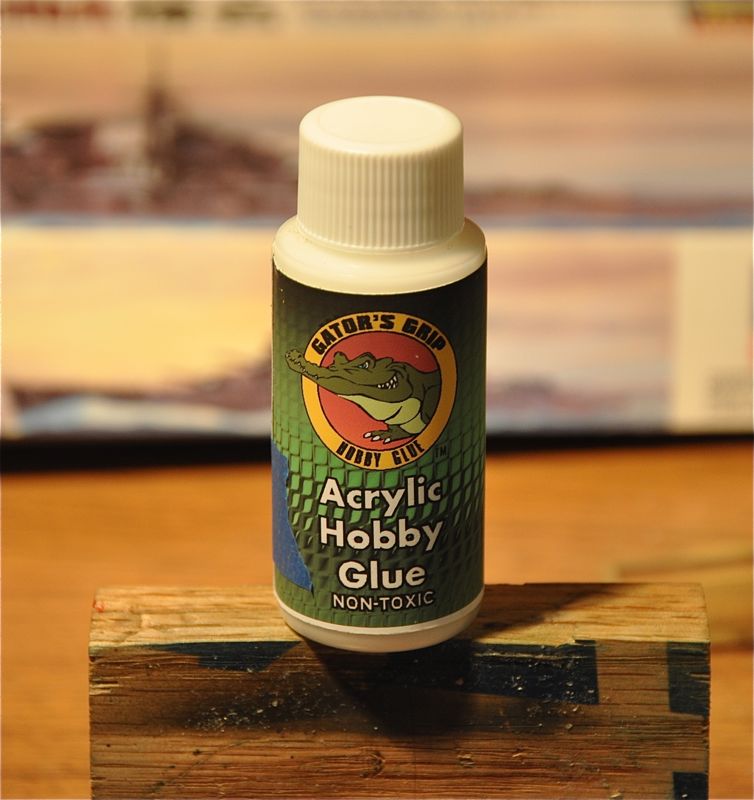
8/7/2011 I've had a lot of problems over the years using CA glue with photo etch – I seem to be able to glue my fingers together really well. I have less luck with the photo etch. This glue is water soluable and you apply it with a brush. It is plyable for about 15 minutes before it sets up. I've started using it and so far it is working out really well – here is a pic of the glue….I bought mine at Sprue Brothers – great service by the way.
